astroboy
Master Member
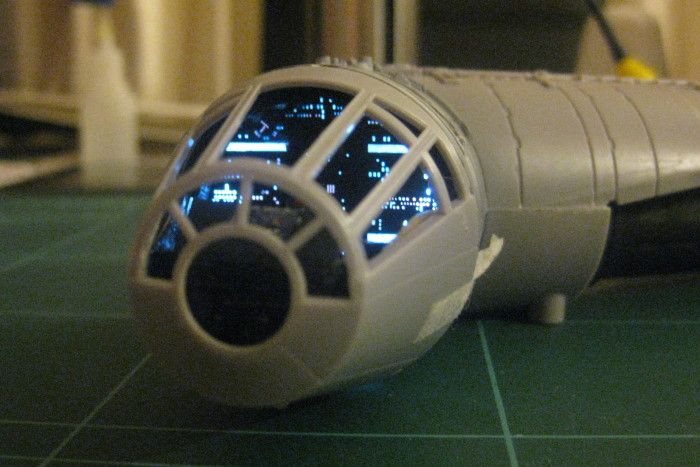
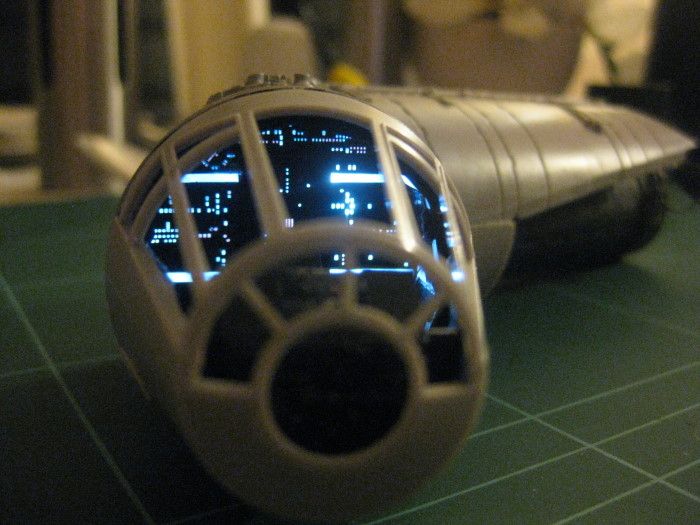
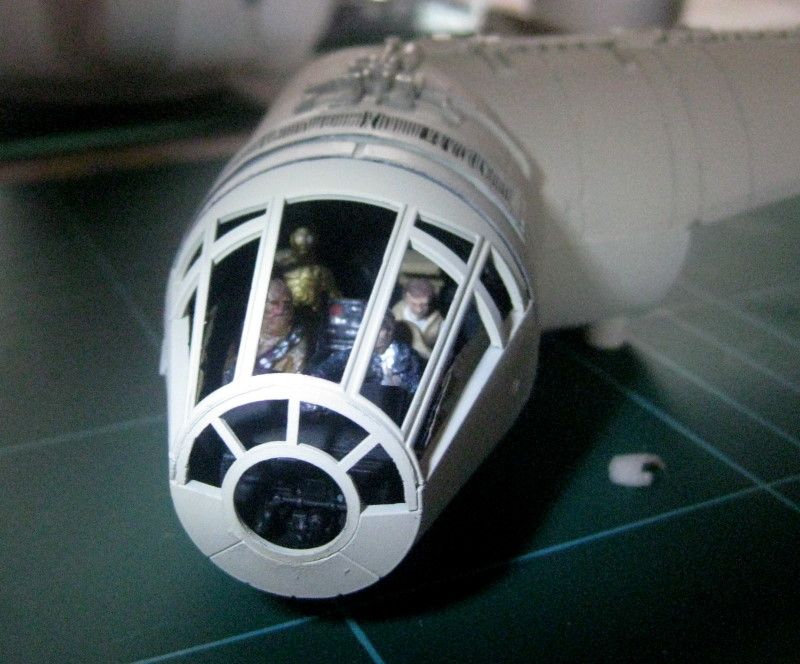
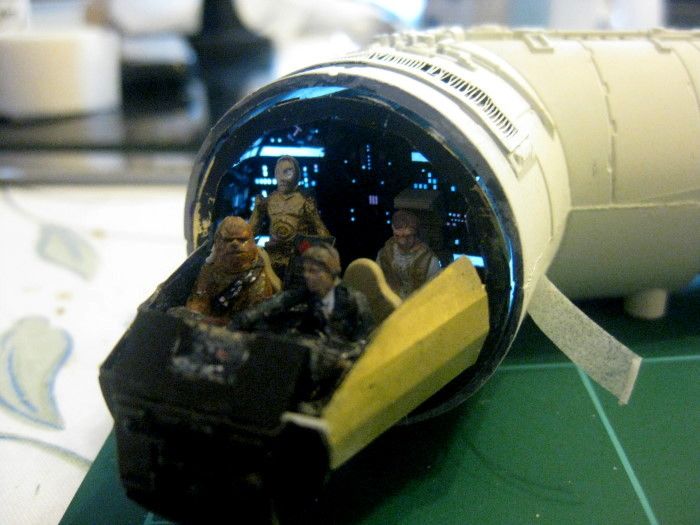
Too late, I've filed off the moulded grill and drilled the holes as in your first picture. I see you added a curve of plastic infront on the back wall to hide the holes? I would like to use the PE interior though so I will persever for a bit. I believe it's best to paint the PE black because the brass shows through the decal? I wonder how difficult it would be to paint the PE and not use the decal at all. Would be fiddley work I guess. Anyone any tips?
Your cockpit looks great. All the PE, what to paint, decal or not to decal, and the dreading LED work is vexing me lol
Al
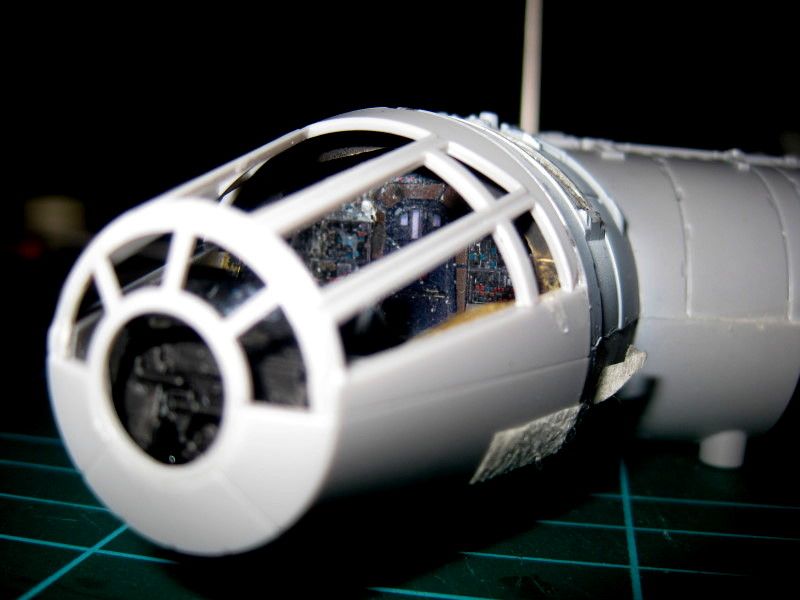
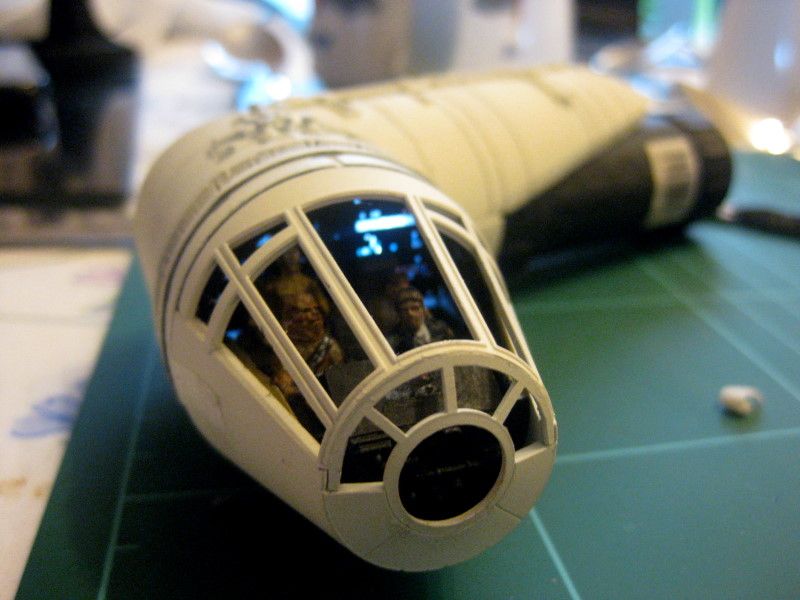
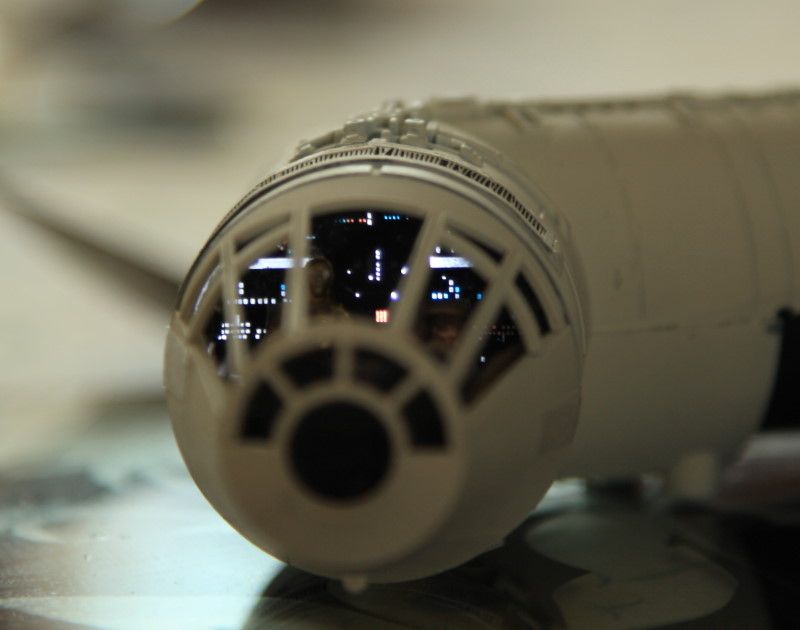
you need to paint the P.E. grey. I made the mistake of painting it black and my decals didn't show up at all.
It's funny how we all have our Achilles heel. I fear lighting the falcon. So I haven't done anything in months. I've even done two other distraction models in the mean time.
But I can't WAIT to get to painting
") thumbsup:thumbsup
thumbsup:thumbsup