WingHead88
New Member
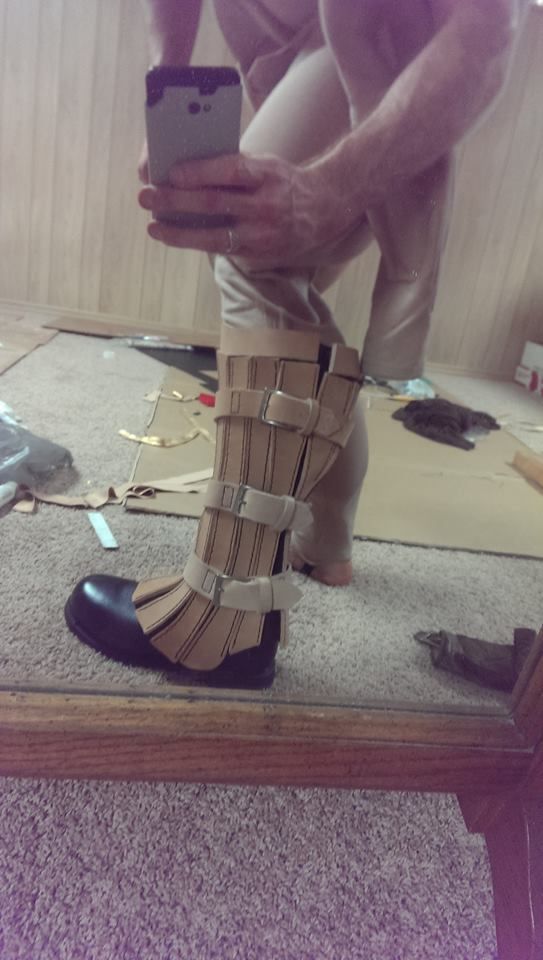
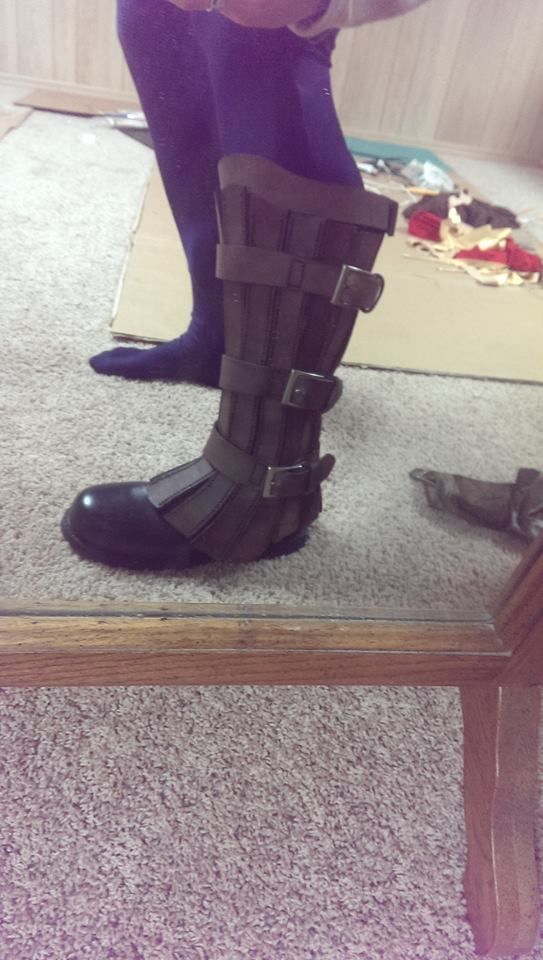
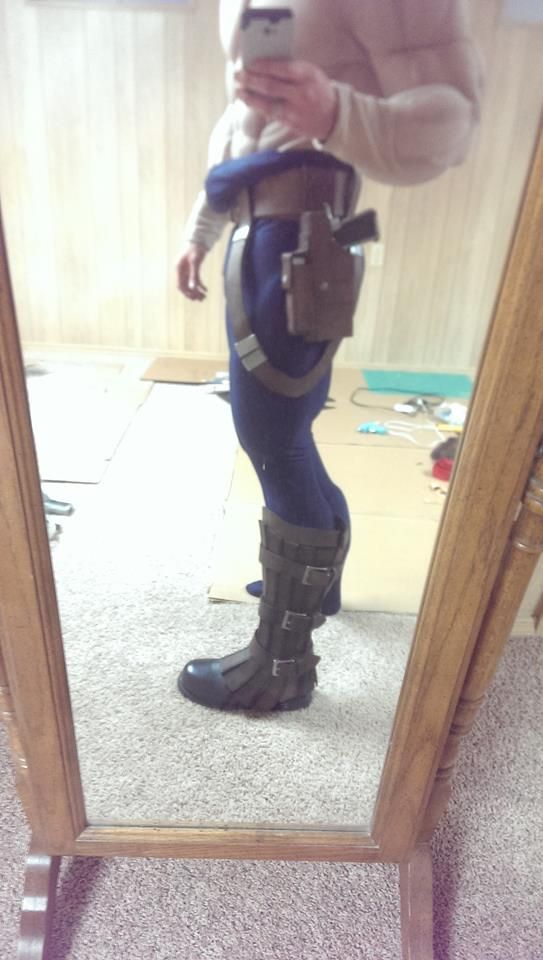
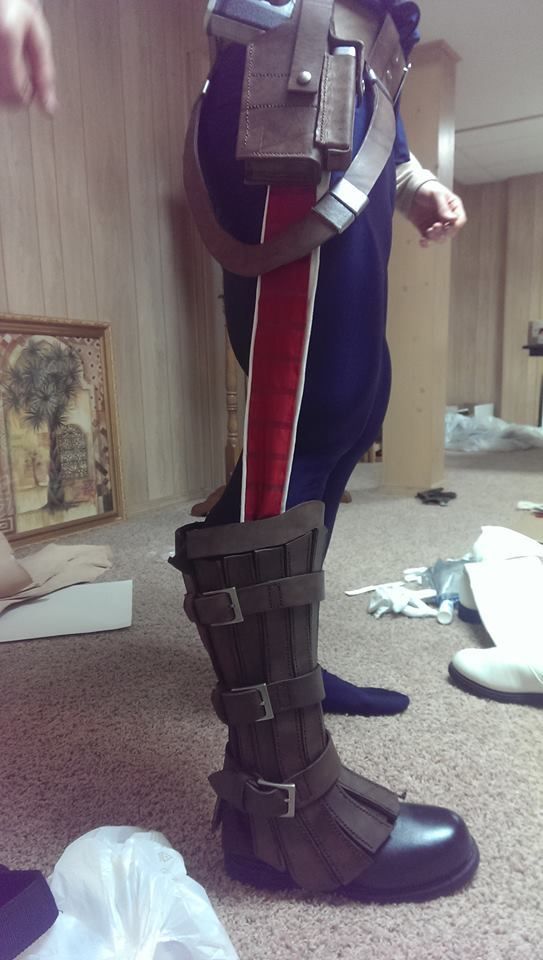
Continuing my fight against those that oppose the USA and the Winter Soldier.. I've decided to costume Commander Rogers following my Captain America.
Inspiration:
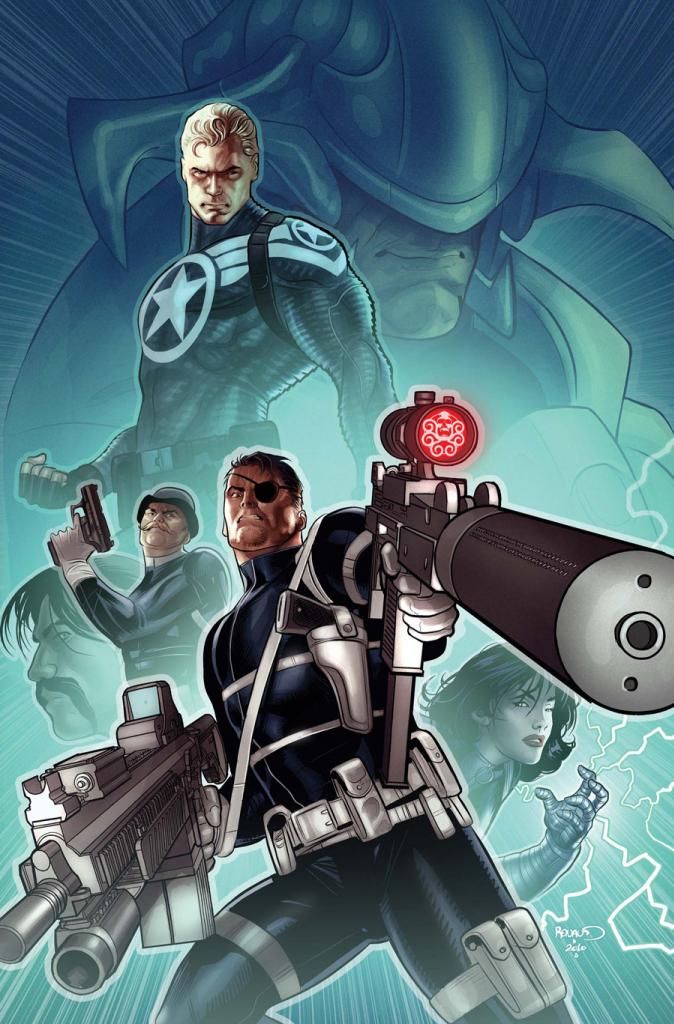
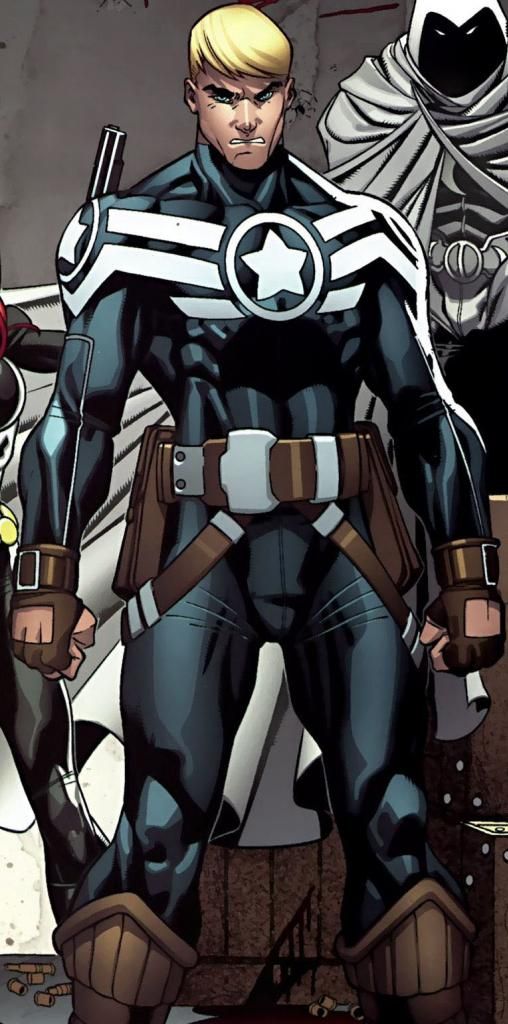
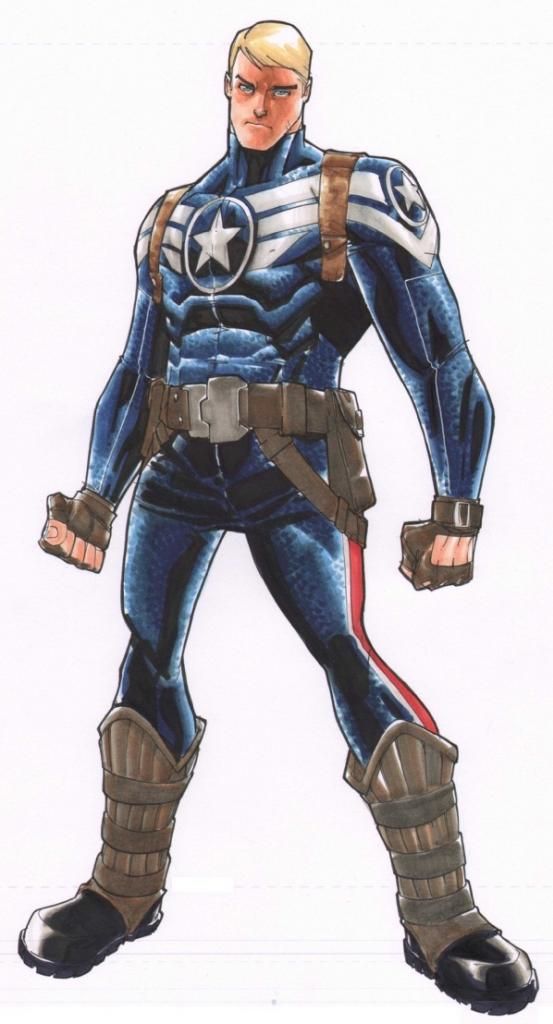
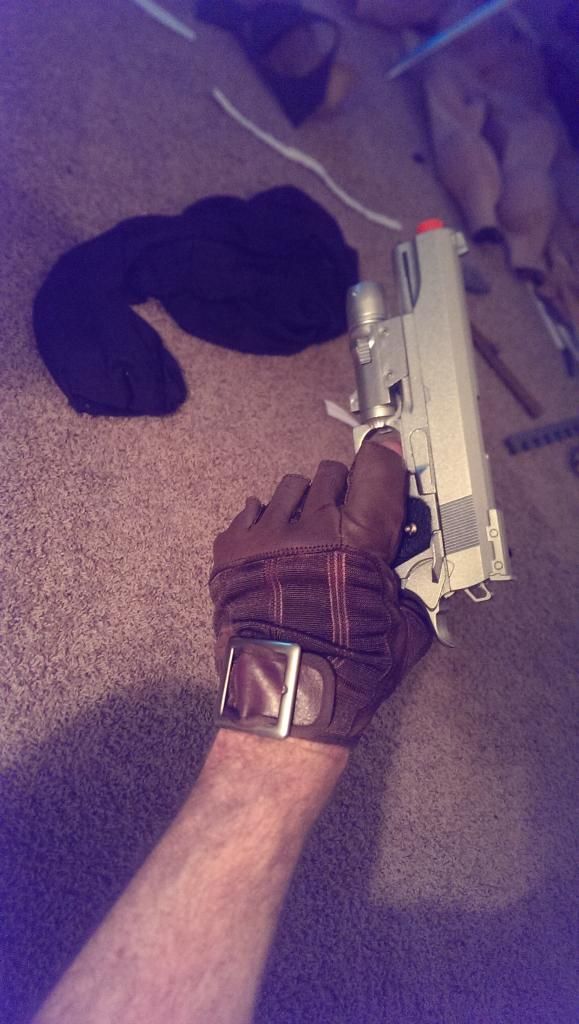
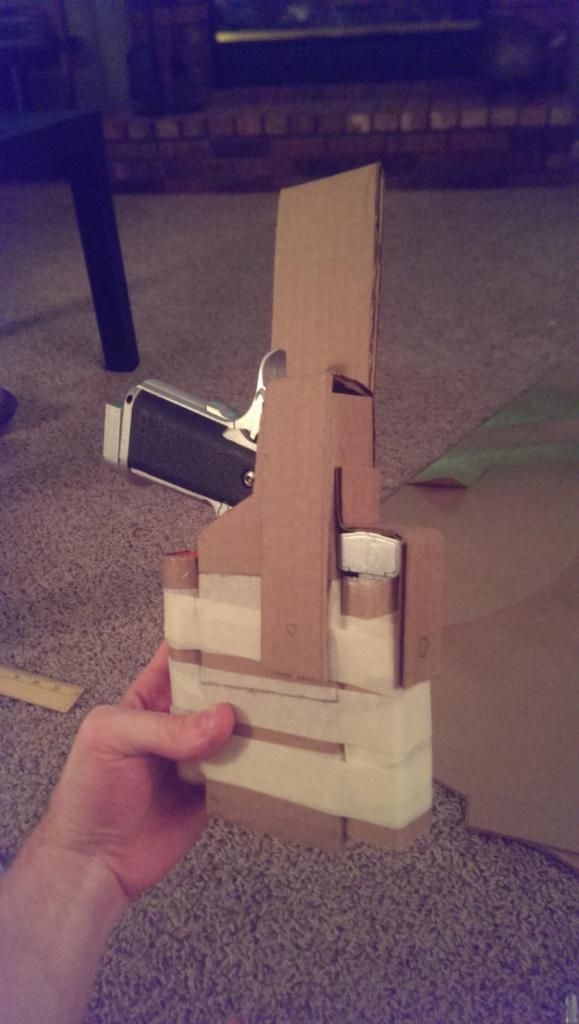
The extensive part of this build will be the leather crafting. I wanted to use real leather to give an authentic feel. Made a trip to my local leather store, snagged a few items, and began blocking out the holsters in cardboard first. I'm using a set of 1911 airsoft .45s with laser sites to match the Commander Rogers action figure. This will require two identical holsters:
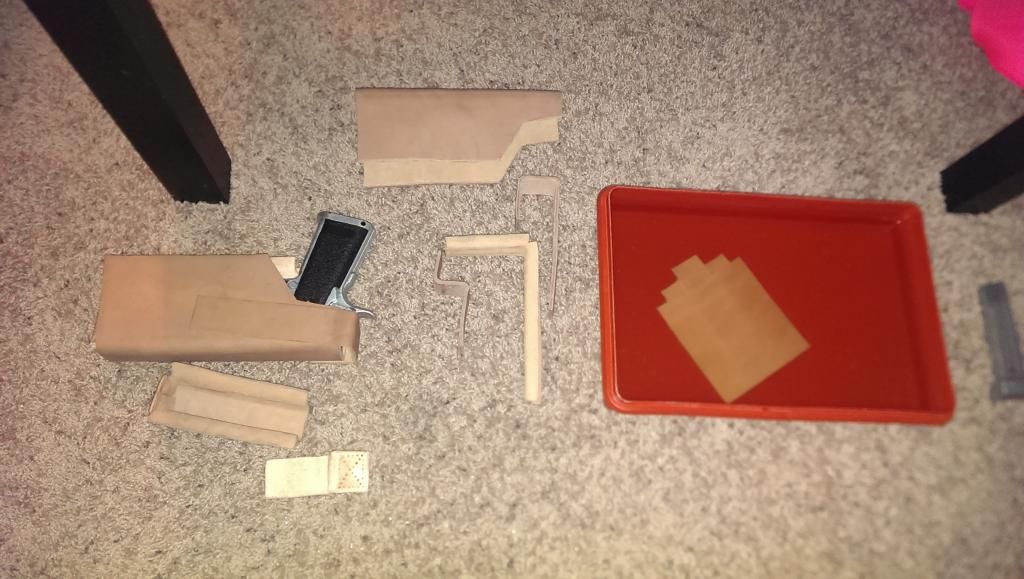
Breaking apart the pattern once I had the dimensions, I cut my leather to shape leaving enough edges to stitch the leather together. Soaking the leather first make it much more malleable and holds it's shape once it drys. A minute or so under water is all it takes:
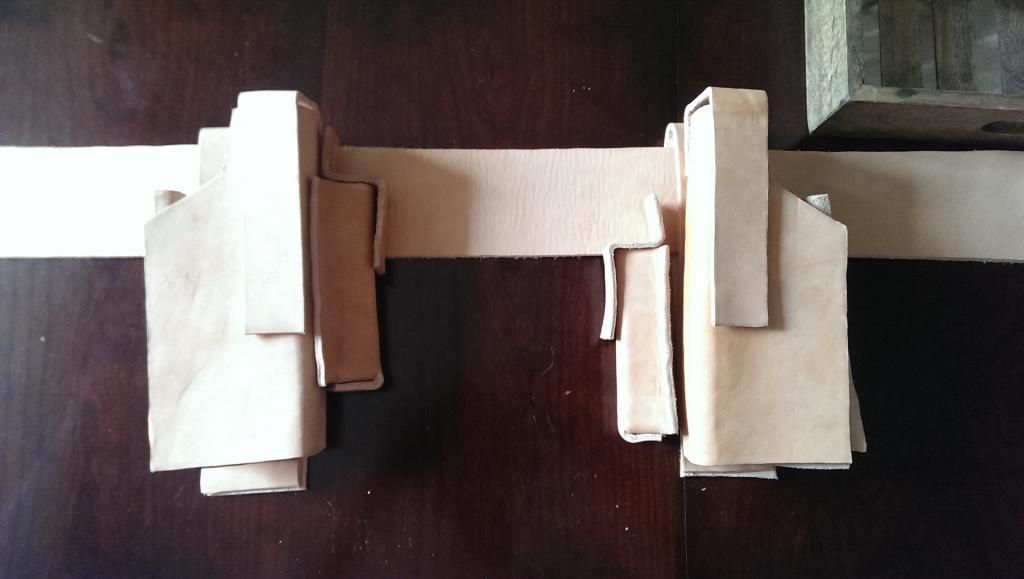
Both sets of leather and a belt cut:
Time to start punching holes and sewing. This is MUCH easier than I expected so do not be afraid to try this at home if you're thinking about it! Your local leather shop attendant should be very helpful in assisting you with questions.
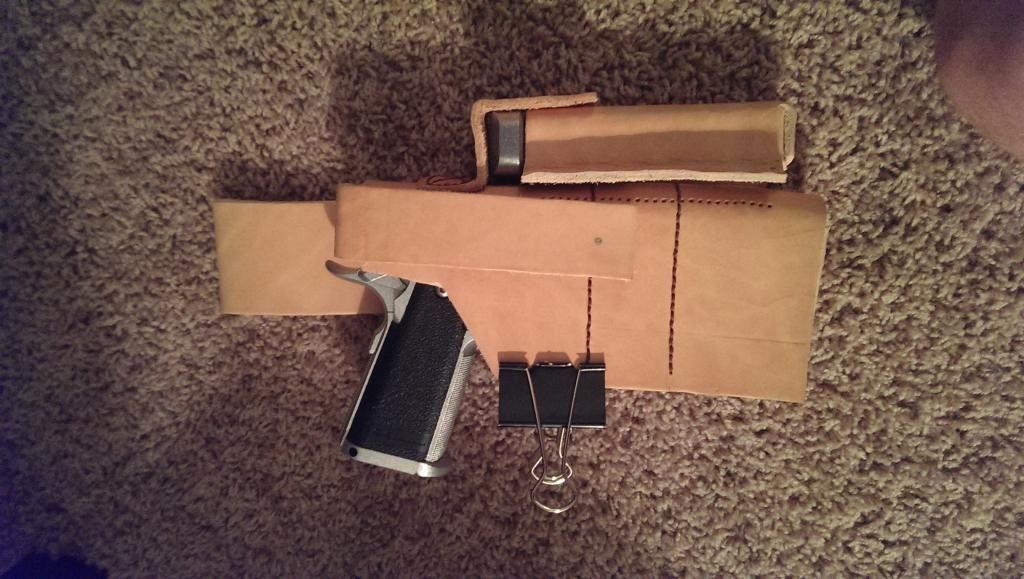
Stitching and snaps continuing:
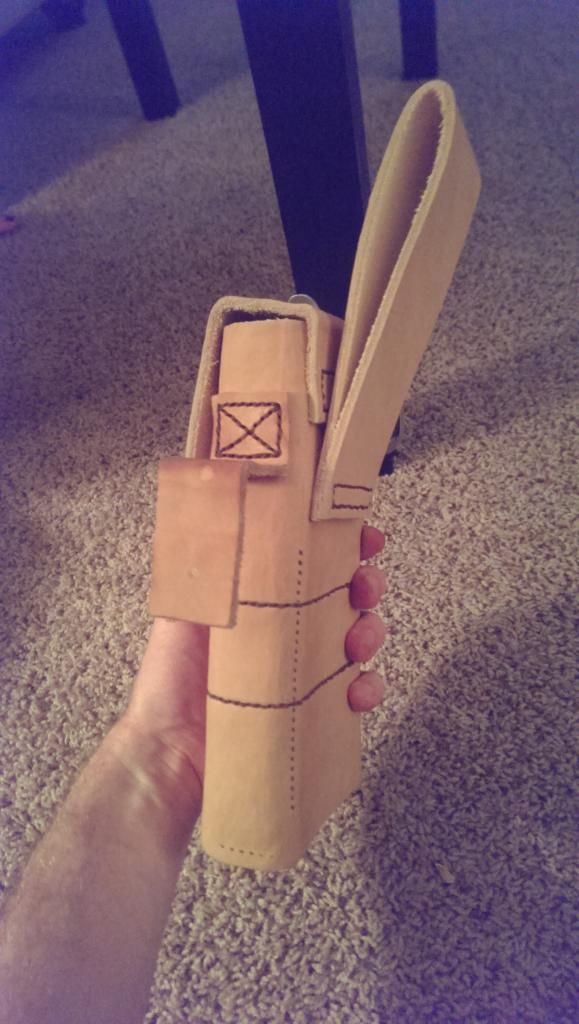
The first holster and belt stained. I should have started staining before stitching together as it was a bit harder to get it into the small gaps. Lesson learned:
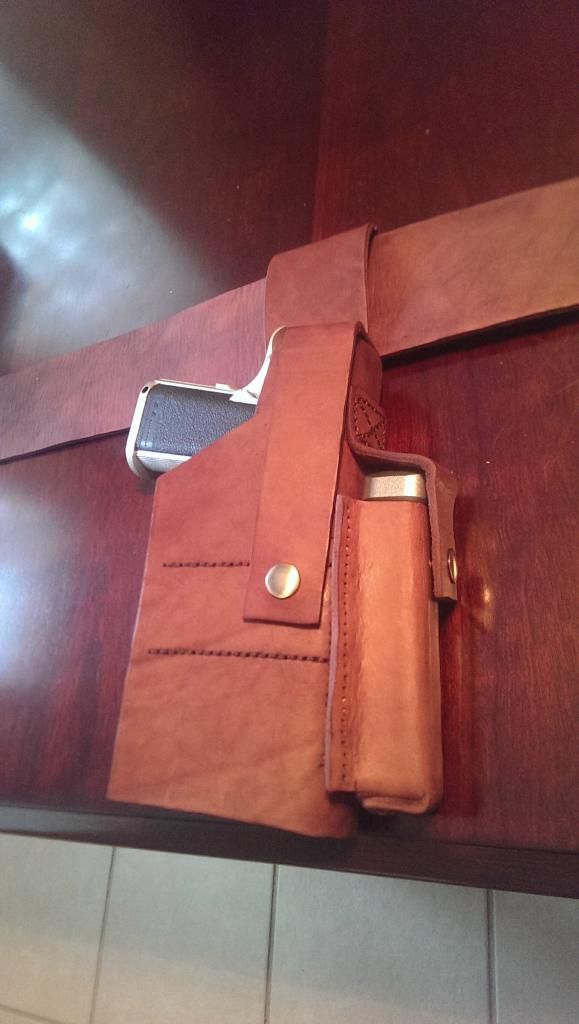
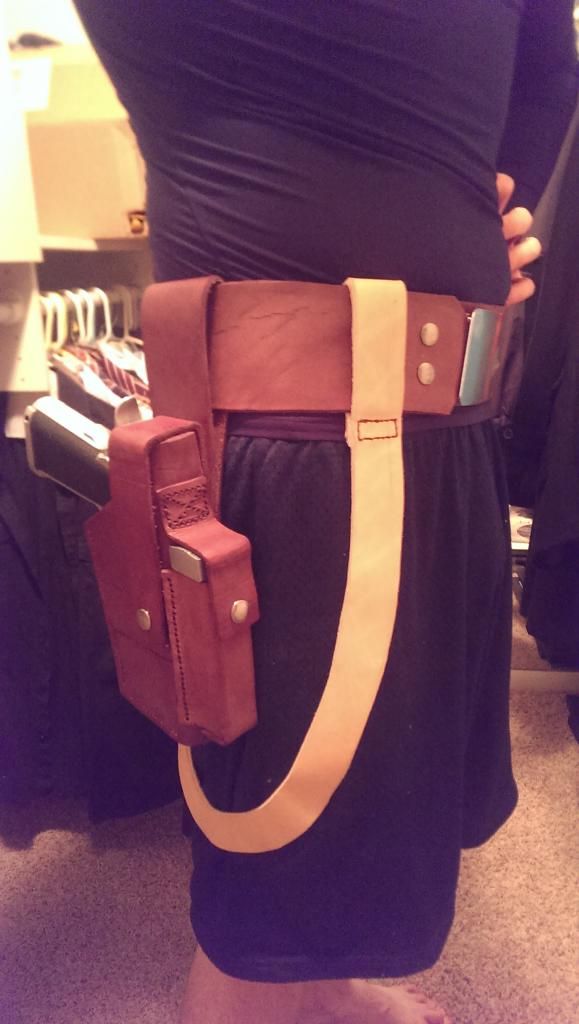
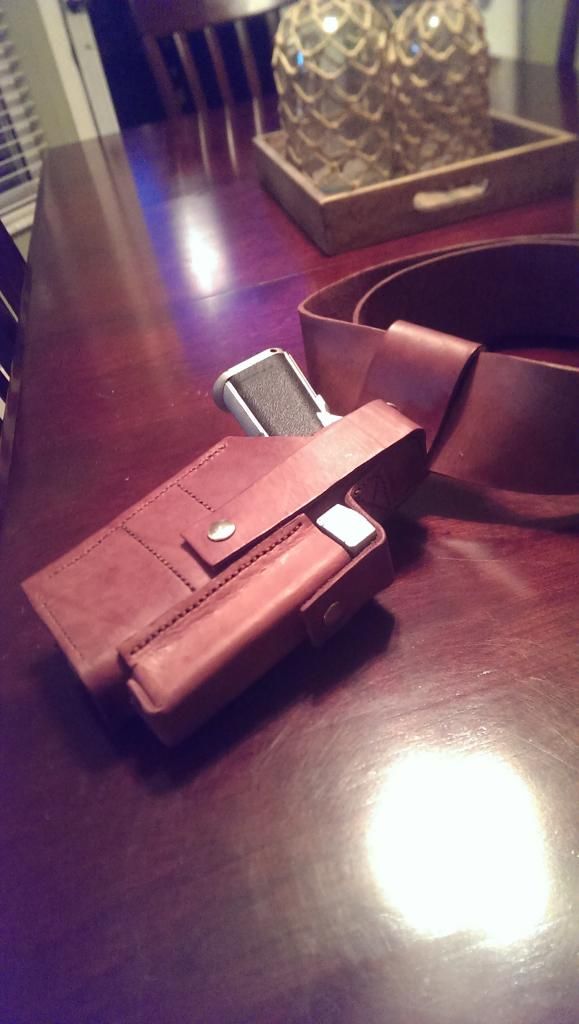
First holster complete:
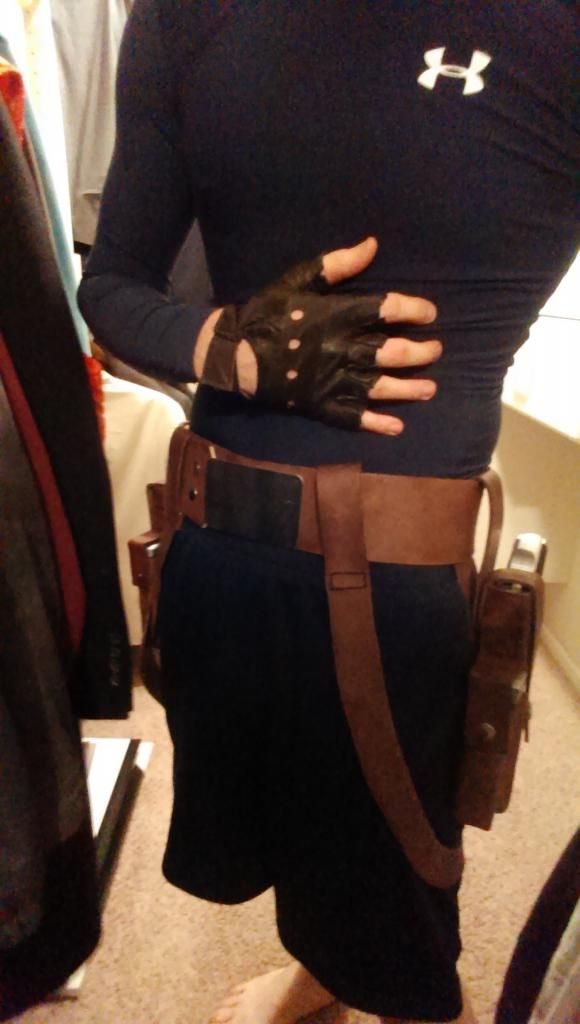
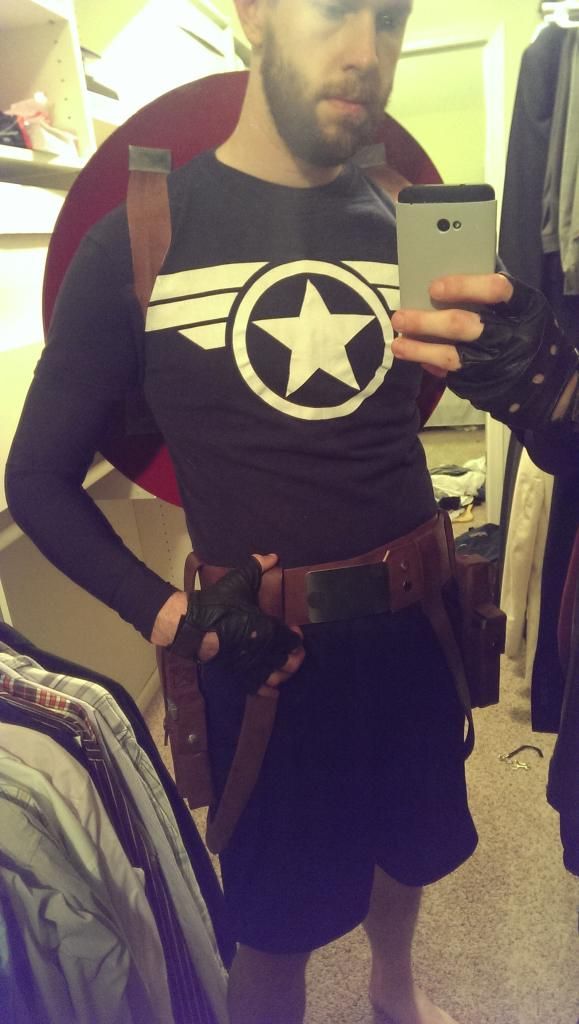
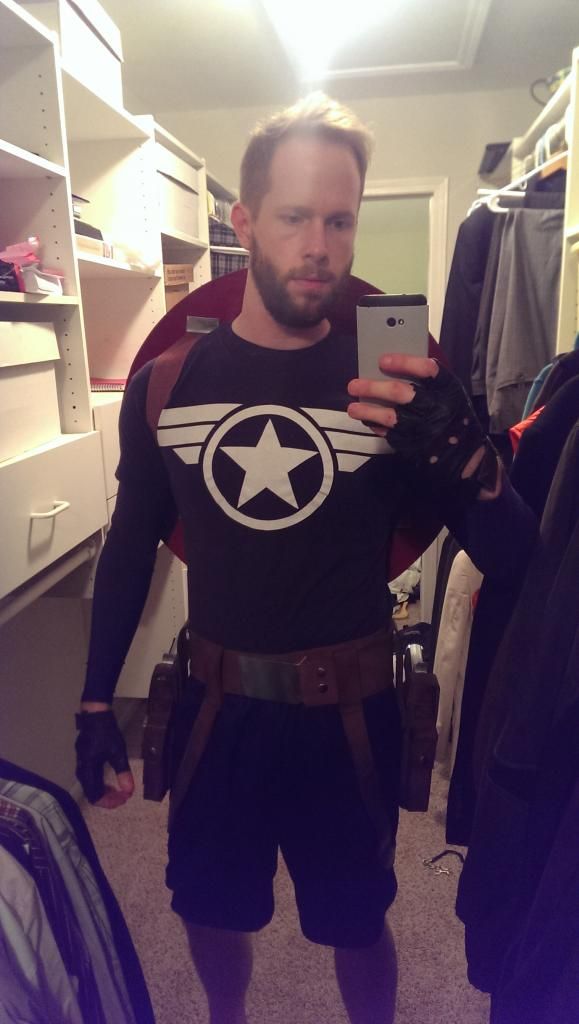
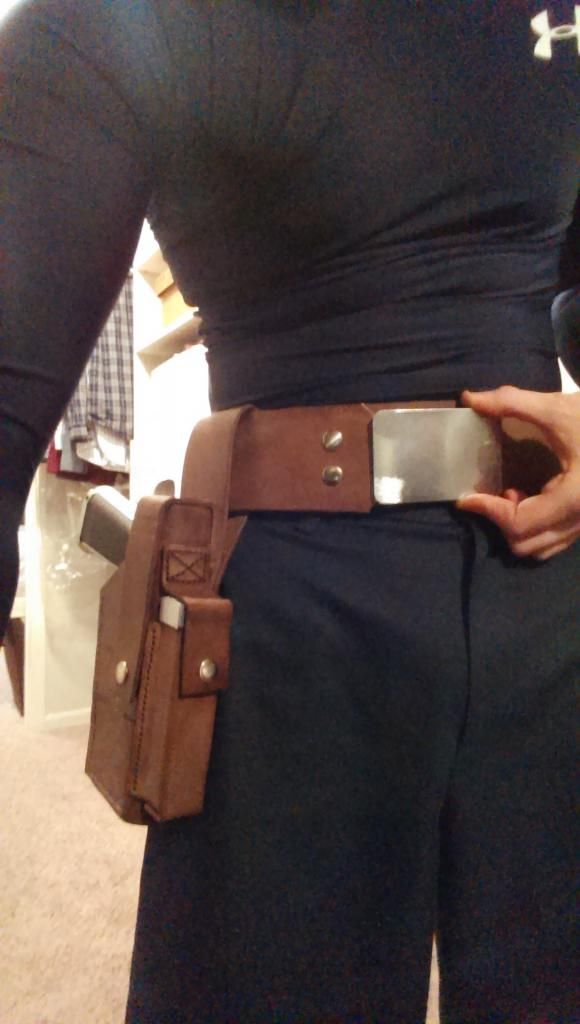
A $5 buckle from the leather shop and 2 more snaps and I've got my first look at the holsters on:
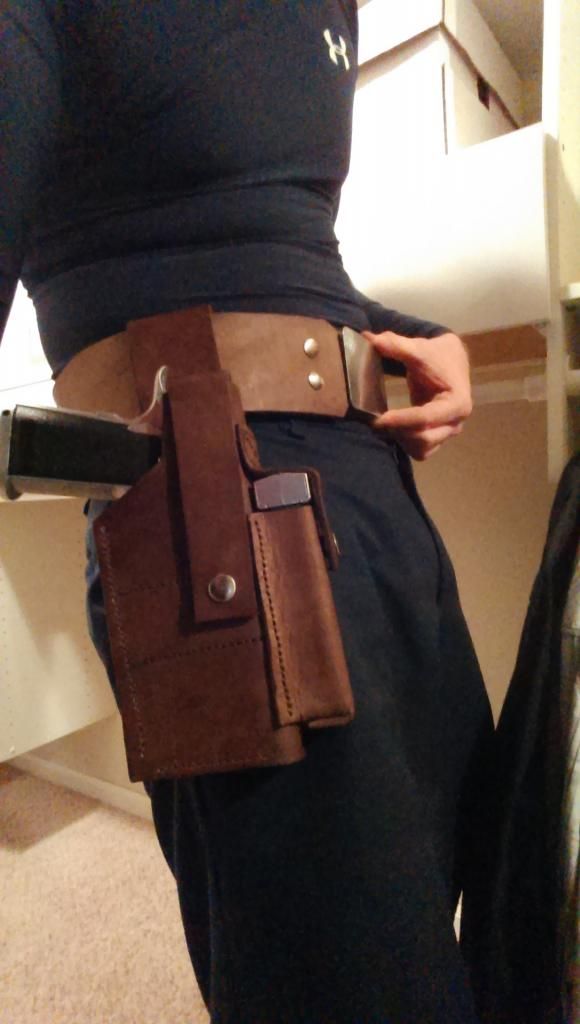
That's all for now. Reach out with any questions around construction so far! I will update as soon as I have more progress! Thanks, all!
Inspiration:


The extensive part of this build will be the leather crafting. I wanted to use real leather to give an authentic feel. Made a trip to my local leather store, snagged a few items, and began blocking out the holsters in cardboard first. I'm using a set of 1911 airsoft .45s with laser sites to match the Commander Rogers action figure. This will require two identical holsters:

Breaking apart the pattern once I had the dimensions, I cut my leather to shape leaving enough edges to stitch the leather together. Soaking the leather first make it much more malleable and holds it's shape once it drys. A minute or so under water is all it takes:

Both sets of leather and a belt cut:

Time to start punching holes and sewing. This is MUCH easier than I expected so do not be afraid to try this at home if you're thinking about it! Your local leather shop attendant should be very helpful in assisting you with questions.

Stitching and snaps continuing:

The first holster and belt stained. I should have started staining before stitching together as it was a bit harder to get it into the small gaps. Lesson learned:

First holster complete:

A $5 buckle from the leather shop and 2 more snaps and I've got my first look at the holsters on:


That's all for now. Reach out with any questions around construction so far! I will update as soon as I have more progress! Thanks, all!

