neilshy
Active Member
I recently received my Tusken mask kit from Godzilla (seriously nice machining!) and figured that I should make a Gaffi to go along with the costume. I looked at trying to buy a nice original Fijian War Club but found that I was going to be looking at somewhere between 3+8k AUD. Realising that would have taken too much explaining to my wife, I went on to looking at the Tom Spinna resin cast kit.
After weighing up my options, I thought I'd prefer to buy a couple of new tools, some nice hardwood and have a go at carving one myself as i really want it to feel authentic. I looked into being able to find some Vesi Wood (Intisa Bujiga) and other Fijian hardwoods but couldn't seem to find anything here in Melbourne, so opted for a hard reclaimed Australian gum.
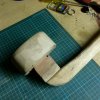
I am making this in essentially 4 sections. The head, the spike on the head (traditionally used for skull piercing!), the shaft and the Star Wars add-on metal blade section off of the end. I set about marking and roughing out the shapes.
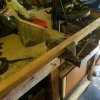
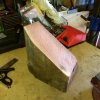
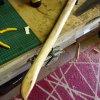
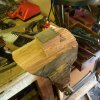
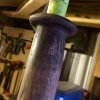
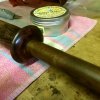
After roughing out the timber shapes and turning the shaft into a little more of a cylindrical stick - using a spoke shave predominantly and a belt sander, I roughly marked out some hatched lines on the head.
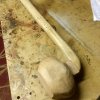
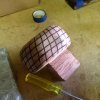
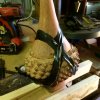
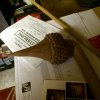
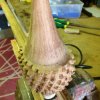
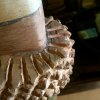
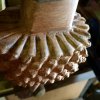
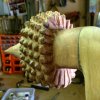
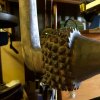
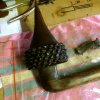
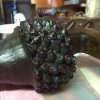
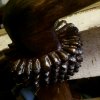
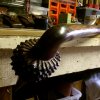
Using a thin Dremel carving tool, I cut into each line approx 5mm deep and worked the edges off a little using a triangular file. I then set about carving each section into a small pyramid/spike using a small chisel.
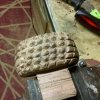
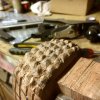
After chiseling out all of the small spikes, I cut in a little deeper around them with the dremel to make them protrude a little further.
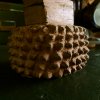
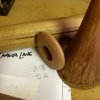
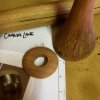
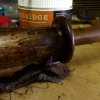
I then plotted the centre on both the head carving and the neck of shaft and joined the two with a dowel and woodglue, this was clamped up overnight and then sanded round.

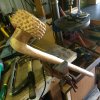
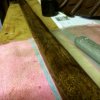
After reading lots about original Totokia and referencing screen used props, I started to carve and print some detail onto the shaft of the club. Here's a couple of images gathered of common Totokia carving and one photo of a screen used Gaffi.


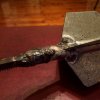
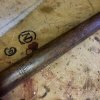
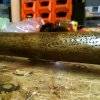
I decided to go for a little dot and triangular pattern as this seemed to be fairly commonly used on the shafts from my research into the clubs.
I used a sprung centre punch for the holes and have been using a triangular allen key set into a chuck as a punch to hammer triangles into place.
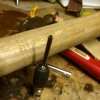
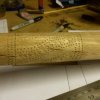
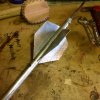
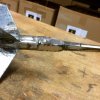
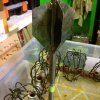
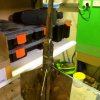
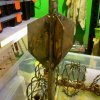
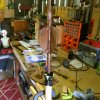
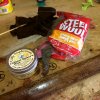
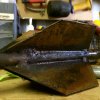
In-between detailing the shaft, I started to cut out the fins of the blade from 1.5mm gal steel sheet. These were simply measured out (I'm using .5inch gal plumbing pipe for the metal rod coming out of the end of the club which has a 22mm dia) with sizing based on reference photos and the gal pipe I'm using. I cut the shapes with an angle grinder and buffed the burr off using a circular sander.
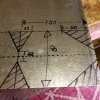
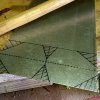
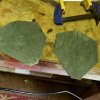
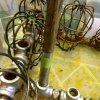
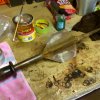
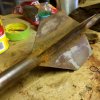
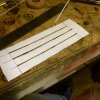
I worked out a template for vertical slots to be cut into the .5inch gal pipe. The pipe is 22mm dia which would be 69mm flat so the lines needed to be 17.3mm apart. I wasn't getting too anal so I went for a touch over 17, rather than trying to accurately mark up a .3! I used the template to mark out lines with a sharpie and then cut 4 slots 150mm length to allow the blades to be housed before welding them on.
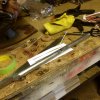
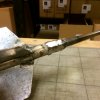
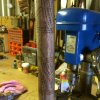
For the spike at the tip, I used a 20mm dia steel threaded rod. I ground the diameter down 50mm until it matched the inside diameter of the gal pipe and then hammered it down tight into place (this will be welded later.) I then angle ground the edges off to form the spike before sanding flat. I rushed this a little and was a bit messy so will have to fix some problems later.
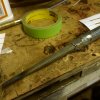
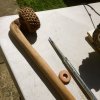
(Pic timeline is a little out of sync in line with my description).
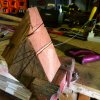
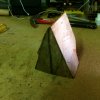
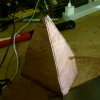
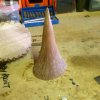
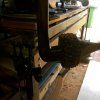
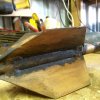
For the pointed end of the timber part of the war club, I got another off-cut of gum and started to fashion a rough triangle. I don't have a bandsaw in my workshop so was sadly cutting this all by hand which was heavy going on this hard timber.
After weighing up my options, I thought I'd prefer to buy a couple of new tools, some nice hardwood and have a go at carving one myself as i really want it to feel authentic. I looked into being able to find some Vesi Wood (Intisa Bujiga) and other Fijian hardwoods but couldn't seem to find anything here in Melbourne, so opted for a hard reclaimed Australian gum.
I am making this in essentially 4 sections. The head, the spike on the head (traditionally used for skull piercing!), the shaft and the Star Wars add-on metal blade section off of the end. I set about marking and roughing out the shapes.


After roughing out the timber shapes and turning the shaft into a little more of a cylindrical stick - using a spoke shave predominantly and a belt sander, I roughly marked out some hatched lines on the head.


Using a thin Dremel carving tool, I cut into each line approx 5mm deep and worked the edges off a little using a triangular file. I then set about carving each section into a small pyramid/spike using a small chisel.


After chiseling out all of the small spikes, I cut in a little deeper around them with the dremel to make them protrude a little further.

I then plotted the centre on both the head carving and the neck of shaft and joined the two with a dowel and woodglue, this was clamped up overnight and then sanded round.


After reading lots about original Totokia and referencing screen used props, I started to carve and print some detail onto the shaft of the club. Here's a couple of images gathered of common Totokia carving and one photo of a screen used Gaffi.


I decided to go for a little dot and triangular pattern as this seemed to be fairly commonly used on the shafts from my research into the clubs.
I used a sprung centre punch for the holes and have been using a triangular allen key set into a chuck as a punch to hammer triangles into place.


In-between detailing the shaft, I started to cut out the fins of the blade from 1.5mm gal steel sheet. These were simply measured out (I'm using .5inch gal plumbing pipe for the metal rod coming out of the end of the club which has a 22mm dia) with sizing based on reference photos and the gal pipe I'm using. I cut the shapes with an angle grinder and buffed the burr off using a circular sander.


I worked out a template for vertical slots to be cut into the .5inch gal pipe. The pipe is 22mm dia which would be 69mm flat so the lines needed to be 17.3mm apart. I wasn't getting too anal so I went for a touch over 17, rather than trying to accurately mark up a .3! I used the template to mark out lines with a sharpie and then cut 4 slots 150mm length to allow the blades to be housed before welding them on.


For the spike at the tip, I used a 20mm dia steel threaded rod. I ground the diameter down 50mm until it matched the inside diameter of the gal pipe and then hammered it down tight into place (this will be welded later.) I then angle ground the edges off to form the spike before sanding flat. I rushed this a little and was a bit messy so will have to fix some problems later.


(Pic timeline is a little out of sync in line with my description).
For the pointed end of the timber part of the war club, I got another off-cut of gum and started to fashion a rough triangle. I don't have a bandsaw in my workshop so was sadly cutting this all by hand which was heavy going on this hard timber.
Last edited:

