welshwarrior123
Well-Known Member
Hey guys,
Havent posted on here in a while due to having to work on my final degree project, which I thought would be nice to show on here. This is what halted my progress on my naboo starfighter, which I can now pick back up again finally.
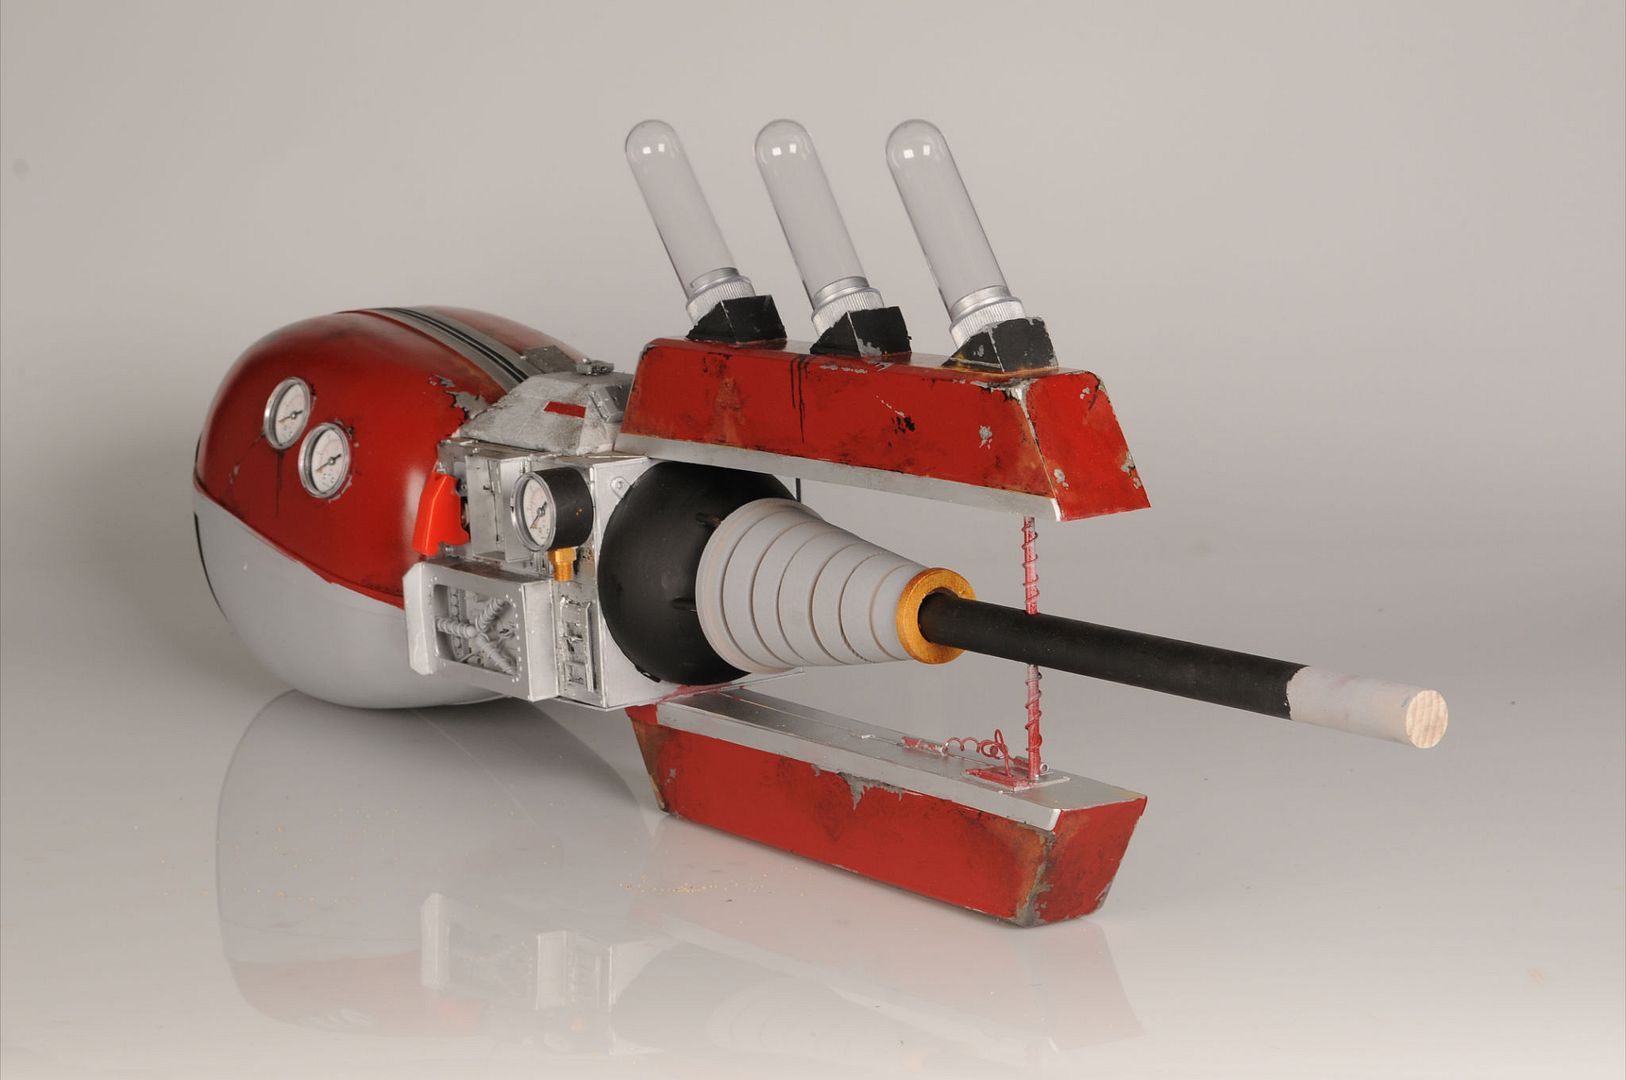
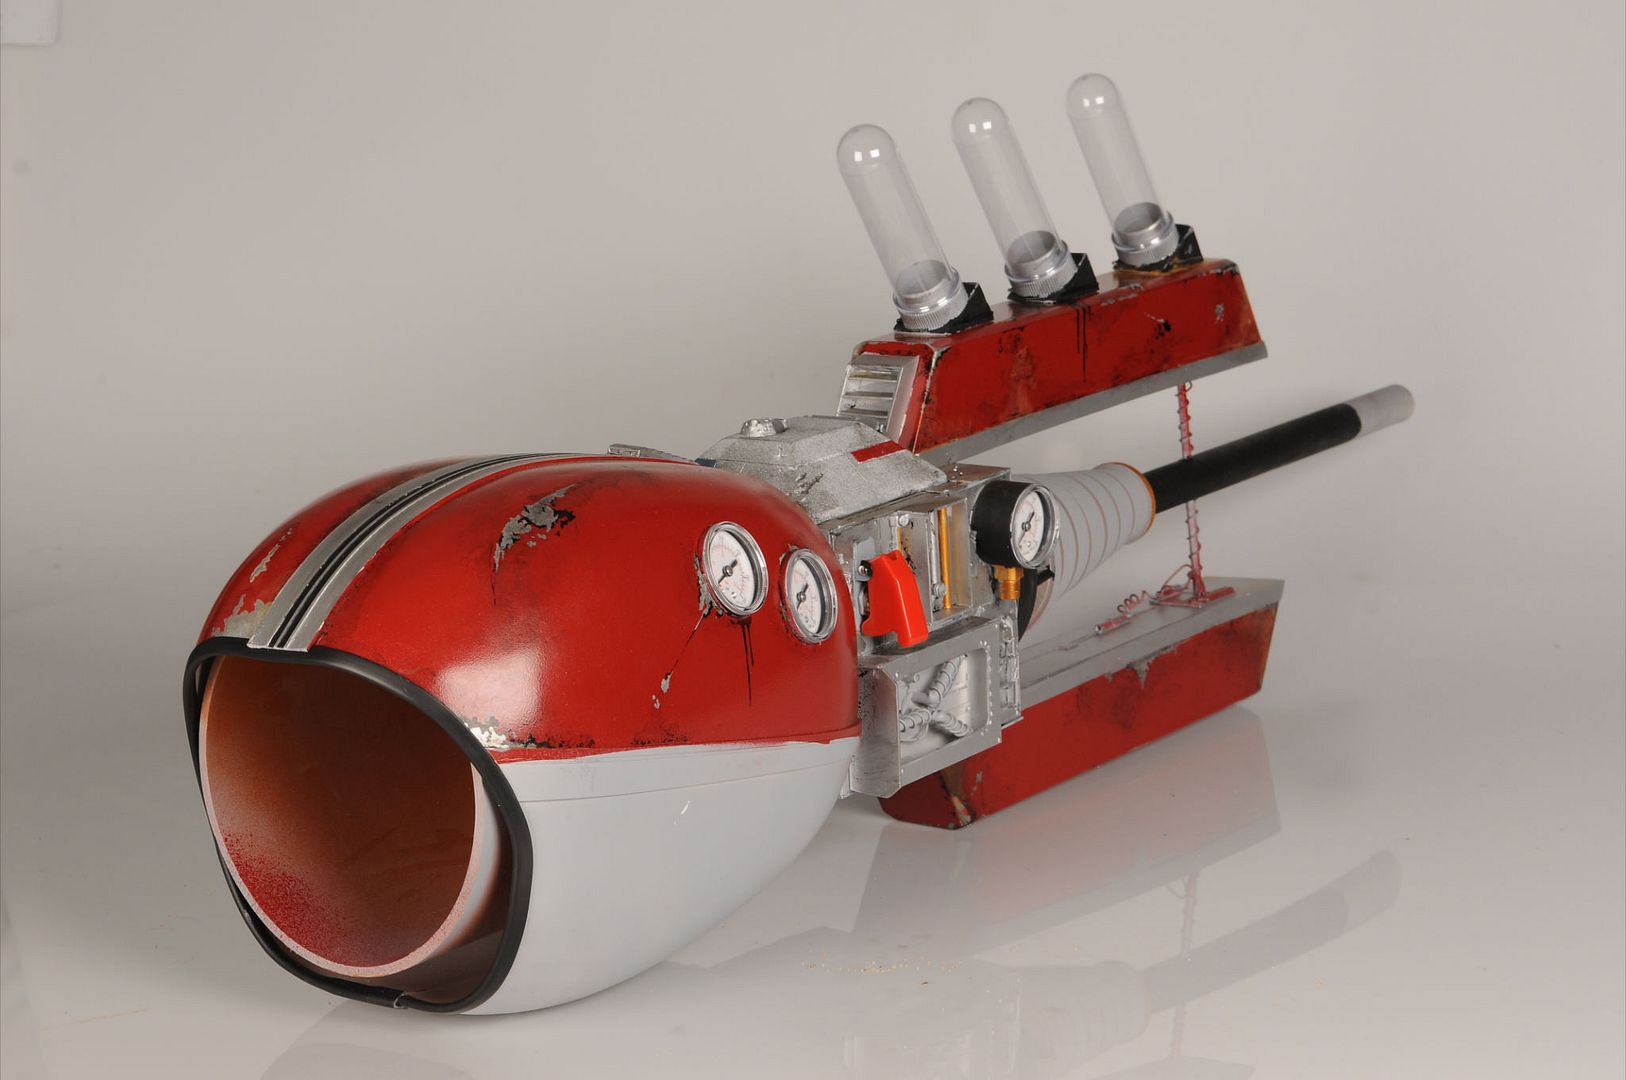
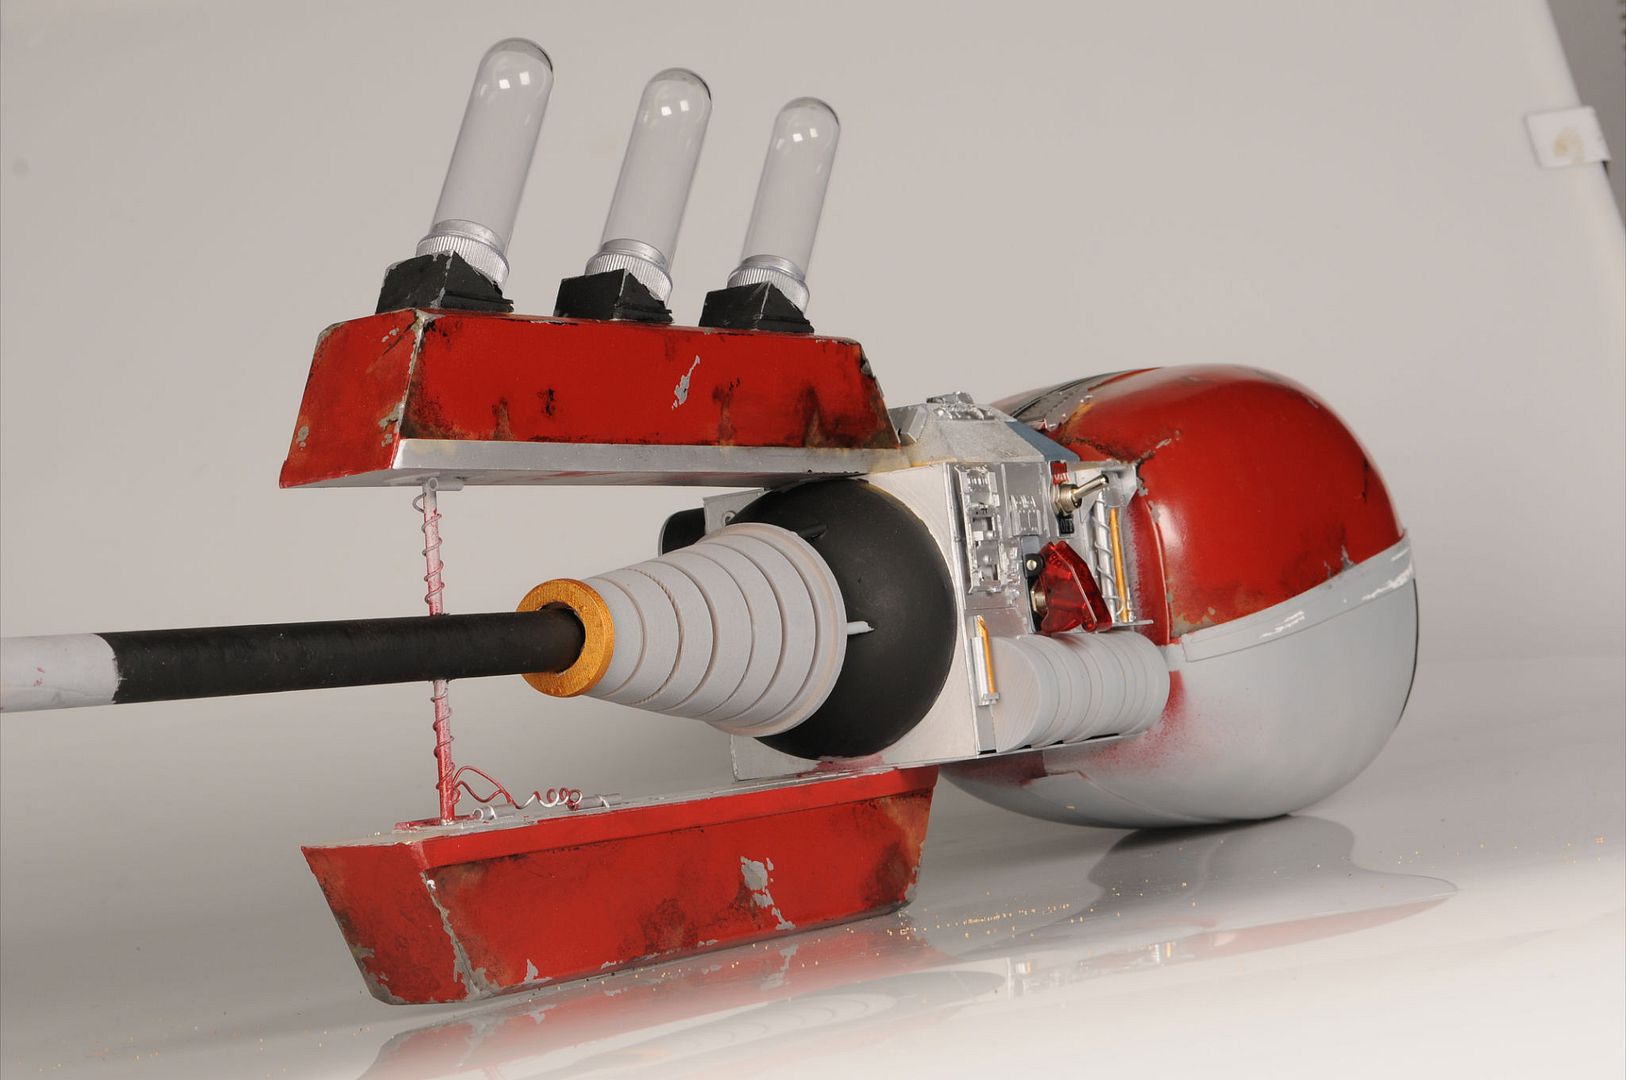
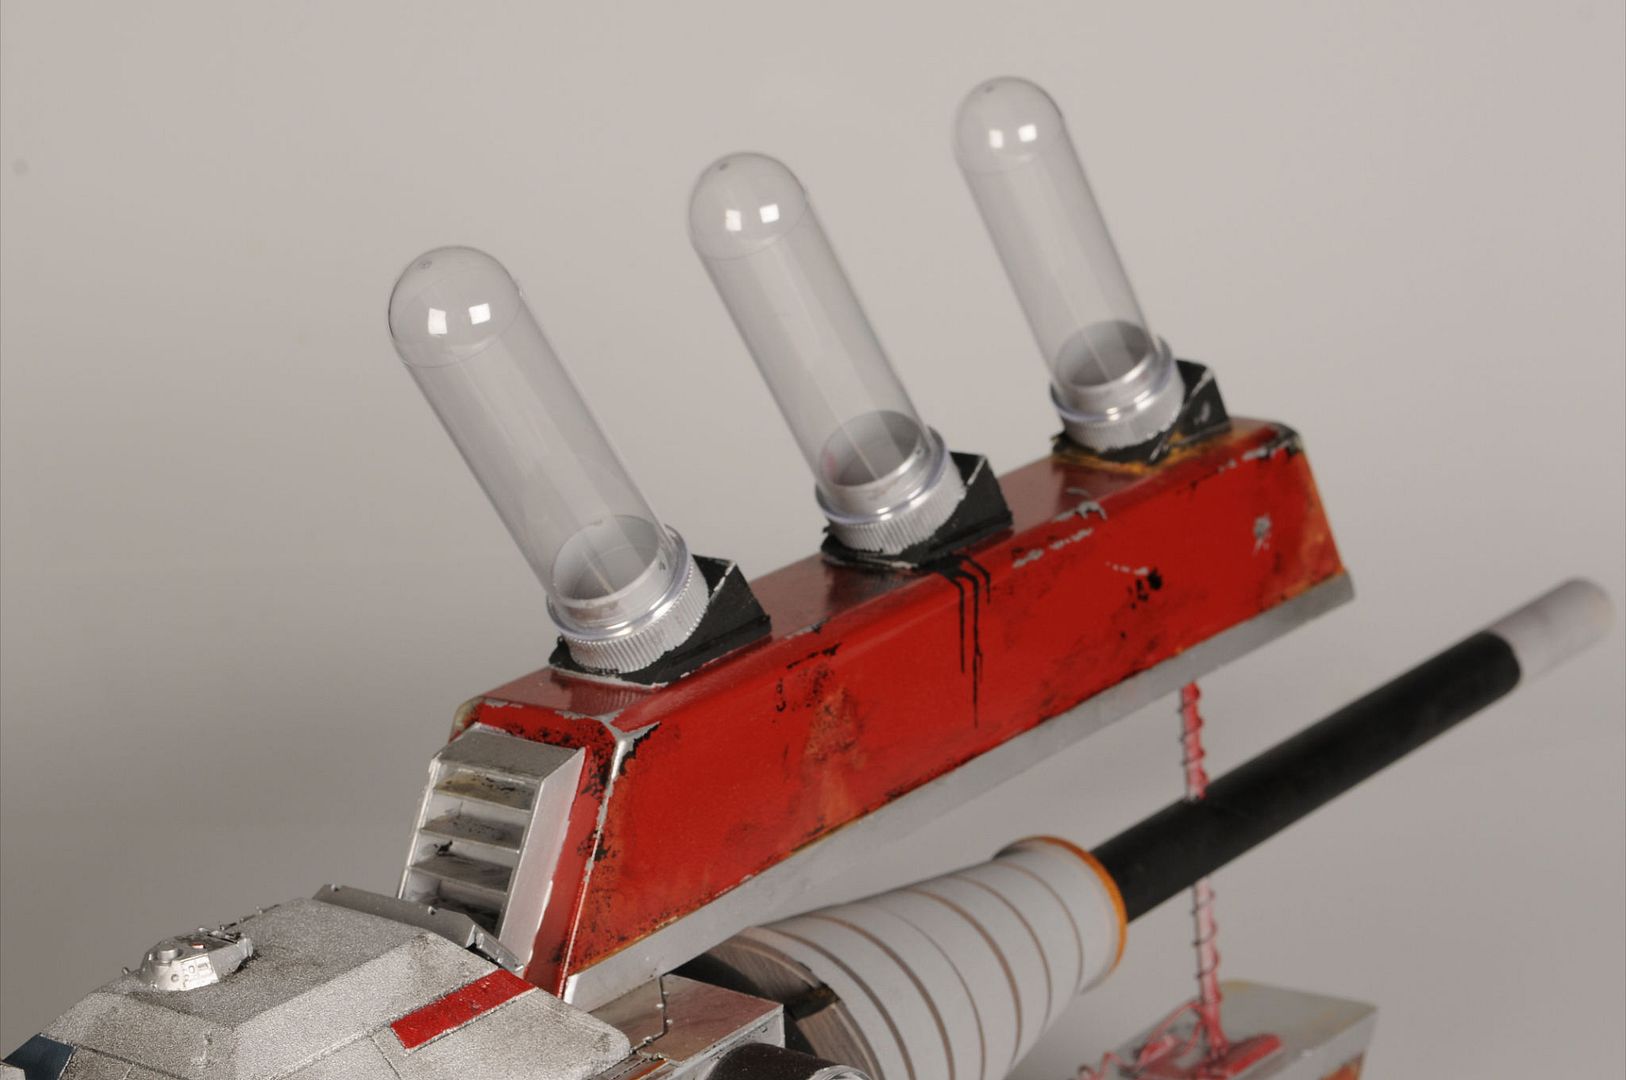
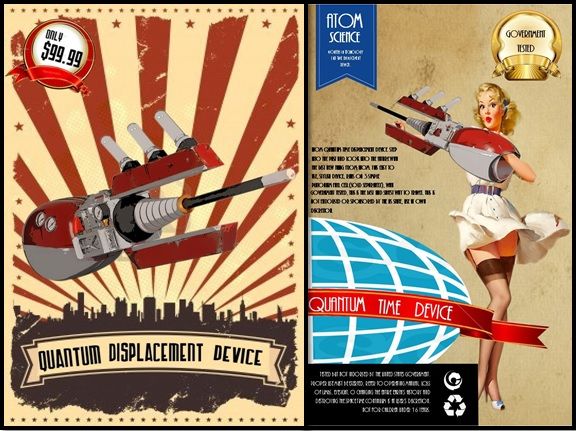
This was our big end of year project, which we were tasked to build some form of time travel device within a 6 week time frame. This had to be our own work and design. When I was given the brief, I had just finished watching District 9 a few nights before, so was set on making some form of time gun after seeing the awesome weaponry on there. In the end I went with a 60's style, Flash Gordon, Back To The Future, District 9 influenced design.
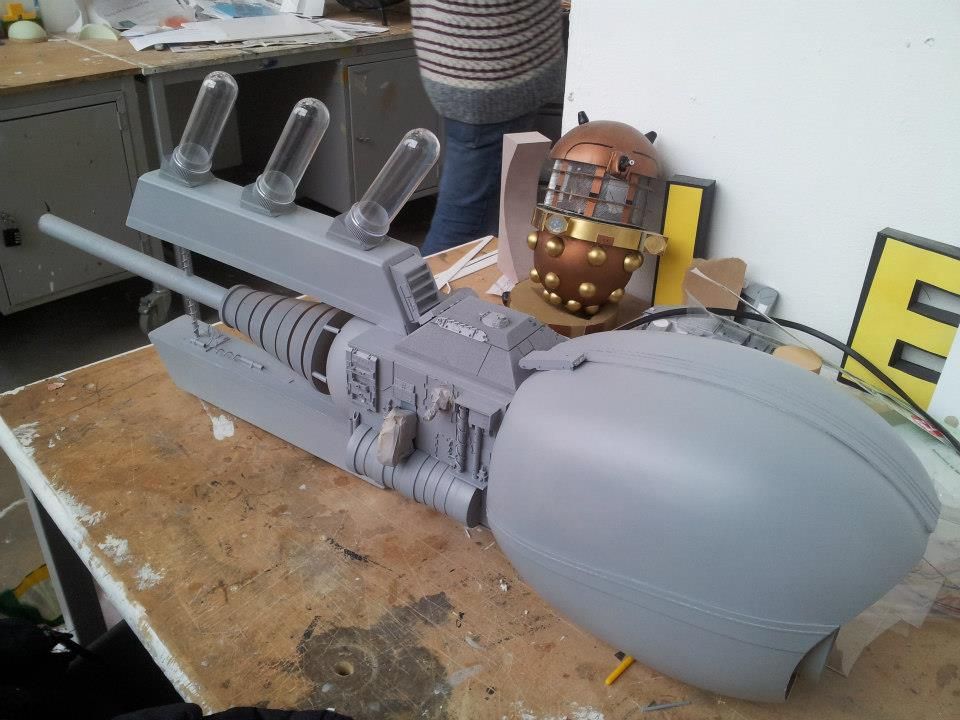
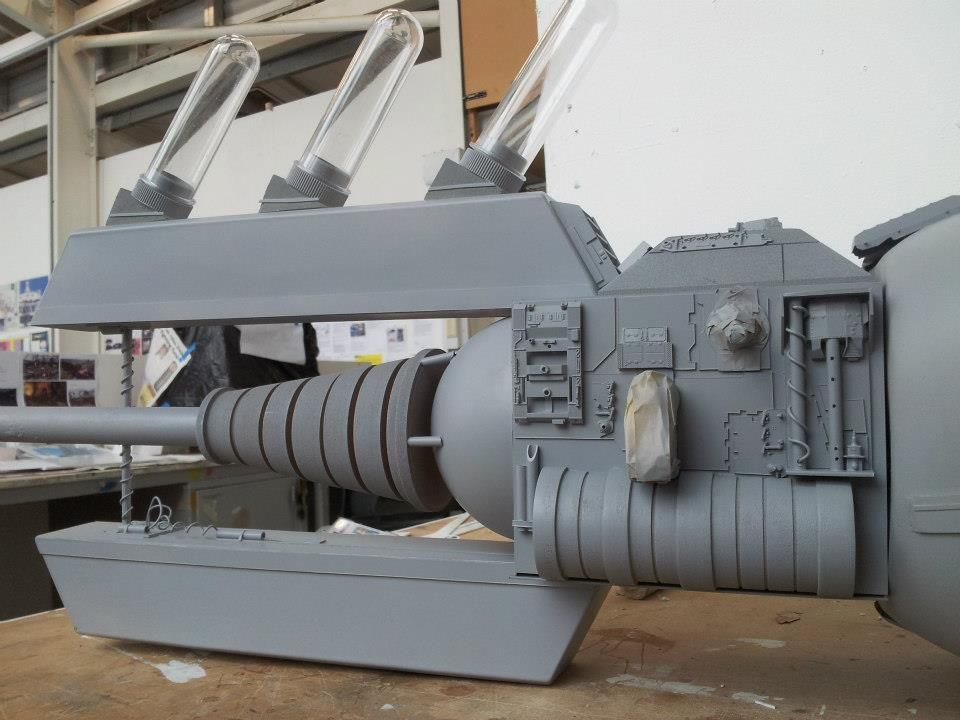
The ATOM science Quantum gun
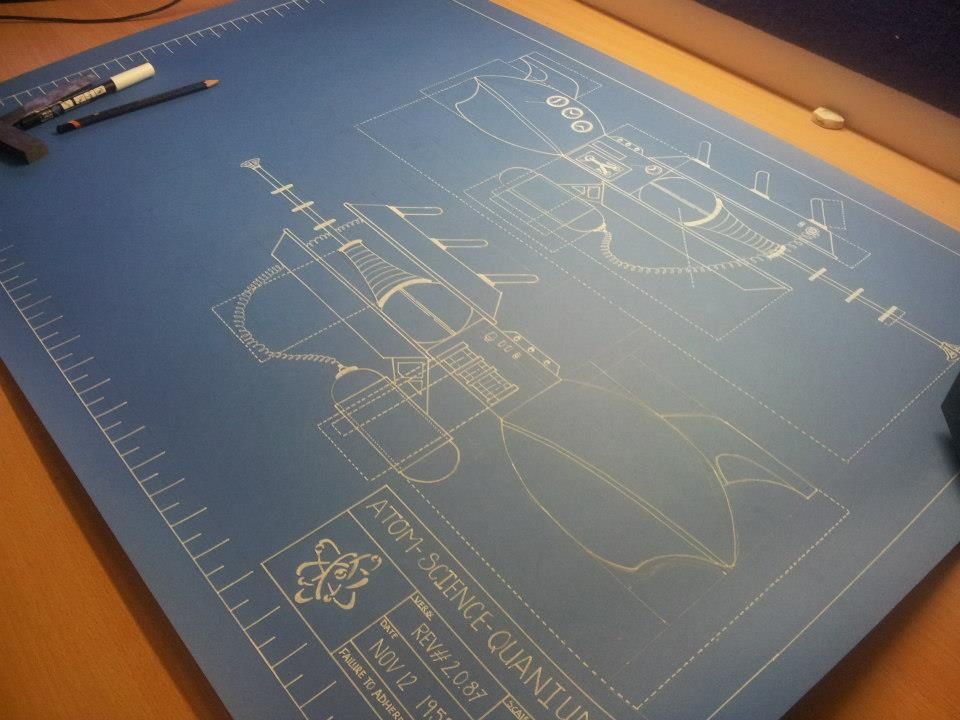
First up I hand drew some 1:2 scale blueprints to help with the build process. I used VOLPINS layout as help as ive never drawn a set before.
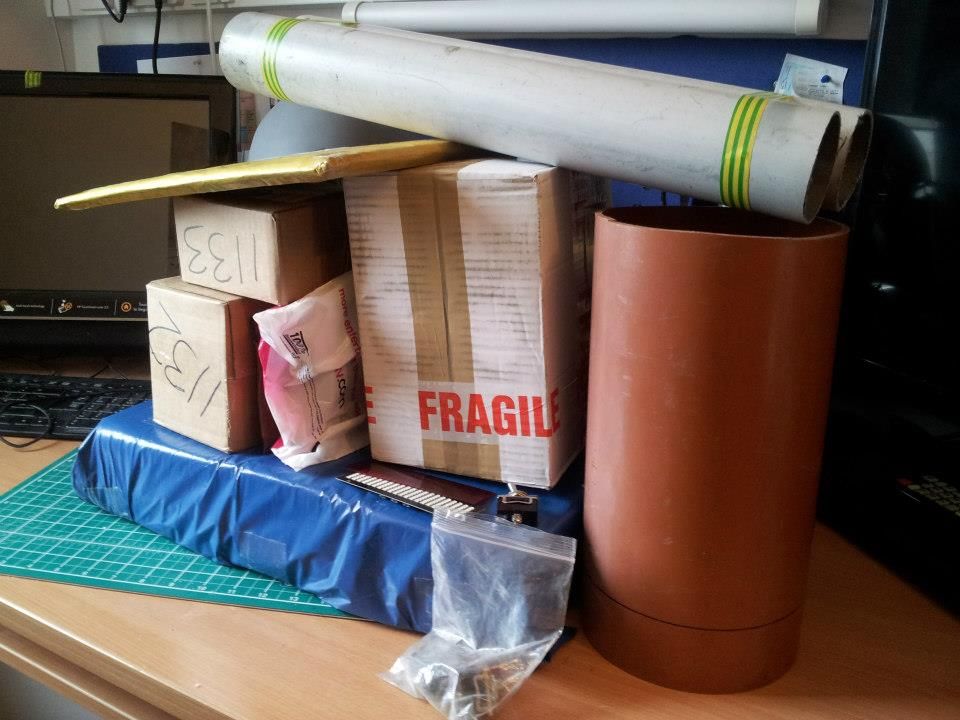
Next was one of the hardest things a student can do, dig into his student loan :cry Materials bought for the project. I gave myself a £100 budget...
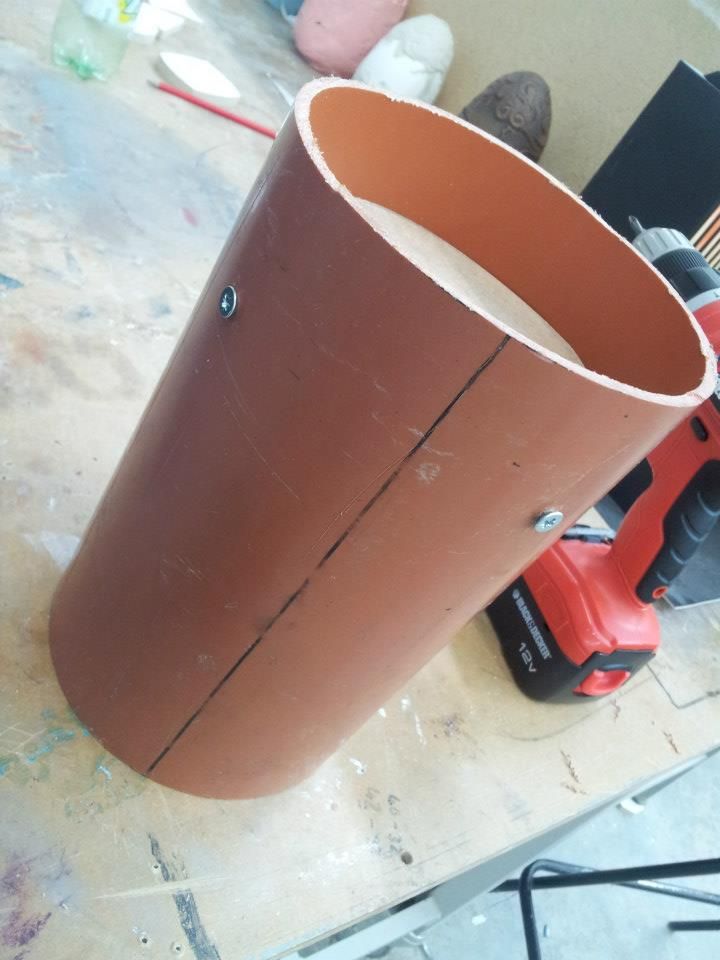
So first up I had to build the area where you put your hand, its very Portal like, in the sense that your required to put your arm into the gun. This is built with some MDF, and a 6inch ABS tube.
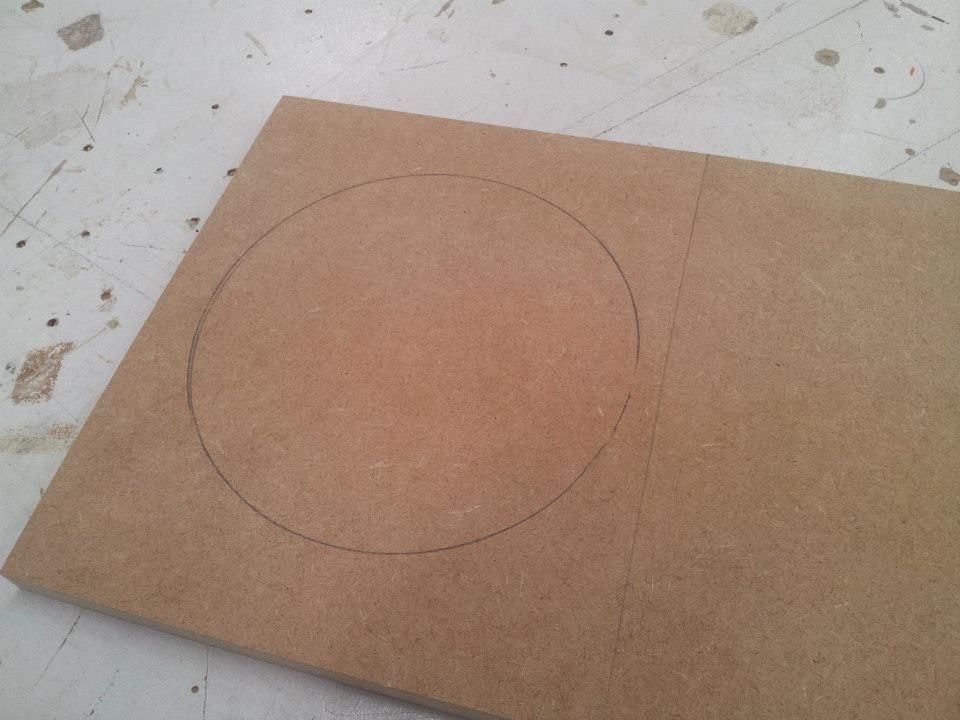
No need to counter sink the screws as I will be building a shroud to cover this whole piece. Inside is a handle to hold, no photos of it though.
Next was to actually build the shrouds to cover the pipe. First I needed to draw them out onto some Chemi wood foam. Quite difficult to do when the foam is quite pricey and it needed to exactly fit around the pipe and you have one attempt. You can see how many times I changed the size out of worry :facepalm
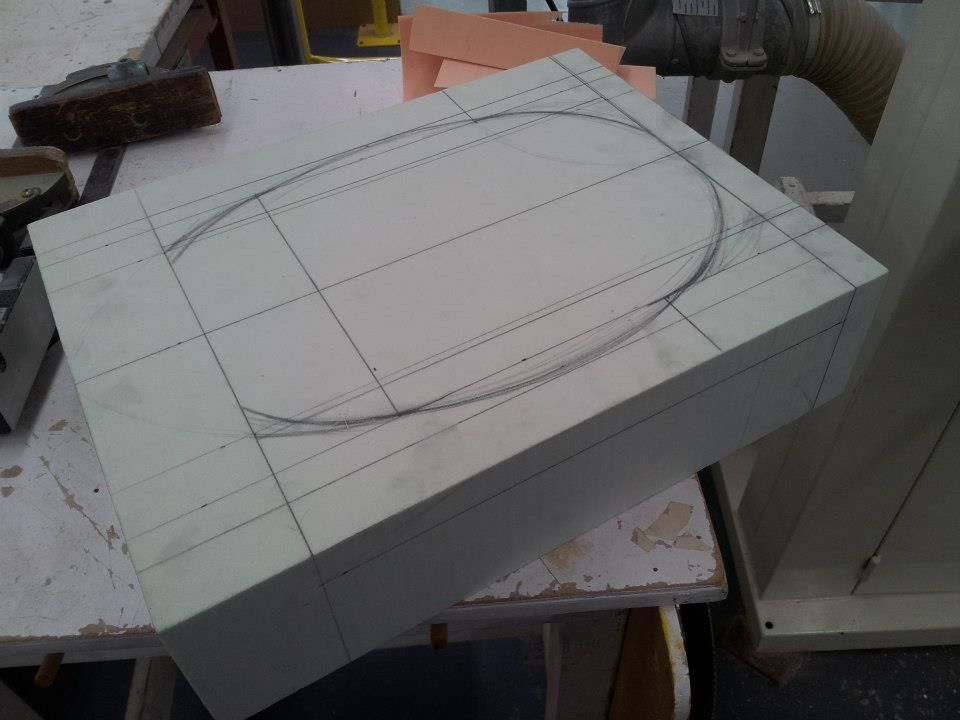
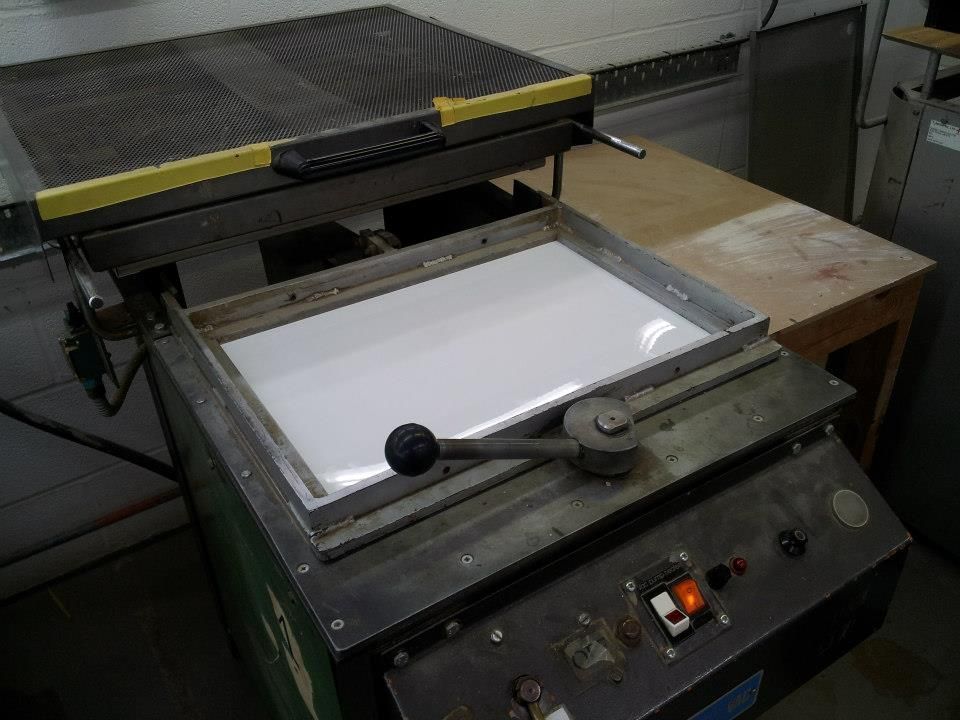
This was then cut out on the band saw, hand sanded to create the dome shape I needed, then attached to a MDF riser and placed in our oldest vac former.
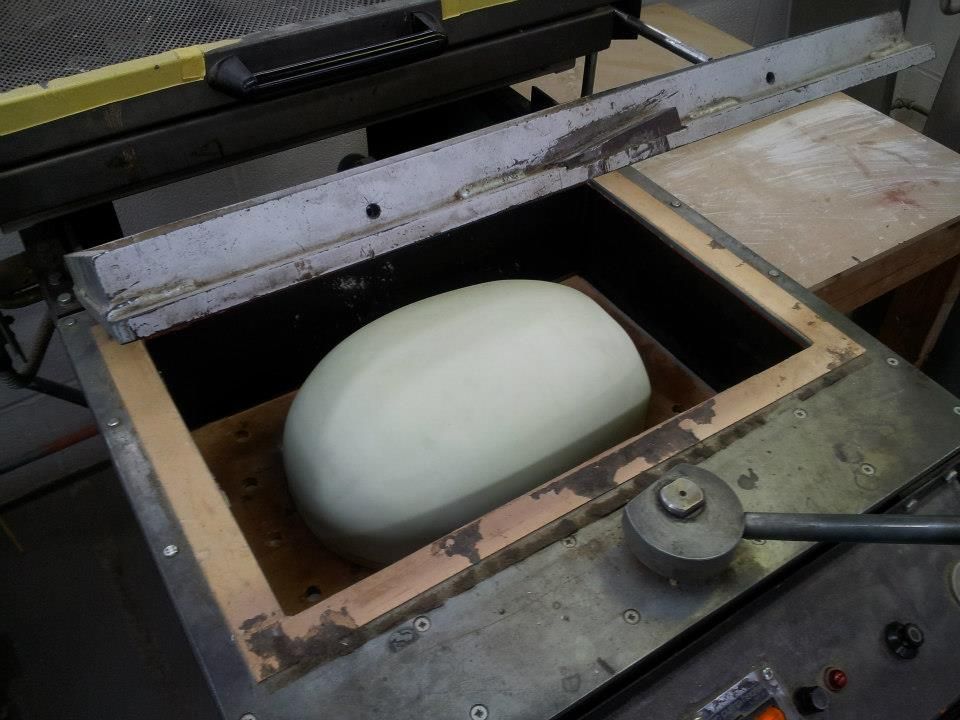
Decided to pull it in 3mm styrene as I needed it to be quite strong...forgetting it was in our oldest former which dosent have the best pump.
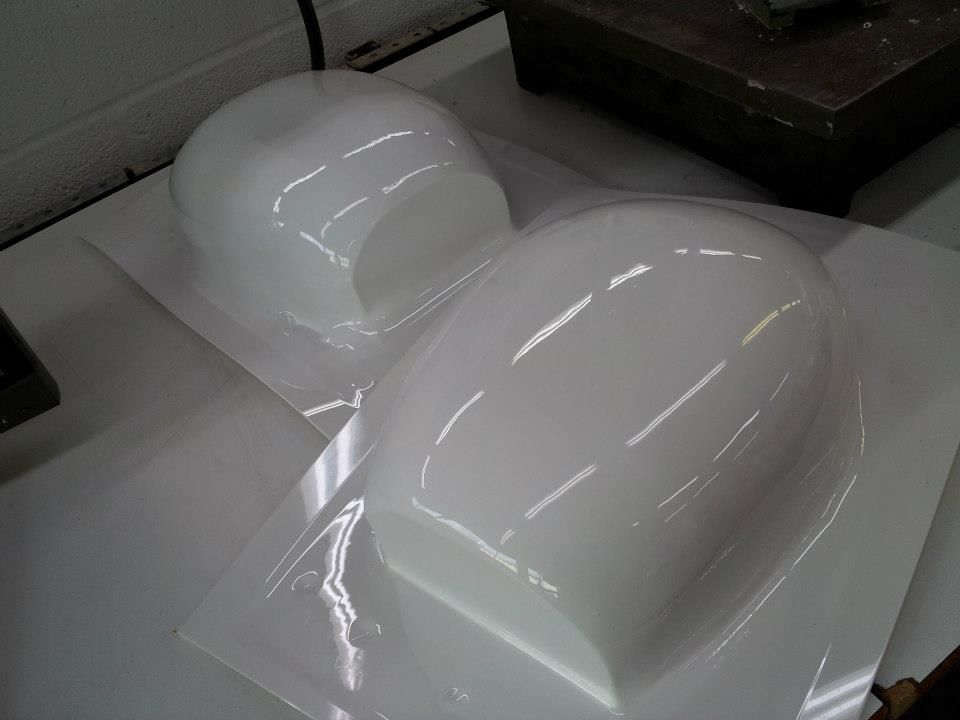
After a bit of man handling with a piece of wood (giggidy ), I managed to get two nice clean pulls out. I now have the handle of my gun ready to assemble.
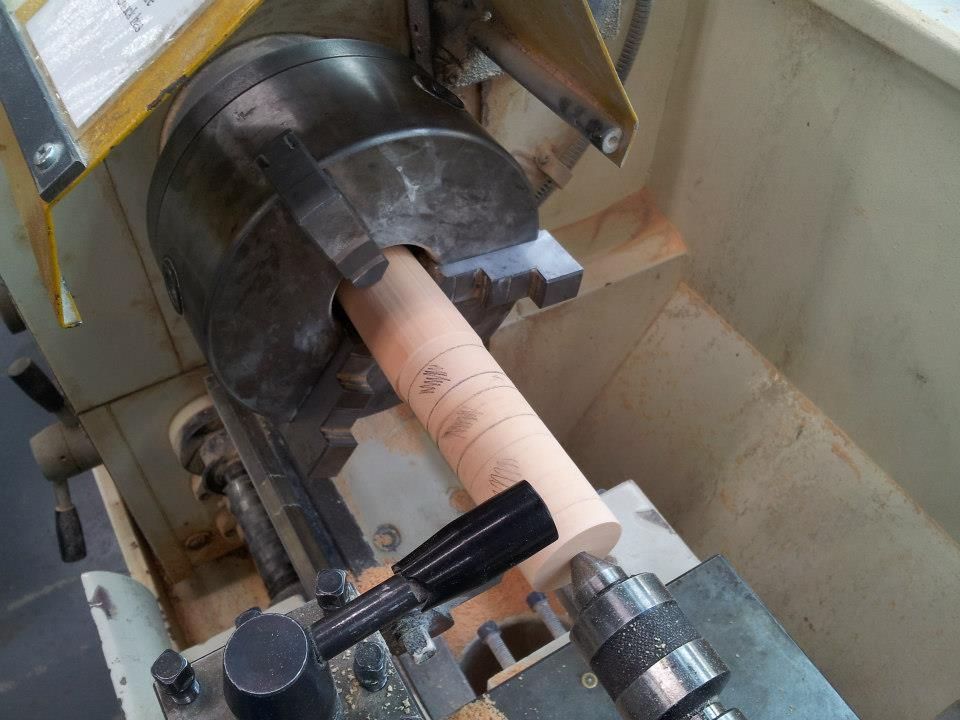
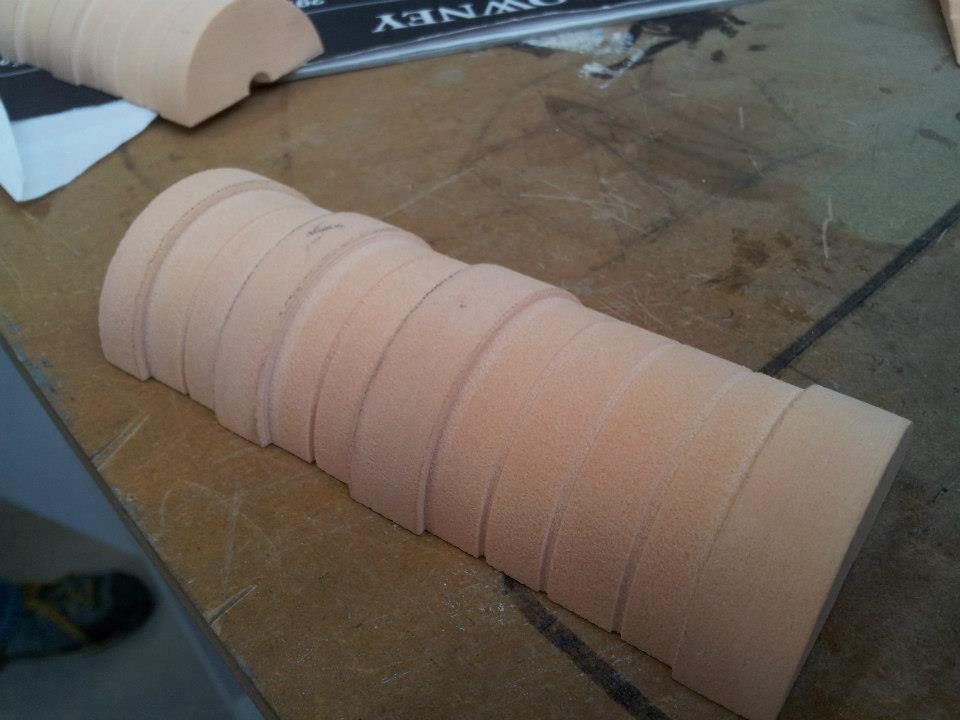
Next on the agenda was to build the time travel display thingy aswell as the barrel of the gun. Decided to quickly turn these on the lathe,
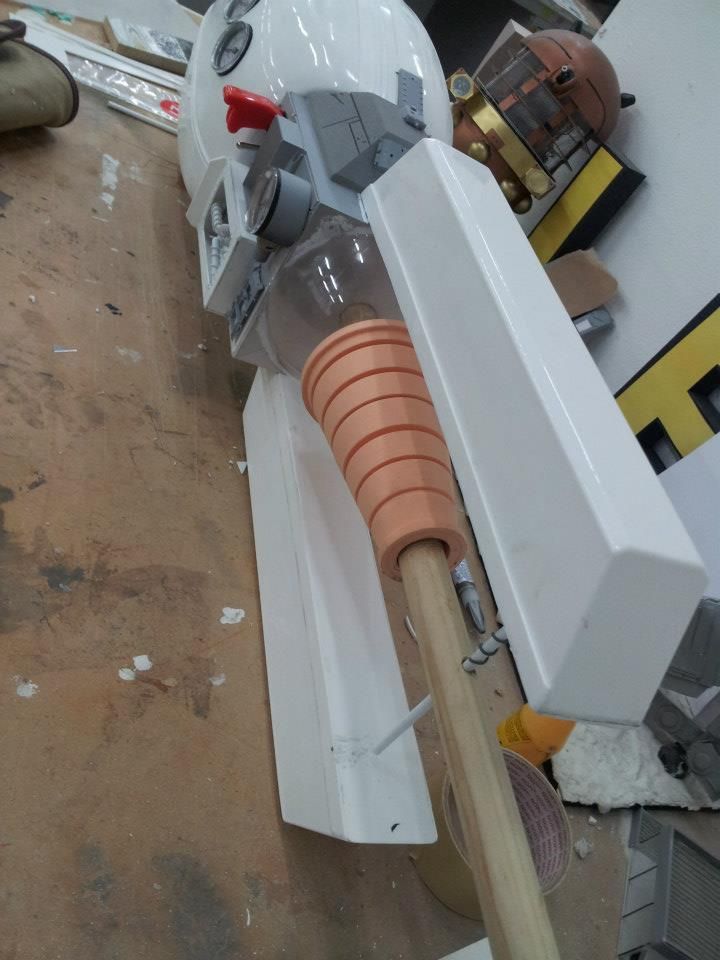
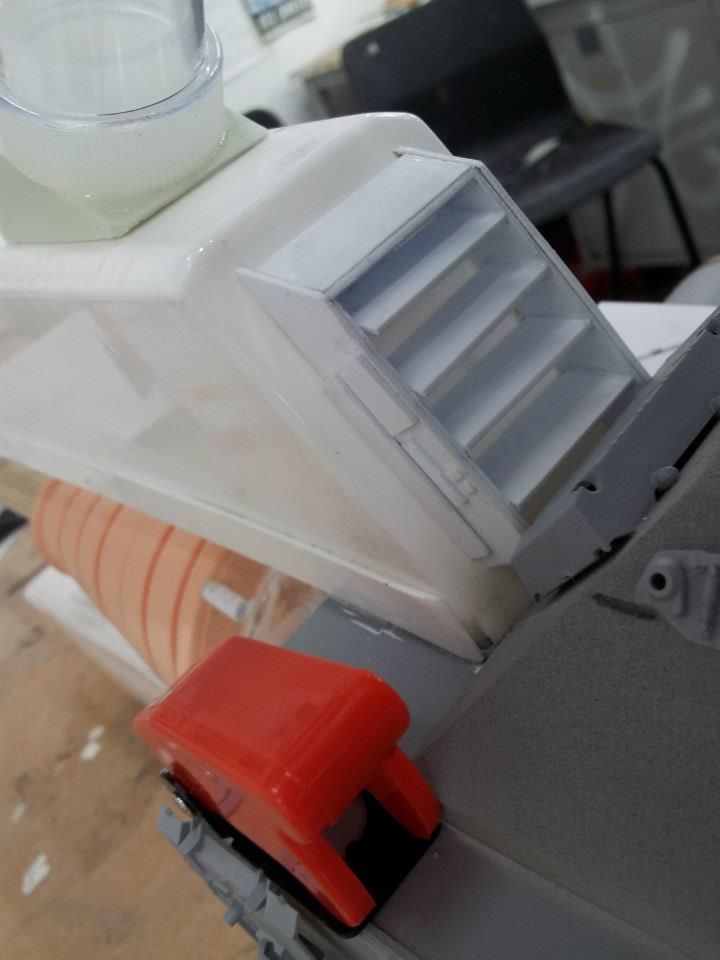
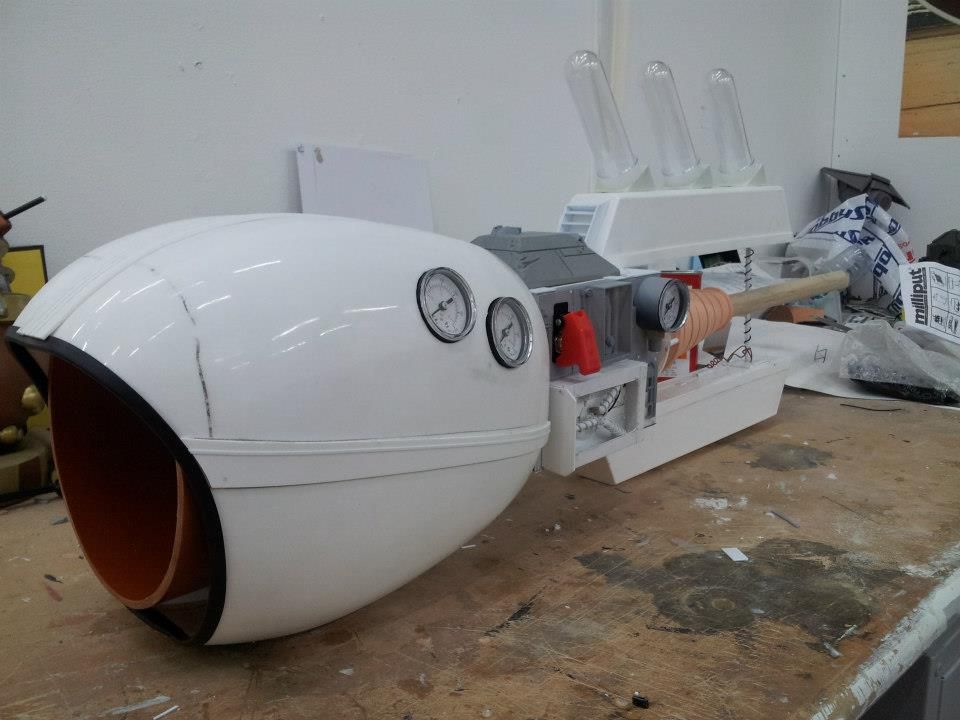
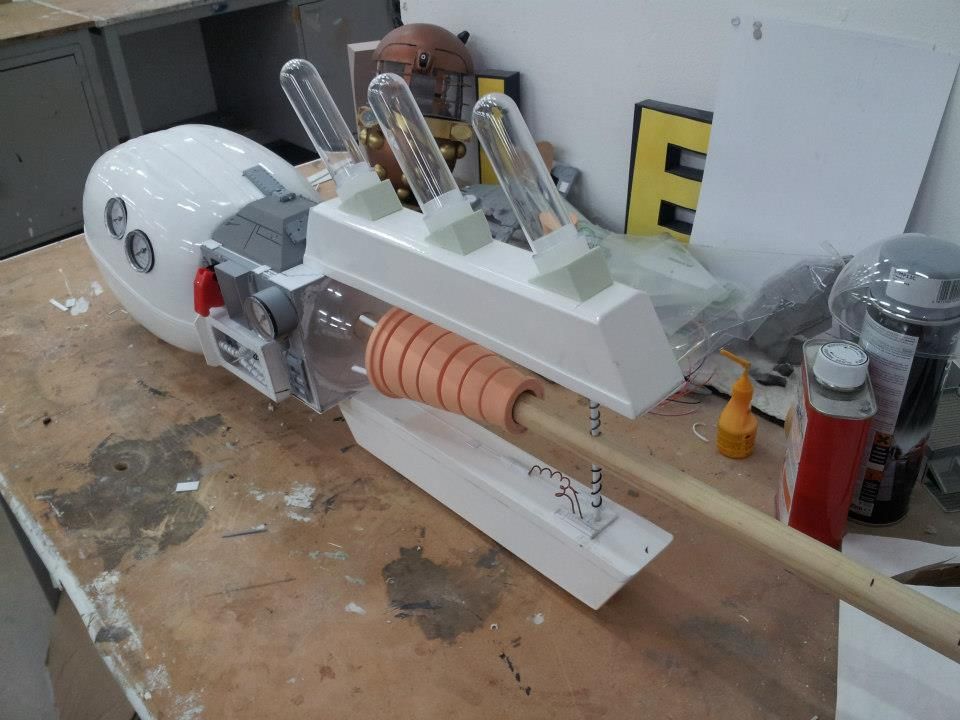
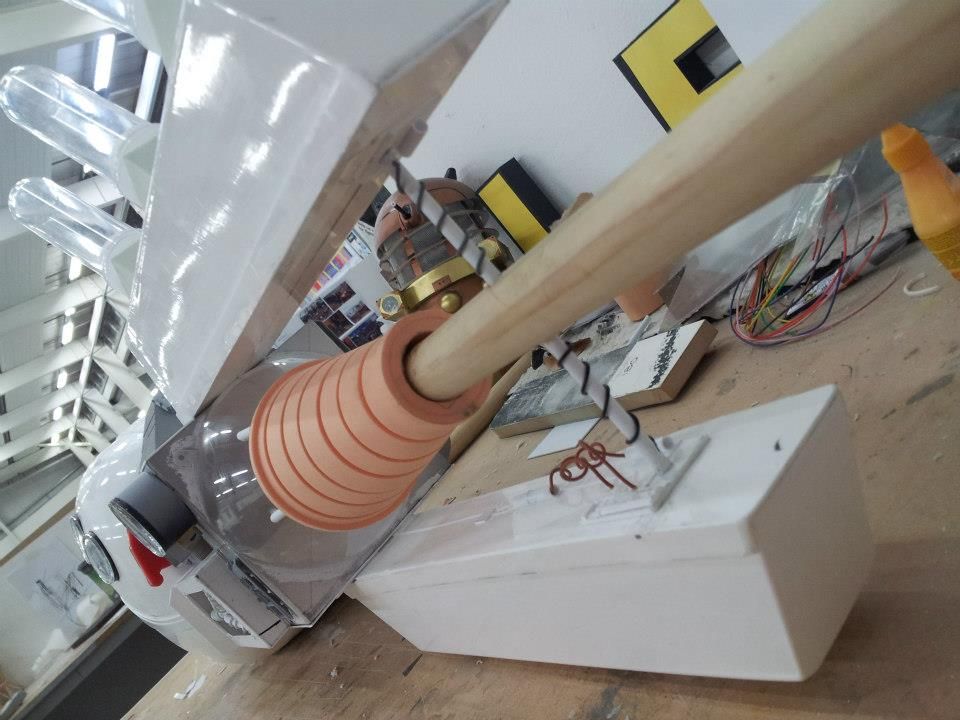
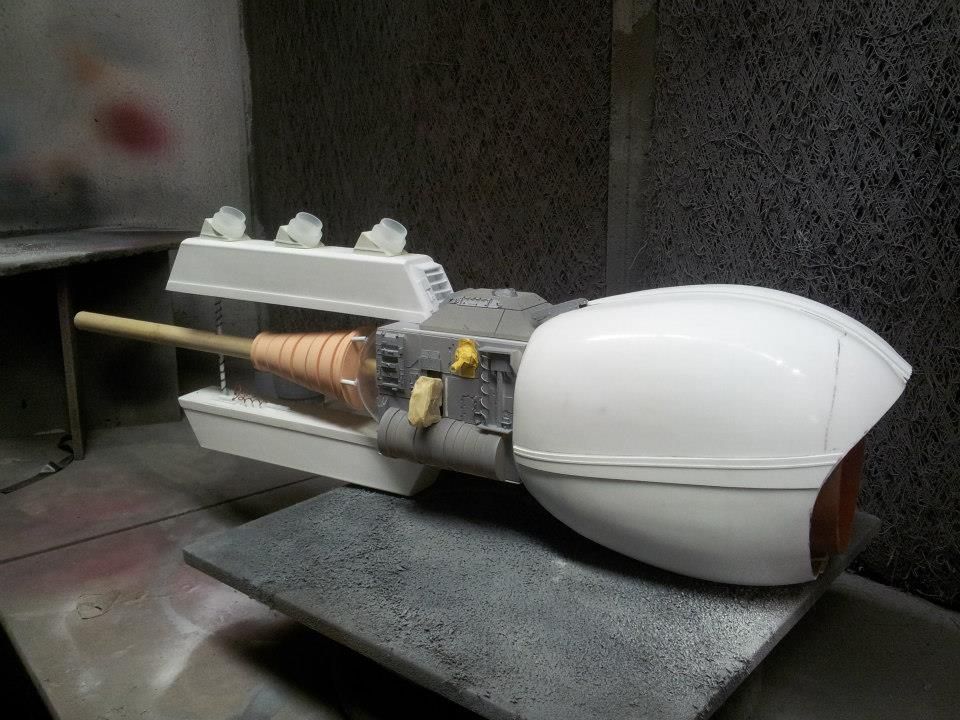
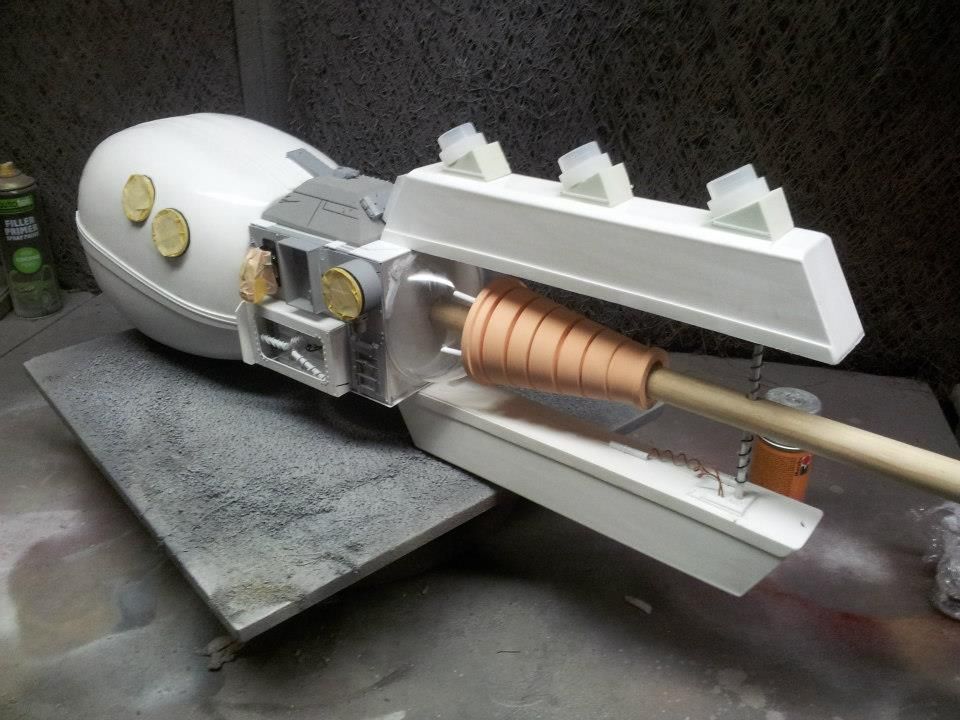
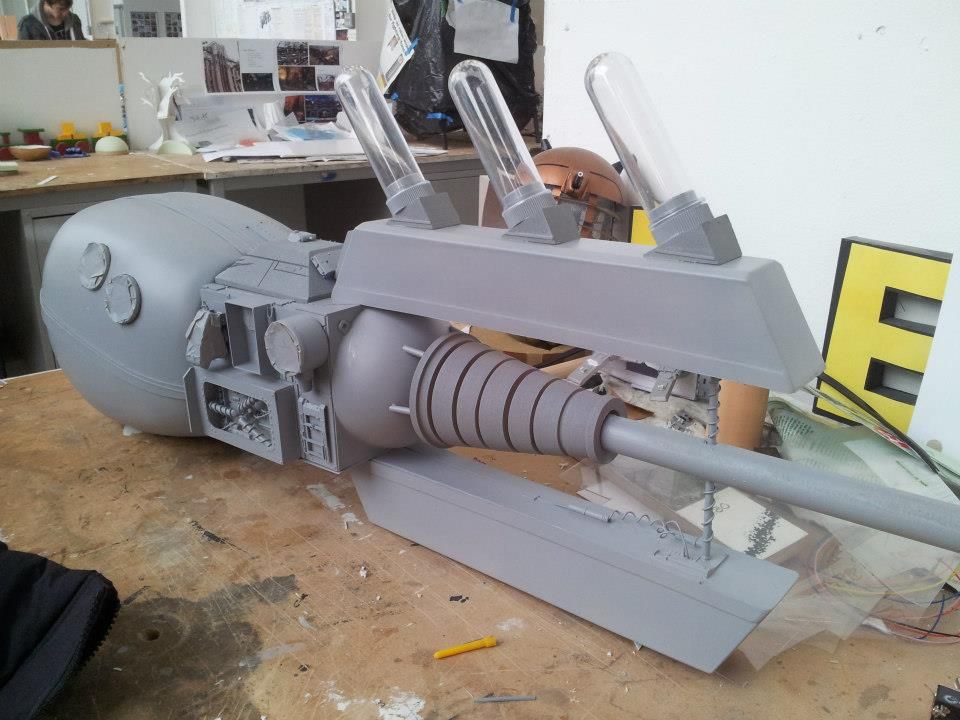
With those done I could then put the gun together some what. Without documenting I had built up the center console piece out of styrene and some bits and bobs, as well as hitting it with a bit of primer. It dosent look much at the moment but its going as I planned.
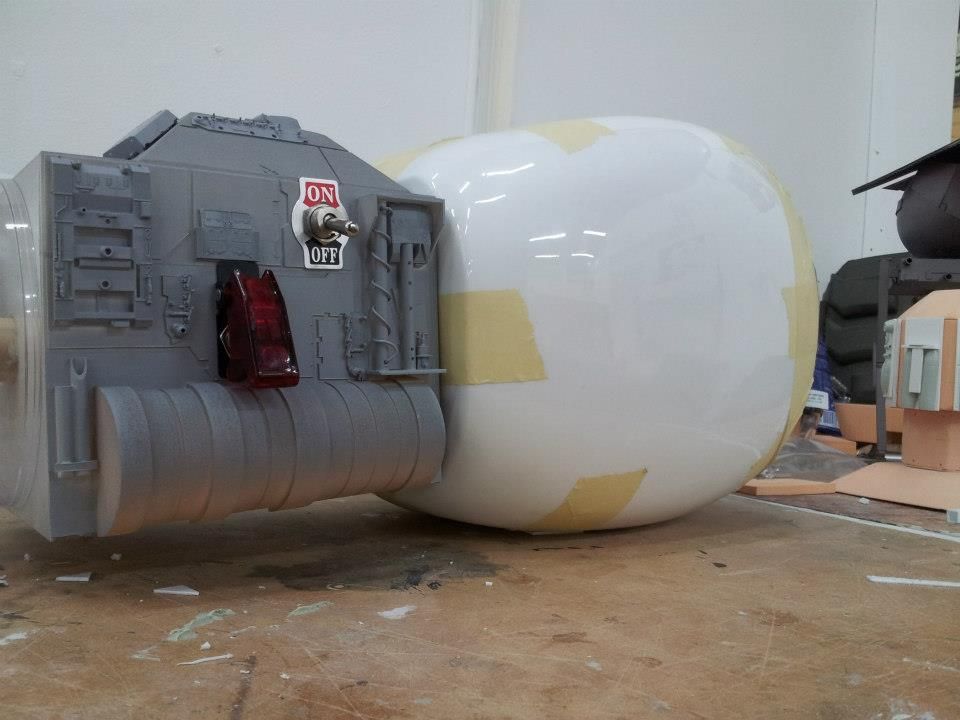
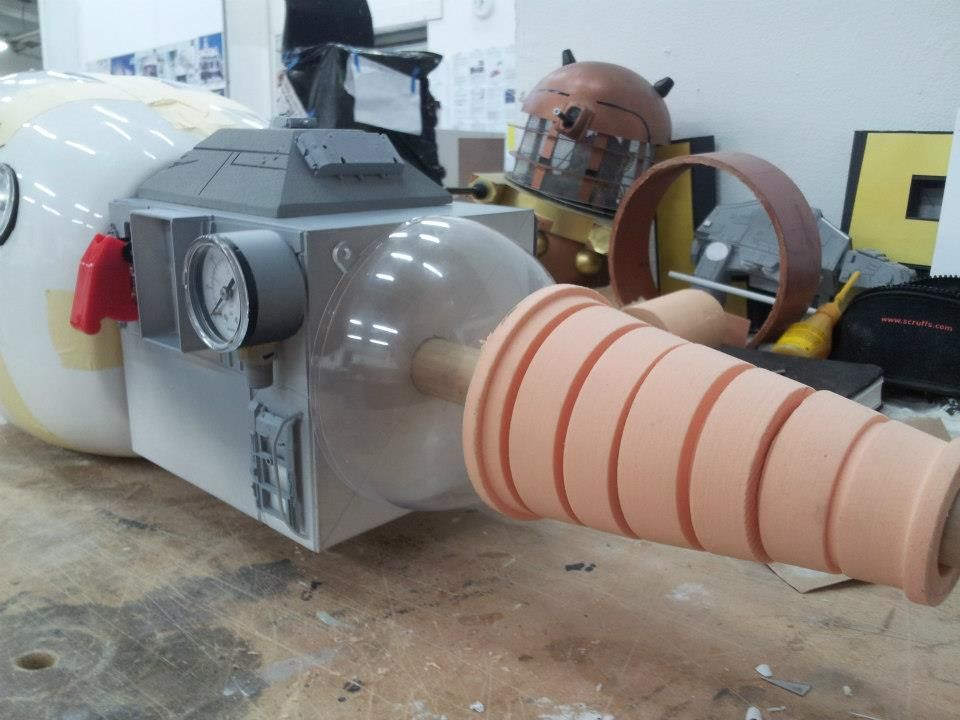
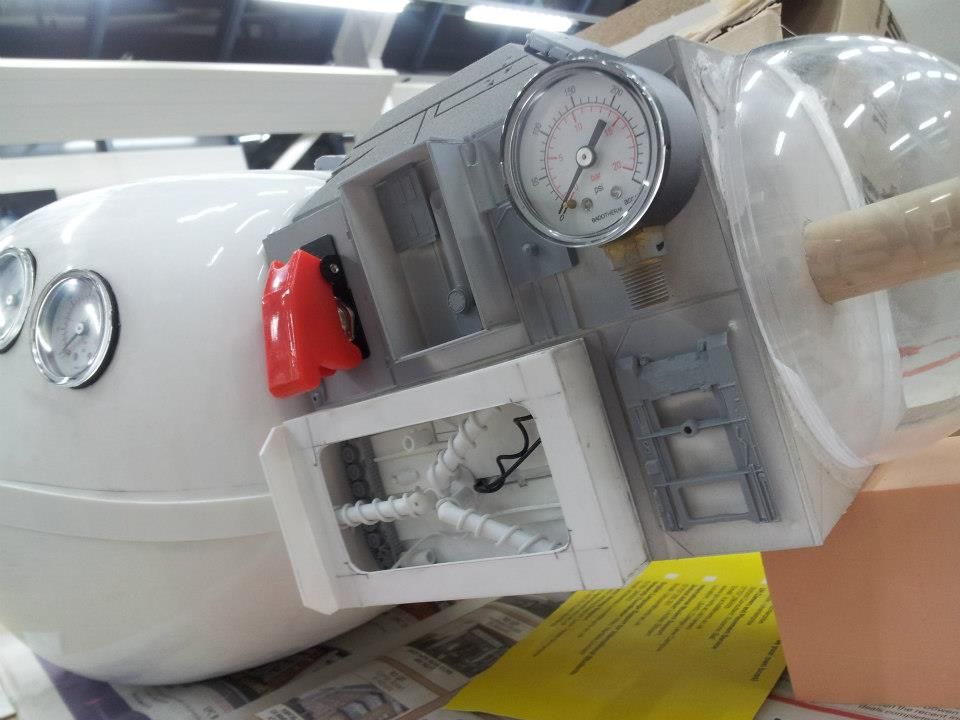
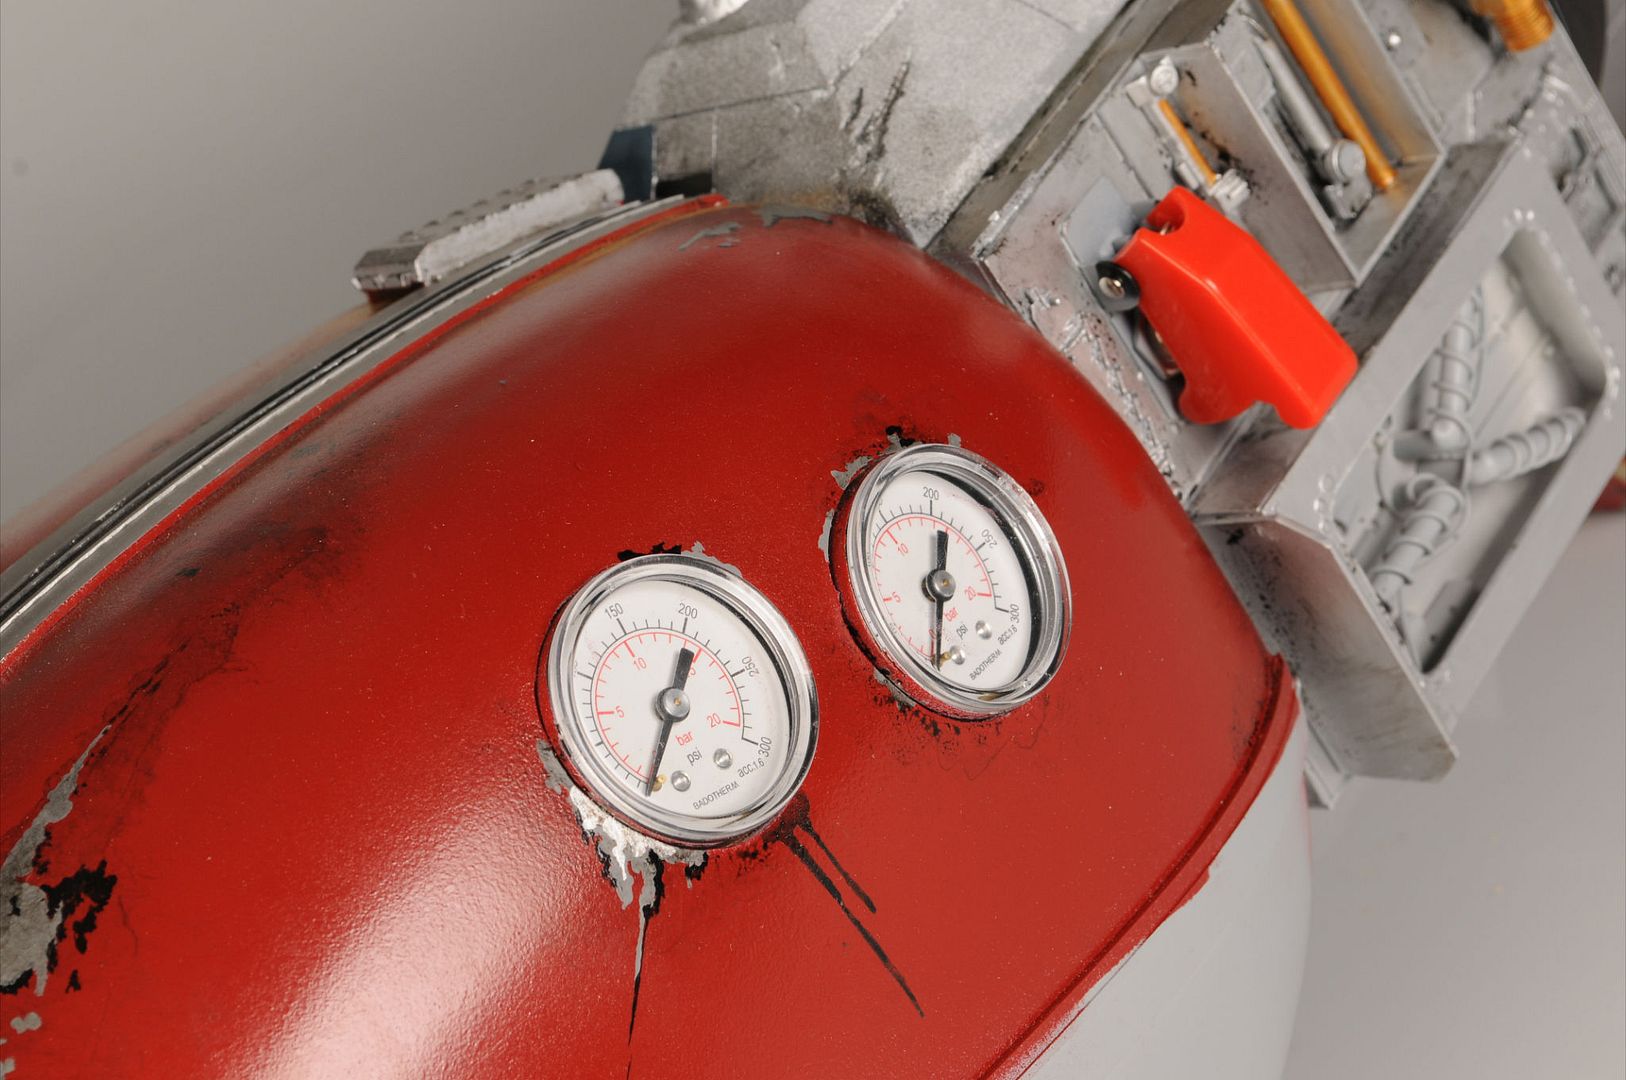
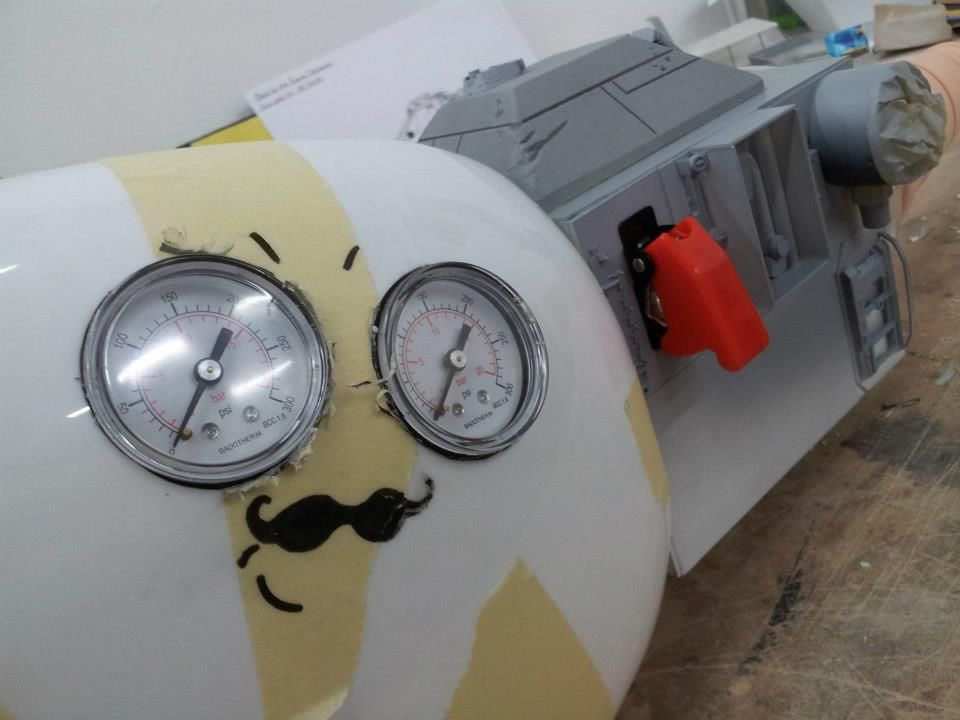
I installed some pressure gauges in the handle, my classmates thought it looked like eye so naturally it was given a mustache
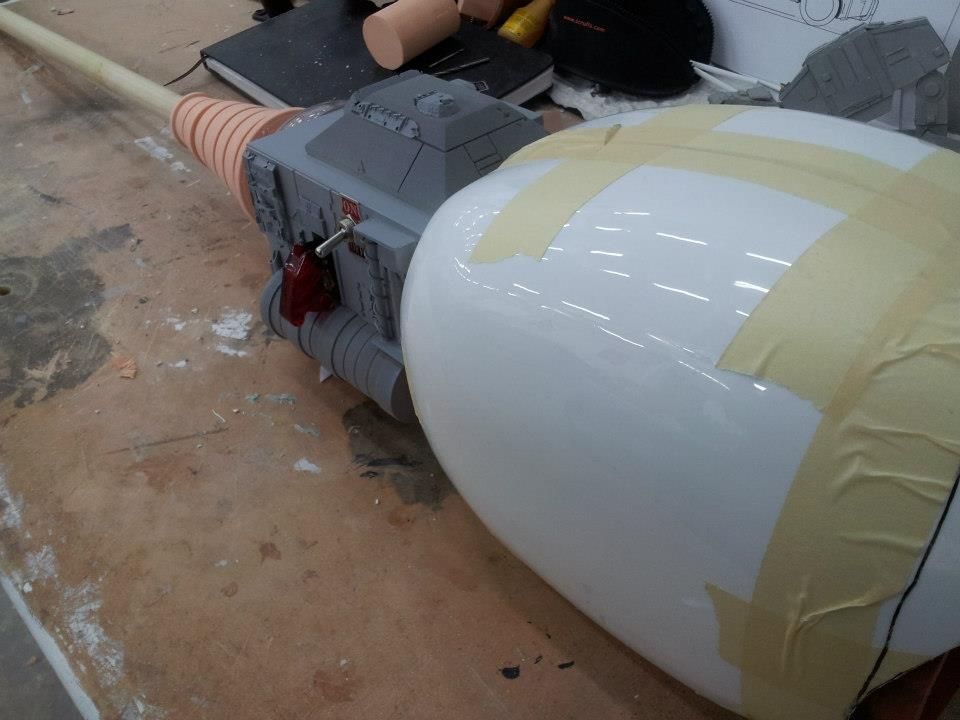
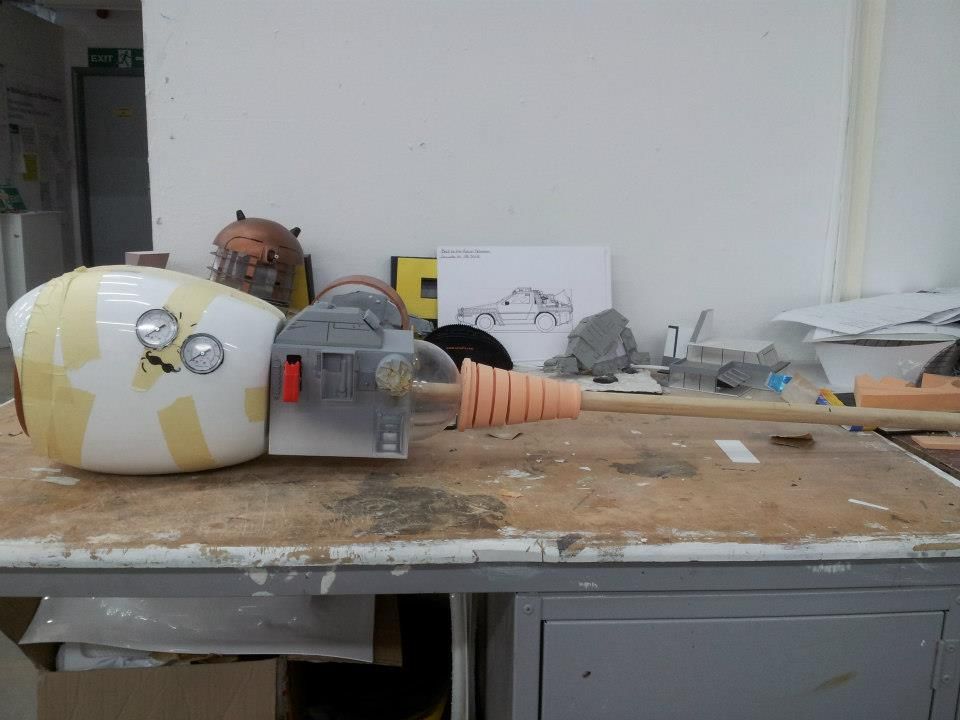
So there it is at the moment. Next up will be the flux capacitor and the two barrel sections at the front of the gun, plus loads more details and greeblies. Everything is held together with tape at the moment, once ive got it all together properly and with some primer I think it will look how im imagining it lol.
More tomorrow,
thanks,
Welsh
Havent posted on here in a while due to having to work on my final degree project, which I thought would be nice to show on here. This is what halted my progress on my naboo starfighter, which I can now pick back up again finally.
This was our big end of year project, which we were tasked to build some form of time travel device within a 6 week time frame. This had to be our own work and design. When I was given the brief, I had just finished watching District 9 a few nights before, so was set on making some form of time gun after seeing the awesome weaponry on there. In the end I went with a 60's style, Flash Gordon, Back To The Future, District 9 influenced design.
The ATOM science Quantum gun
First up I hand drew some 1:2 scale blueprints to help with the build process. I used VOLPINS layout as help as ive never drawn a set before.

Next was one of the hardest things a student can do, dig into his student loan :cry Materials bought for the project. I gave myself a £100 budget...

So first up I had to build the area where you put your hand, its very Portal like, in the sense that your required to put your arm into the gun. This is built with some MDF, and a 6inch ABS tube.

No need to counter sink the screws as I will be building a shroud to cover this whole piece. Inside is a handle to hold, no photos of it though.

Next was to actually build the shrouds to cover the pipe. First I needed to draw them out onto some Chemi wood foam. Quite difficult to do when the foam is quite pricey and it needed to exactly fit around the pipe and you have one attempt. You can see how many times I changed the size out of worry :facepalm

This was then cut out on the band saw, hand sanded to create the dome shape I needed, then attached to a MDF riser and placed in our oldest vac former.

Decided to pull it in 3mm styrene as I needed it to be quite strong...forgetting it was in our oldest former which dosent have the best pump.

After a bit of man handling with a piece of wood (giggidy

Next on the agenda was to build the time travel display thingy aswell as the barrel of the gun. Decided to quickly turn these on the lathe,


With those done I could then put the gun together some what. Without documenting I had built up the center console piece out of styrene and some bits and bobs, as well as hitting it with a bit of primer. It dosent look much at the moment but its going as I planned.


I installed some pressure gauges in the handle, my classmates thought it looked like eye so naturally it was given a mustache


So there it is at the moment. Next up will be the flux capacitor and the two barrel sections at the front of the gun, plus loads more details and greeblies. Everything is held together with tape at the moment, once ive got it all together properly and with some primer I think it will look how im imagining it lol.
More tomorrow,
thanks,
Welsh

