4' (AKA 5 foot) Falcon build

Jamesfett - knocked down in that the base white is changed when all the filters and weathering added. They did this with all the white based miniatures giving them that warmer white that is often misinterpreted as Reefer White or other off-whites.

Many BTS pics you can see the ‘pure white’ primer base, then the color shifts with the applied weathering.

Dave - one of them was New Finish- all the paints they used are long out of production. But you will see the yellow and other spray cans in many BTS photos.

I don’t want to derail this thread or get into another color debate. Just offering a little advice to try and keep folks from going down the wrong base color path.
 
There's a company called My Perfect Color in the US that do a range of Floquil colour matched paints. I've never used them, but they say they can provide paints as aerosol spray, in brush cap bottles, as paint pens, and as interior and exterior acrylic enamels. The FAQ says they can supply a Floquil colour match in any type of paint, too, including artist acrylics. A quick check of an 11oz Hedrix Fast Dry Acrylic Enamel Spray Paint puts the price at $8.88 - $19.99. There's a batch production fee of $0.00 to $29.99.

Floquil Color Paint Matches
 
Ohhh, that has changed! I sent them an email about 6 months ago and they had no plans to ship internationally because it was too much of a problem for them. Maybe they had too many complaints. Thanks for letting me know.

[edit] ahh, I see what they did. They use FedEx now to ship internationally. A $10 USD bottle now has a $77 USD minimum shipping fee.
 
A semi related post about this build. As I mentioned on this thread last month, I'm going to need a place to display this thing once it's done, so I decided to redo my basement rec room. I posted a concept rendering last month with work finished on it this week. I think I got pretty close to my concept. The large 4 foot build - shown in the render - will take the place of the smaller 2 footer seen in the real photos.

The concept render...
1708215142747.png


The real thing...
1708215155824.png

1708215171069.png


Anyway, now I have a place to put this once the large subsections start going together.
 
Dave,

LOVE the basement rec room shots, especially all those (1/48?) airplanes lined up on the shelves -- I grew up in my early childhood next to the airport in St. Maarten so while it was the movie Star Wars that made me into a model builder as a kid, it was airplanes I've always loved building most of my life. Is the big F-14 on the right side a 1/32 model? She's a beauty too!

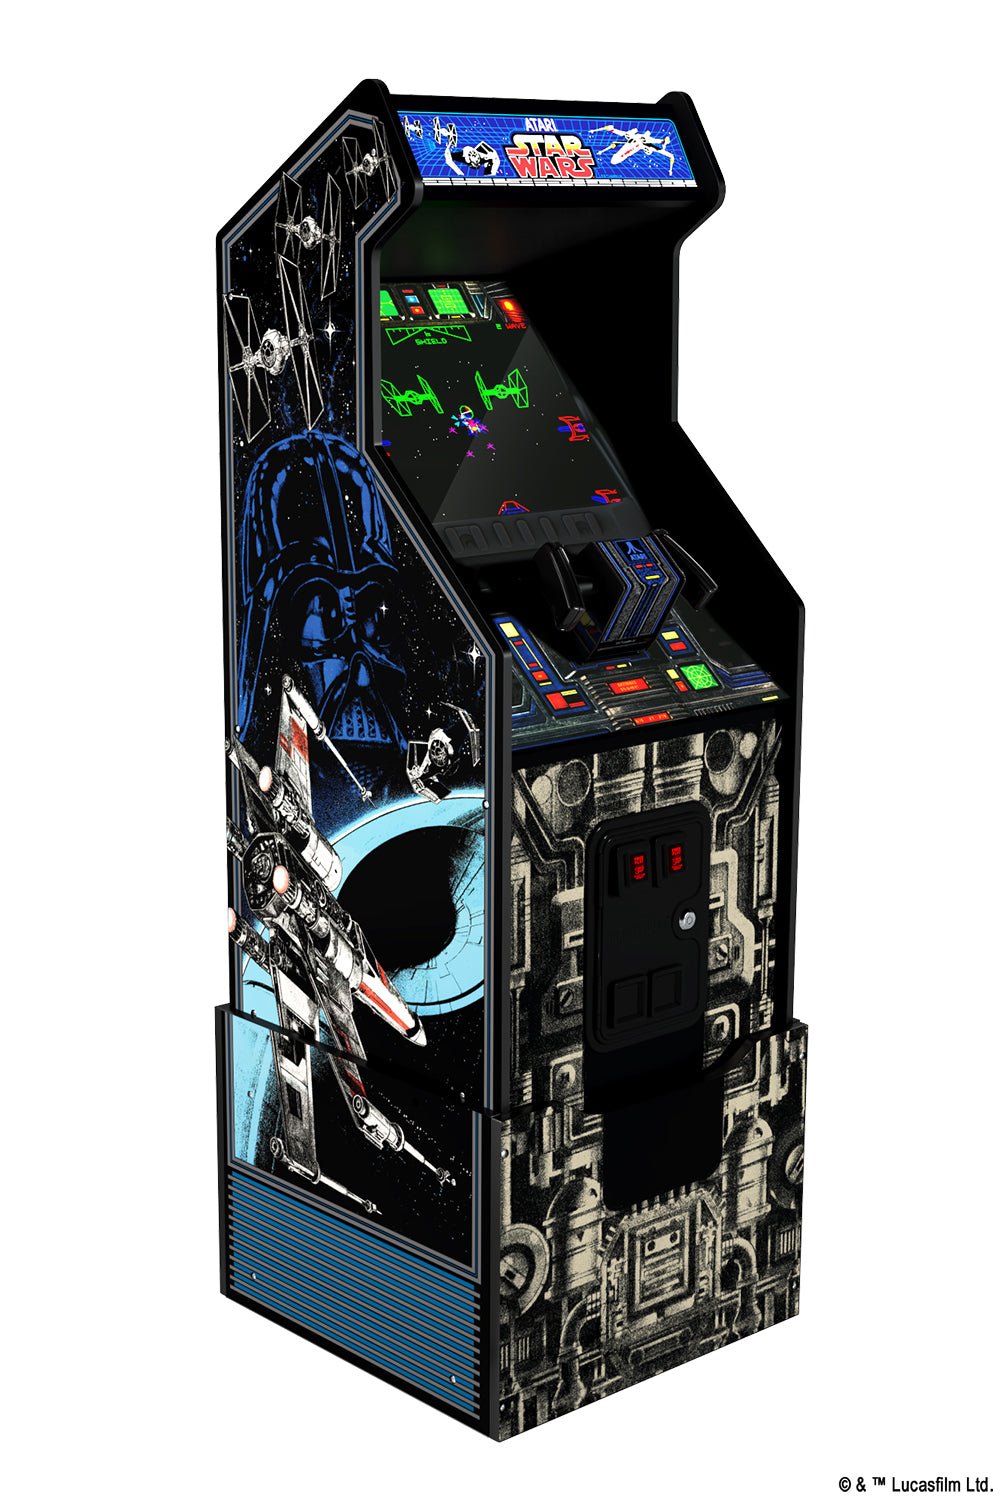
And then, finally, I have to ask: WHERE did you get the Atari Star Wars parlor video game? THAT game was my entire middle school after-school project, and after one semester of playing it 5x per week, I actually "beat the game" in the sense that for the cost of one quarter, I could spend 3:15pm to 5:15pm attacking the Death Star and just keep going up in my high score because after a certain level (I forget which one), the game never got harder, so I had the all-time highest score on that machine in the Oglethorpe Mall in Savannah, GA for several years. Good times! And I haven't seen that game in decades, so what a rush of nostalgia to see one in your basement. Would love to play it and see if my 55-year old brain still has the "muscle memory" of my 13-year old self...
 
Hi.

Top shelf to the left is all 1:48 cold war era jets. Middle shelf on the left, and top on the right, are all 1:32 scale - my preferred scale for modelling. Bottom shelf is 1:72 scale for when I can't get kits of those subjects in larger scales.

The arcade machine is a modern reproduction. The real thing, if you can find one, goes for about $7500 and is only one game. The reproduction is about $800 and comes with all three Star Wars games, although I leave it running on the vector graphic original. Looks like the one they sell now is a bit different in that the new ones come with a fake coin door. Mine just has stickers. If you get one, make sure it has the riser to bring it to full height. A lot of places sell just the base cabinet without the riser (at the same price).

 
Does anyone know if the Sherman tank in this set;

1708732225320.jpeg


is the same tooling as the Aurora 1:48 Sherman (Part Map ID#42). Atlantis has a lot of the old Aurora tooling, but Aurora had a couple of different Sherman kits. It's sort of looks correct, but I haven't found any sprue shots or even instructions for it.

thanks
 
There are photos of the sprues in this review of the set which might provide an answer.

Aurora’s tank models were nicely done. The Sherman was first tooled in 1968 (yes, it’s been over 50 years!) and for the time, this kit was reasonably accurate and well-detailed. It hasn’t been available for a long time and Atlantis brings it back as the “Land” part of this great set! The Sherman is the first of two kits not available separately from Atlantis.

Edit: The instruction sheet looks like the same graphics as the Aurora kit, but the graphics have been rearranged to fit a new layout.
 
Last edited:
Great. Thank you. I ordered one because I found it reasonably cheap and the 'real' kits are expensive and hard to find. So even if this isn't the correct tooling, I'm not out all that much. But after looking at the links you sent, it sure looks to me like the same tooling.

[edit] and hey the RCN flew the HUP-3 so I can probably put the helicopter part of the kit to good use in either event.
 
One of the big problems with 3D printing, is that they can fail in the middle of the night for no real reason. After 3 perfectly normal days of printing, I woke up to find this this morning. Somehow, the print head started to hit the part and caused the print bed to skip. And it clearly happened multiple times. I'm not sure why it would fail after working perfectly well for 3 days but there's a spool of filament down the tubes. Monetarily it's no big deal, a spool is only $25, it's the 3 days wasted that bothers me.

These were supposed to be two pair of outer waistband sections. The build will have 4 sections, each section a pair of parts. It's a poor use of the big print bed, but maybe I'll just stick to one section at a time. That way if there's a failure, it's less time wasted.

1708868300548.png
 
Oh, I've wasted far more than 25 bucks on this project. And I don't mean on just filament for failed prints - of which there have been more than one.
 
I've started the process of making rubber molds of the Sealab kit. The resultant casts are not 100% perfect, but given that these all get cut up, or they're covered with other parts, I think they'll work just fine. The little torus at the top of the part didn't cast properly, but that's okay these particular castings will be used in areas where that bit was cut off.

These parts could easily be 3D modeled and printed, but given the lack of 3D Printers in 1976, casting parts to duplicate them, where practical, seems more 'correct' to me.

1708961630880.png
 
I've started the process of making rubber molds of the Sealab kit. The resultant casts are not 100% perfect, but given that these all get cut up, or they're covered with other parts, I think they'll work just fine. The little torus at the top of the part didn't cast properly, but that's okay these particular castings will be used in areas where that bit was cut off.

These parts could easily be 3D modeled and printed, but given the lack of 3D Printers in 1976, casting parts to duplicate them, where practical, seems more 'correct' to me.

View attachment 1793783
What are you using? Alumilite resin?
 
Back
Top