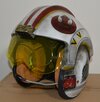
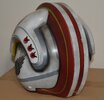
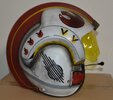
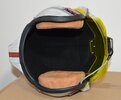
This listing is for a wearable replica of the helmet worn by Luke Skywalker in the original Star Wars trilogy. This is an officially-licensed replica from Denuo Novo (who took over the high-end Star Wars license after Anovos went bankrupt).
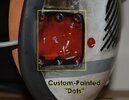
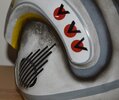
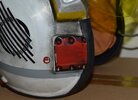
In addition, I've personally improved this helmet. For some reason, the company decided to color the red "cheek blocks" with red decals rather than paint. The problem is that those blocks each have six circular indentations, which happen to be right where your fingers go when you put the helmet on. The decals would lie flat across the gaps, not sink into them. And so if your fingers press those indentations, they will pop holes right through the decals and leave glaring white dots underneath. I was aware of this problem after hearing several buyers complain about it. So when I bought this, I used a scalpel to carefully remove the decals from those 12 spots. Then, I used a matching red paint to paint them in, and then weathered them. They now look much better than before. And more importantly, you don't have to worry about avoiding them when you're holding the helmet.
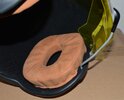
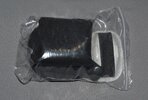
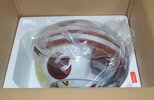
This item is brand new, with all of the accessories and original packaging. The helmet is fully lined, and it includes the earpieces, chinstrap, and additional padding for size adjustment. When it arrived, I took it out of the box to make sure everything was included and intact, and to make the aforementioned paint improvements. It's been stored in the original box since then. Denuo Novo charges $500 + tax/postage for this item, so this is a great way to get the item at a steep discount.
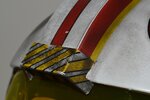
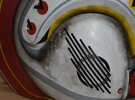
The winner will receive the exact item in the photos, so please refer to those for a closer look. US Shipping is $19. International Shipping is $65. Thank you for viewing this listing!


