Elvira from Moebius Models (PIC HEAVY)

GeneralFROSTY

Master Member
RPF PREMIUM MEMBER
I am going to upload all my progress photos over the course of a number of posts (I just completed this kit recently) and didn't want to overload one post with dozens of big photos.

Firstly, I would like to say this is my "first" official "figure" model kit.
While I had done some figure models rather poorly when I was a youngster in middle school over, now that I'm an adult with many more years of practice working in the prop and model hobby, I thought I'd give figure modeling another go.

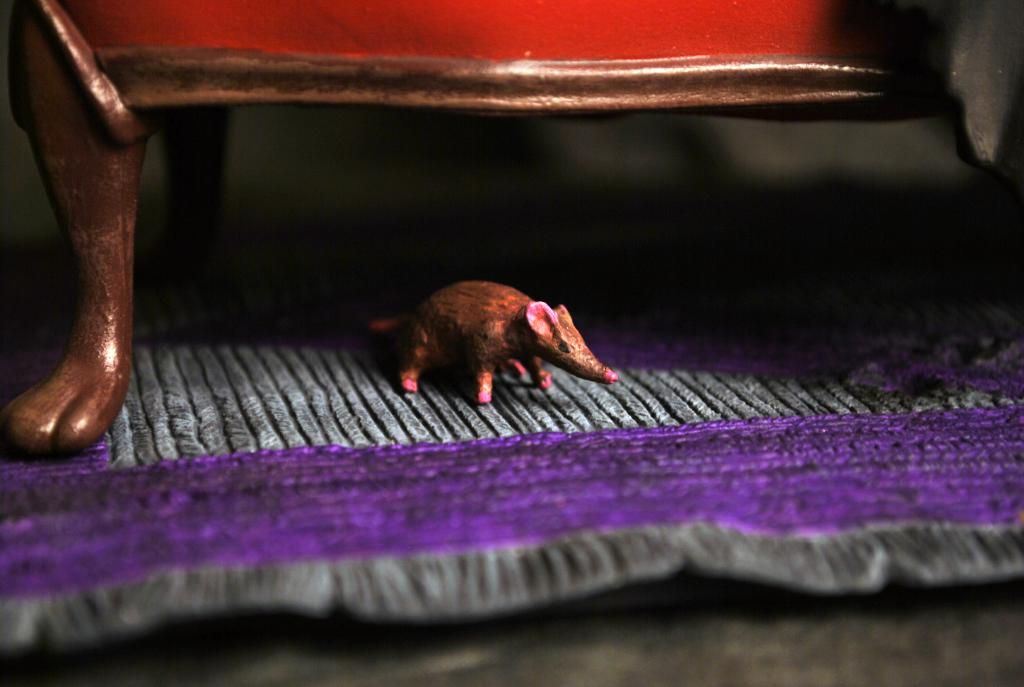
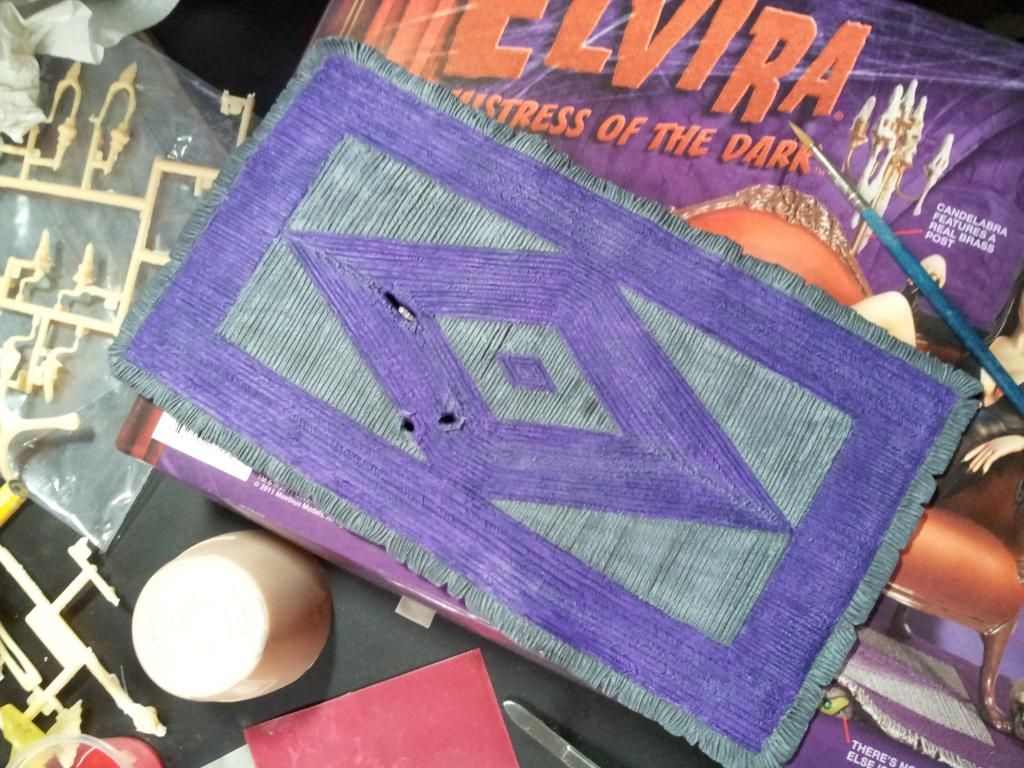
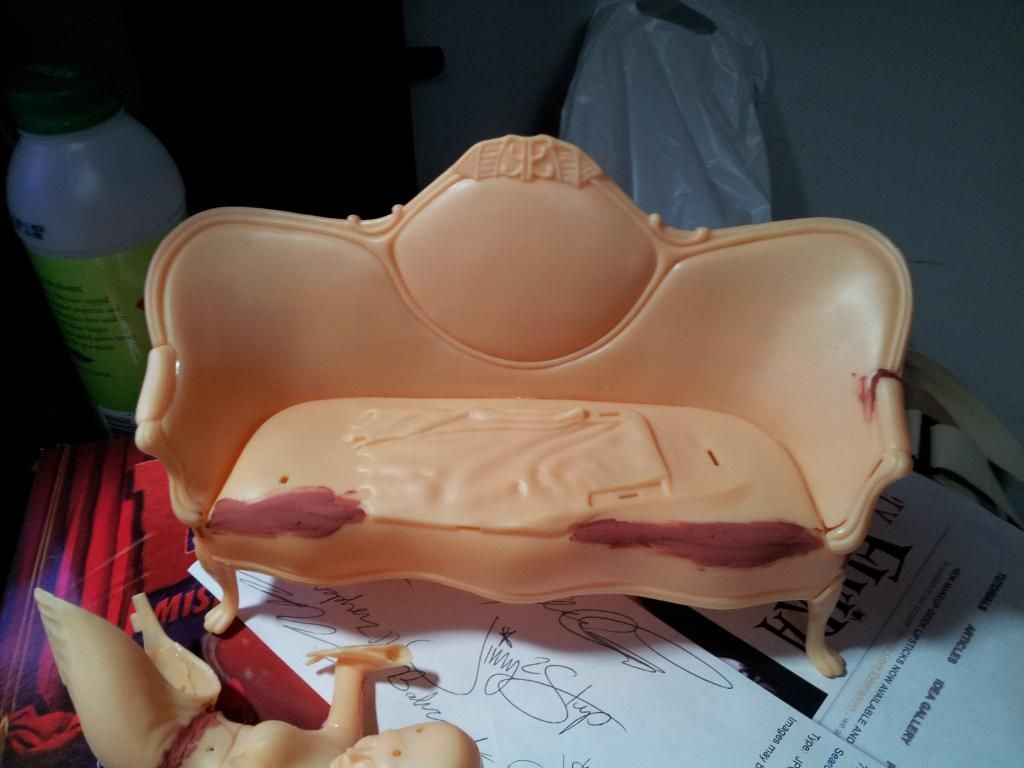
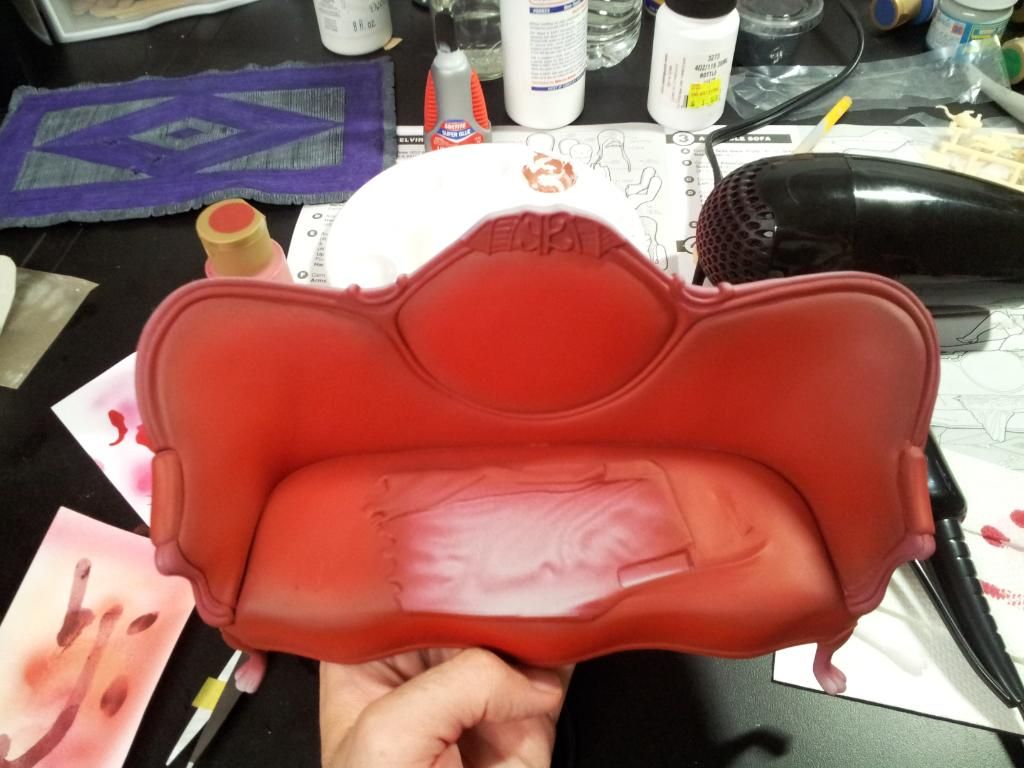
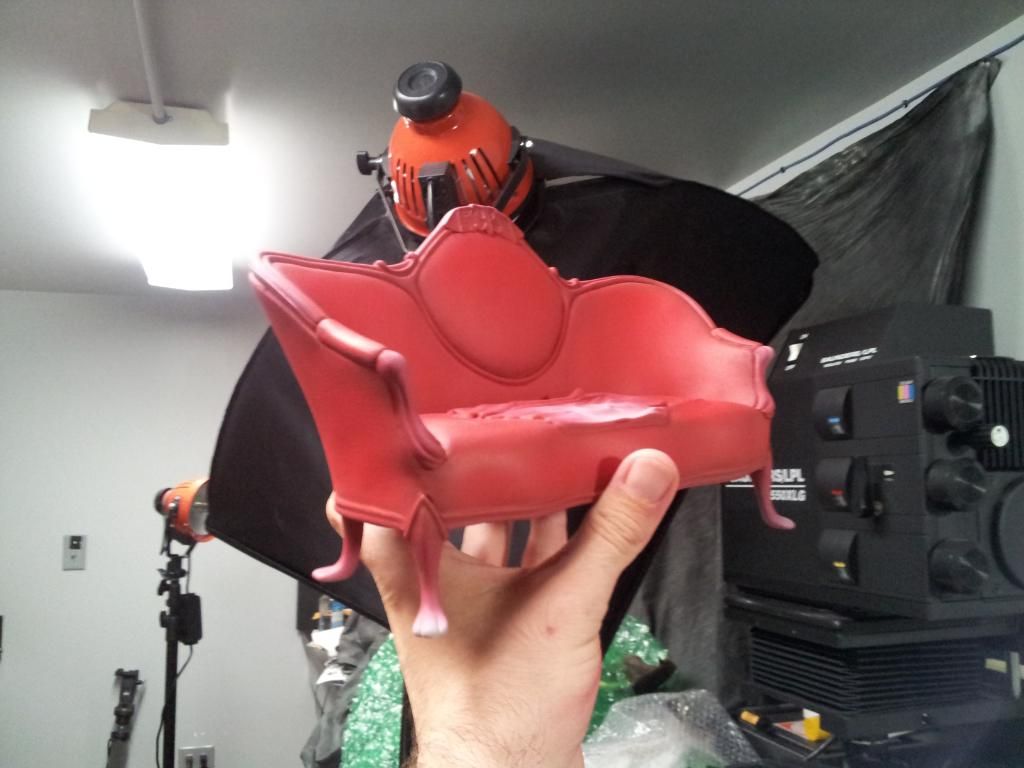
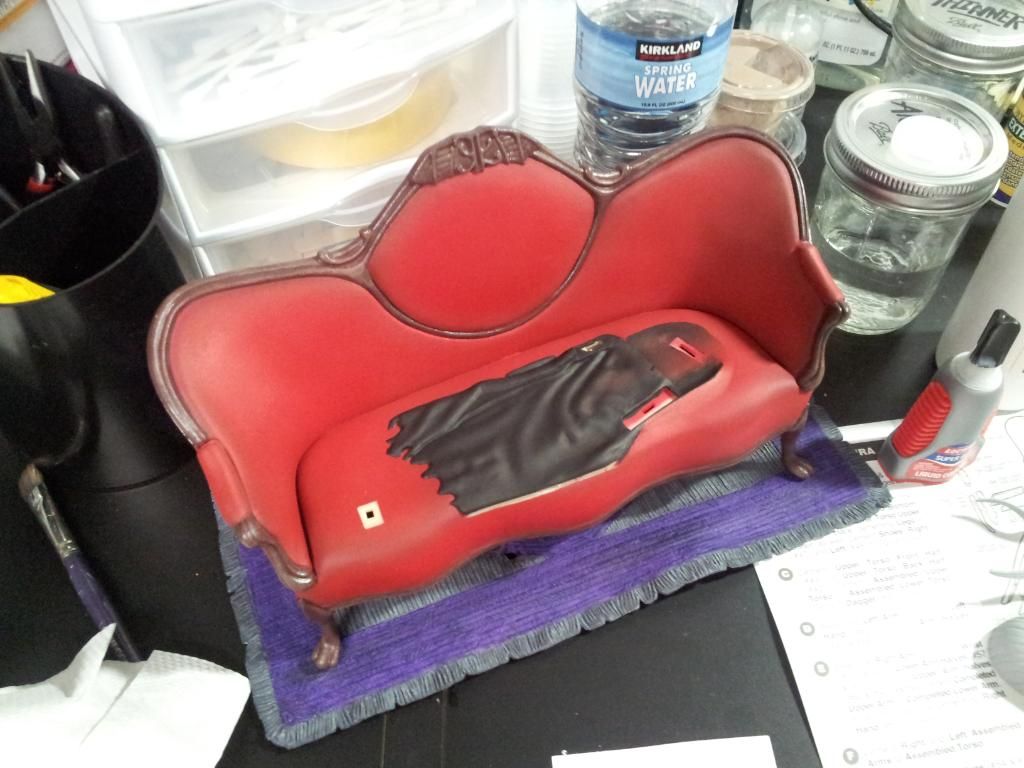
I chose the Elvira kit because I LOVE the character and the design Moebius chose to represent her is just lovely. I love the couch and all the details and I was very excited to start working on this.

I'd like to get into expanding my commission work to include figure model kits, so this was a test to see if I were up to the challenge.

Here is the first wave of photos.

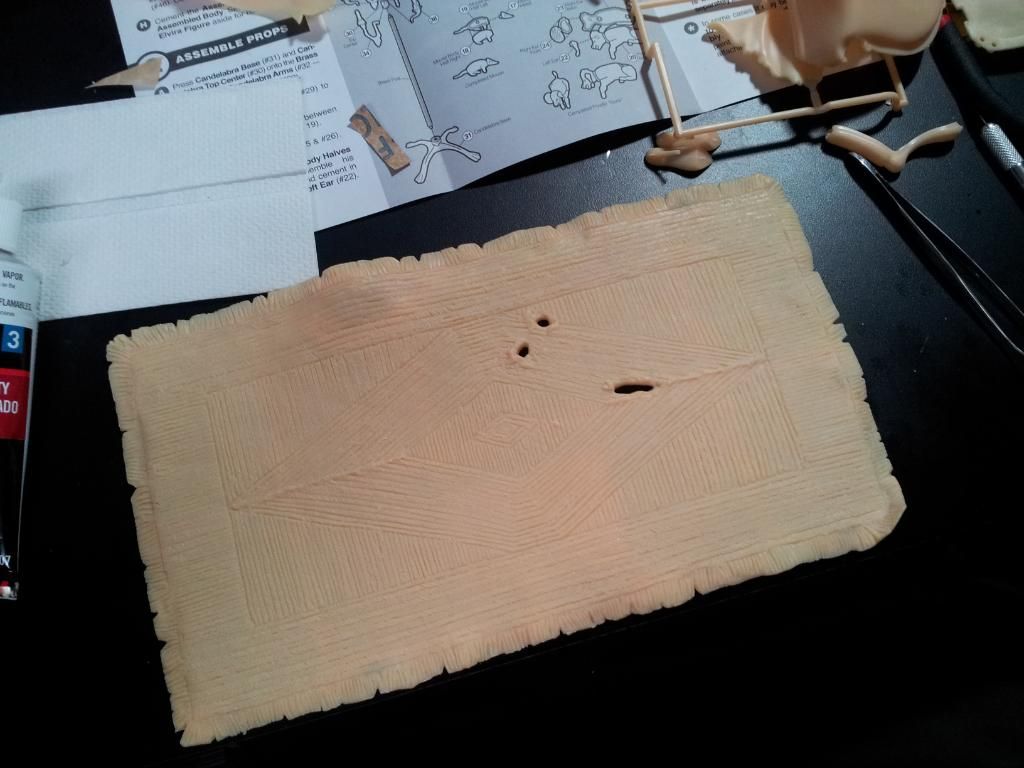
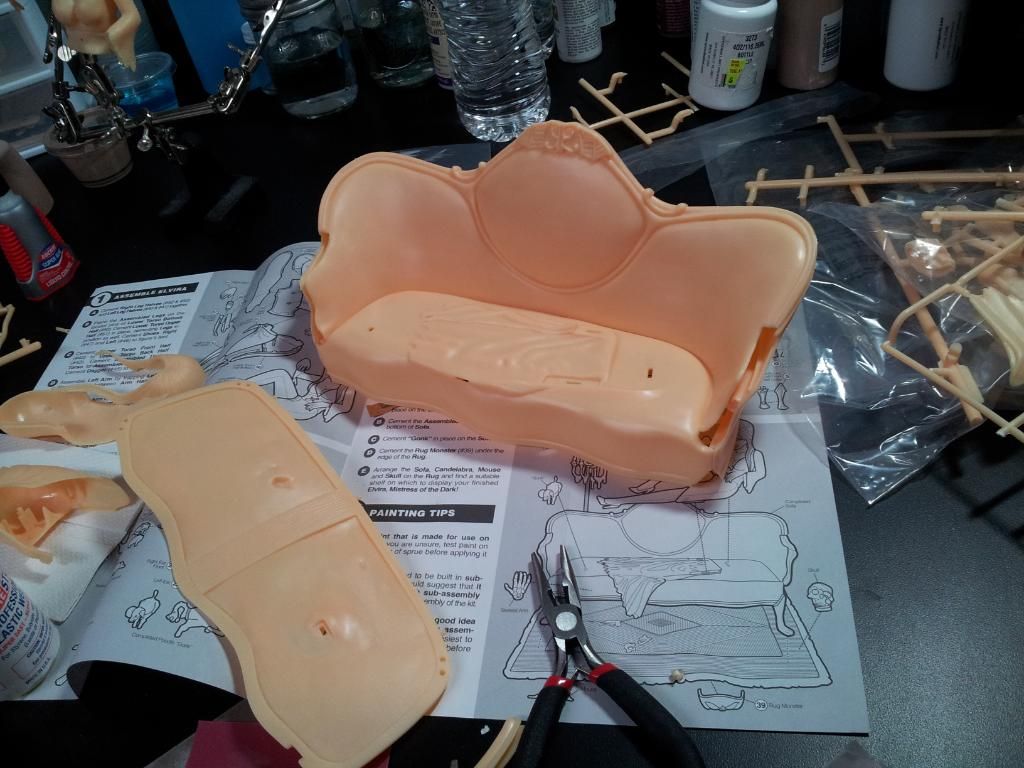
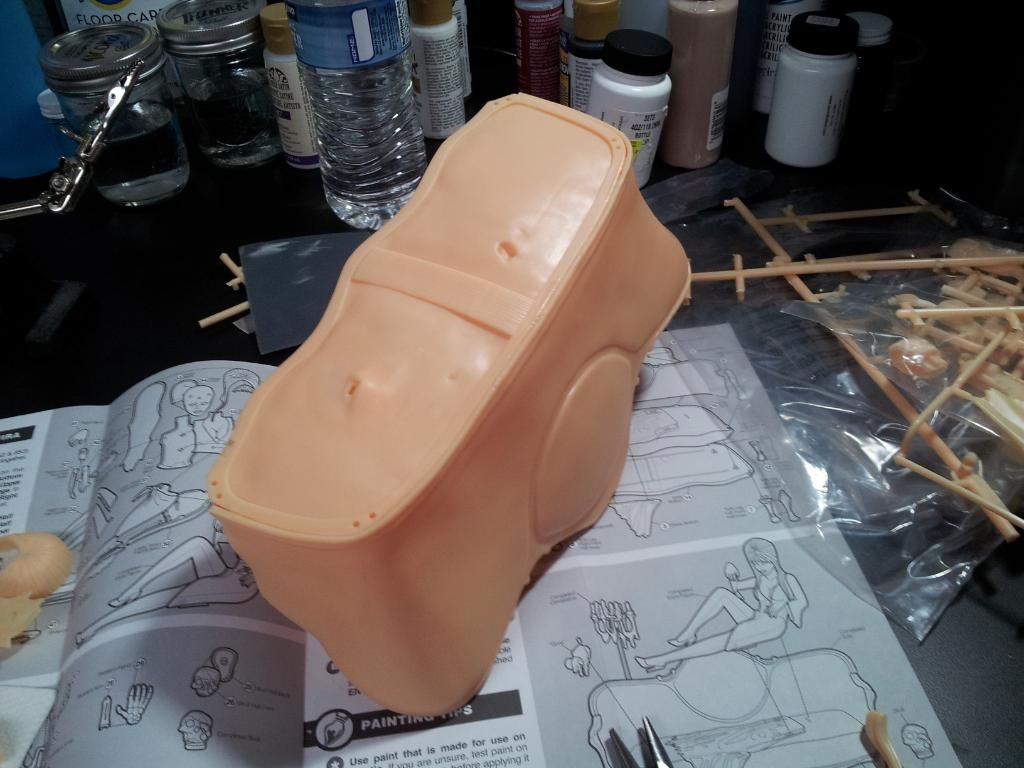
The kit right out of the box:
20120717_154355.jpg


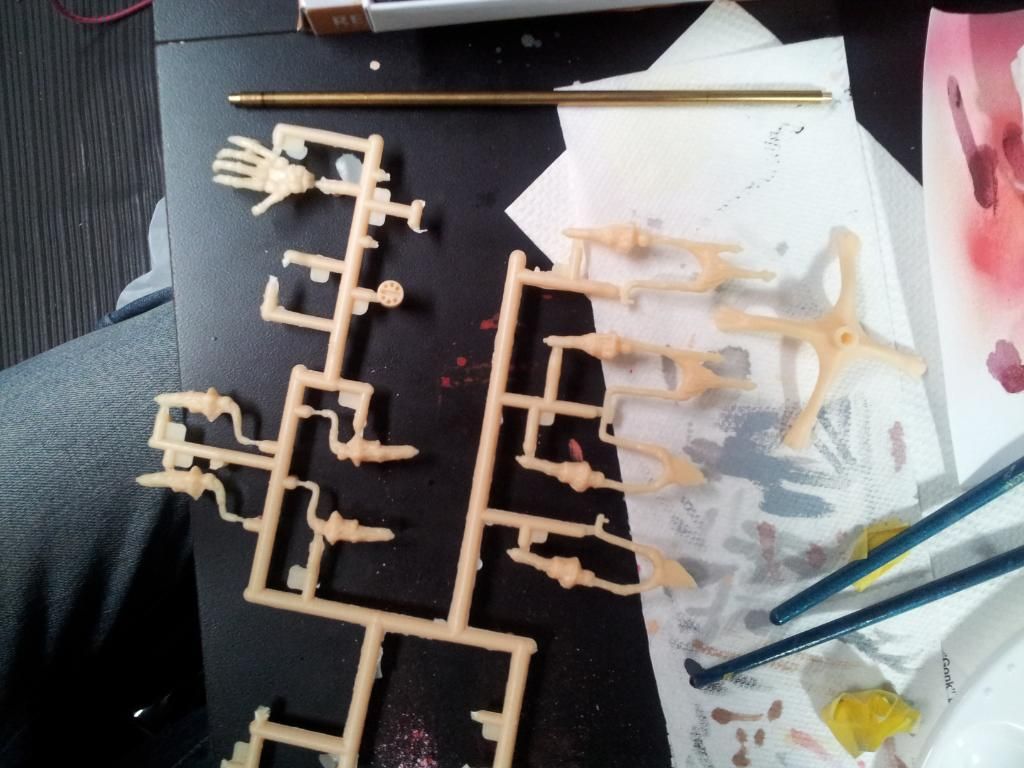
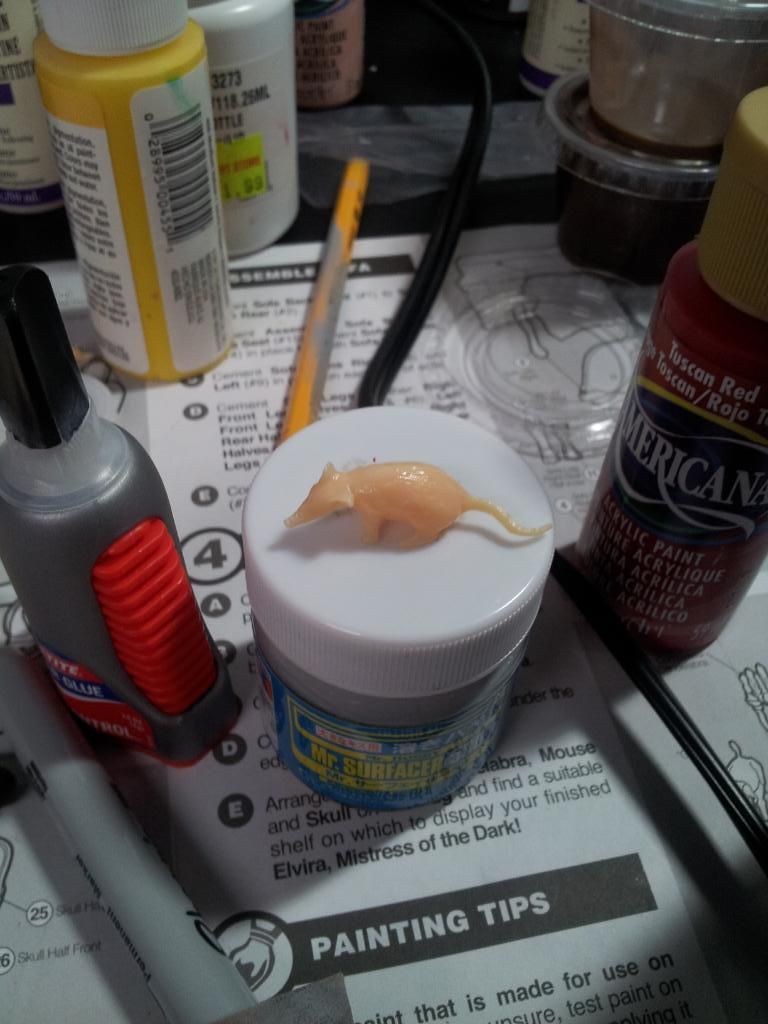
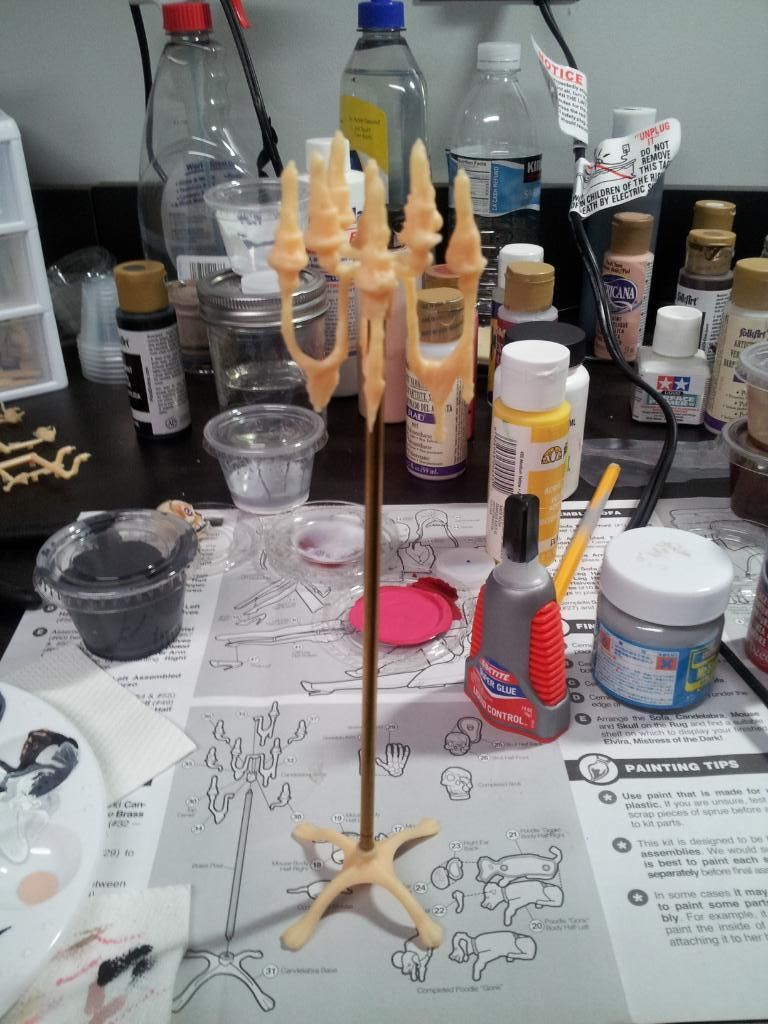
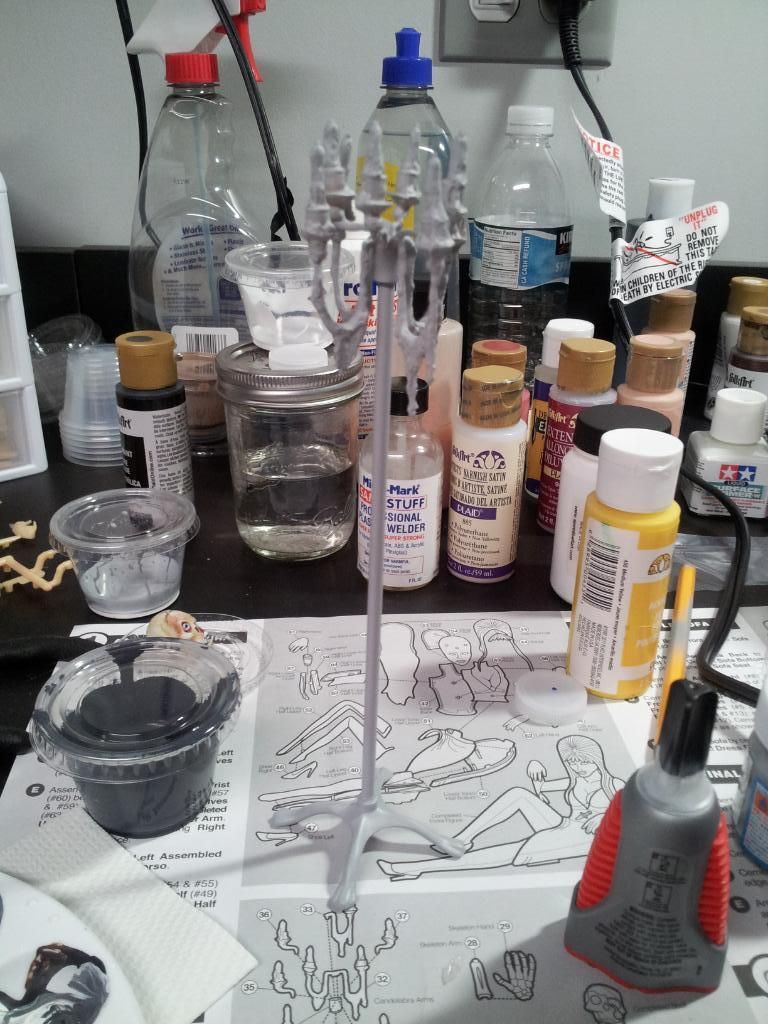
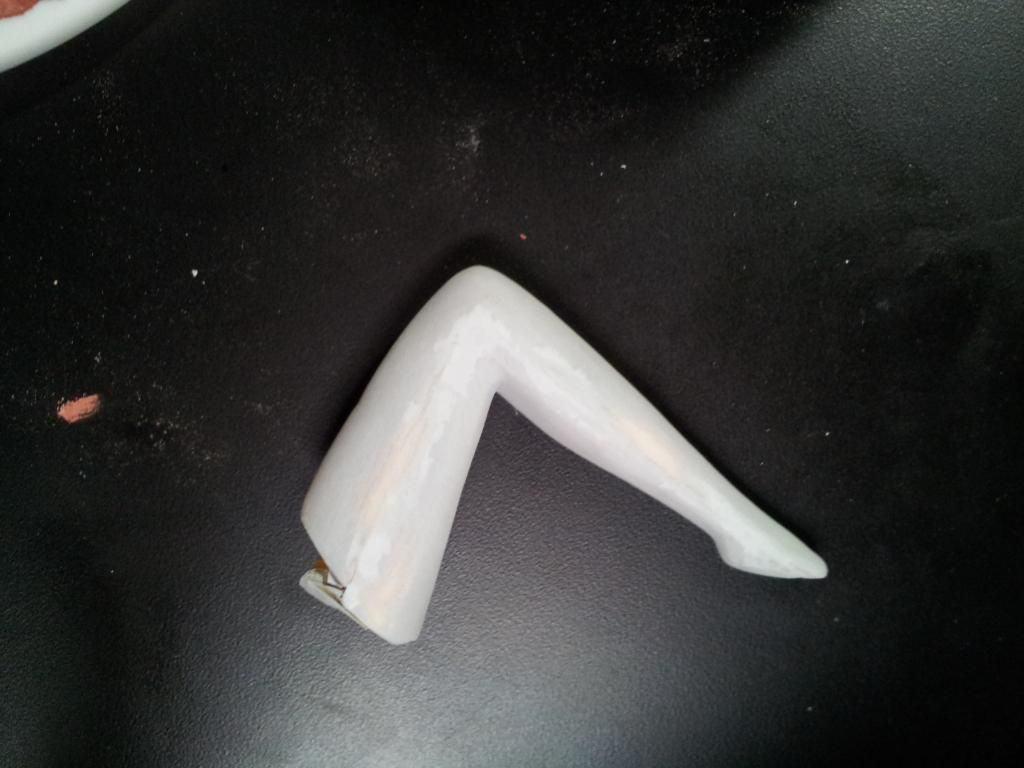
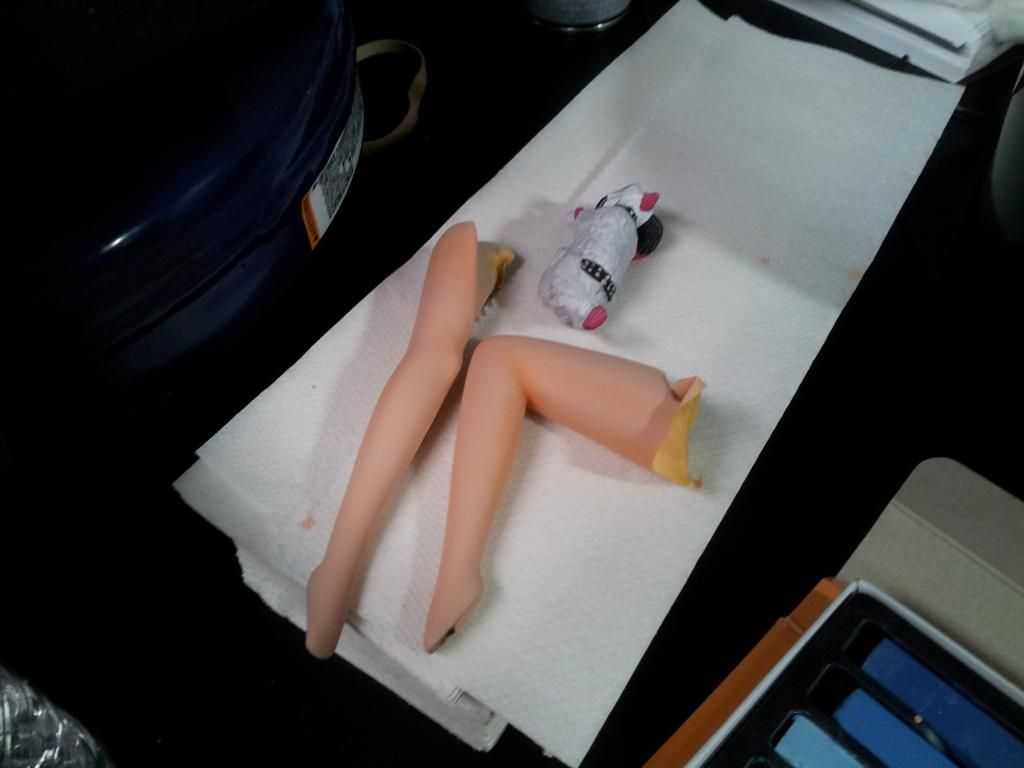
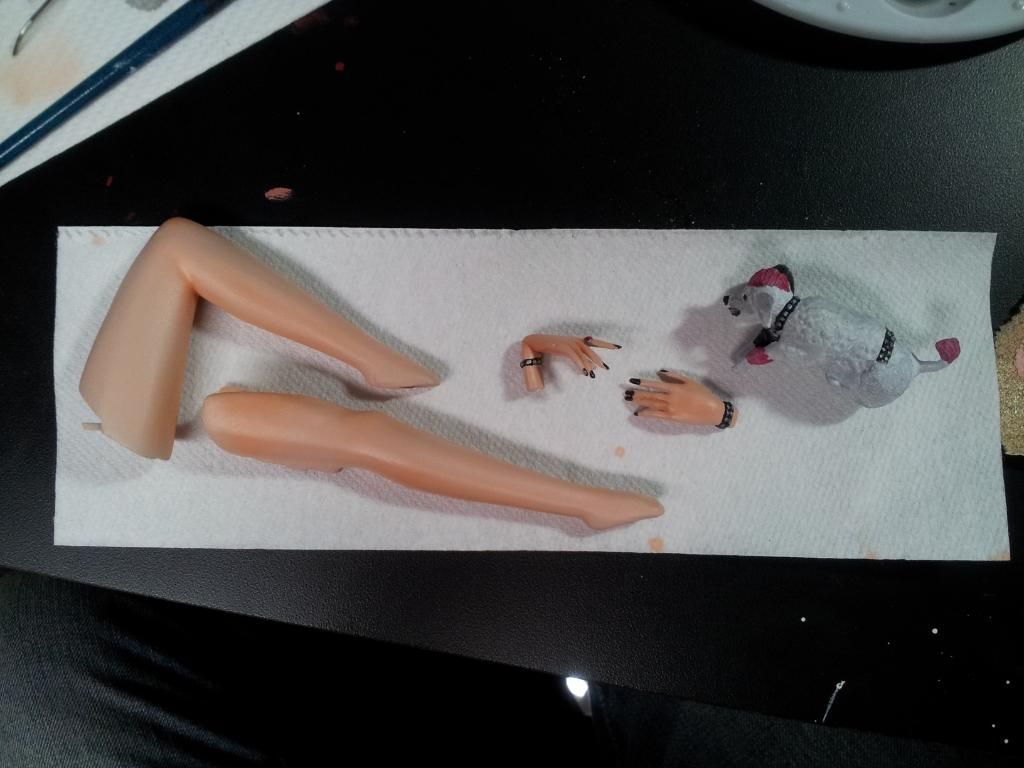
I started with the legs. I only use either super glue or plastic weld for styrene kits. The leg seams would need a little TLC to hide any trace of them being two parts. I use Bondo for most of my puttying of major gaps and Mr Surfacer for tiny gaps.
20120717_155410.jpg

20120717_160427.jpg

20120717_193125.jpg


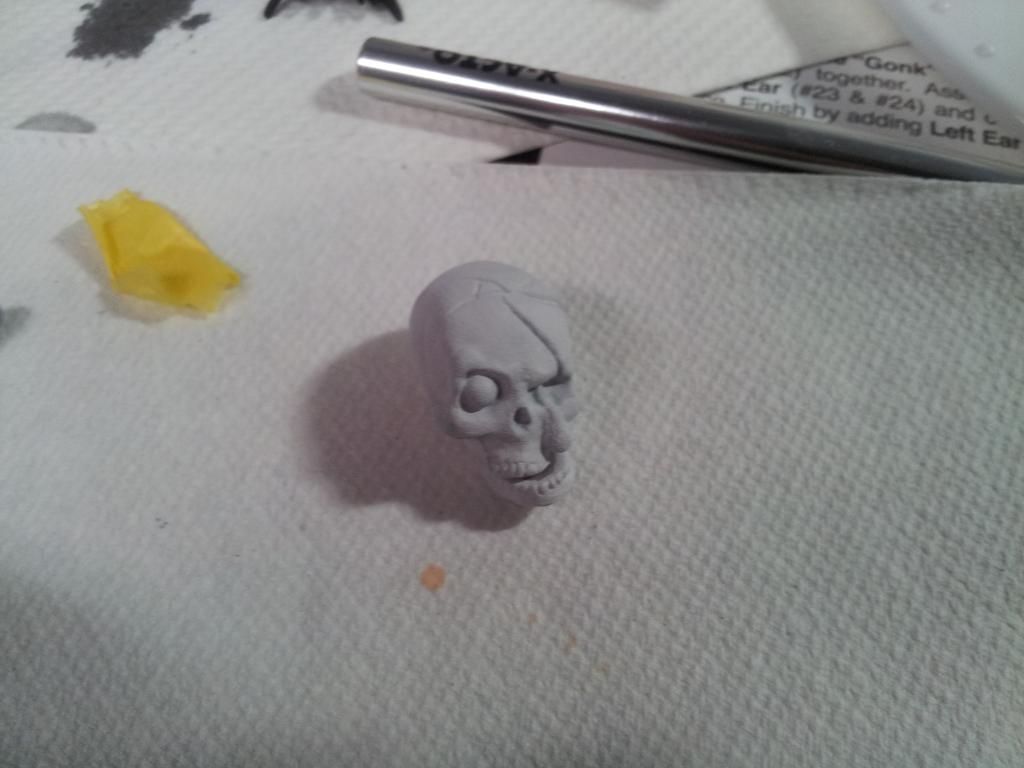
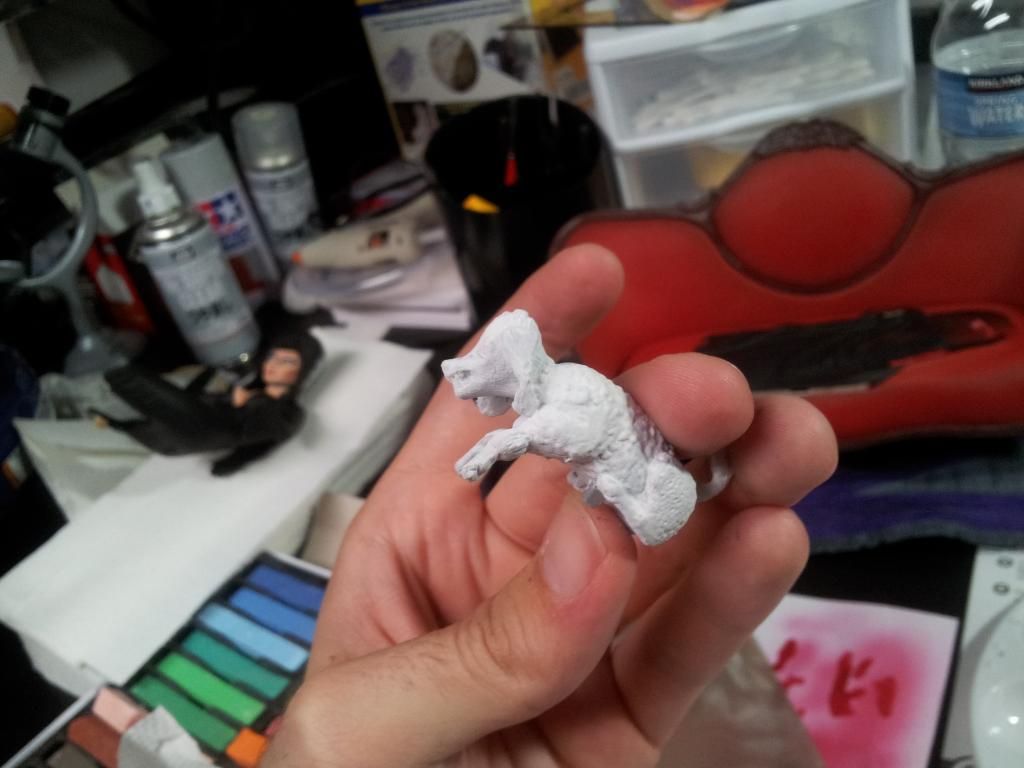
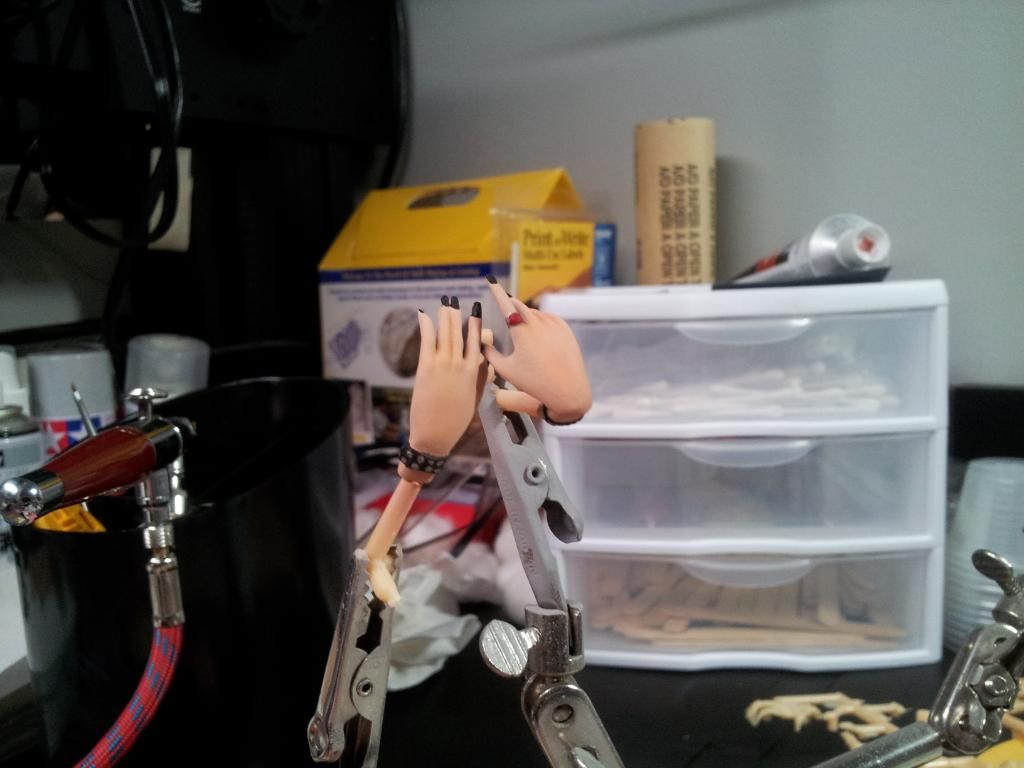
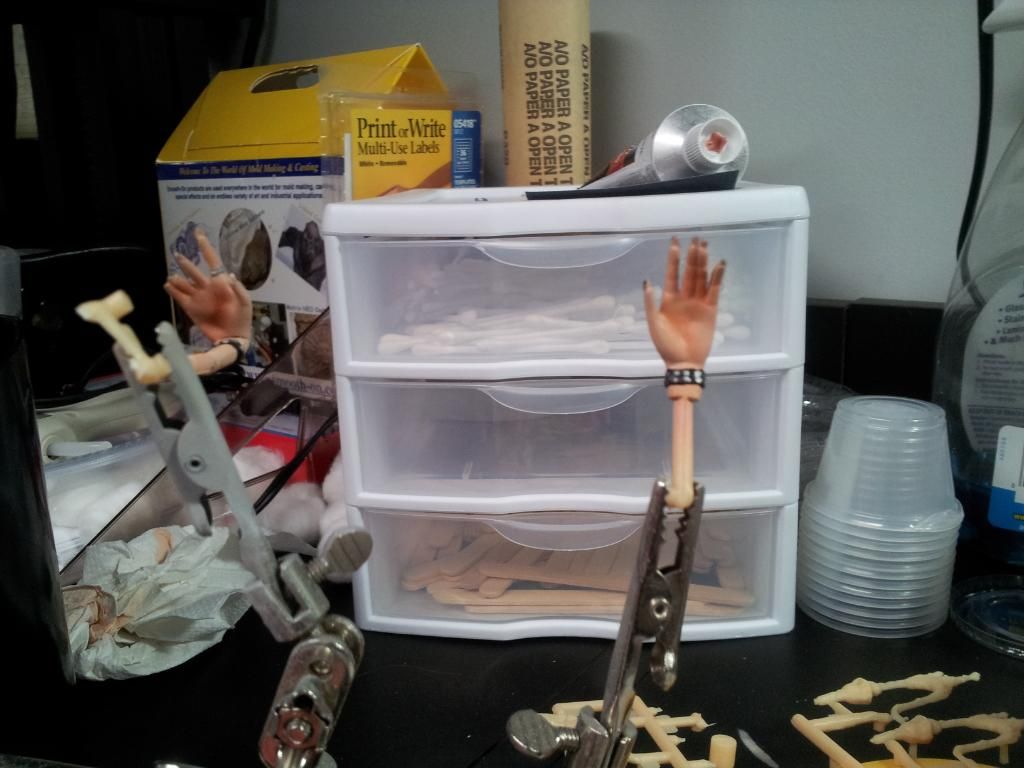
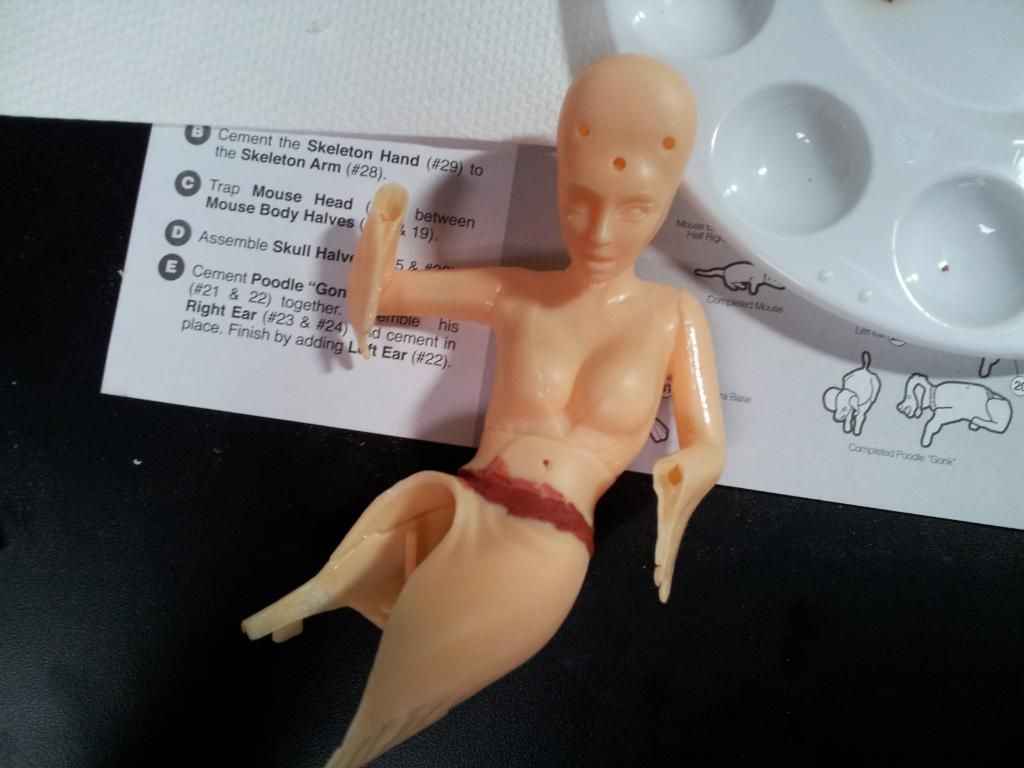
I was also working on assembling and cleaning up the torso, arms and head while the legs were in progress.
The only seams I chose not to fill on the arms were the shoulders since her dress would have sewing seams there anyway and it looked really good as-is.
20120717_162926.jpg

20120717_170729.jpg

20120717_185549.jpg

20120717_191132.jpg
 
This is one of the nicer kits I've seen and who doesn't love Elvira? My only experience with figure kits were some Marvel kits in the 90s and 2 vinyl kits so I'll be watching this with interest.
 
I'm looking forward to watching you document your progress. I've been wanting to start some figure models also and I'm hoping to learn from your techniques!
 
Hi

Good luck with your work. Keep posting pics. Looks a nice kit to work on.
I've started last week the Medusa figure (1:16 scale) based on the model created by the great Ray Harryhausen (maybe I should start a thread also)
 
The carpet, straight out of the box:
20120717_191216.jpg


And with primer...
20120717_213813.jpg


Painted and drybrushed. I also used a wash in the cracks.
20120822_215431.jpg


When doing a dry-fit, I noticed that her elbows did not make contact with the sofa at all. To remedy this, I twisted her torso until I got it into a position where her elbows did touch the sofa, then glued it into place. This of course created a huge gap between her torso and bottom section - this was filled with putty and later sanded down to blend in with the folds of her dress. This method worked out nicely.
20120717_212234.jpg


Assembly of the sofa:
20120717_195235.jpg

20120717_200015.jpg


Part of Elvira's dress hangs over the sofa and is a separate piece. I chose to paint this before gluing into place so I would not back myself into a corner where I could not paint behind the piece after it is glued in.
20120717_212913.jpg


The sofa had a number of areas that had to be cleaned up for flashing and seam lines. Some were not major, like the front of the sofa, but it makes a huge difference to make the effort:
20120717_213634.jpg


After primer and some additional puttying/sanding, the sofa was coated with a dark red base coat:
20120822_215347.jpg


Then a lighter red was airbrushed leaving only dark red around the edges. The photos here unfortunately do not show this subtle effect very well as these progress photos were taken with my Android phone and does not do a perfect job at picking up subtle colors...but hopefully you get the idea!
20120823_230428.jpg

20120823_230416.jpg


The wood was all carefully hand-painted using a custom acrylic mixture, then drybrushed with a lighter subtle shade, then a final coat of satin varnish to give this a furniture-like finish. Elvira's dress that is on top of the sofa was carefully painted by hand.
20120824_020807.jpg
 
This would have been an excellent place to use red flocking to give the couch a velvet look... if they made flocking that small of course.... although I love the look of your couch so far :)
 
Thank you for the compliments!

Here are a few of the smaller pieces prepped with primer. I usually use Rustoleum brand primer. It is pretty inexpensive, comes in a big can and dries very quick. It is also VERY good for filling in small seams and easy to sand - I highly recommend it.
20120823_214804.jpg


The skull, shown here, was a simple 2-piece accessory for the kit. This was fun for me to paint as I LOVE doing pieces that require some aging and weathering. The almost cartoonish, gruesome nature of this piece was very fun.
This was detailed using a combination of drybrushing, washes and pastel chalks. The eyes were coated with Future floor finish for a gloss shine.
20120826_202241.jpg

20120826_213638.jpg


Here is "Gonk", Elvira's trusty poodle (featured prominently in the Movie "Elvira: Mistress of the Dark".
This piece, which attaches to the sofa, consisted of four pieces.
This was all hand-painted and I used some dry brushing and wash techniques to help bring out the texture. I made sure to mask off the small area on the couch where this will be glued onto, and did the same for the small peg located under Gonk:
20120825_003903.jpg

20120826_013316.jpg
 
Very cool. Loved Gonk in the movie. This makes me wish Elvira was on one of our stations here.
 
Have you seen any if the "new" Elvira's Movie Macabre? The show was brought back in 2011 I think. All the episodes are on DVD.
 
i'm loving this! can't wait to see the finished product. i also can't wait to watch Mistress of the Dark very very soon! :D
 
Some parts for the Candelabra...
20120828_223917.jpg


The rat was the smallest piece to this kit but still managed to be three pieces!
This was all haind painted and I used a wash on the body and some drybrushing for the tail and ears...
20120829_202636.jpg

10.jpg


The candleabra was a fun piece to work on. The kit came with a brass metal pipe to use as the post, but this was all painted anyway.
I used a gold paint for the basecoat then dirtied up the paint later on by stippling on a copper paint to simulate the effect of tarnished metal. This shows better in person, again sorry for the poor photos.
The melted wax of the candles was carefully hand painted with a cream-colored custom paint mixture...
20120828_225920.jpg

20120828_231952.jpg

20120829_191827.jpg

20120829_201106.jpg

11.jpg


And here is the monster that hides under the carpet. This was a very simple piece and a fun little touch to this kit...
09.jpg
 
I love seeing projects like this. It makes me want to build a model again. :thumbsup
 
It really makes me smile when my work can inspire others to get their hands dirty doing a model kit!
These are a blast to do and I thank you for your support!
Now get busy building your own and share your progress!
 
You are doing a great job on those tiny pieces. Everything looks fantastic. I was thinking of getting this kit a while back but wasn’t sure of the quality. Nice to see that it looks like a pretty decent kit. Looking forward to more updates.
 
When doing Elvira's legs, I had an interesting choice.
Do I go accurate and dust the legs with black spray paint for a stockings look OR do I make it bare-legs as shown on the box.
Well, after much deliberation, I decided I wanted to have the experience of painting skin and testing out pastel chalk techniques, so I opted to go non-accurate and have bare legs.
20120724_210316.jpg


After cleanup and primer, these went through several coats of basic fleshtone acrylic.
20120826_001358.jpg


They were finished off by shading with pastel chalks (I used an orangish poweder mixture for all her skin), I made sure to concentrate the pastel chalks in crachs and other strategic areas to make this look as good as possible.
To finish them off, a satin varnish to give her skin a subtle shine: (shown below before satin varnish)

20120826_004433.jpg


This process was repeated for her hands, which later had to be detailed with a fine brush for her finger nails and bracelets.
20120826_012402.jpg

20120826_012752.jpg

20120826_013453.jpg
 
Looking great so far. You certainly have the subtle shades of skin tones mastered, I need to learn that skill. I wish I could find some video's that show this techniques being applied in real time instead of just stills so I could see how it's really done. I almost wish you had done the stockings because I've always been amazed at how realistic those can look but have no clue how they're done. Great work!
 
Excellent job on the skin tones. I wouldn't have thought about using pastel chalks for that subtle touch.
 
The stockings would be done by misting the part with flat black spray paint.
As for applying the chalks, it's so easy it's criminal.
You take a piece of sandpaper and rub the chalk on it creating a powder.
The powder is applied with a clean, dry paintbrush by rubbing it in the area you want - blow the excess of and feather the remaining with a very soft brush.
A varnish on top will make the chalk stand out more, so if you want it more subtle, apply after clearcoat.
 
Back
Top