Pinn
Member
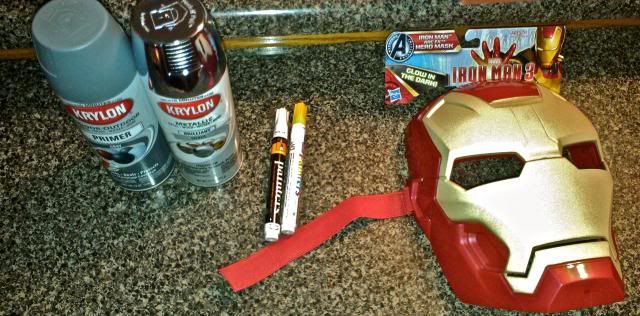
Saw an Iron Man mask at the store today and decided to see what I can do with under $25.
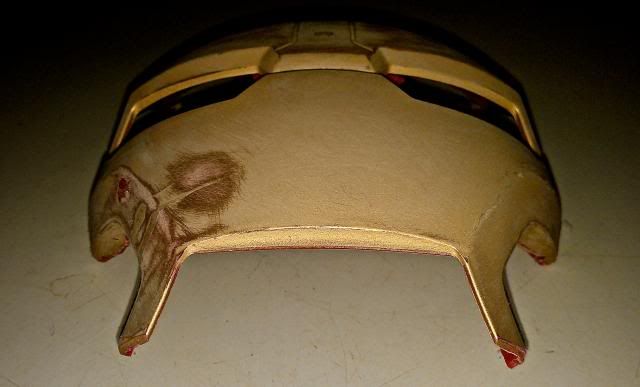
So step one was to remove the excess parts (no pictures for this.) I used a dremel and box cutter for the larger pieces. Then used a file and sand paper to smooth the edges.
While removing chunk after chunk of plastic from the outer faceplate I accidentally cracked the left side of Iron Man's cleft. I also drilled into his face a bit....Immediately, I slabbed some Loctite on the crack and hoped for the best.
It dried after a while and all is well!
Step two!
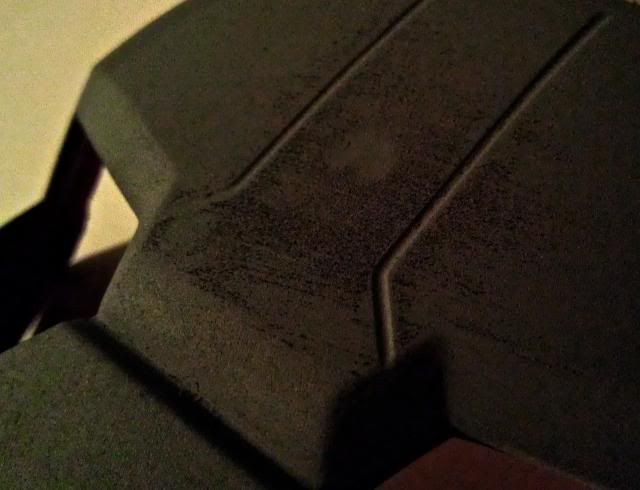
I sanded the face down a bit.
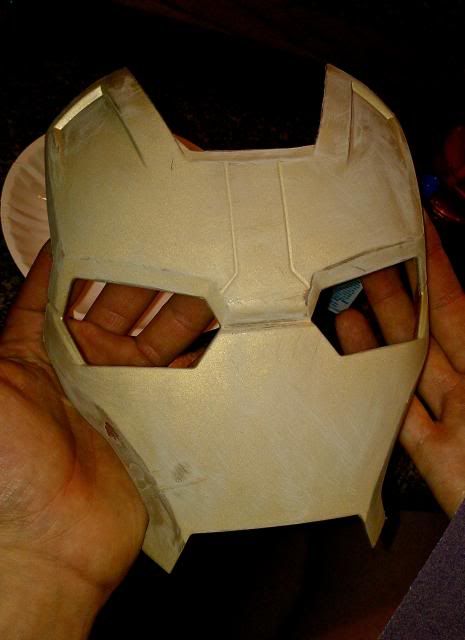
I noticed a circle on his forehead as soon as I removed some of the glow paint.

Step three!
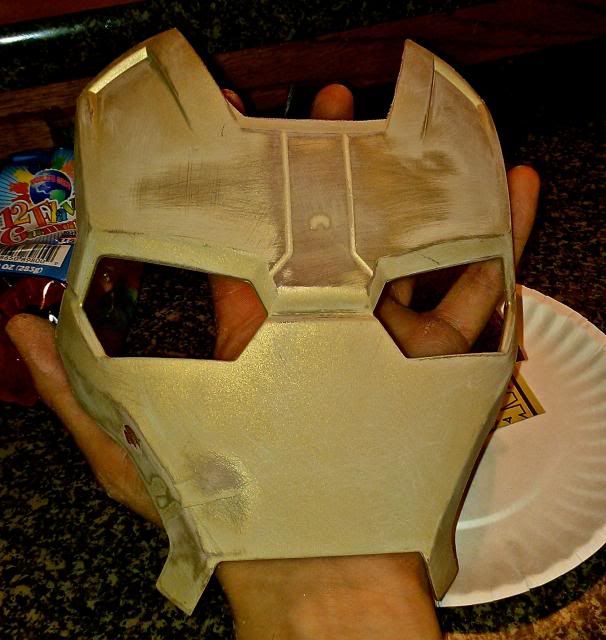
Prime it! I wanted to put a thin coat of primer on it to see the imperfections better. The paint that was already on the mask was glow in the dark paint.

Step four!
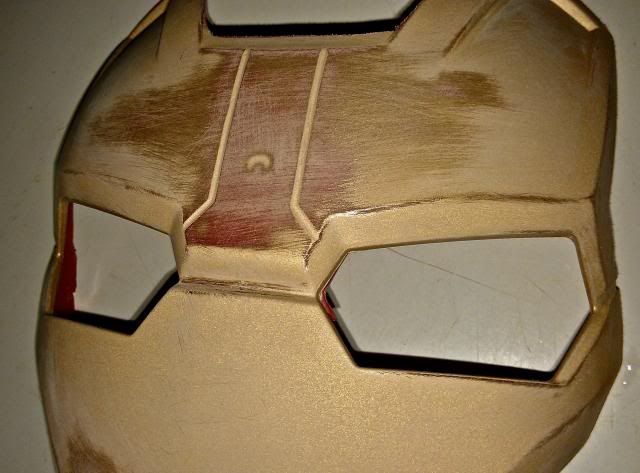
Step back and see what I need to do. I need bondo work....which...is so much fun. I can't even explain how much I loath it.
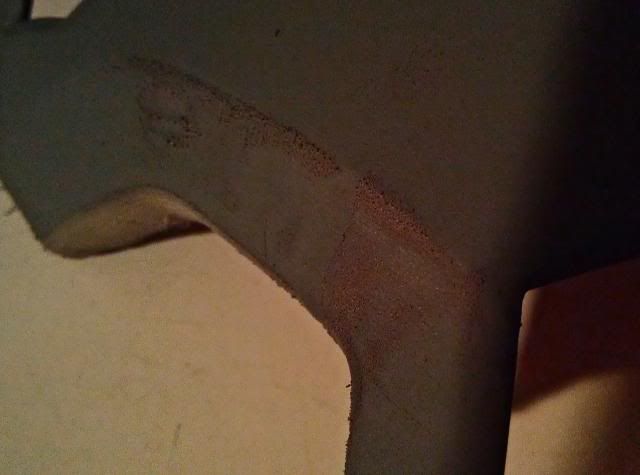
The plastic had a weird circle indention on his forehead area....weird. Hopefully bondo will smooth it out? I guess it was a manufacturer defect? The plastic must've been warped when being removed from a press and the paint hid it or something.
Oops, I don't have any bondo. Guess I gotta shop tomorrow after taking the family to the park.
Sorry if this seems like a lame attempt at the whole Iron Man thing, haha. Just wanting to make my own el cheapo prototype looking faceplate.") More to come tomorrow!!!
More to come tomorrow!!!
So step one was to remove the excess parts (no pictures for this.) I used a dremel and box cutter for the larger pieces. Then used a file and sand paper to smooth the edges.
While removing chunk after chunk of plastic from the outer faceplate I accidentally cracked the left side of Iron Man's cleft. I also drilled into his face a bit....Immediately, I slabbed some Loctite on the crack and hoped for the best.
It dried after a while and all is well!
Step two!
I sanded the face down a bit.
I noticed a circle on his forehead as soon as I removed some of the glow paint.
Step three!
Prime it! I wanted to put a thin coat of primer on it to see the imperfections better. The paint that was already on the mask was glow in the dark paint.
Step four!
Step back and see what I need to do. I need bondo work....which...is so much fun. I can't even explain how much I loath it.
The plastic had a weird circle indention on his forehead area....weird. Hopefully bondo will smooth it out? I guess it was a manufacturer defect? The plastic must've been warped when being removed from a press and the paint hid it or something.
Oops, I don't have any bondo. Guess I gotta shop tomorrow after taking the family to the park.
Sorry if this seems like a lame attempt at the whole Iron Man thing, haha. Just wanting to make my own el cheapo prototype looking faceplate.
More to come tomorrow!!!


