SS 89 Batmobile!

<div class='quotetop'>QUOTE(AnsonJames @ Dec 20 2006, 02:15 PM) [snapback]1381713[/snapback]</div>
It's slush cast resin - smooth on I think.
I trimmed the canopy down today - either I trimmed it back too far or it's gonna be a little more work than I thought it would be.
It's an awesome kit though.
[/b]
The kit is 1/2 body...just like a slammer, you mate the chassis to it. easy to detail. I can see the canopy would be very tough..I am doing that last. The wheel wells are the toughest, ground down a 1/2 inch of resin in someplaces. It is going to be awesome when done.

One question.....I am putting in real mesh for the intakes on the sides.......see my pics. The slits on the back quarter panel....are those solid or is there a venting system for the back tires?
 
Hello,
for those interested and wanting accuracy, you actually want a miniature of rain gutter screen. This is the pattern they used...Also, the side details are real rough and not the correct shape(not accurate). The Wayne Tech kit from which this piece originated is a real rough kit for sure. The Original is from the second model unit at Pinewood Studios Magic Model Company. It's a 1/8th scale model measuring almost exactly 29" long. By the way, if it helps you want mickey thompson drag tires.
Best,
Will
 
<div class='quotetop'>QUOTE(Firefoxm31 @ Dec 20 2006, 06:28 PM) [snapback]1381860[/snapback]</div>
Hello,
for those interested and wanting accuracy, you actually want a miniature of rain gutter screen. This is the pattern they used...Also, the side details are real rough and not the correct shape(not accurate). The Wayne Tech kit from which this piece originated is a real rough kit for sure. The Original is from the second model unit at Pinewood Studios Magic Model Company. It's a 1/8th scale model measuring almost exactly 29" long. By the way, if it helps you want mickey thompson drag tires.
Best,
Will
[/b]
Yes, the guys who redid this kit did one heck of a job. there are those of us who are totally NUTS and want to go further........ie: the intake screen. The side details have been corrected by the rpf'ers who cast his kit and I will even be adding braided cable in areas as seen in some pics. As in any movie......4 or 5 designs exist of one subject. www.chickslovethecar.com has pics of 4 different front ends. The tires that came with this kit are mickey thompsons. Resin.......but it is a static model. No plans to R/C it. I'm glad I had a chance to get this kit and THANK the guys who did it.........

so.......where can I find miniature rain gutter screen? doll house suppliers?
 
<div class='quotetop'>QUOTE(roguemodeler @ Dec 21 2006, 08:18 AM) [snapback]1382142[/snapback]</div>
pics of photoetch to enhance taillight lens
[/b]

Rouge...looks cool. I had heard that the tail lights on the actual car came off a Ferrari. Anyone know what make and model?
 
<div class='quotetop'>QUOTE(Forbidden Zone @ Dec 21 2006, 02:45 PM) [snapback]1382185[/snapback]</div>
<div class='quotetop'>QUOTE(roguemodeler @ Dec 21 2006, 08:18 AM) [snapback]1382142[/snapback]
pics of photoetch to enhance taillight lens
[/b]

Rouge...looks cool. I had heard that the tail lights on the actual car came off a Ferrari. Anyone know what make and model?
[/b][/quote]

From www.chickslovethecar.com;
308 Ferrari lights for the top and 246 Dino US Spec tail lights for the bottom lights.
 
Yeah, this photoetch is actually from a set for a 1/35th scale tiger tank kit. Hey. I'm just making this up as I go. If I set the taillight against this photoetch it provides a transition from body to taillight without adding unneccessary detail.....still trying to figure out what's wrong with the rear end? It is possible that the wheel fenders extend to far back......Shoot. I SEE IT........look at the picture and tell me what you see.

I'm having trouble posting pics......it says I'm above the global limit.....whatever that means
 
Rogue, same mesh in there as well( rear quarter panels with the 6 airfoil shaped vents(ducts)... so lets see pics of the rest of the details of this rework...
Will
 
ah, thought so. have to drill those out to then. Here is the rear shot of my car. I have problems with airbubbles and lost integrity.....I think I was at the end of this run.

<div class='quotetop'>QUOTE(roguemodeler @ Dec 21 2006, 05:20 PM) [snapback]1382537[/snapback]</div>
ah, thought so. have to drill those out to then. Here is the rear shot of my car. I have problems with airbubbles and lost integrity.....I think I was at the end of this run.
[/b]


Symmetry is off.
 
that's the back of the casting...hmm looks warped where the exhaust cones( afterburner) goes..lets see some pics of the rest of the details
Will
 
OK, how can I fix this........look at the tail lights........the right side is not symmetrical either. The lower light sits to the right........check your bodies rear end. Am I the only one who is affected?
 
<div class='quotetop'>QUOTE(roguemodeler @ Dec 21 2006, 11:33 PM) [snapback]1382549[/snapback]</div>
OK, how can I fix this........look at the tail lights........the right side is not symmetrical either. The lower light sits to the right........check your bodies rear end. Am I the only one who is affected?
[/b]

Just looked at the master and that's how it is?

H
 
ok,
I took a gander at my old Wayne Tech kit as well as my studio casting, this area around the tail exhaust is asymetrical like this, from left side to center vrs right side to center anyway. You will either have to scratch a new rear or leave it this way like the studio model was. Also, you need to remove that extended lip on the nose under the bearing shroud..way too long. you won't need screen for the side intakes. This area is a funnel type shape. reaslistically i would say recut rings and scratch cones to them to get the right look. If you want the accuracy of the wheel well flairs, you will have to build these up as well.
Best,
Will
 
Sand down the area above the exhaust jet......see pic. I am going to remove the taillights and bondoand sculpt the back end. The fender should be fluid right up into the fins. I'll beat this yet. LOL.
 
Re: SS 89 Batmobile!

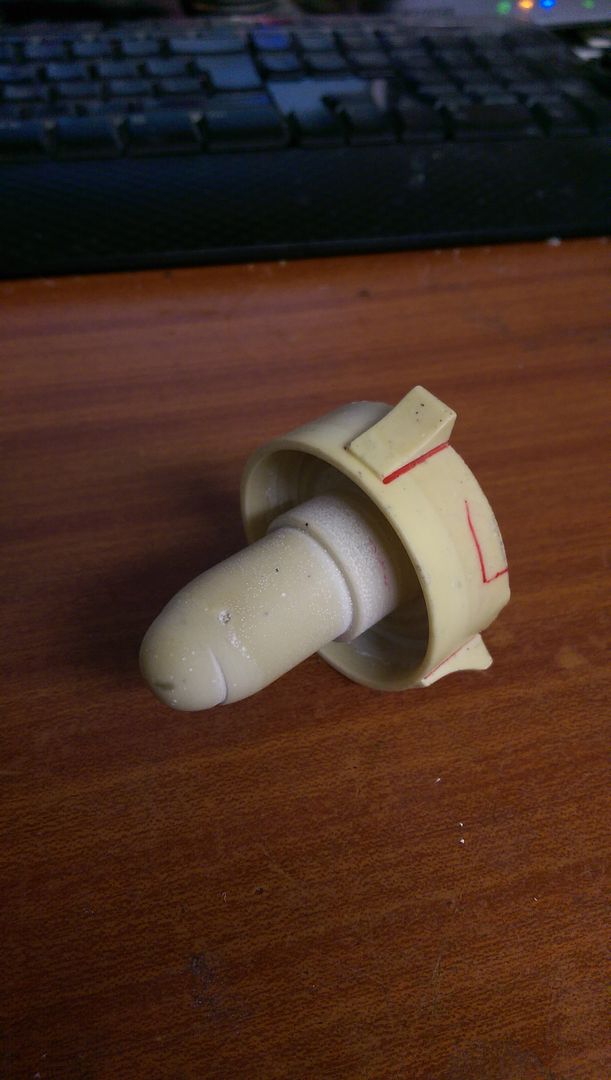
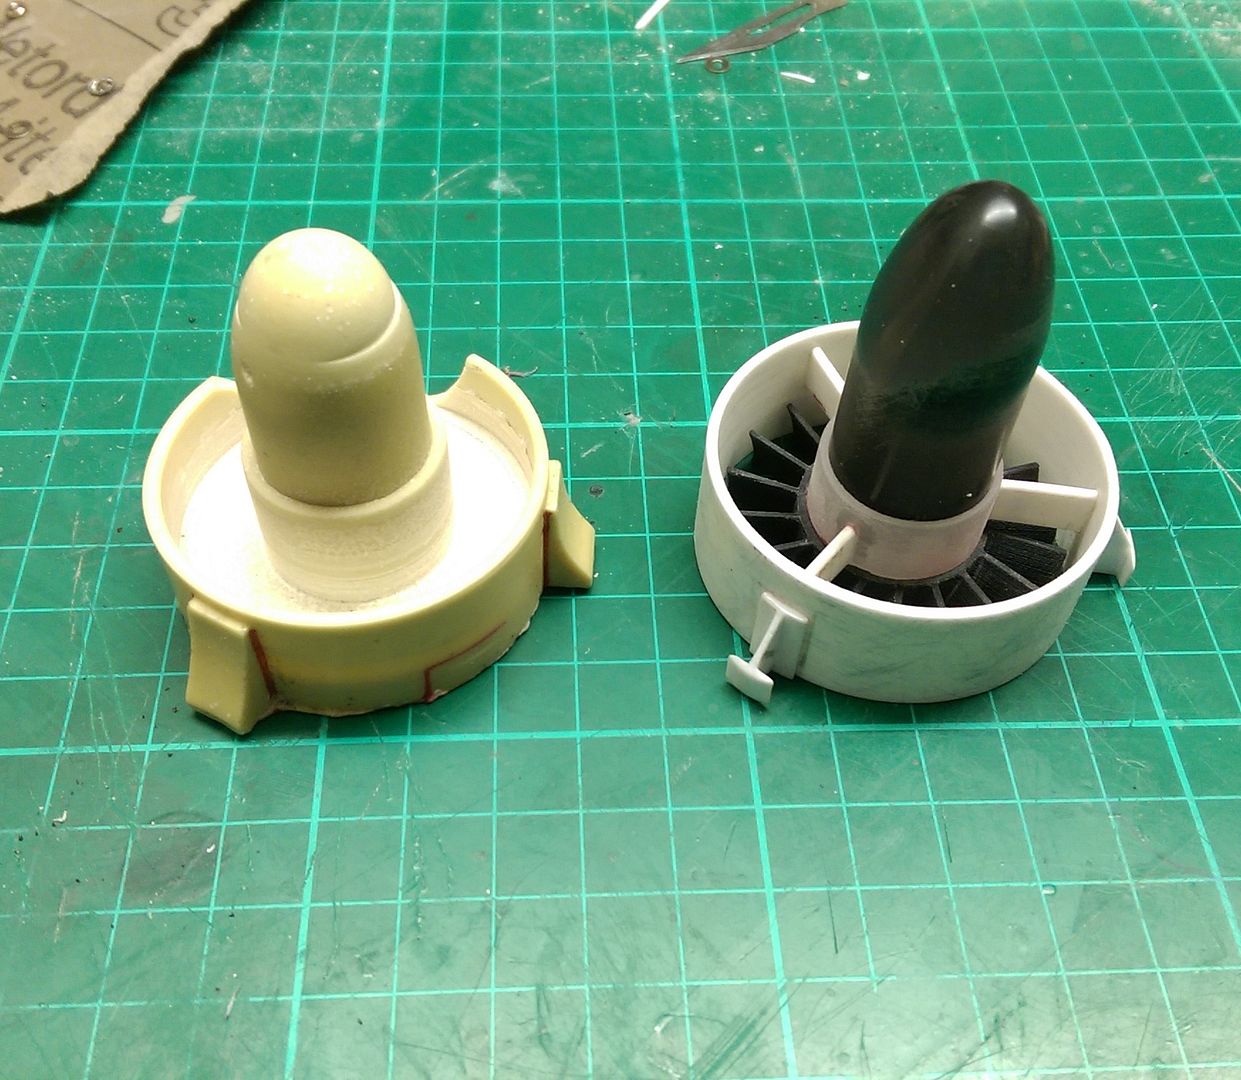
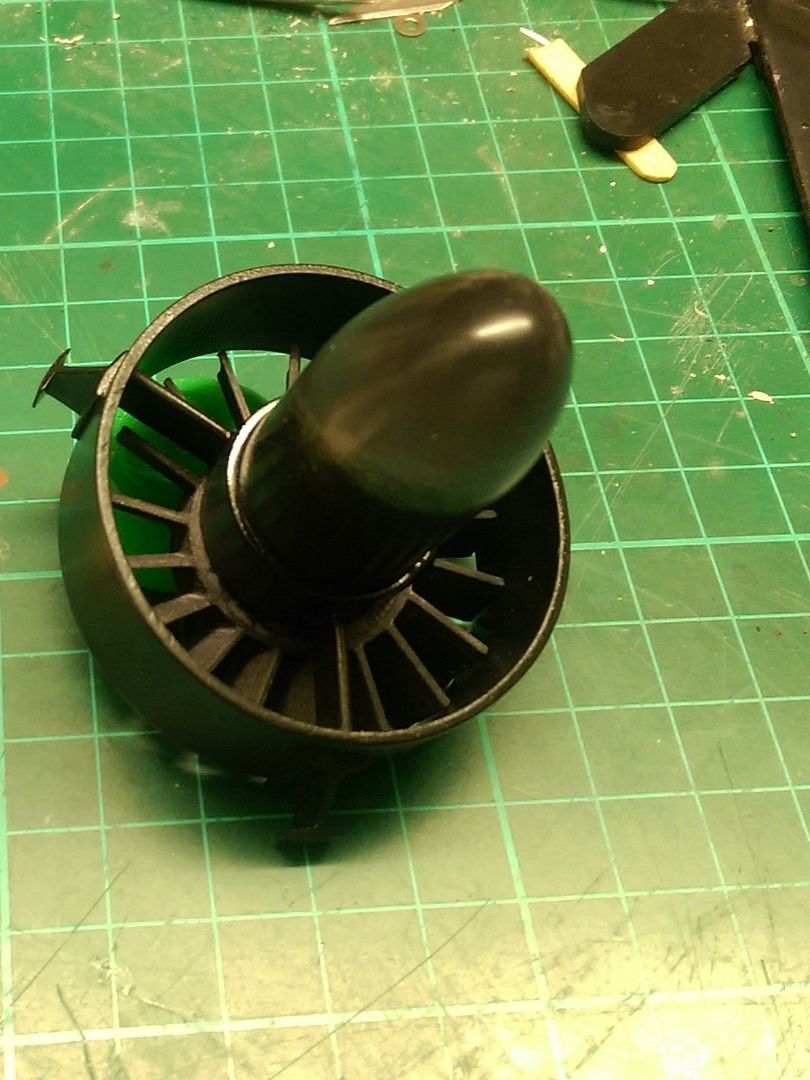
I thought I'd change the front intake as the kit one's a bit naff.
Before,


After


Attachments

  • Nose202_zpsthdbvrjo.jpg
    Nose202_zpsthdbvrjo.jpg
    279.3 KB · Views: 72
  • Nose201_zpsxizo5q3t.jpg
    Nose201_zpsxizo5q3t.jpg
    219 KB · Views: 77
Last edited:
Back
Top