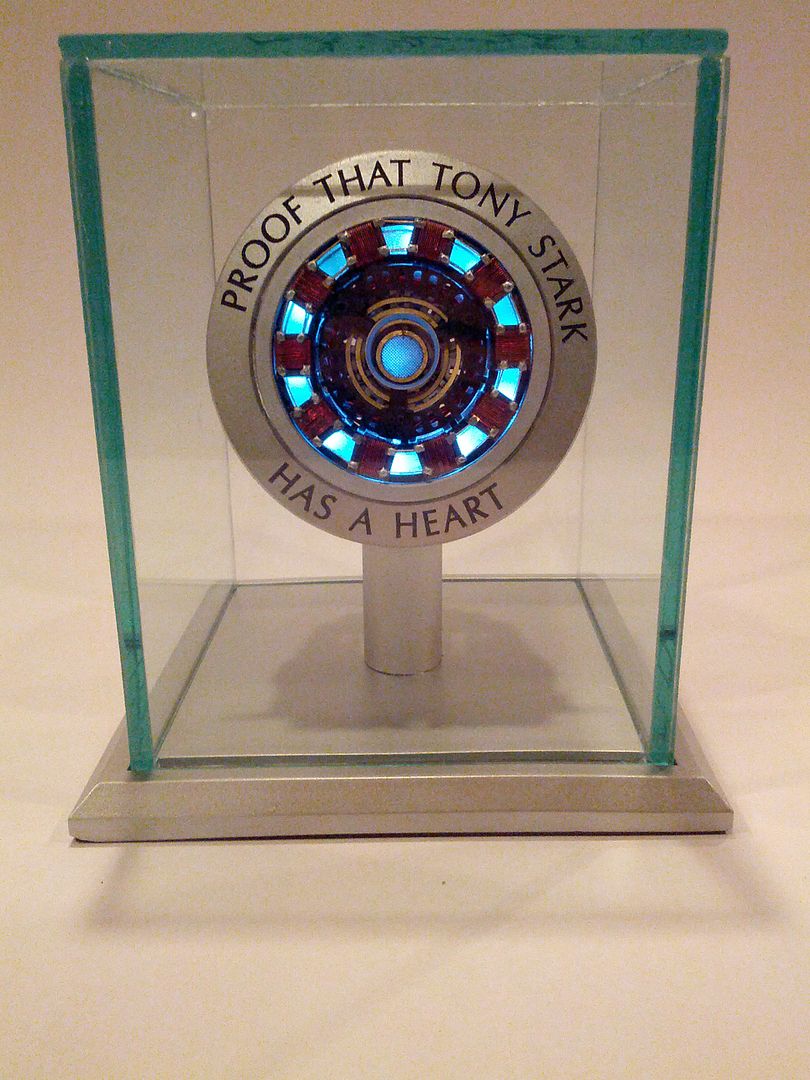
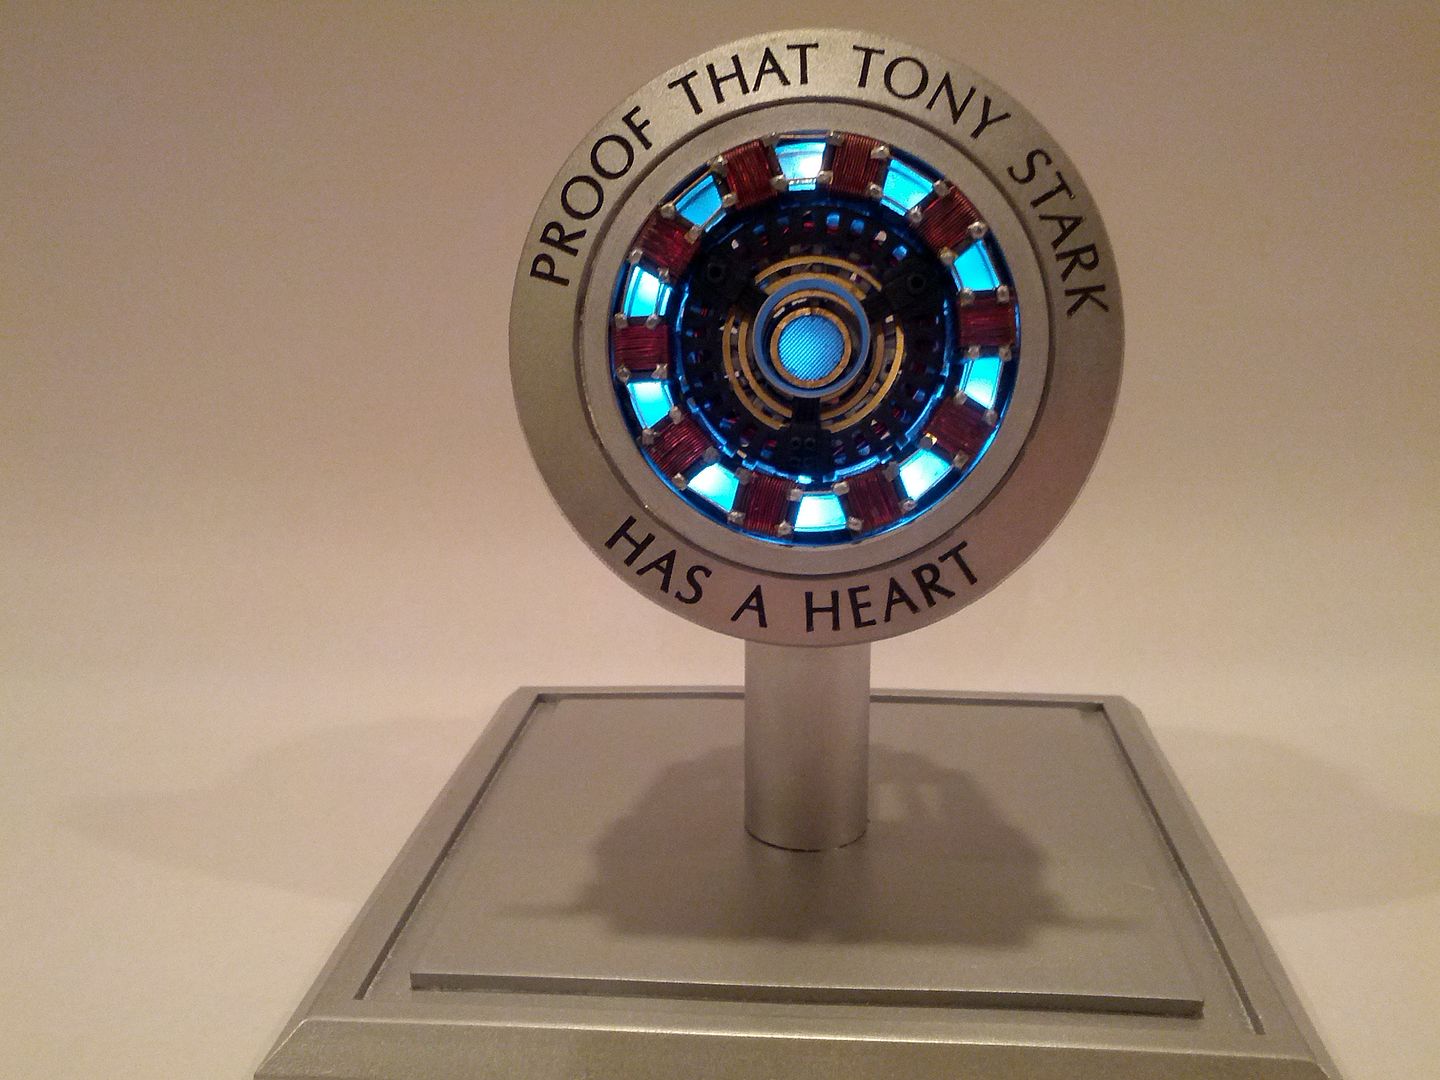
This is something I've been working on since finishing up Throwing Chicken's arc reactor kit (still lack adding battery pack and running wire out of it).
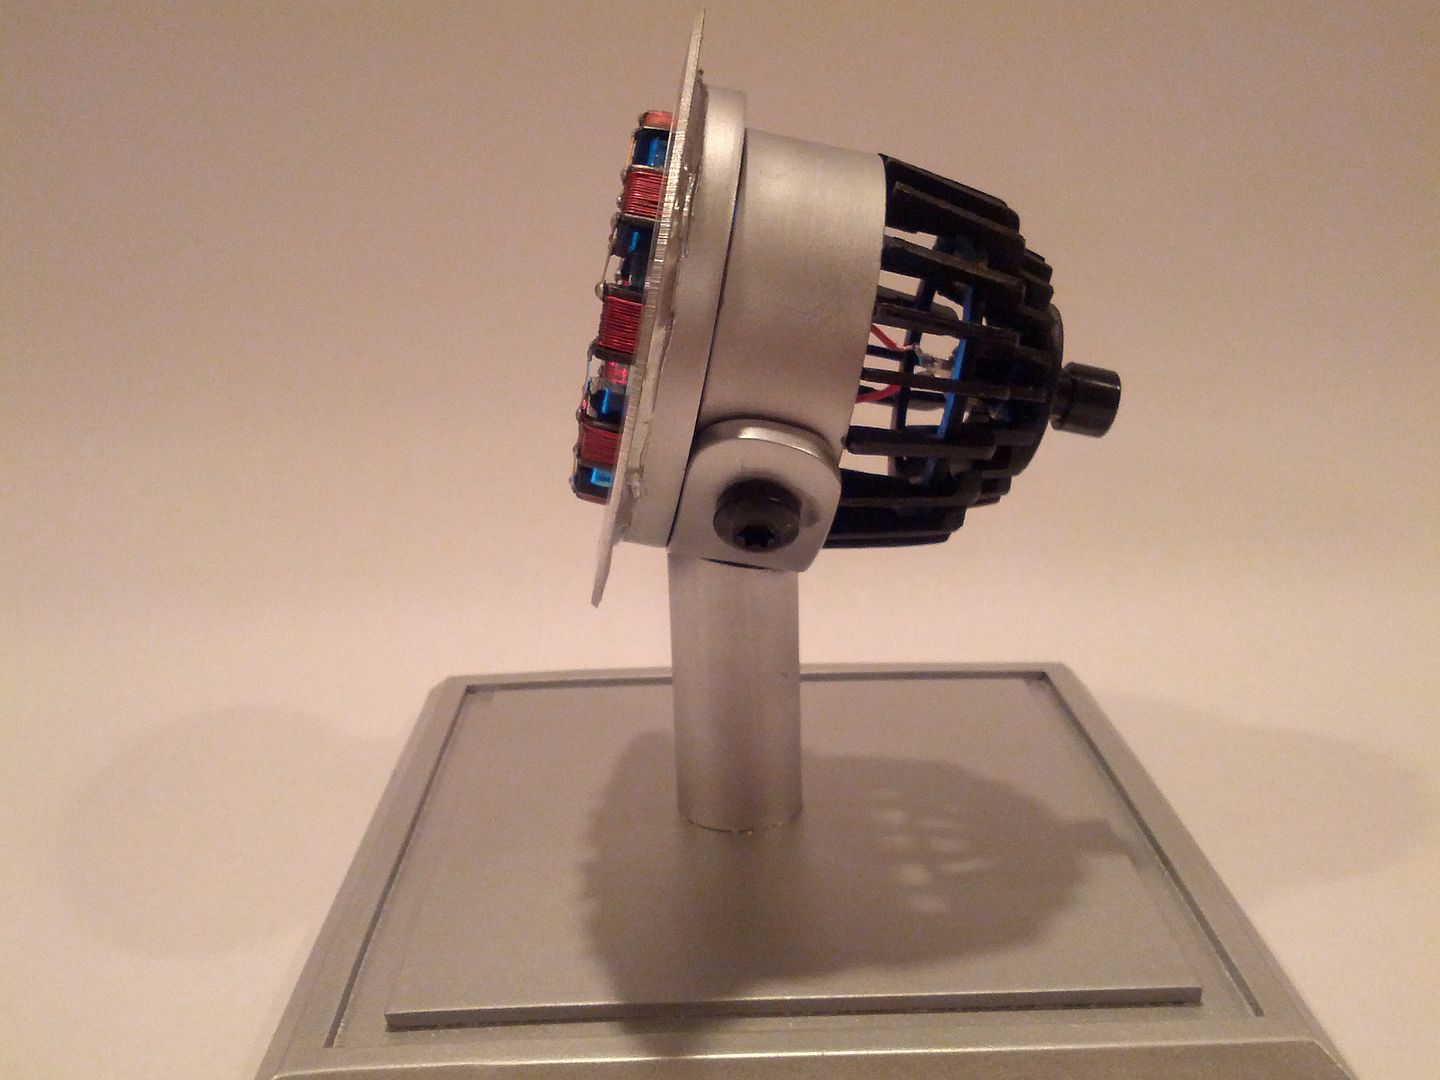
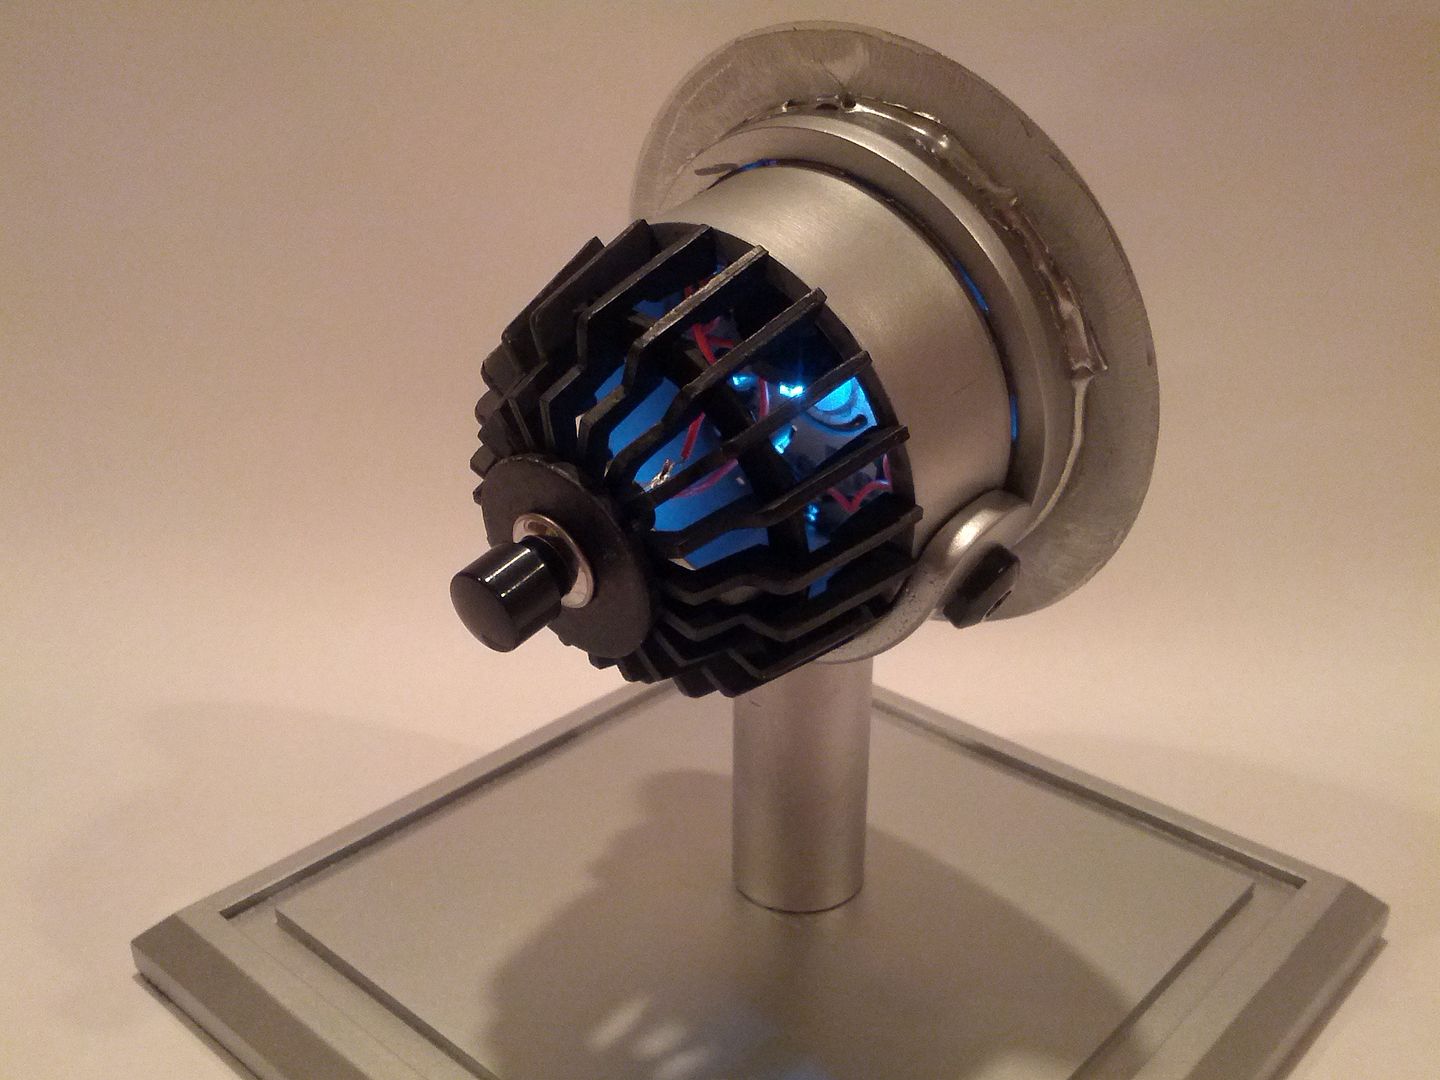
I'm rather pleased with how it turned out, except for the cooling fins. I originally did them to fit directly onto the back of TC's kit, but with the added section on the body of mine, they extend a bit too far. Going to shorten them up at the base and then should have it like I want it.
What I like about mine is that the arc reactor is easily removable from the stand. I did the cradle at an angle, so that they outer ring on TC's kit would prevent it from sliding through the cradle.
Like I said, I haven't ran any wires to it yet. I was contemplating following sgm's lead from here: http://www.therpf.com/f9/ironman-arc-reactor-build-up-my-kit-160614/index4.html#post2541825
I believe it would be possible to place a magnet in the center of the cradle (flush with surface) that is wired to your power source, then placing a magnet in the body of the arc reactor (also flush) that is wired to the LEDs, so that it would do the same as his, when the magnets meet the reactor will power on. This would allow the reactor to still be easily removable and add even more stability to it when simply sitting in the cradle. It would also show no wiring when the arc reactor is out of the case.
Just some things I'm thinking about, let me know what you think.
I'm going next week to check about getting some glass cut for it.


