You are using an out of date browser. It may not display this or other websites correctly.
You should upgrade or use an alternative browser.
You should upgrade or use an alternative browser.
32" Falcon Progress/ more new piccys page 23
- Thread starter tk1608
- Start date
Junk Pilot
Sr Member
Yup. I've got his great Entex castings.
Mark1701
New Member
Started to buy kits a few years ago and still on the hunt. Where do those engine vent rings come from? They look like castings. and how does one make a cockpit I know that it's patterned after a Dixie cup but does anybody know what size? are the answers already post here? Maybe I missed them.
tk1608
Sr Member
My cockpit and engine vent rings were cast/made by Moe,..
Ive seen on another thread that Frank is offering the inner detail casts for the engine vents..have a look..
http://www.therpf.com/f10/32-falcon-grills-174151/
Cheers
Phil
Ive seen on another thread that Frank is offering the inner detail casts for the engine vents..have a look..
http://www.therpf.com/f10/32-falcon-grills-174151/
Cheers
Phil
Re: 32" Falcon Progress/ more new piccys page 21
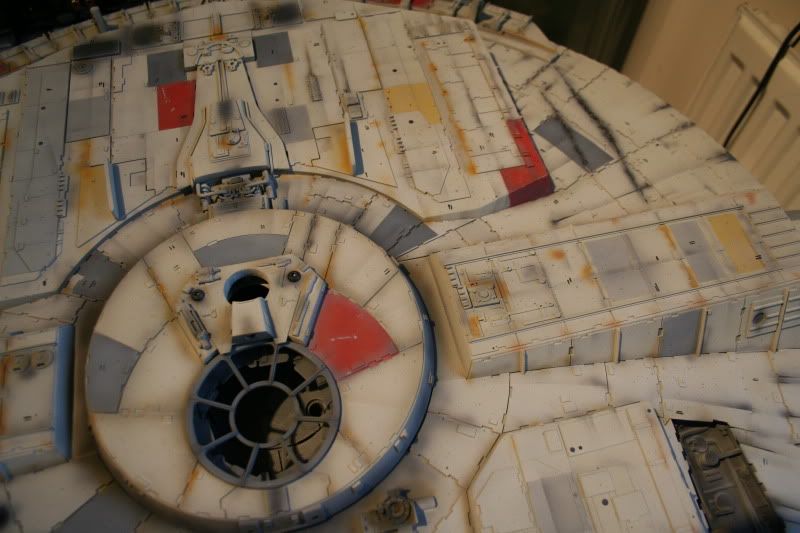
Could you tell me what you used to put all the random tiny little black circles and double lines or markings that are all over the falcon? You can see them in the first couple of images in this post. They don't look like brush strokes.Hey guys, thanks yet again for all the kind words..
Just a few more pics...all painting is done now..even the dreaded splatter..:love

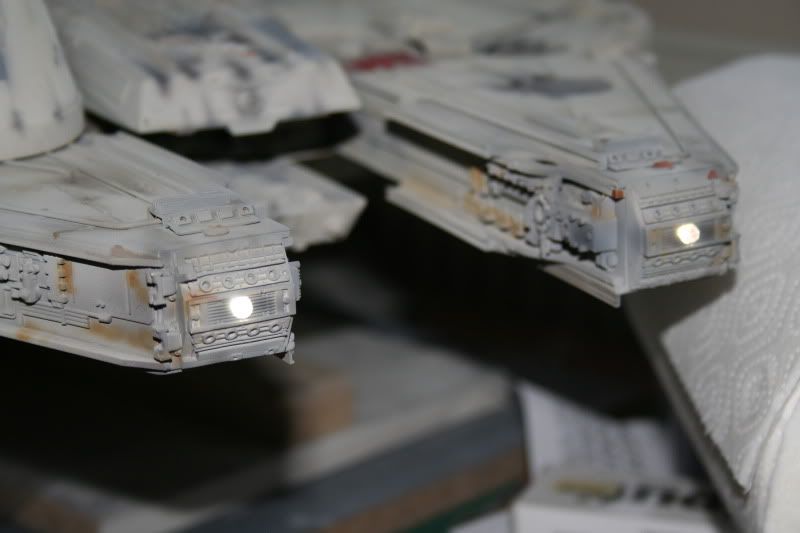
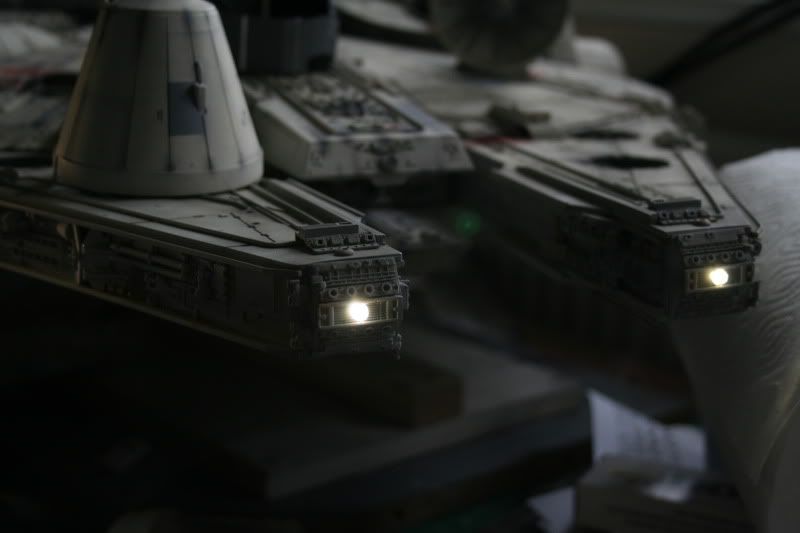
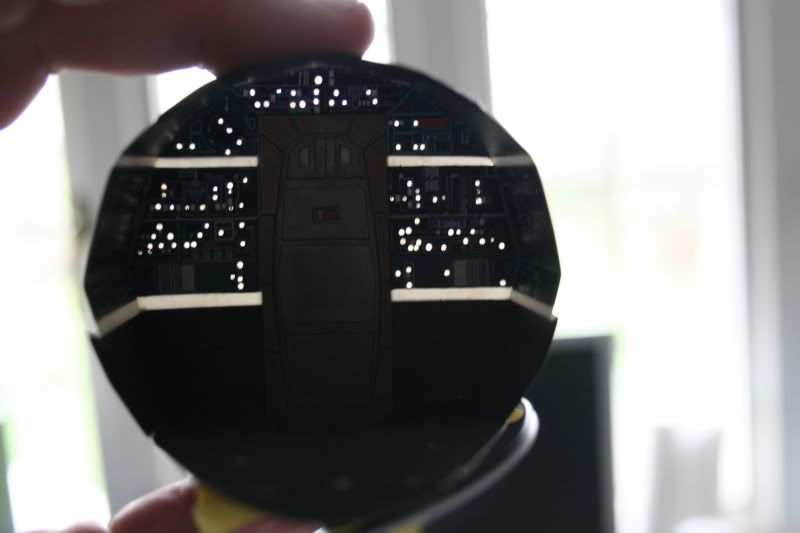
A quick lighting test...they haven't been on for about 3 years.. they still work..:thumbsup
The engine light isn't as bright as I hoped, but anyhoo..pics..
This is to light up the strip lights on the back wall..

so you get this..you get the idea..

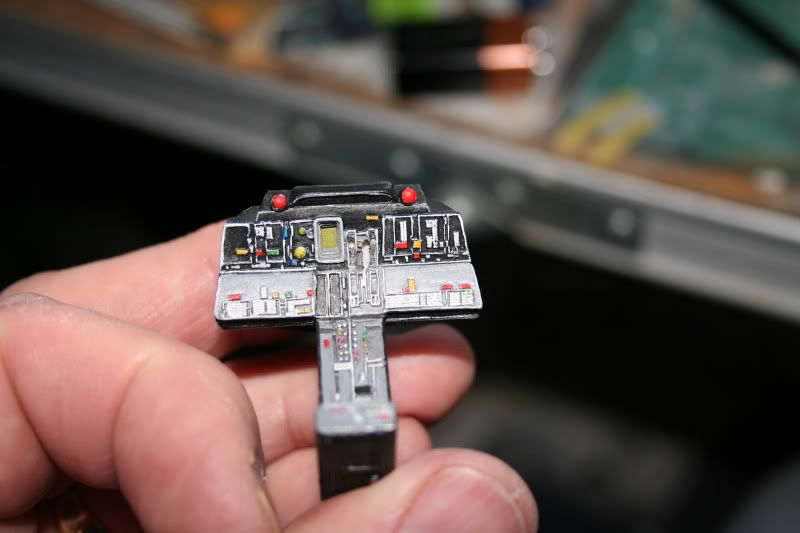
scratched interior
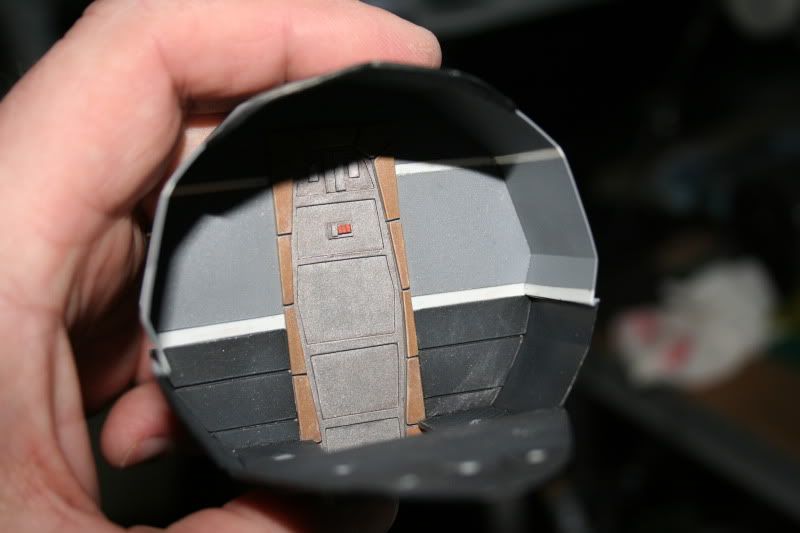
Dashboard..
Ozzy sent me his brilliant graphics, so I printed them out onto decal paper..
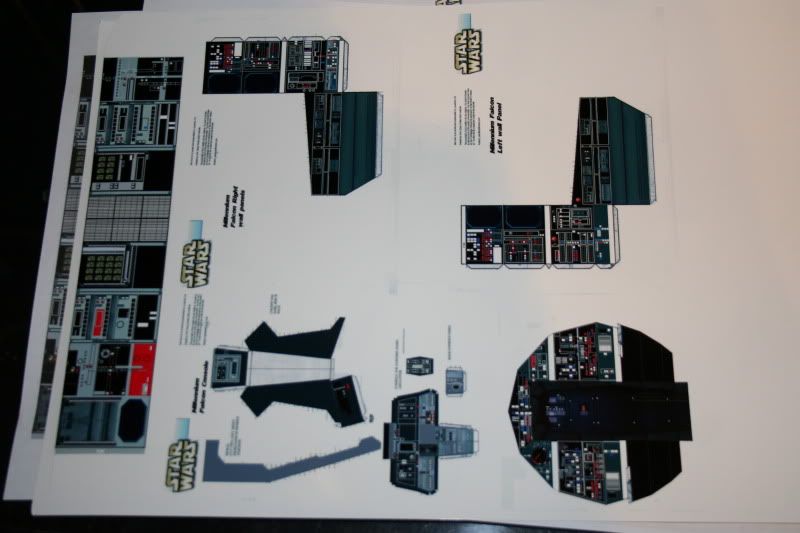
And applied them like this..
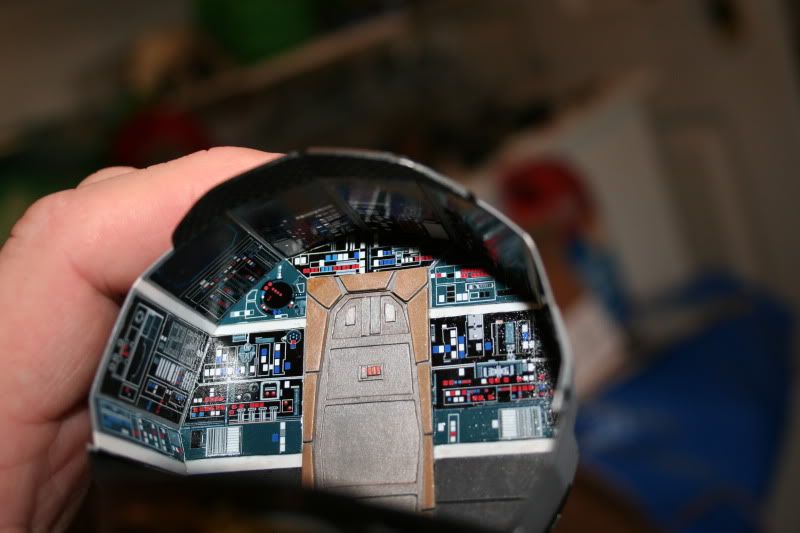
Looks pretty good I reckon..Big thanks to Ozzy..thumbsup
After the decals had dried I dusted a bit of semi flat clear over them. I then made holes in the wall and put fibers in. It's the first time I've ever done this in any model..
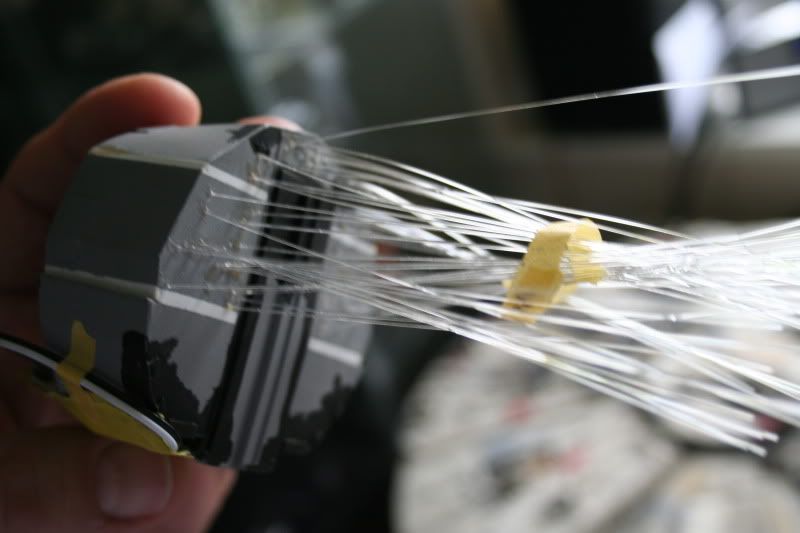
This is it with the light from the window showing where the holes are.
I'm gonna add some red white and blue LEDs to it...hopefully I'll be able to fit them in the space behind the round cabinet light you saw earlier..
Very close to total completion...
Cheers guys
Phil
KeArn
Active Member
It is hard for me to express with words just how impressive this project is...I've been lurking on these boards for a while now, but this thread has pushed me over the edge.
I've built a lot of kits OOB, and even some scratch work in the last 25 years or so, but I've never seen anything that has impressed me as much as this.
I've registered, and wanted my first post to be right here just to pass on my compliments. I even had a "HONEY COME HERE!!!" moment with my wife so I could show her the first pic of that big white template on page 1 versus that beautiful overhead shot a couple of pages back with the Y-Wing up in the corner...just simply stunning.
Thank you for sharing your work with everyone.
Last edited:
3d-builder
Sr Member
Phil that's just stunning you have to be proud of this!!!!:thumbsup
Nicely done!
Last TimeLord
New Member
This is AMAZING! Great work!
imaginager
Sr Member
Nice ride, Phil - and it was a well spent three and a half years!!
derekcwicks
New Member
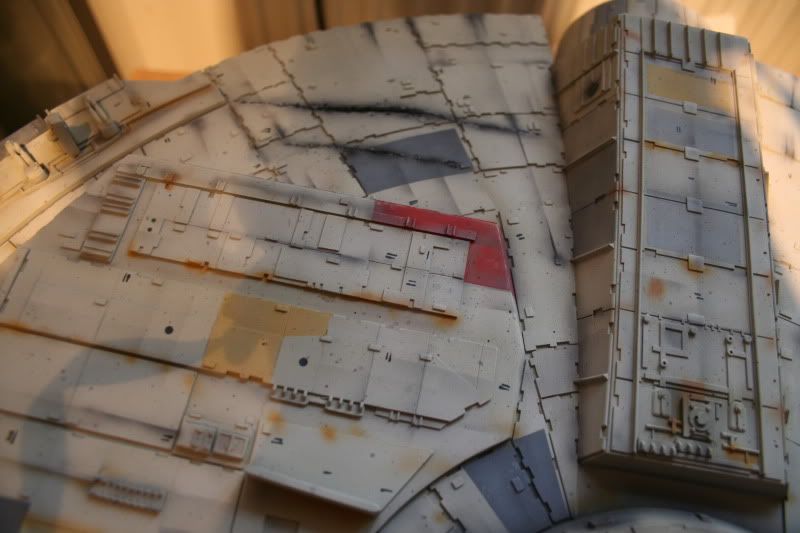
This build was FANTASTIC!!! It really helped me along with my build and inspired me to take the build a lot further then first intended. I have a question, can you please identify this part marked in the red, from which kit or is a combo of parts? Thank you so much, best falcon build I have seen!

Similar threads
- Replies
- 0
- Views
- 338
- Replies
- 4
- Views
- 610