KingsKnight
Active Member
Pants
Sorry this will be pic heavy. I finally finished the pants, and it was a lot more work than I thought it would be. I'm going to gloss over some details, but hopefully you get the idea.
(Before I started this costume, I actually found some very similar pants in the right color at a vintage store, but they were way too big. If anyone is interested, the brand was 'H Bar C' and it was part of a 'California Ranchwear' line. You can find them on ebay. The pants looked almost identical, except there was no piping. Since I couldn't get it in my size, I had to make the whole thing from other pants.)
I started with a pair of pajama pants I got from a thrift store. Not the best base to start with, but they were the only ones I could find in the right color, and for super cheap.
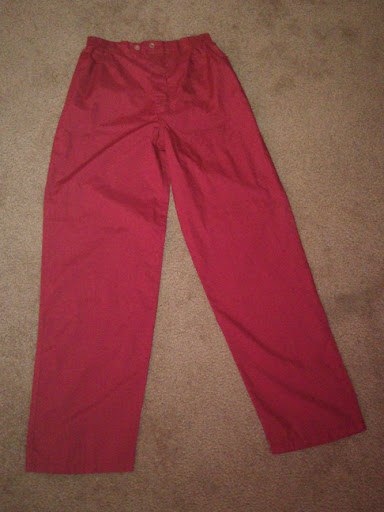
I knew I was going to need extra material to make the pockets and the belt loops, so I found some pretty close to the same color. The picture actually makes it look like the same color, but the material I found was actually darker. You'll see it in later pics.

The first real step was removing all the elastic from the pants since it made it sit funny when wearing it.

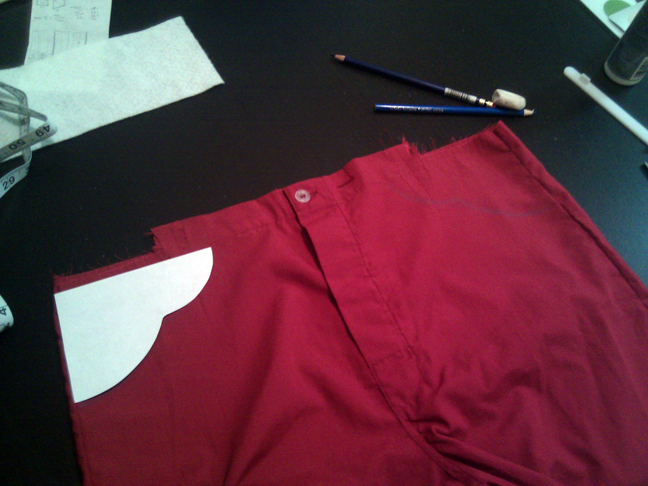
I planned out where I would cut out the unique front pockets.
Here I attached the piping, and ran it all the way from the top of the pocket and down the leg.
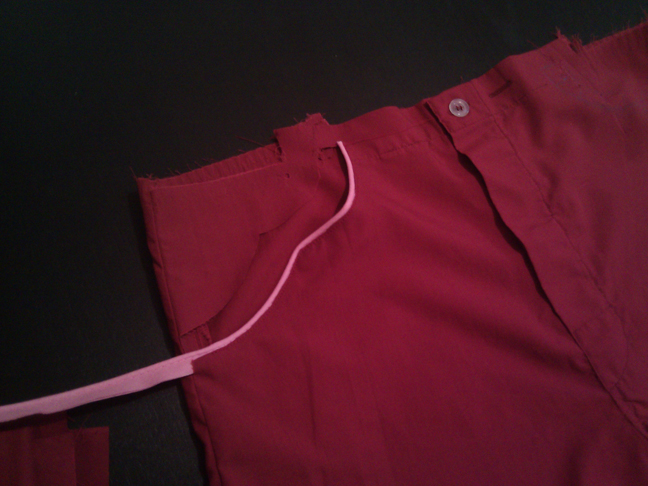
Here you can see the length of the piping down the leg. At this point I also created a new top piece for the pants, where the belt loops would attach. But before I that I had to make the pockets, since they were just holes for the moment.
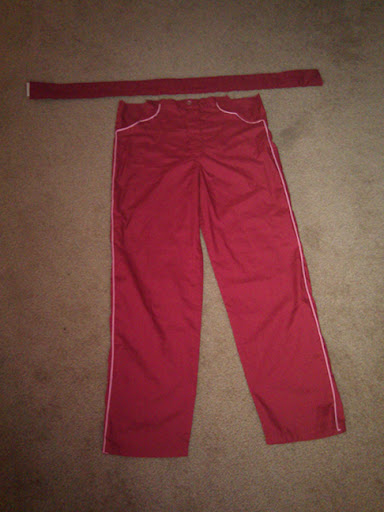
The pockets were not as easy as I thought they would be, but I eventually got them in place and sewed it up. After, I attached that top piece I made earlier. This made the whole top look nice and clean. You can see the color difference of the materials here.
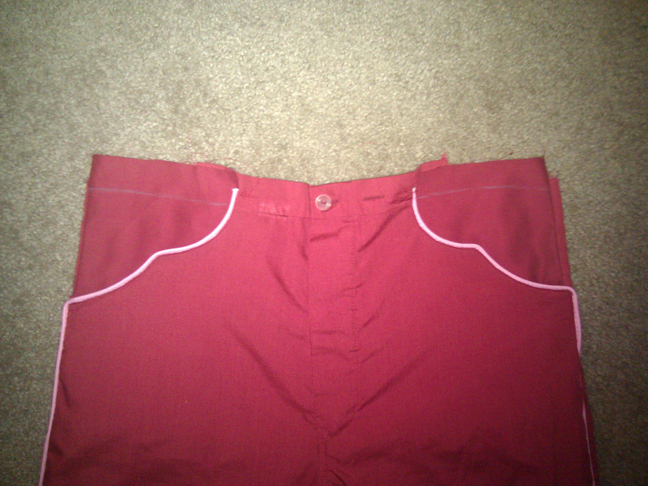

Next up, the back pockets. The pockets are just a folded rectangle of material, and then I sandwiched piping in between. The important step was to sew the piping on the bottom lip of the pocket first so as to avoid sewing the pocket shut. Then sew the piping on the top lip with the back of the pocket in place.
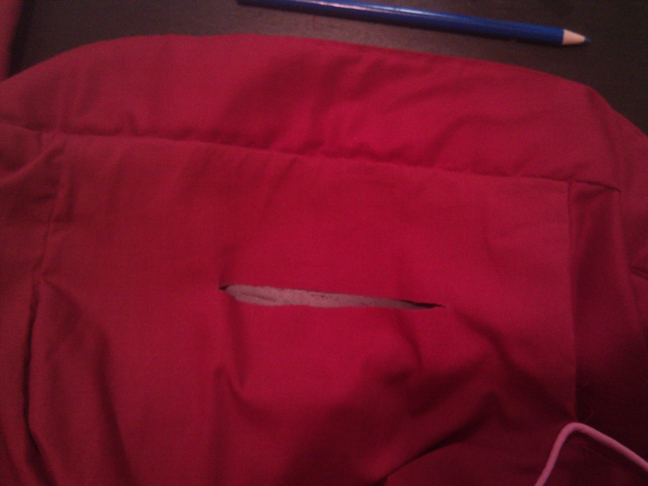

Inside view:

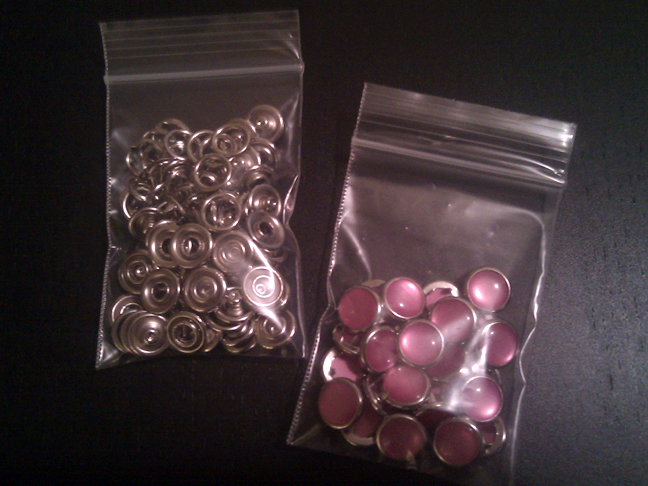
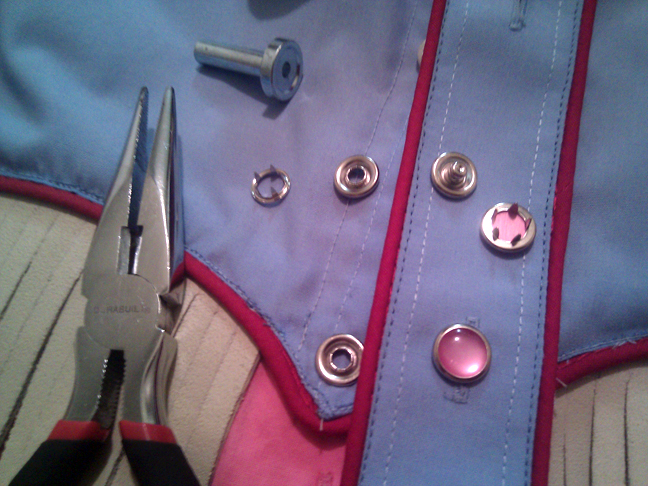
One of the back pockets has a little tab with a snap button on it. I bought a kit which let me add a snap button without sewing.
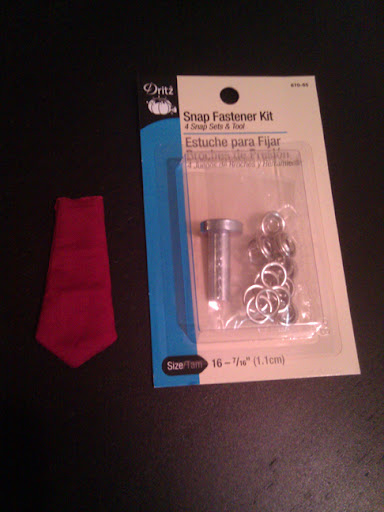

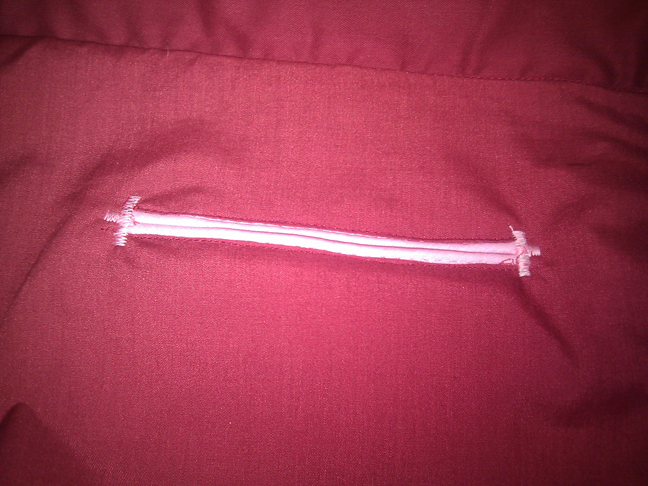
Then I reinforced each back pocket corner just like the pants in the movie.
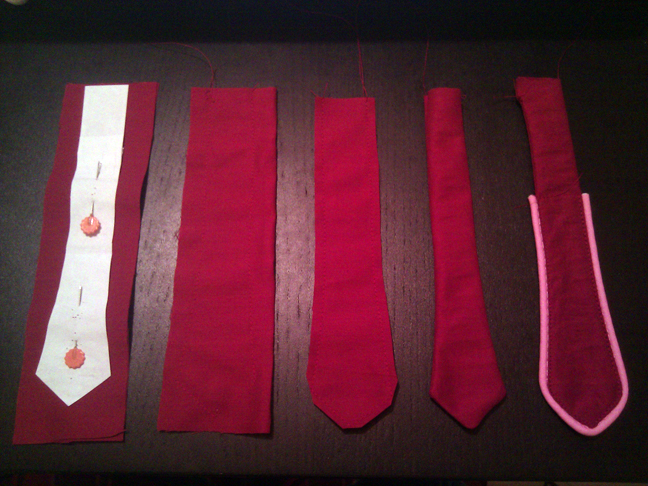
The belt loops are probably the most recognizable parts of the pants, so I was looking forward to getting to them when I started. Who knew they would be the last thing to do on the pants. Here are the stages of making one belt loop (pattern, stitch, trim, inside-out, piping).
I attached the belt loops to finish off the pants.

Sorry this will be pic heavy. I finally finished the pants, and it was a lot more work than I thought it would be. I'm going to gloss over some details, but hopefully you get the idea.
(Before I started this costume, I actually found some very similar pants in the right color at a vintage store, but they were way too big. If anyone is interested, the brand was 'H Bar C' and it was part of a 'California Ranchwear' line. You can find them on ebay. The pants looked almost identical, except there was no piping. Since I couldn't get it in my size, I had to make the whole thing from other pants.)
I started with a pair of pajama pants I got from a thrift store. Not the best base to start with, but they were the only ones I could find in the right color, and for super cheap.

I knew I was going to need extra material to make the pockets and the belt loops, so I found some pretty close to the same color. The picture actually makes it look like the same color, but the material I found was actually darker. You'll see it in later pics.

The first real step was removing all the elastic from the pants since it made it sit funny when wearing it.

I planned out where I would cut out the unique front pockets.

Here I attached the piping, and ran it all the way from the top of the pocket and down the leg.

Here you can see the length of the piping down the leg. At this point I also created a new top piece for the pants, where the belt loops would attach. But before I that I had to make the pockets, since they were just holes for the moment.

The pockets were not as easy as I thought they would be, but I eventually got them in place and sewed it up. After, I attached that top piece I made earlier. This made the whole top look nice and clean. You can see the color difference of the materials here.


Next up, the back pockets. The pockets are just a folded rectangle of material, and then I sandwiched piping in between. The important step was to sew the piping on the bottom lip of the pocket first so as to avoid sewing the pocket shut. Then sew the piping on the top lip with the back of the pocket in place.


Inside view:

One of the back pockets has a little tab with a snap button on it. I bought a kit which let me add a snap button without sewing.


Then I reinforced each back pocket corner just like the pants in the movie.

The belt loops are probably the most recognizable parts of the pants, so I was looking forward to getting to them when I started. Who knew they would be the last thing to do on the pants. Here are the stages of making one belt loop (pattern, stitch, trim, inside-out, piping).

I attached the belt loops to finish off the pants.


