Jhonny Matiu
Active Member
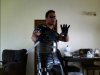
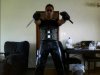
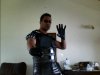
Re: Blade / Daywalker Costume.....so far
thanks man, glad it was of some help to ya. I was actually considering doing exactly the same thing for the webbing too lol. Yeah I found it pretty hard trying to find something to follow which is why I kinda ended up doing my own take on it, but I wish you the best of luck with your build and can't wait to see how it goes dude.
There's a guy I found on FB that's done the vest 3 times over now, and he's pretty much got it down pat. His names Raymond Ramos, and his photos show his progression towards it, really cool stuff (wish I hadda found him closer to completing my own version lol). That may help with more reference if ya can find him.
- - - Updated - - -
cheers man, am already thinking about a photoshoot haha (kidding lol)
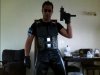
Awesome work.........Jhonny Matiu
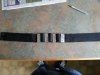
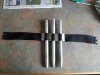
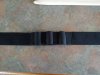
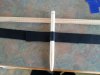
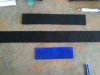
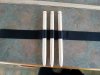
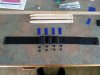
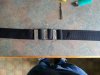
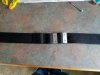
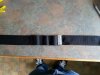
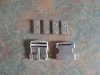
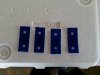
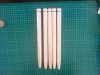
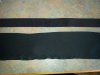
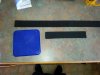
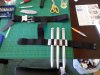
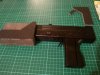
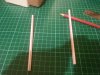
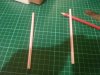
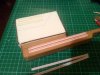
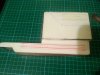
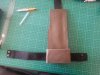
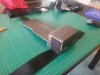
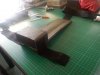
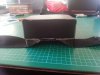
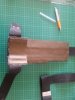
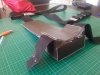
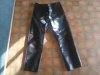
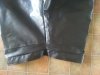
Your Blade Vest looks pretty good, and your sewing skills are pretty impressive my friend. Just like you I'm a Blade fan and for several months i've been doing my own research in order to construct a close to possible movie accurate Blade ammo vest. Thanks to your tread I'll probably be utilizing your technique of the red stripe down the center of the webbing straps. On some of the sample webbing straps that I did. I just stitched red stitch down the center of the webbing and re-stitched the center several times over, but I think your method displays the red line very movie accurate.
thanks man, glad it was of some help to ya. I was actually considering doing exactly the same thing for the webbing too lol. Yeah I found it pretty hard trying to find something to follow which is why I kinda ended up doing my own take on it, but I wish you the best of luck with your build and can't wait to see how it goes dude.
There's a guy I found on FB that's done the vest 3 times over now, and he's pretty much got it down pat. His names Raymond Ramos, and his photos show his progression towards it, really cool stuff (wish I hadda found him closer to completing my own version lol). That may help with more reference if ya can find him.
- - - Updated - - -
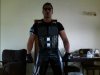
Really nice job -- and great attitude in the pics, even with out all the props. =)
cheers man, am already thinking about a photoshoot haha (kidding lol)


")