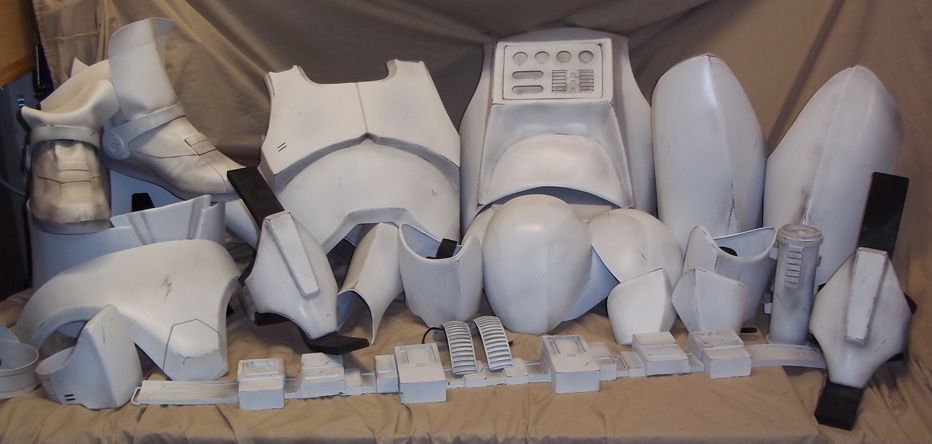
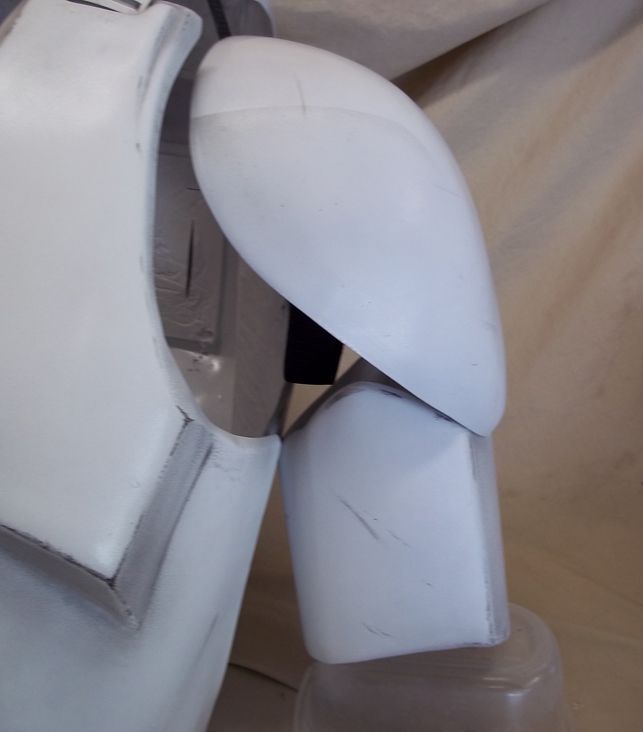
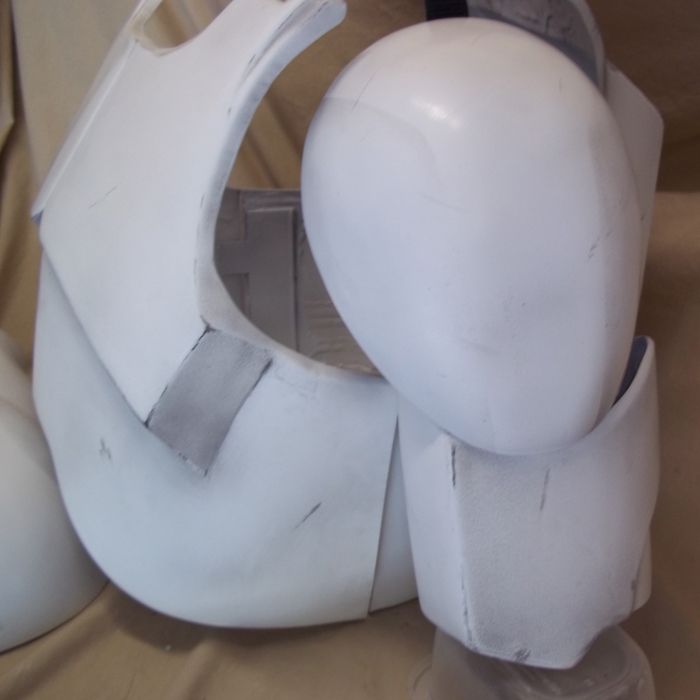
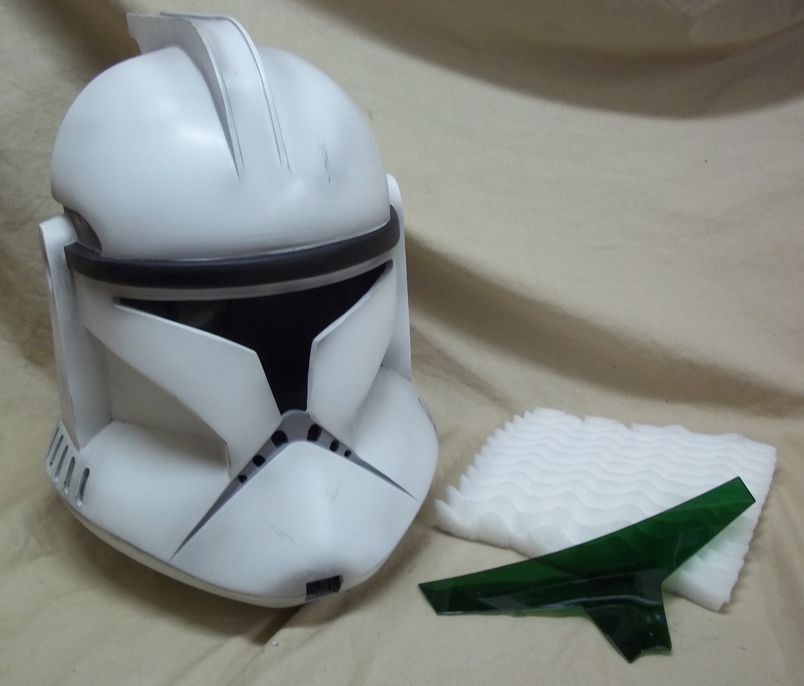
C6 Clonetrooper tutorial and build from head to toe!

Moving right along now we are going to primer and paint or helmets. I am also going to paint a E3 helmet along with the E2 helmet.
First we will primer the helmets. If you see any problems here, now is the time to fix them. You may need to do some more sanding or use some spot putty or Bondo to clean up any blemishes in your helmet.
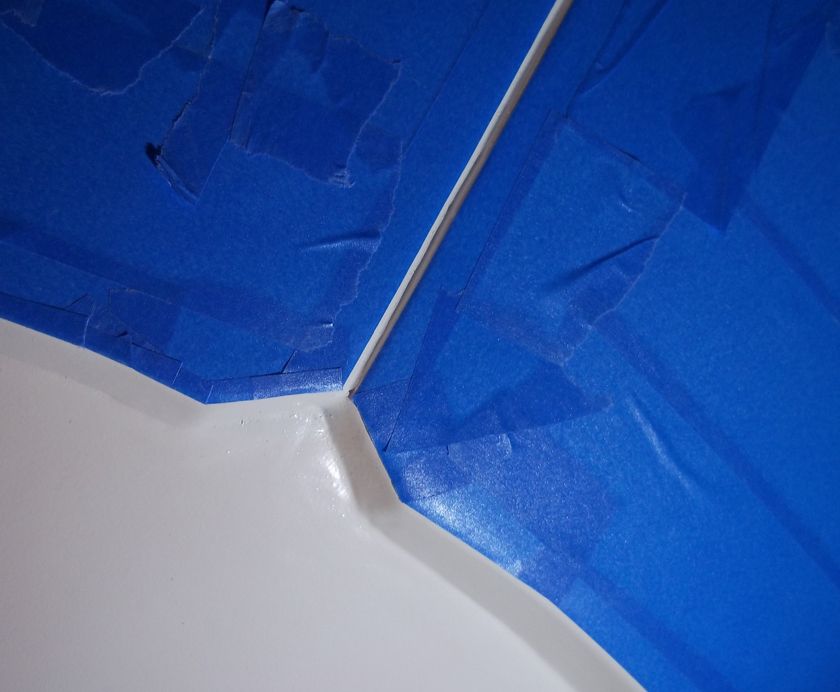
Once the helmets are primered and looking good, we are going to paint them white. At this point I tape out everything that will be grey on the helmet (with exception to the mouth area).You will need some good quality painters tape for this.
day26-23.jpg

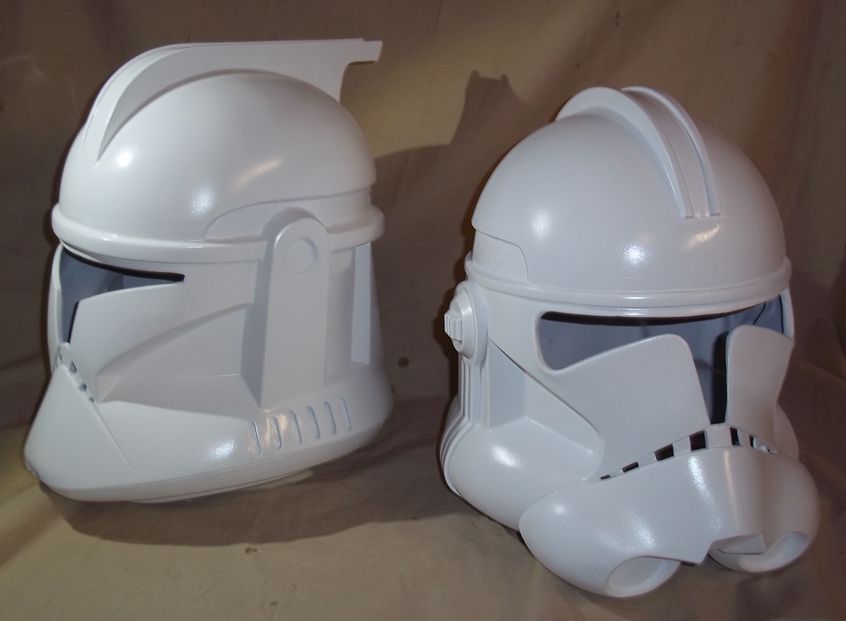
Now we will paint the helmets white. Since the E2 is now in two pieces you will paint them that way. The photo below show the E2 as one piece but I did not put it back together until the white paint was good and dry.
day26-24.jpg

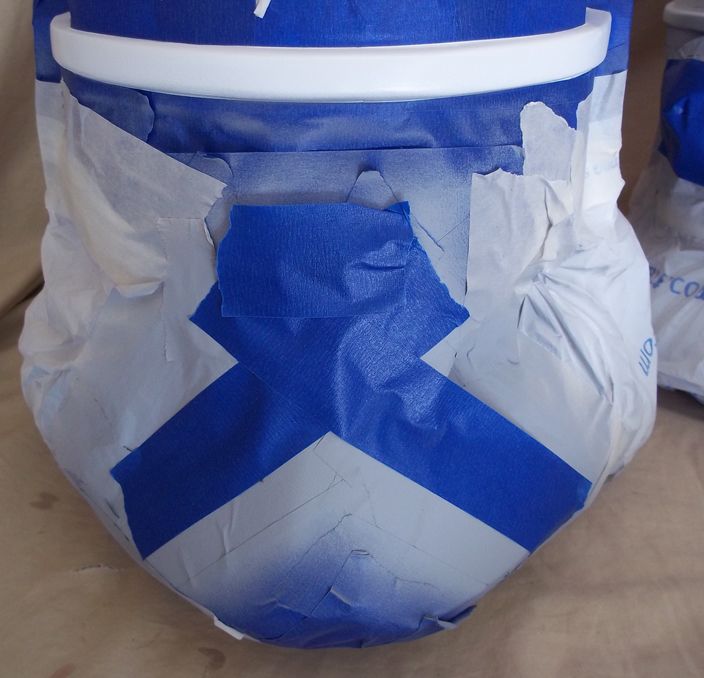
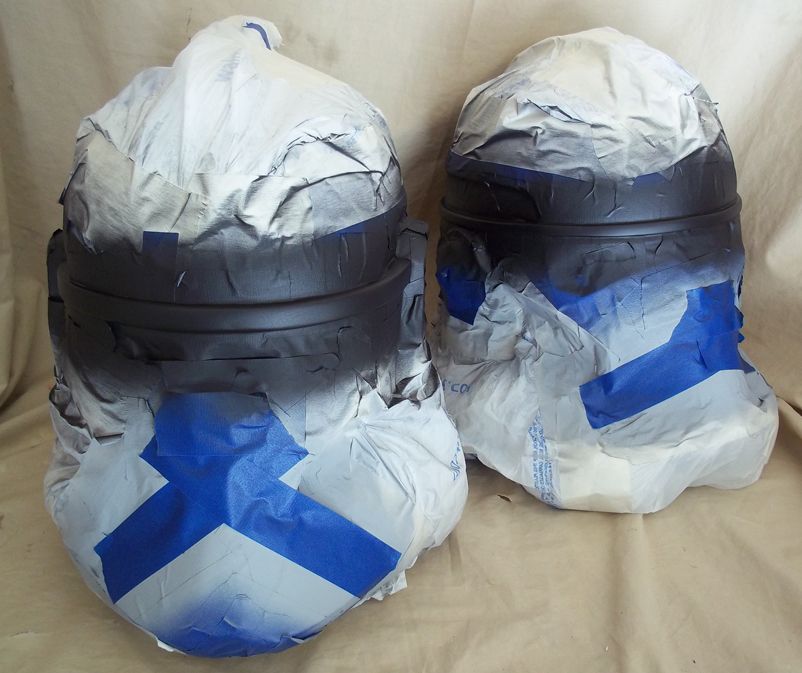
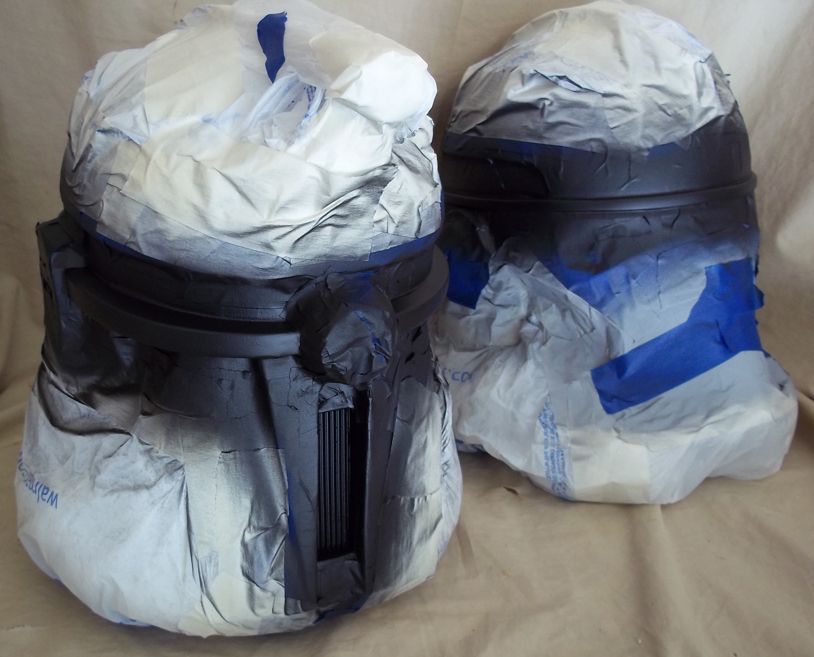
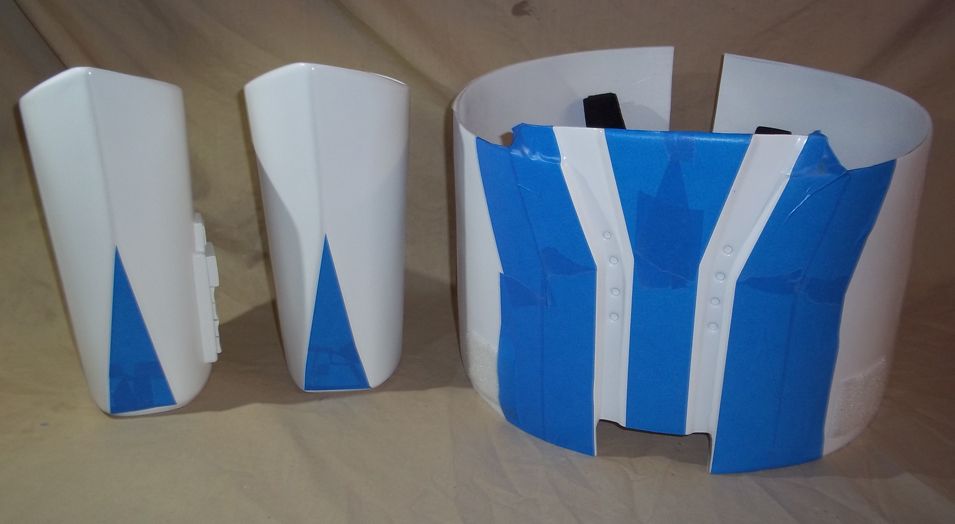
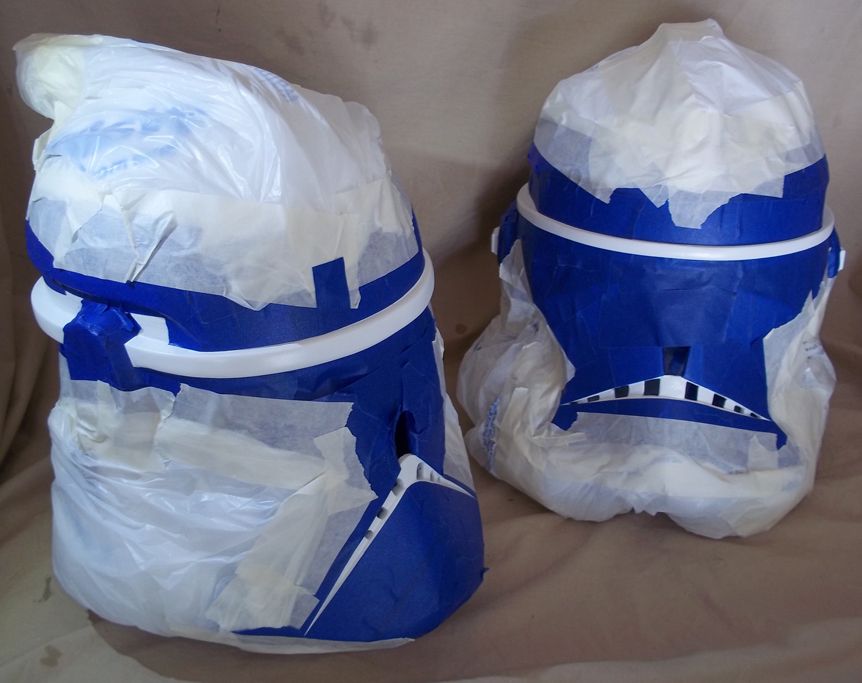
Once the white is good and dry we will move onto the black areas and the grey mouth. Tape off everything that is going to stay white. Make sure when taping to do a real through job. The black has a funny way of sneaking into the small areas that are not taped of very well.
day26-25.jpg

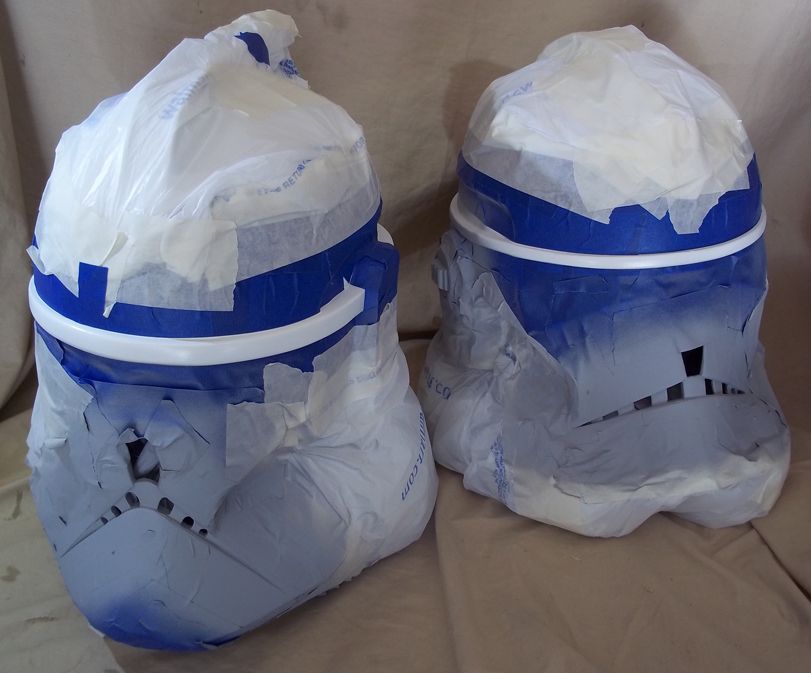
Paint the mouth area’s grey and after they dry, tape them off.
day26-26.jpg

day26-27.jpg

Paint the remaining areas black.
day26-28.jpg

\
day26-29.jpg

Once dried, remove the tape and see how it turned out. Don't worry, any small area’s with black overspray can be cleaned up with some fine sand paper.
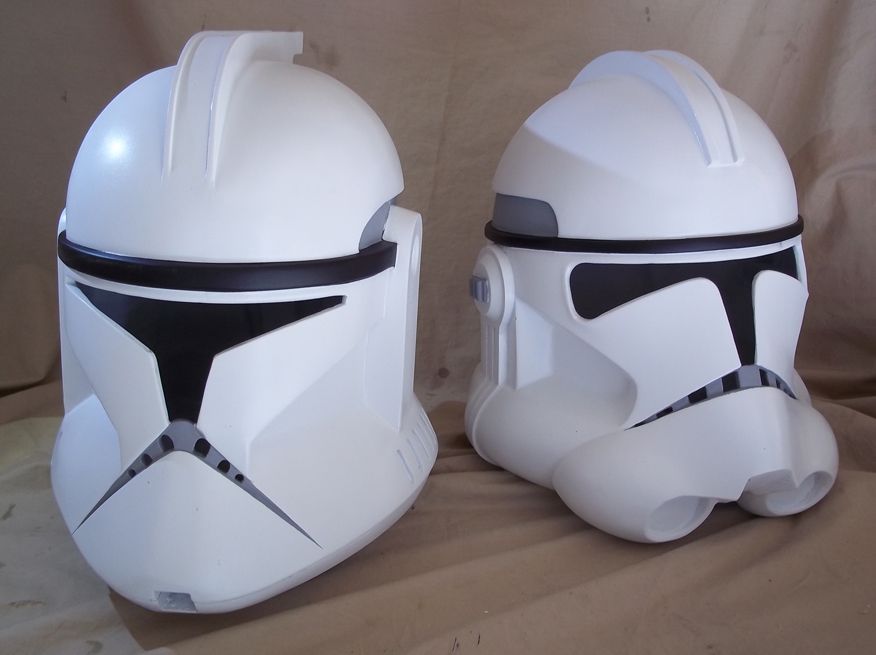
day26-30.jpg
 
Threads like this are so helpful to really let others see and feel how to get a project like this done great job. And you are local!
 
Your helmet is probably looking good but we still have a few more things to do to finish it.
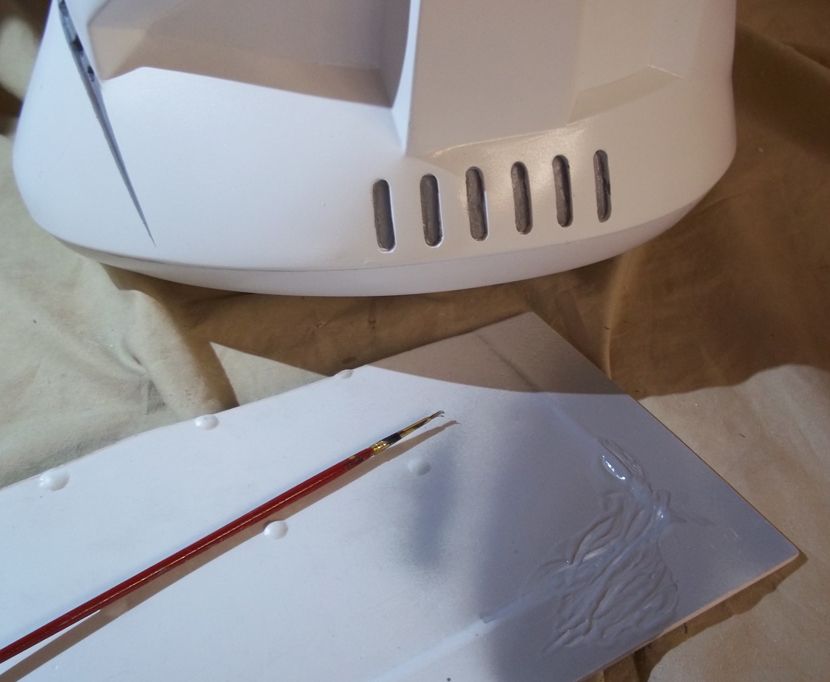
First we are going to paint the tube stripes on the E2 helmet grey. Spray some primer on the corner of plastic or carboard. Hand paint with a brush. This technique also works well in touching up the white and black areas on the helmet.
day26-31.jpg

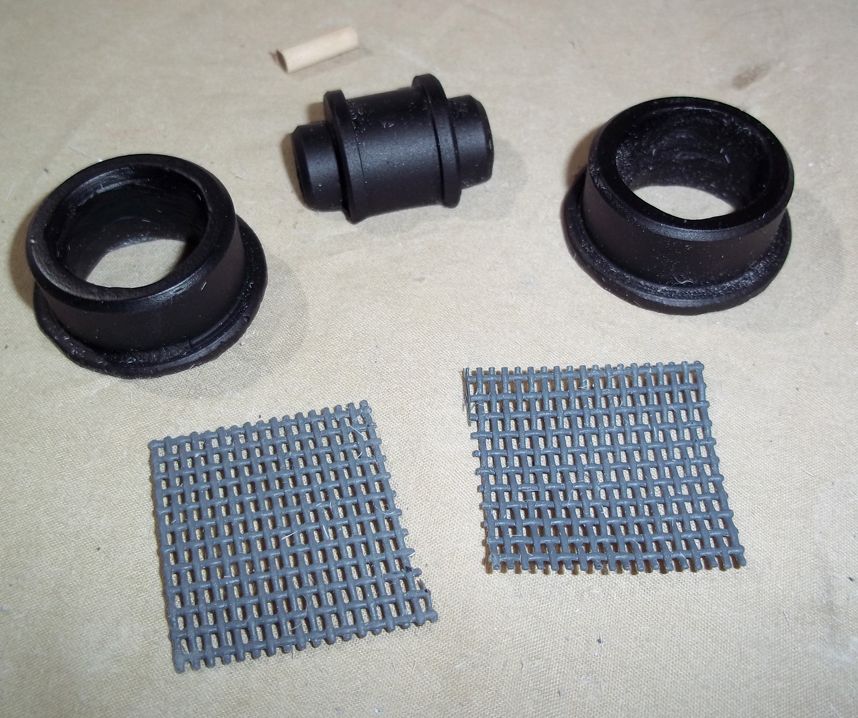
Now we will add the various loose greeblies to the helmets. Primer and paint the items flat black.
day26-32.jpg

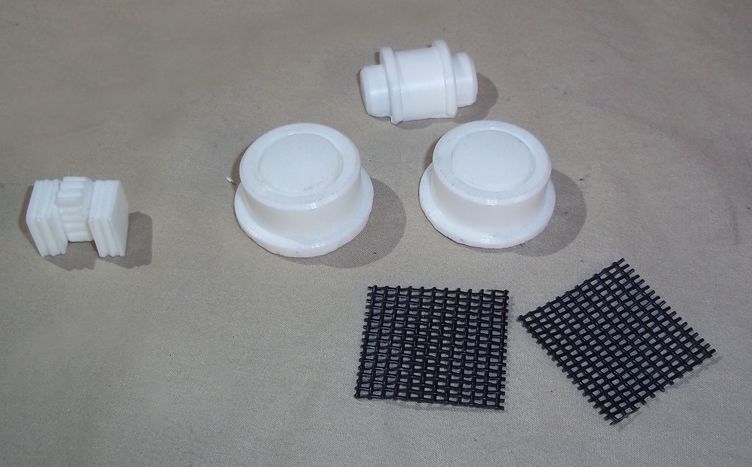
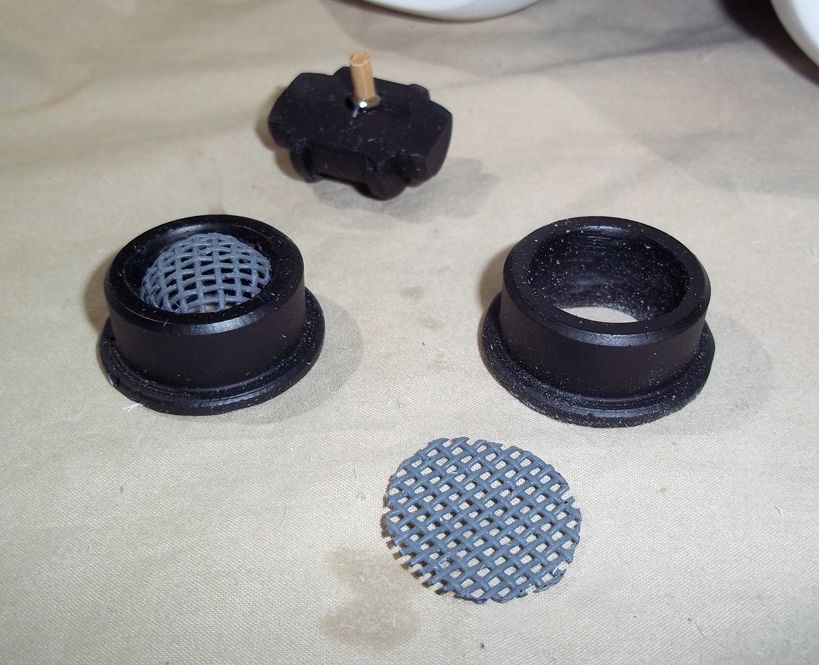
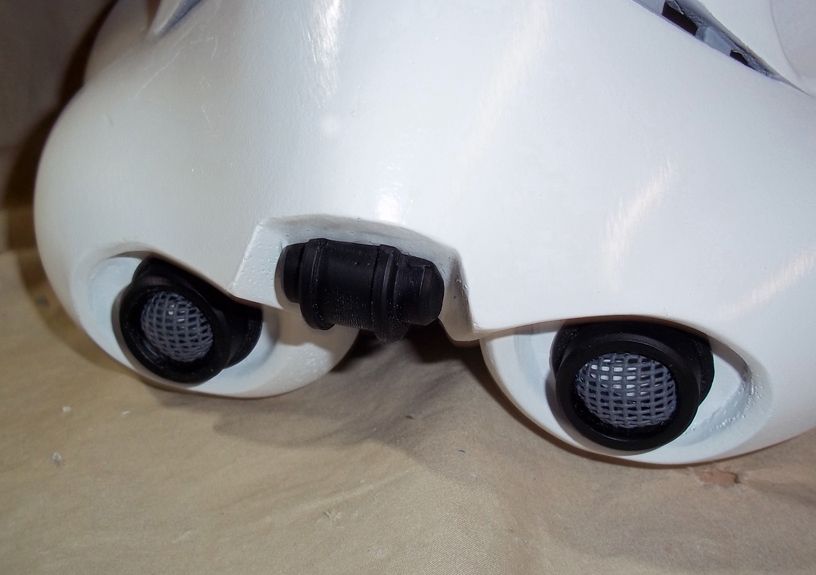
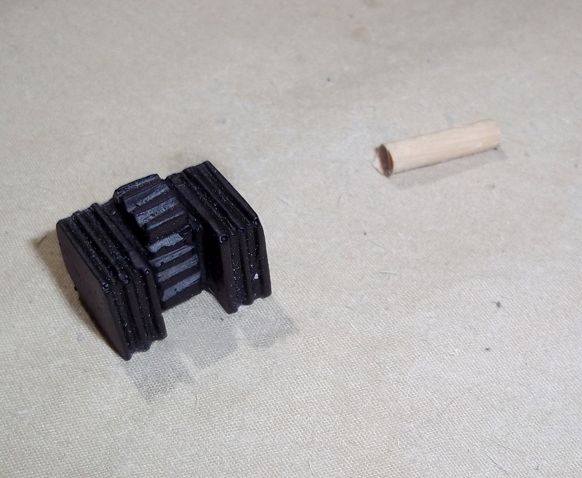
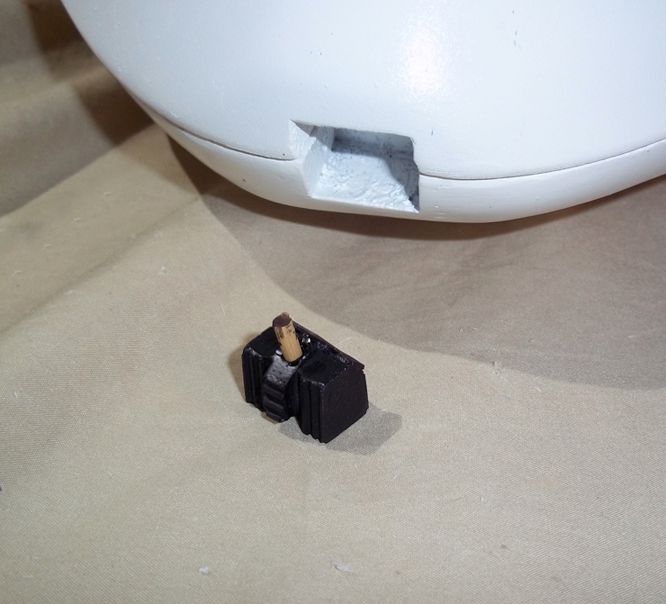
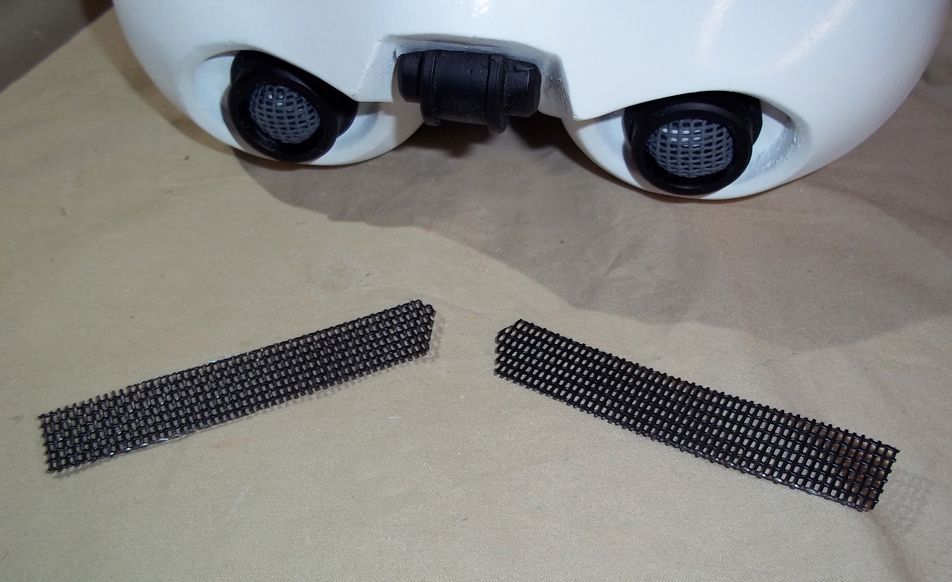
First we will add the greeblies to the E3 helmet. I add a small dowel to the center chin piece. It gives it a little more stability and less chance of it getting knocked off. I also like to drill the center out of the aerators and add screen to the inside. It’s not exactly screen accurate but it gives them a nice look.
day26-33.jpg

day26-34.jpg

day26-35.jpg

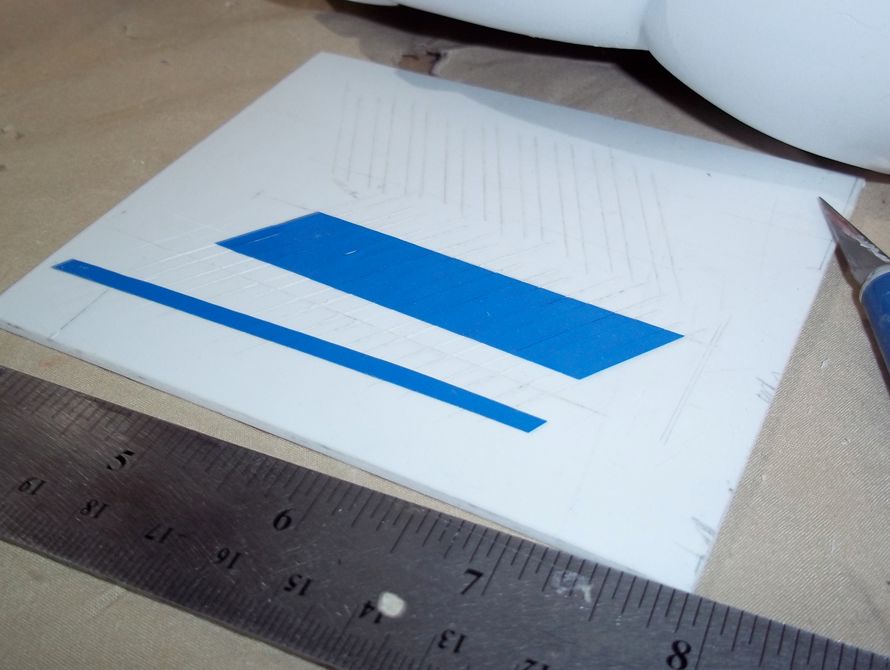
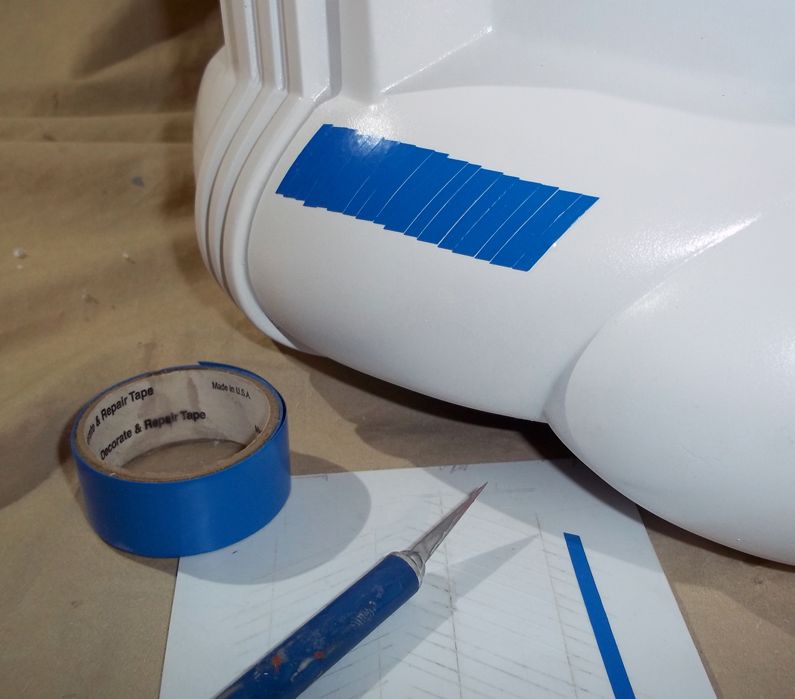
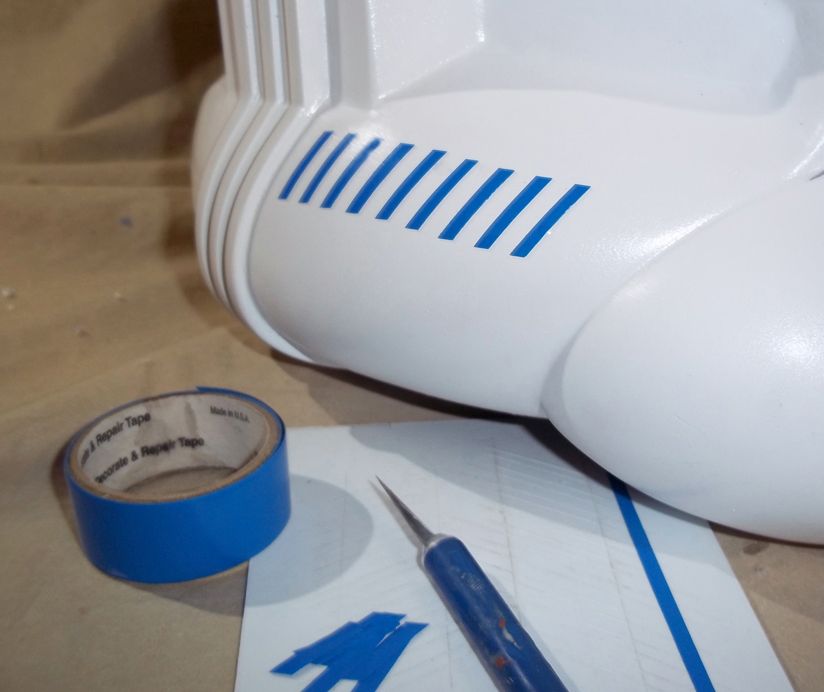
I add my tube stripes with a file I created in adobe illustrator. I then use blue electrical tape with my template. Please PM me if you would like a PDF copy for timming out the tube stripes.
day26-36.jpg

day26-37.jpg

day26-38.jpg

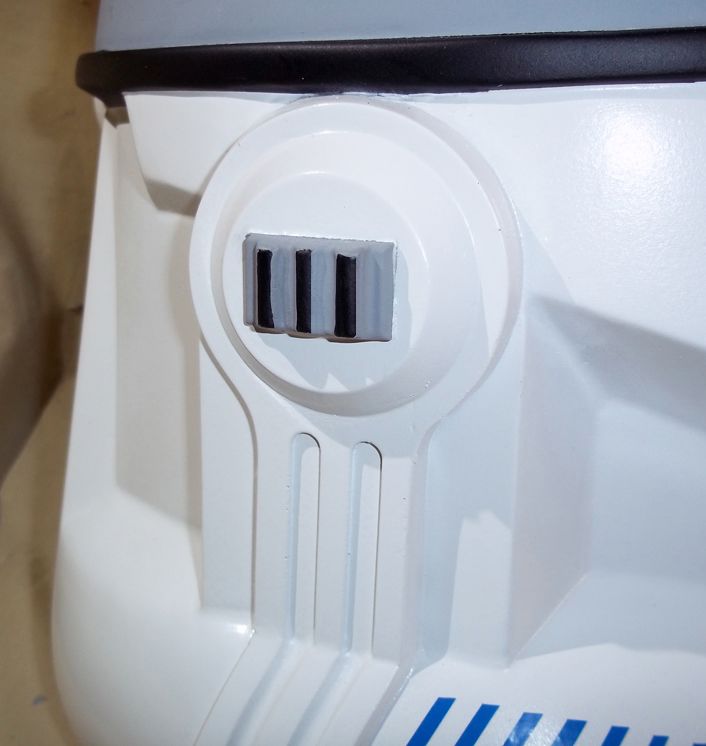
Finish off the E3 helemt by hand painting the black on the ears.
day26-39.jpg
 
Last edited:
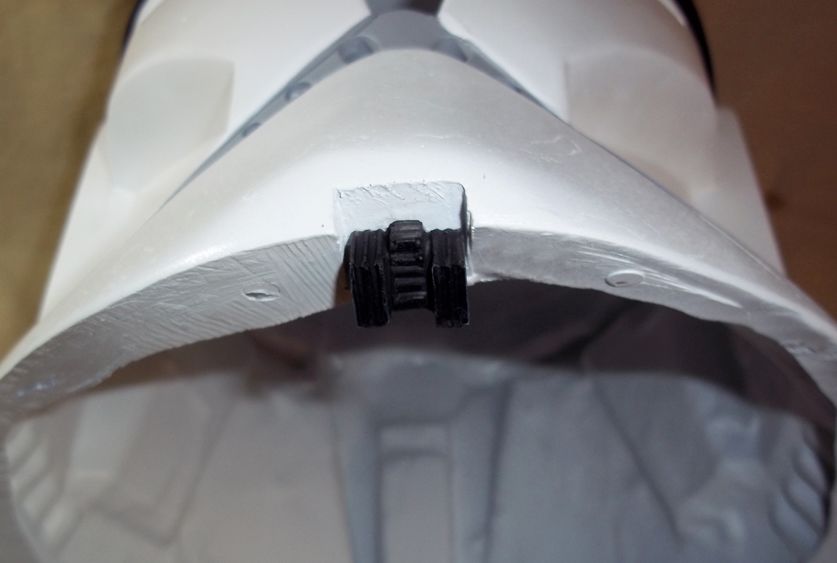
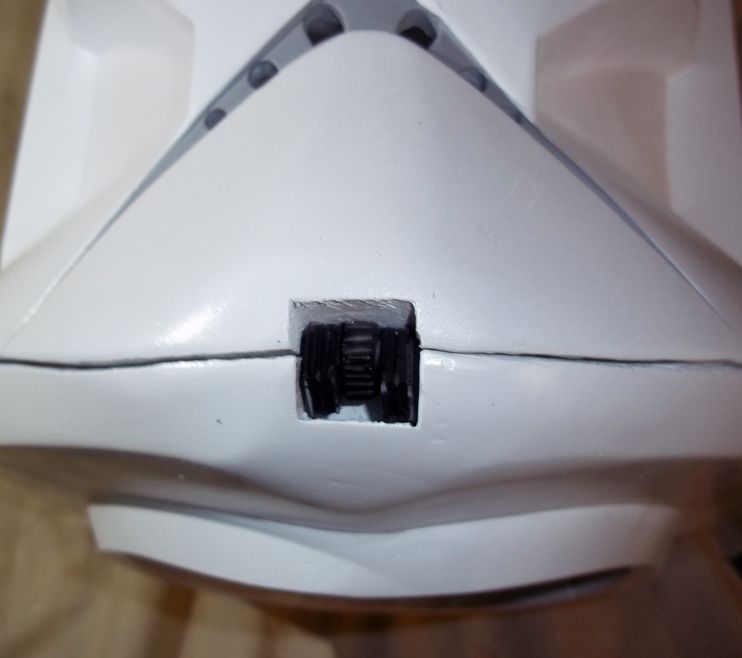
Now we will add the chin greeblie to the E2 helmet. Like before, I add a small dowel to help keep it in place. Since this is two piece helmet their is a greater chance of this being knocked off while trooping.
day26-40.jpg

day26-41.jpg

day26-42.jpg

day26-43.jpg

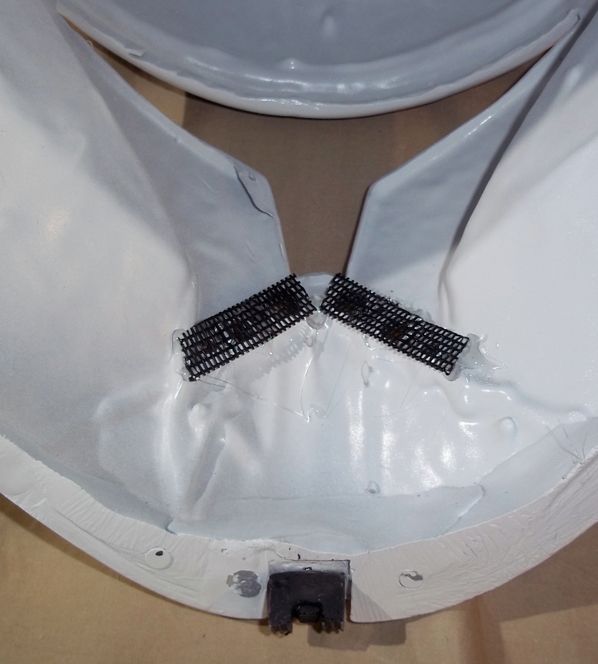
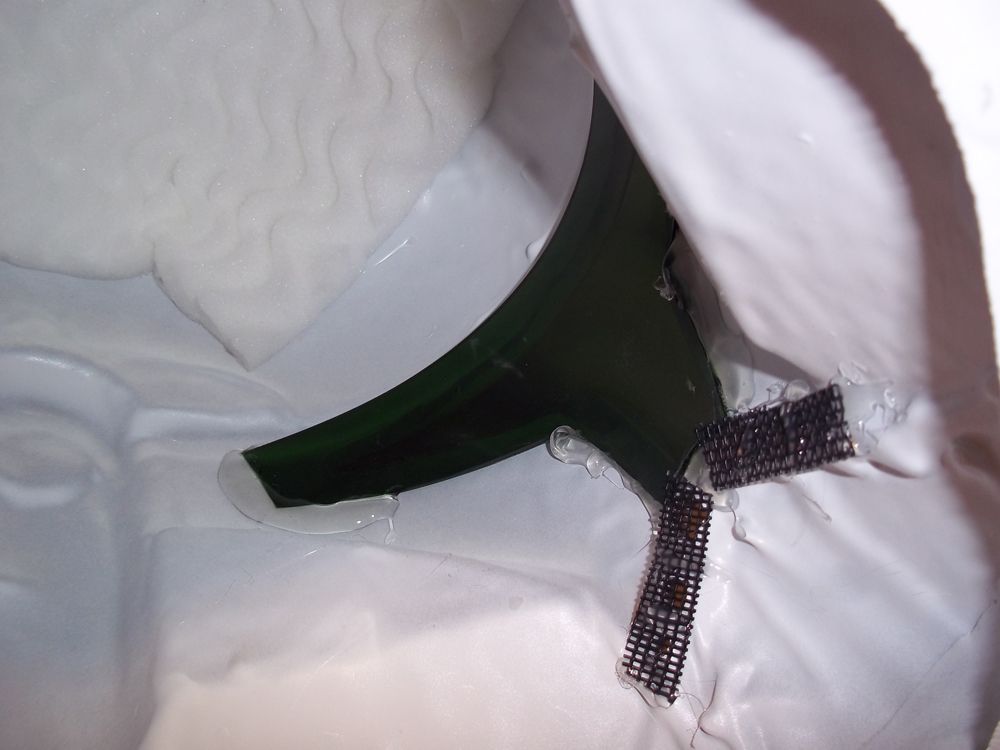
Now add the mesh screen to the inside of the helmet. If you ordered the kit, also add the foam padding (not pictured).
day26-44.jpg

day26-45.jpg

Now all that is left is adding the visor. If you are going to airbrush the weathering I suggest adding the visor last.
day26-46.jpg

day26-47.jpg
 
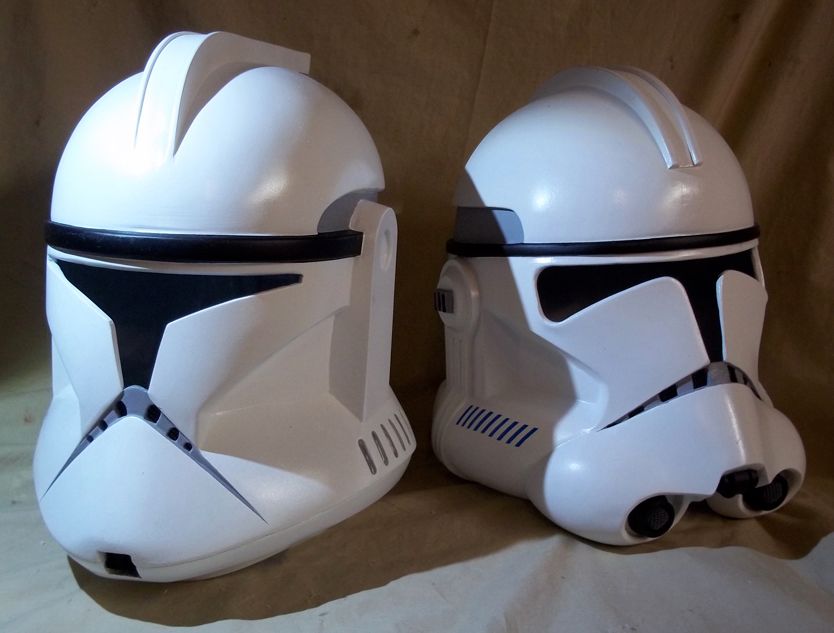
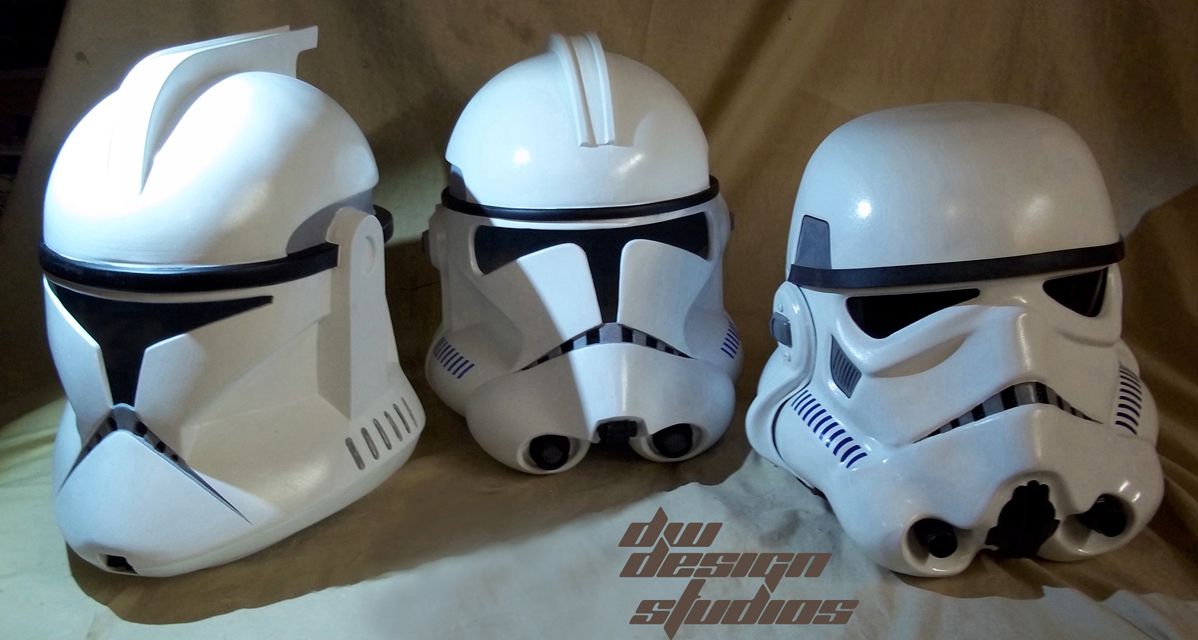
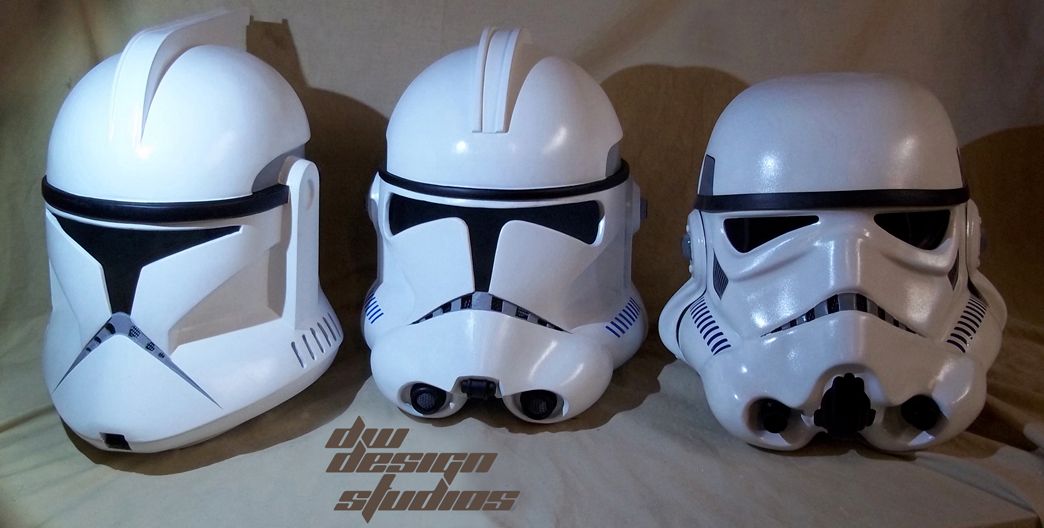
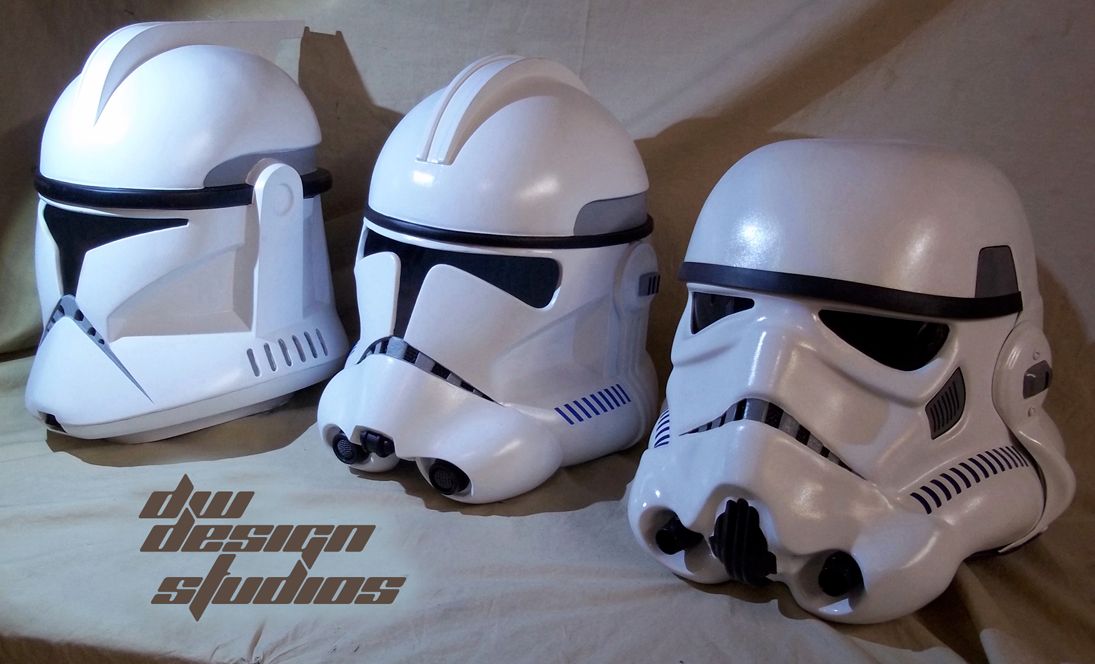
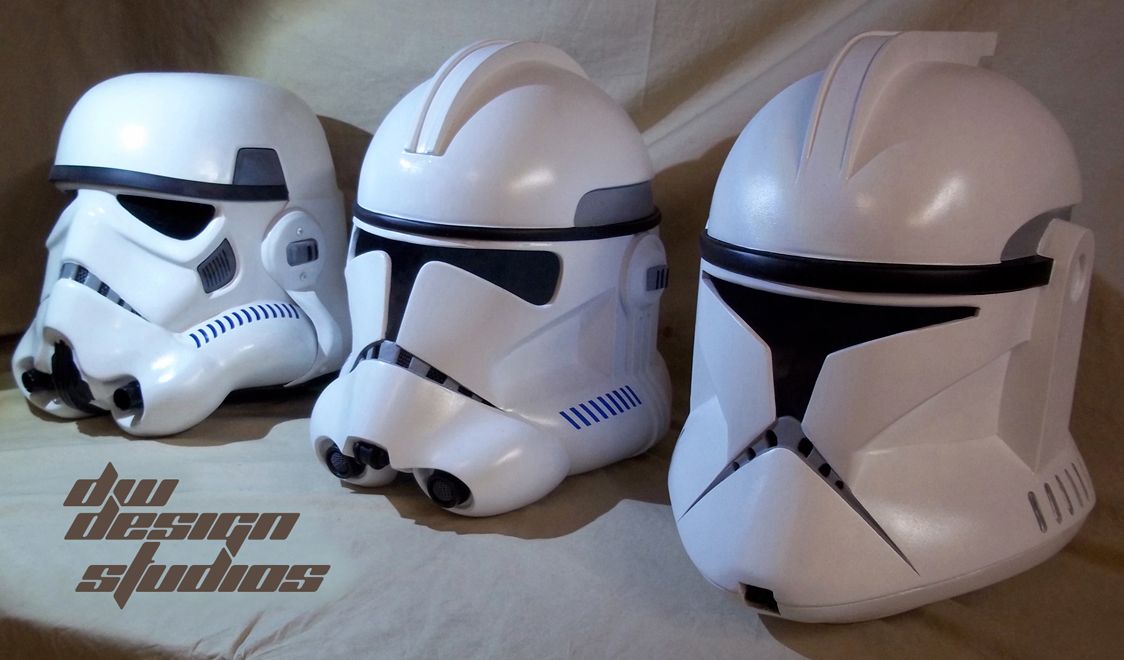
I thought I would throw these out just for fun. I little Star Wars helmet evolution. I figured they would make a nice screen saver.
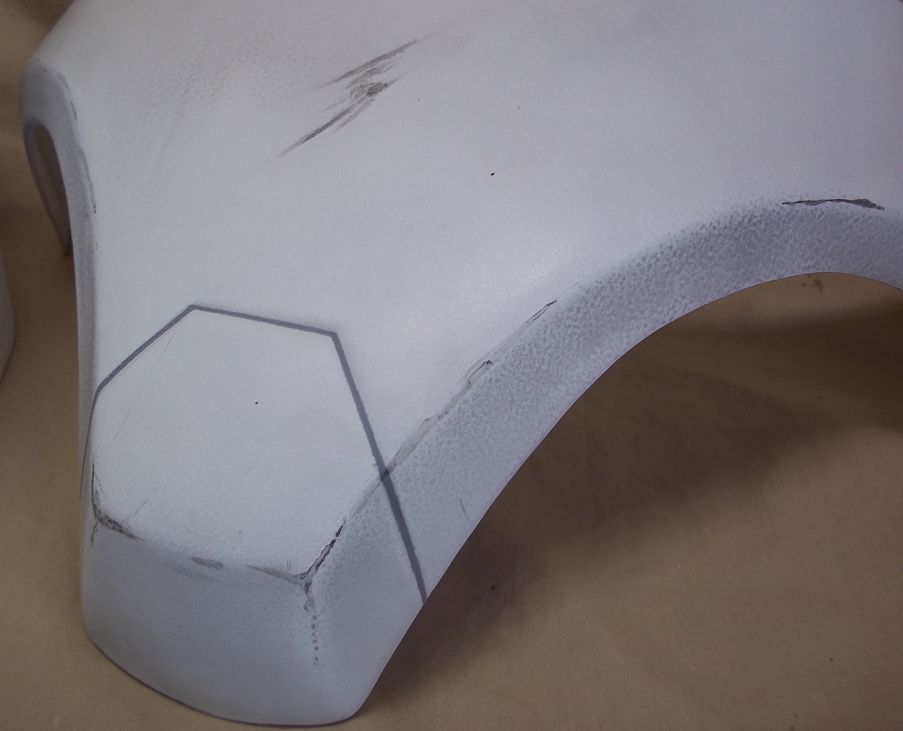
day26-48.jpg


day26-49.jpg


day26-50.jpg


day26-52.jpg


day26-51.jpg
 
Last edited:
OK, now we are going to weather your suit and helmet. I like to use a airbrush for this. You don't need a real expensive airbrush, I use a Paasche 2000H H single action airbrush.
You can get them on ebay for around $50.00 but you will need a air compressor to run it. I use water based acrylic paint and I used Grimy Black on this suit and helmet. The water base paints are nice because of the easy cleanup.
I always try to highlight all the great curves and shapes on the suit as well as add some depth and realism to it. I start by taping off all the areas that I really want to stand out.
day27-1.jpg

day27-2.jpg

day27-3.jpg

day27-4.jpg

day27-5.jpg

The other areas I use a loosely cut template like you see below. Hold the template and spray.
day27-6.jpg

Once finished with the first coat, remove the painters tape and lightly spray the areas that were just covered. You don’t want these areas to be bright white. Just a lighter mist than the first one.
On the helmet do the same. Try to spray the offset and recessed areas to give it a little depth (Sorry, I didn't get a photo of this).
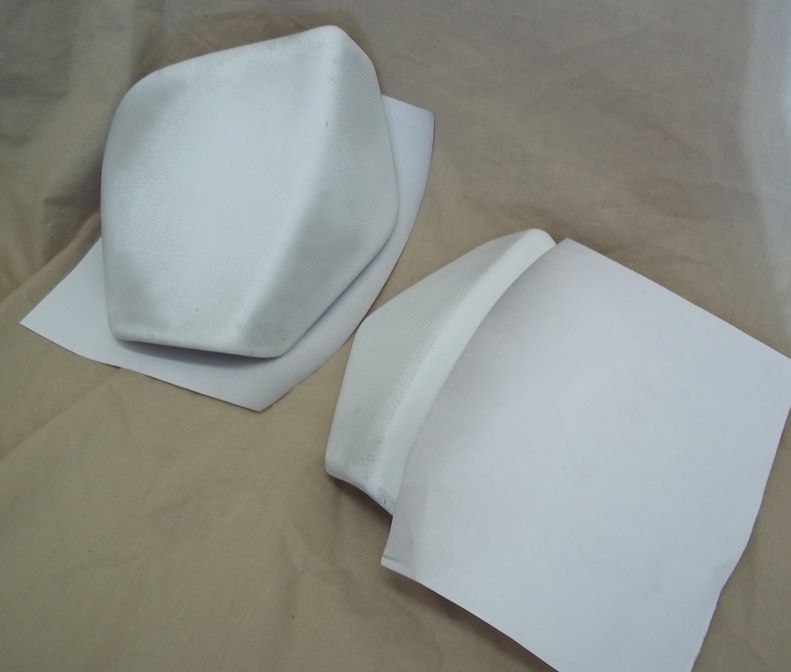
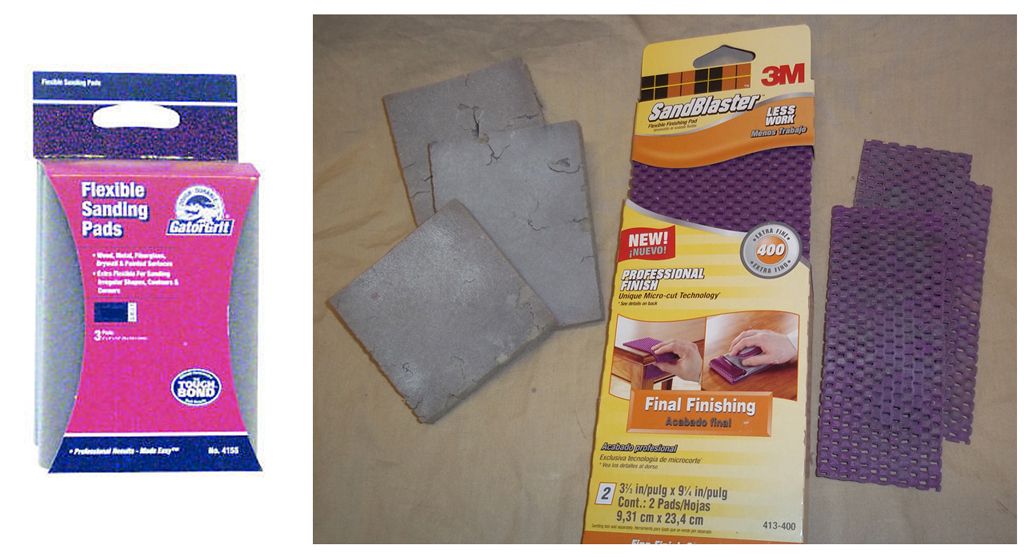
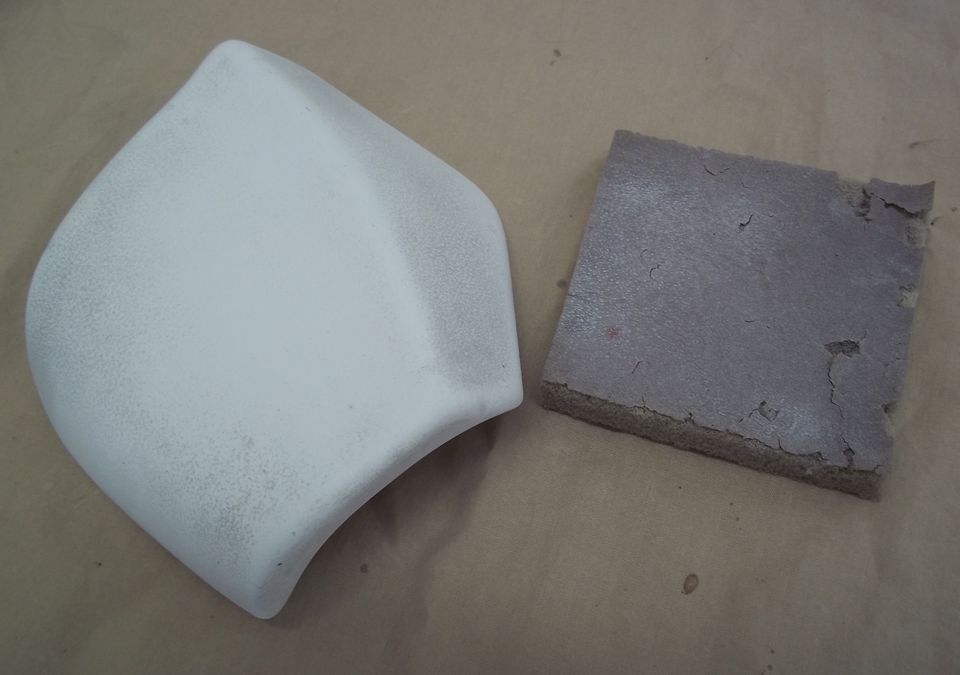
Once finished with the airbrush I knock the suit down with some sanding pads. I use the Gator Grit Flexible Sanding pads. I use to be able to find these at Home Depot but they no longer carry them. I think they can be found at TrueValue.
Another option is the 3M Sandblaster Pads. They can be found at OSH.

Do NOT use sandpaper or the 3M sanding blocks. They are just too rough on the painted suit.
day27-7.jpg

The photo below has the strap on the left sanded down and finished.
day27-8.jpg

day27-9.jpg
 
Last edited:
Your suit and helmet should be ready for the hand painted details. The light sanding with the Gator Grit Flexible Sanding pads or 3M Sandblaster Pads should be done. I also completely knock down all of the pieces, this takes the shiny gloss off of the suit. I prefer a suit that the gloss has been knocked down. It gives it more of a real life feel.
I also think I read somewhere that the 501st is no longer accepting shiny white clones, so if you are planing on joining the 501st, the sanding pads are a must.
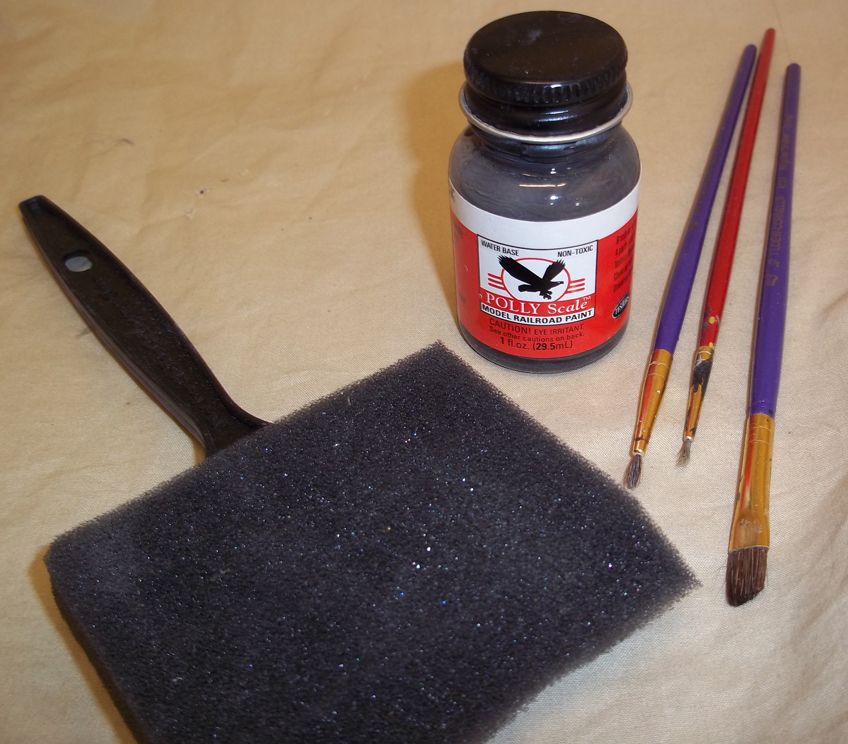
Once again, use the Grimy Black acrylic paint. For most of the weathering I use the brushes. It’s good to also have some tissue available. This helps any quick cleanup that may be needed.
day28-1.jpg

Below are some piece that have been weather along with there counterparts that have not.
day28-2.jpg

day28-3.jpg

Finished weathered parts.
day28-4.jpg

day28-5.jpg

day28-6.jpg

day28-7.jpg

day28-8.jpg

day28-9.jpg
 
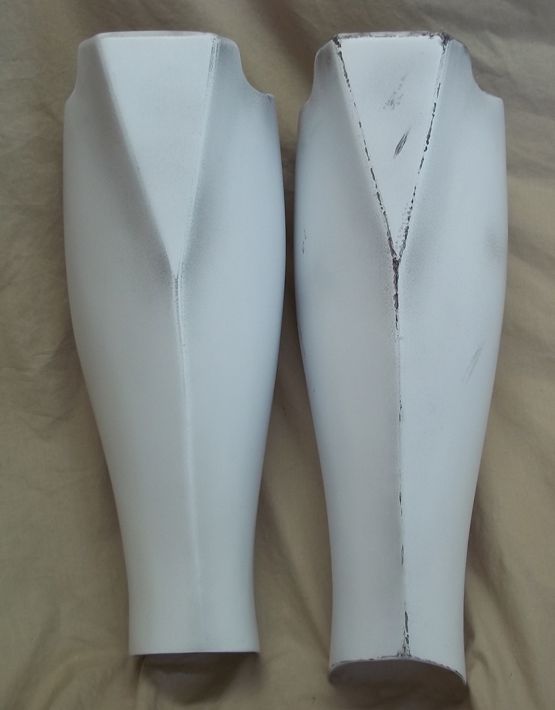
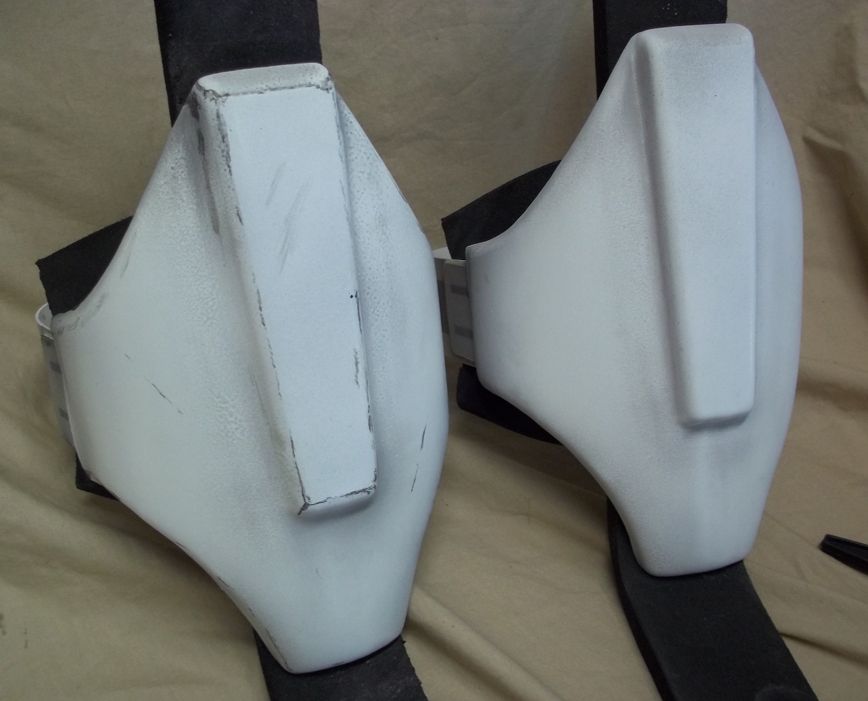
Hot glue or epoxy the biceps to the shoulder bells. This is done to keep the shoulder bell from siding under the biceps while trooping.
day29-1.jpg

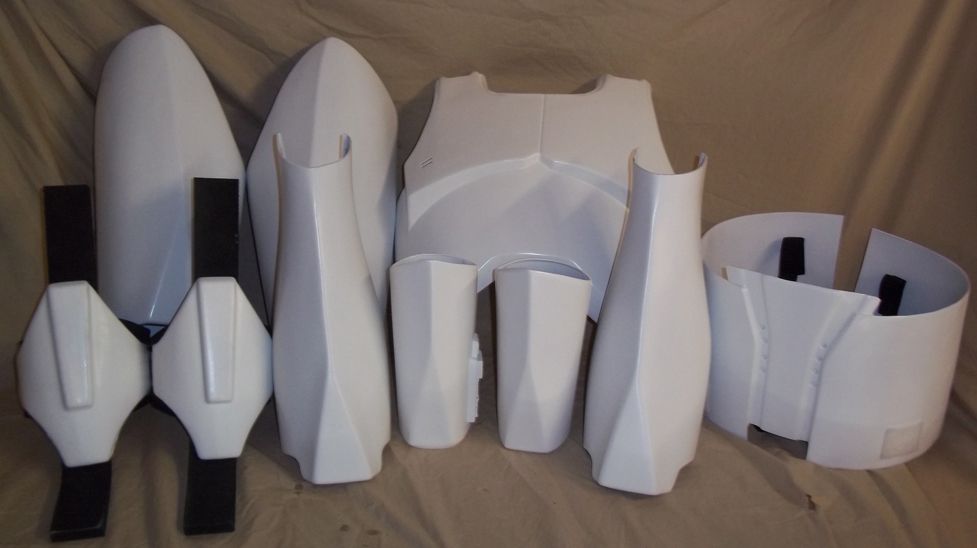
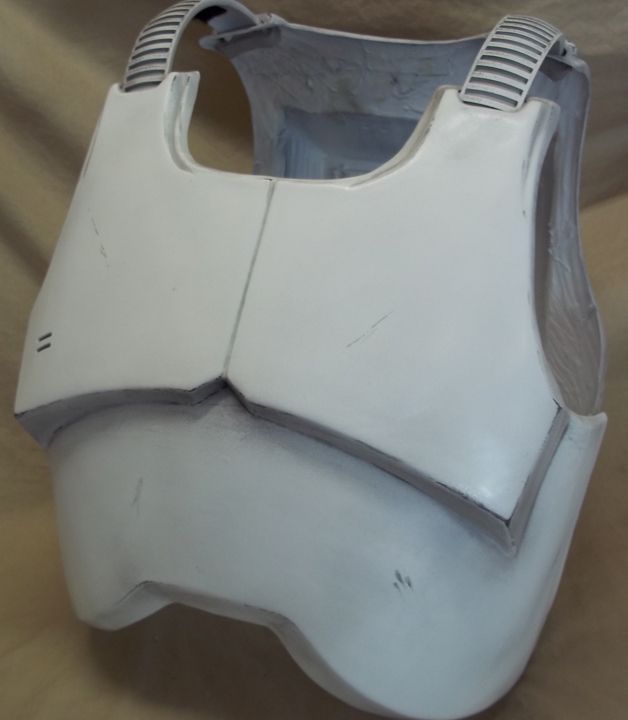
Once finished your pieces should look something like the photos below.
day29-2.jpg

day29-3.jpg
 
I guess this is it, the last day of the tutorial. If you found this useful or just enjoyed following along please join my new Facebook page. I will be starting a really cool non Star Wars project next!
http://www.facebook.com/pages/DW-Design-Studios/156217621115393
We just need to add a few items to the helmets and we are done!
First we will add the padding and the visor. I use hot glue to attach these items.
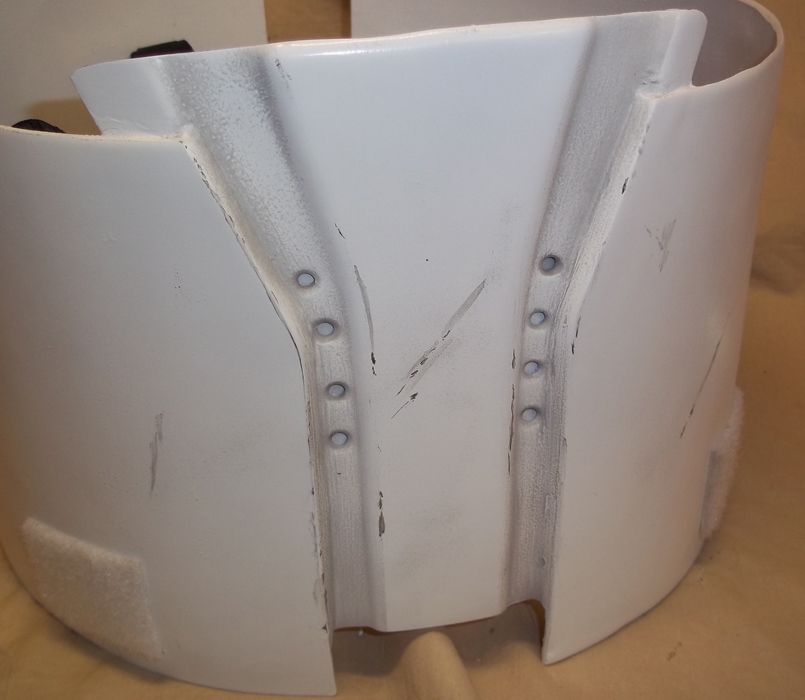
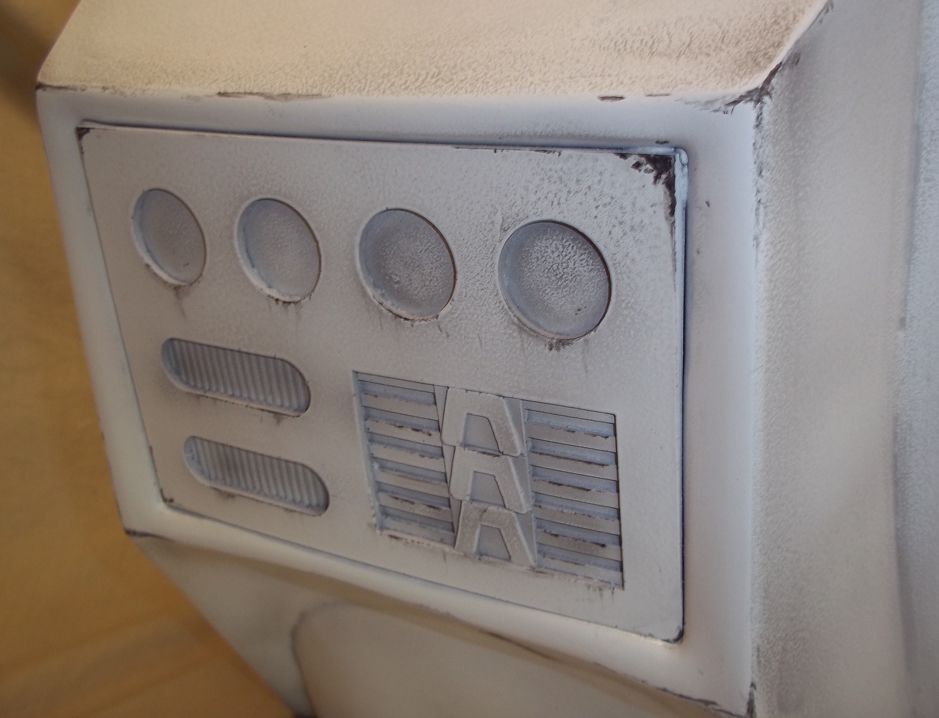
day30-1.jpg

day30-2.jpg

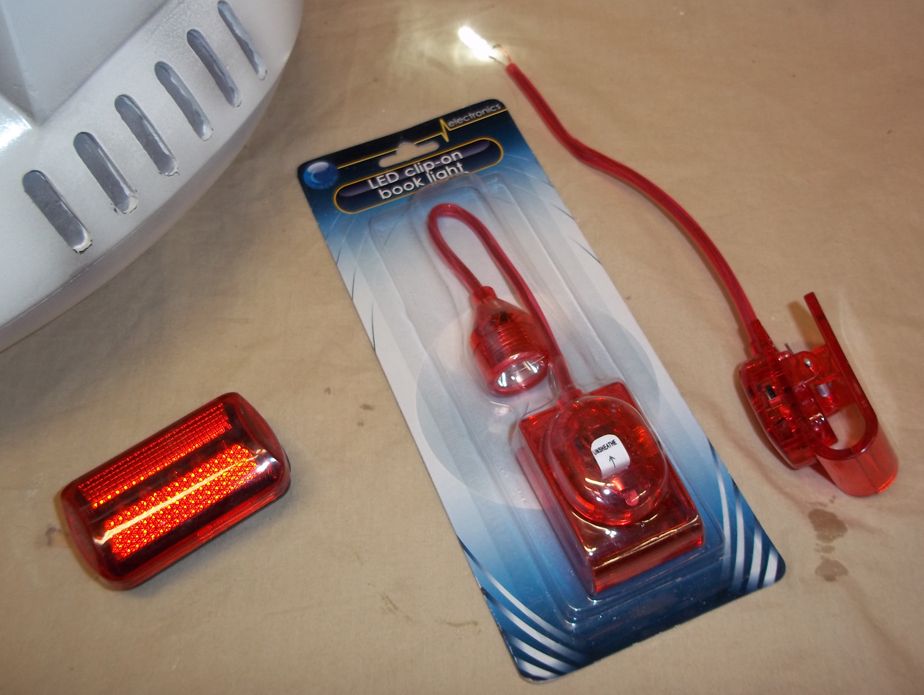
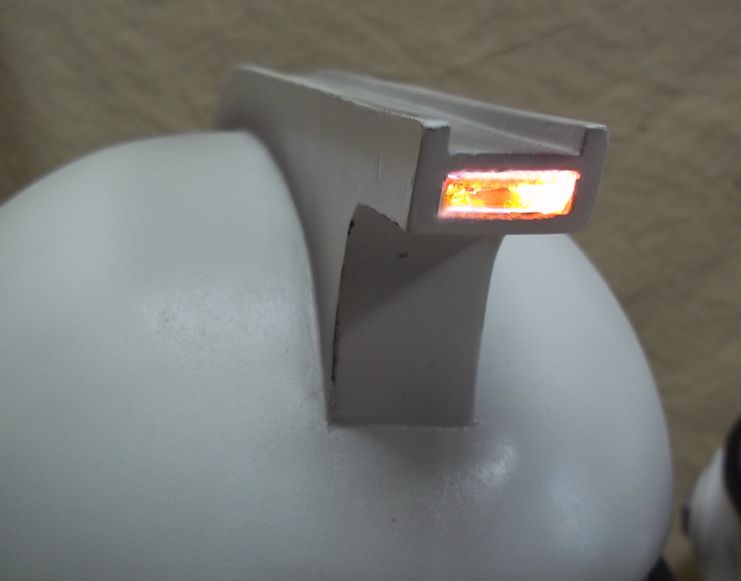
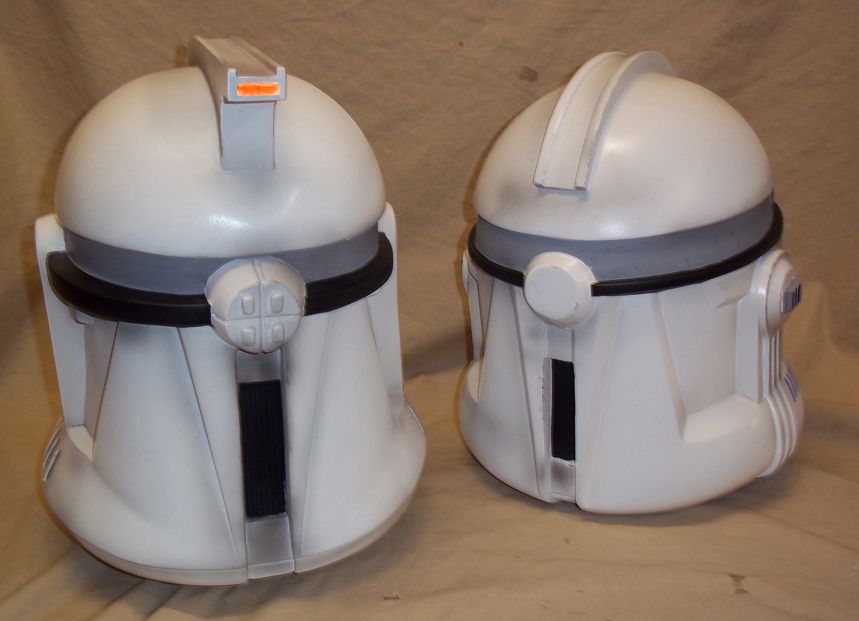
Next we will add the light in the fin. Once again, I purchased these items at the Dollar Store. If you are handy with a soldering iron pick up a blinking bike light. I have never had much luck but I know C6 did when working on his helmet. You would need to take the bike light apart. Remove and extend the wires then splice them with the box inside the helmet and the lights coming out the fin.
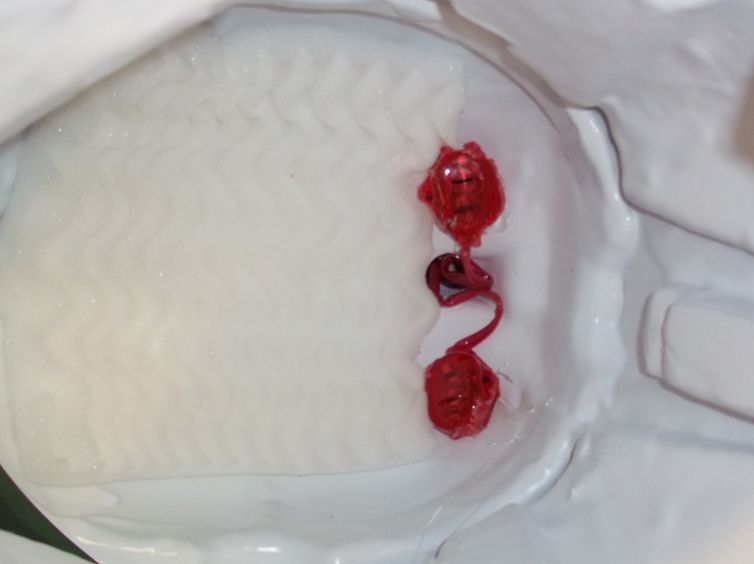
Another option is to add a couple of book lights. First I take and cut the book light’s down. Then I add some hot glue to the area near the light and then wrap it with electrical tape. Then slide it up through the hole in the inside of the helmet.
Once both lights are in place, hot glue the on/off switch box to the inside of your helmet. Take the leftover red plastic and cut it down to fit in the hole in the outside of the fin. Super Glue this piece into place.
day30-3.jpg

day30-4.jpg

day30-5.jpg

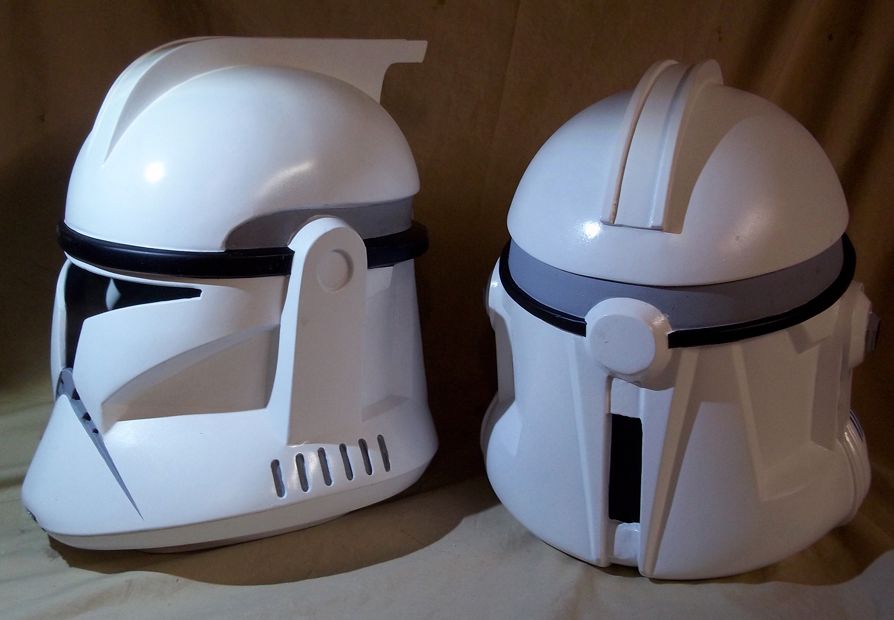
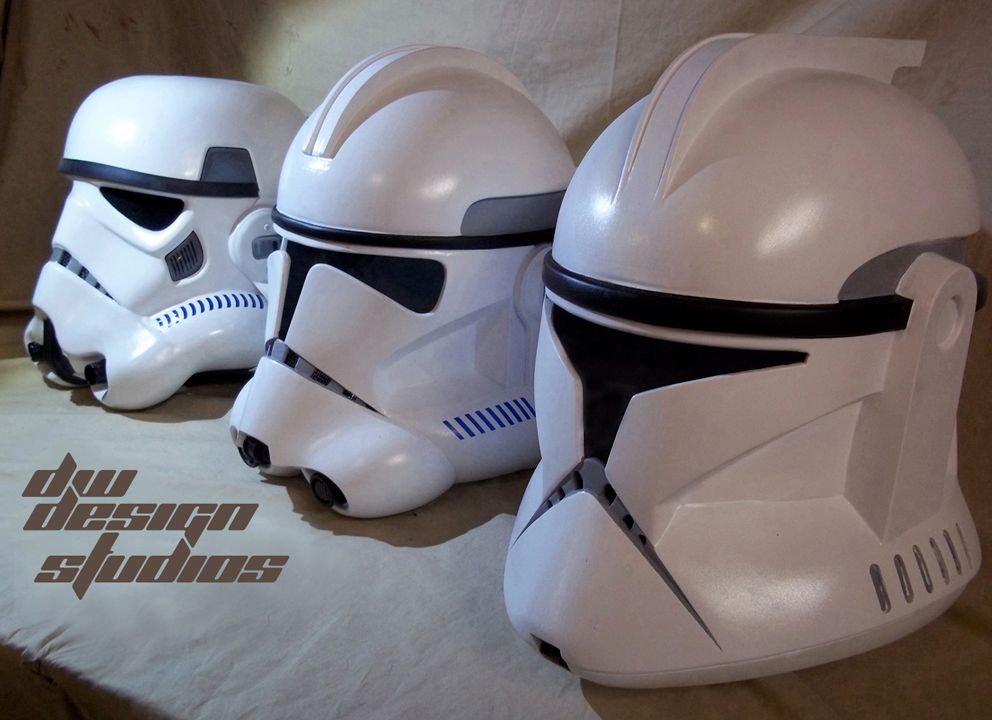
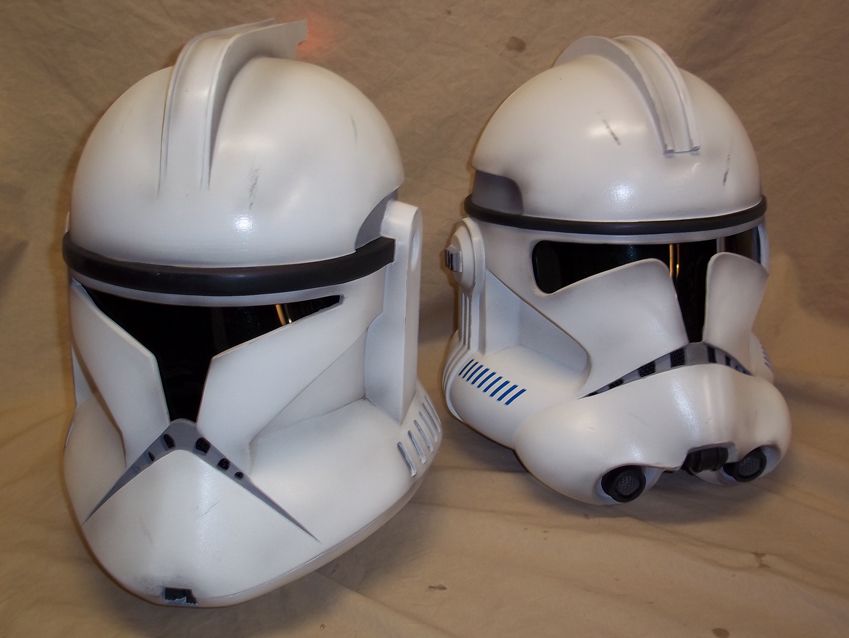
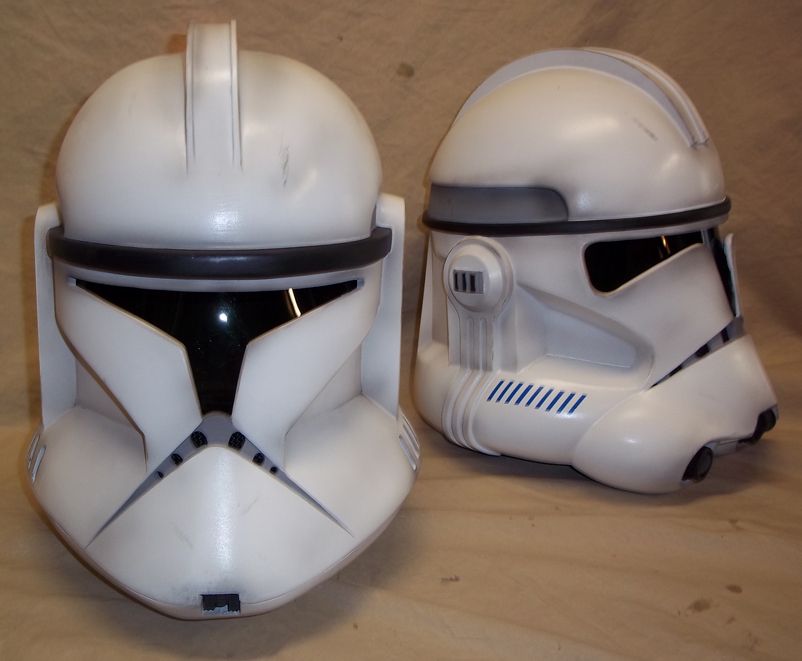
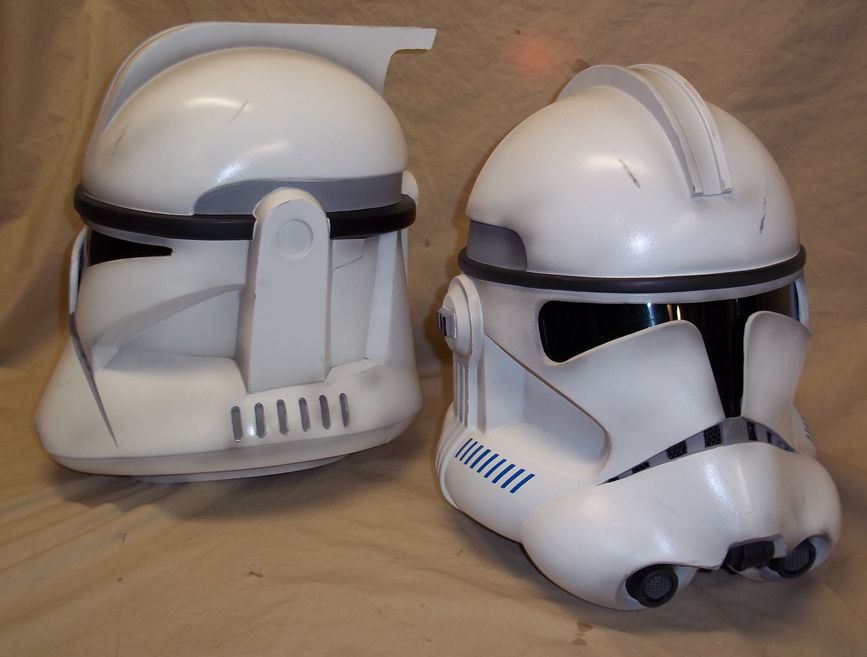
Some finished photo’s of the two helmets.
day30-6.jpg

day30-7.jpg

day30-8.jpg

day30-9.jpg
 
Last edited:
Just gorgeous Darren...and I really appreciate the level of this three-page-tutorial.
We bought a DREMEL 6300-05 MULTI-MAX DREMEL OSCILLATING TOOL to perform most of the cutting. It did really nice and made quick work of it.
Doing his calves and thighs are going to be close...I cut one of the calves down already...kinda wishin I wouldn't have afterall cuz he mighhhht need shims. I think he is on the top-side of size limit....and the boy is still growing! LOL
 
great Thread, I will be using this to put together my armor, great job and very detailed
 
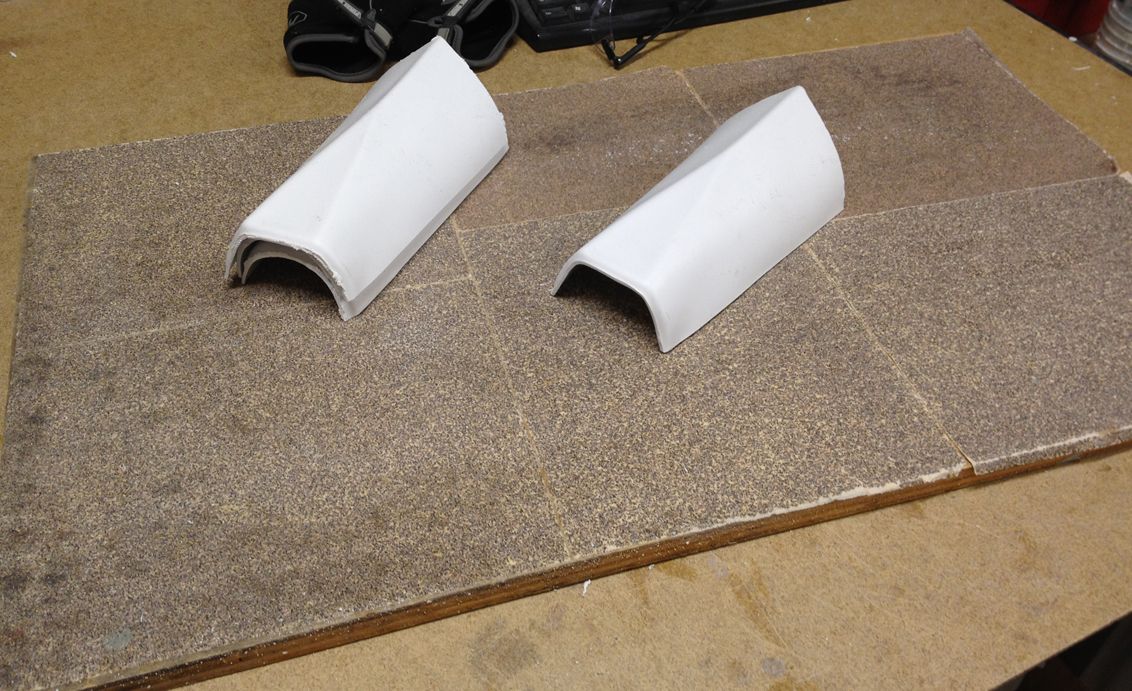
I wanted to pass along some new info. C6 created this great sanding board. The size is 30"x18". Four of the six squares are heavy grade sandpaper and two are a bit finer. They have been spray mounted down onto a piece of particle board. Its is perfect for getting straight lines for the seamless items. Thanks again C6 for another great idea!
sanding_board.jpg
 
What a great tutorial! I could of really used this when doing my clone hopefully others get good use out of it as those clones can be tricky to put together
 
Back
Top