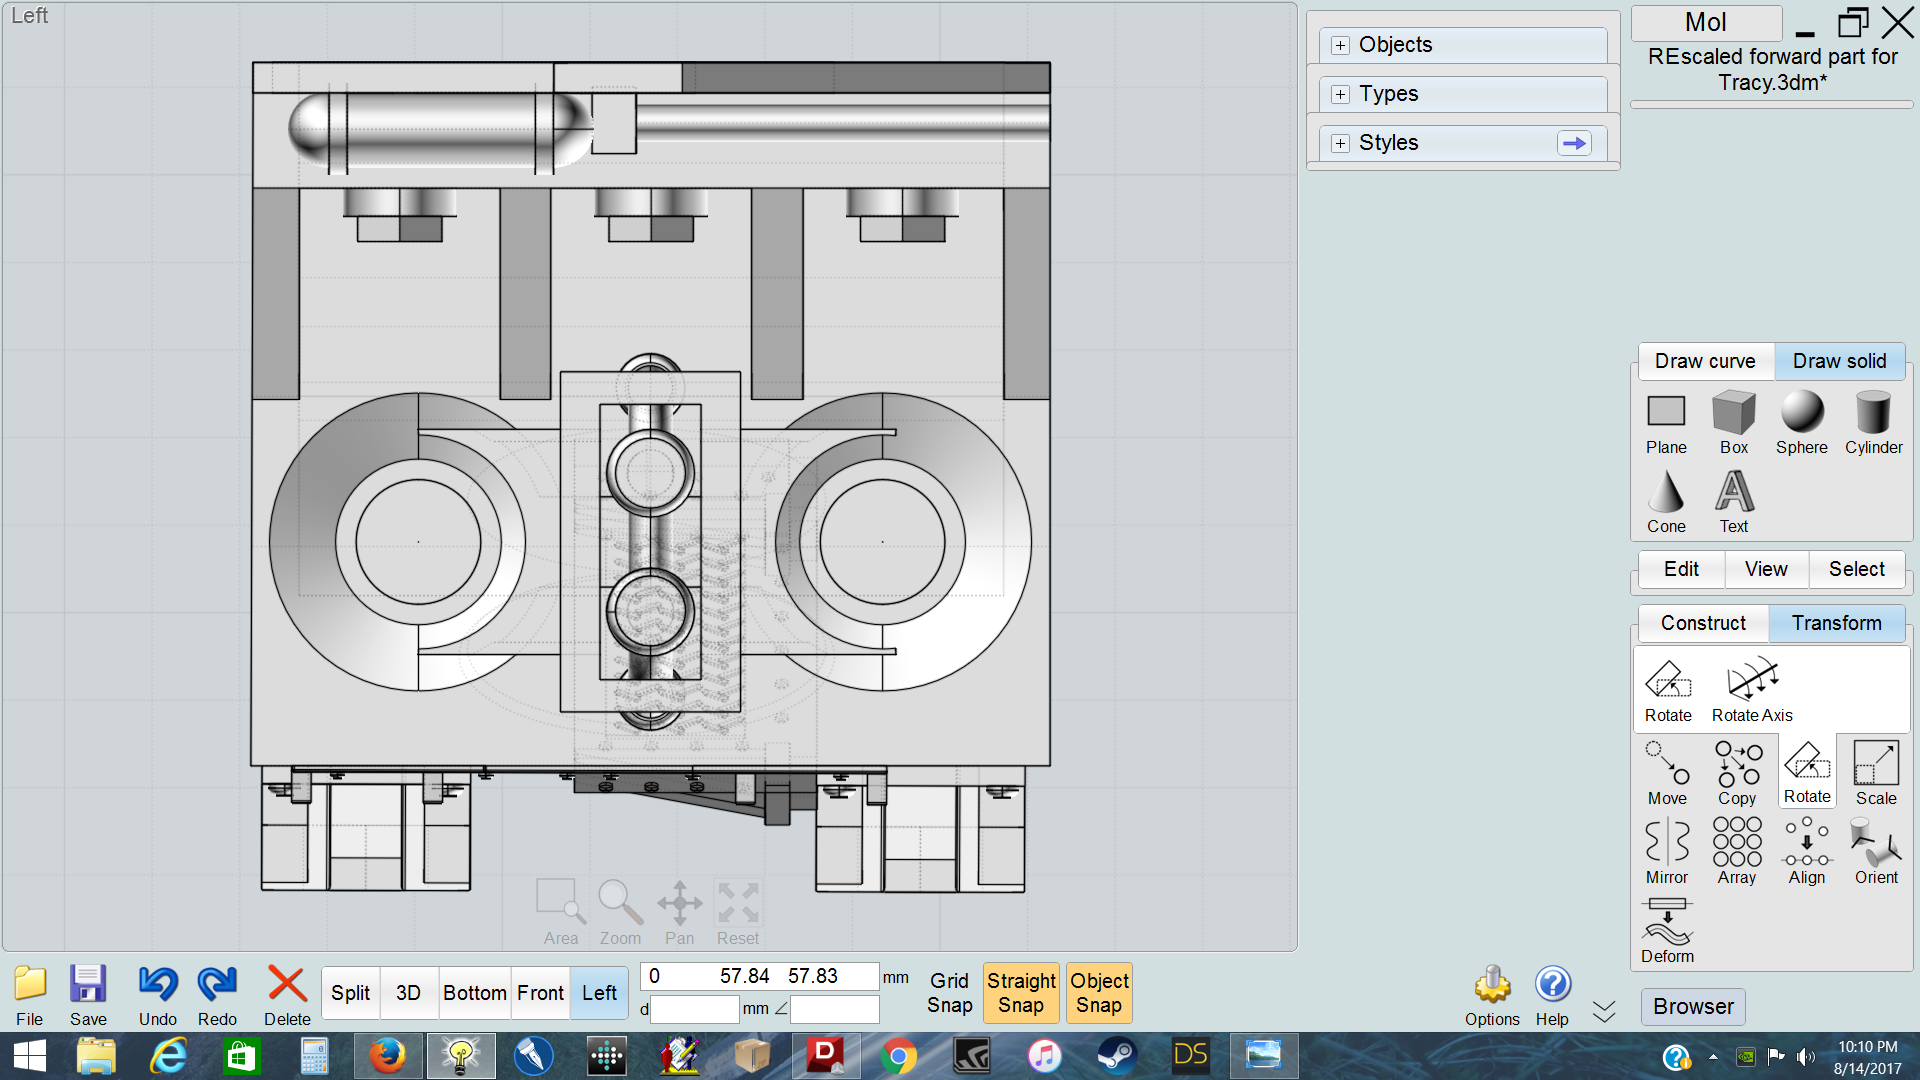
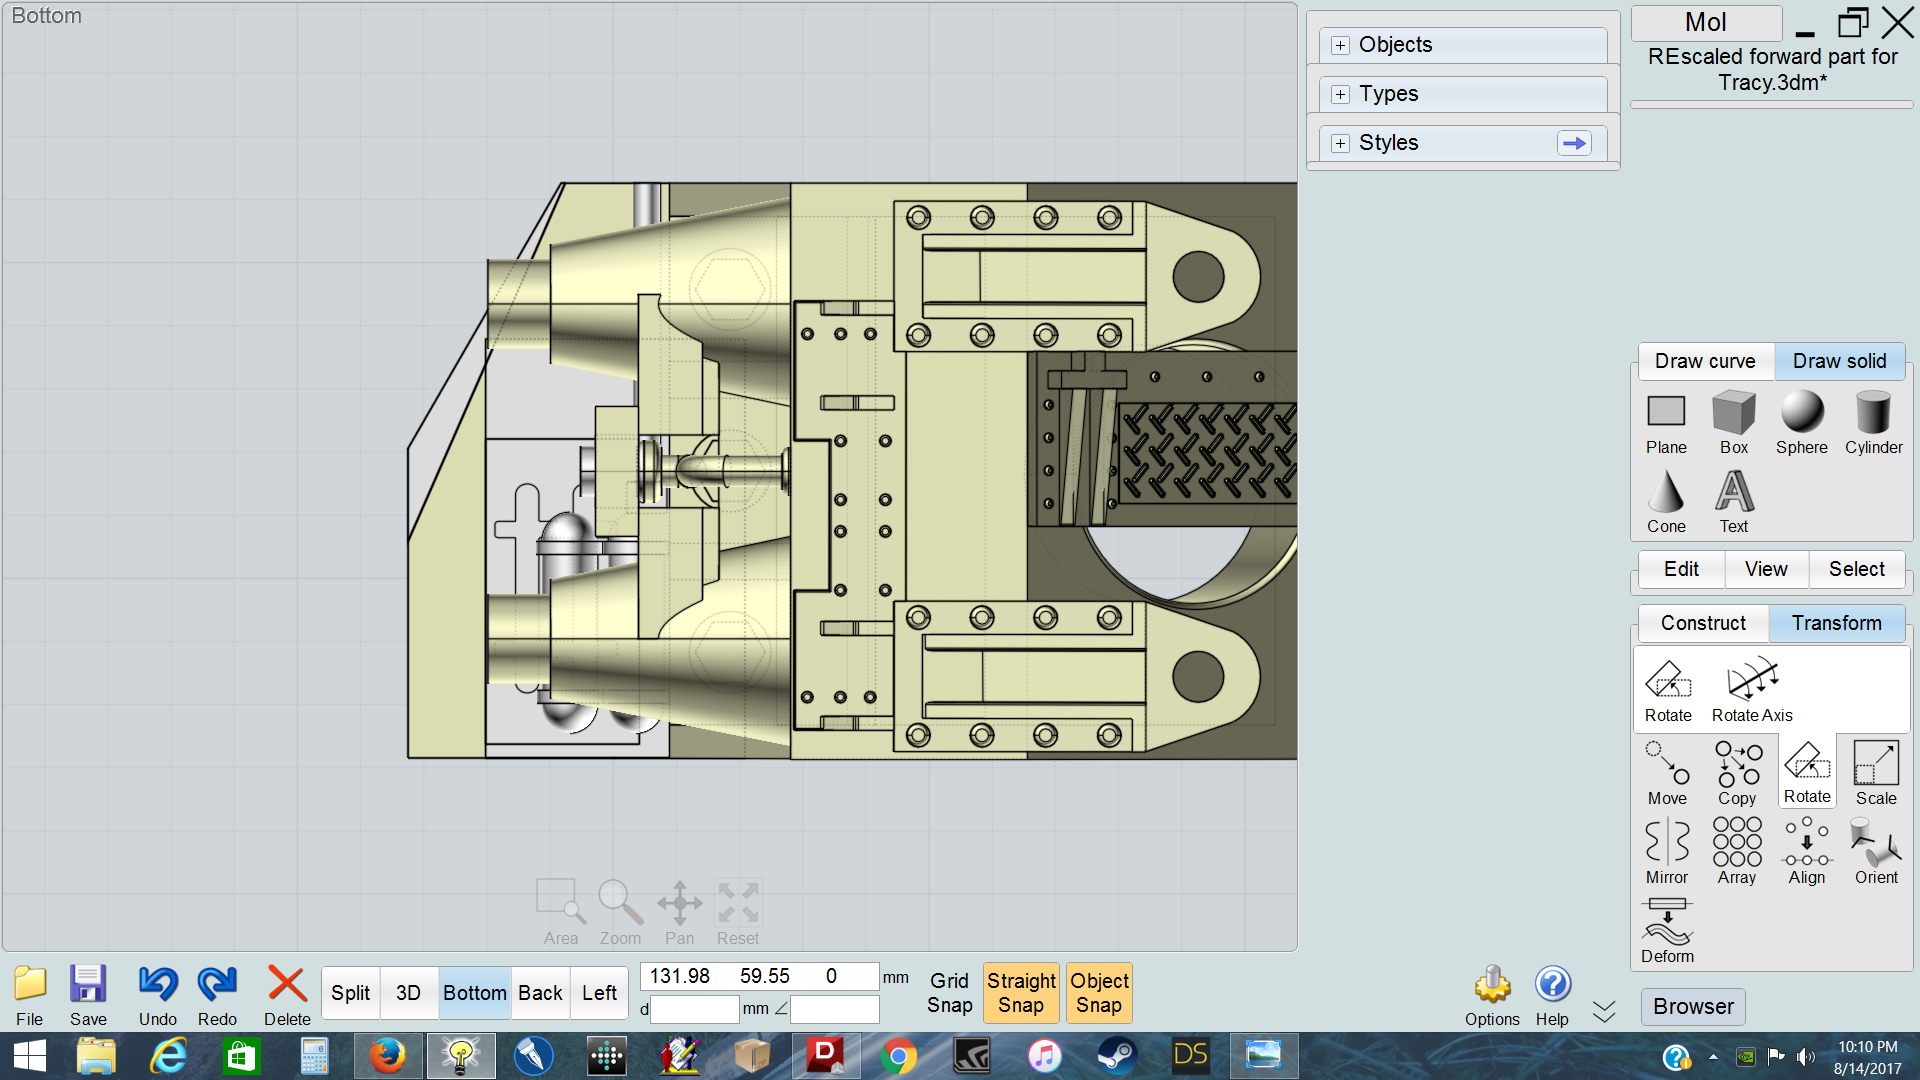
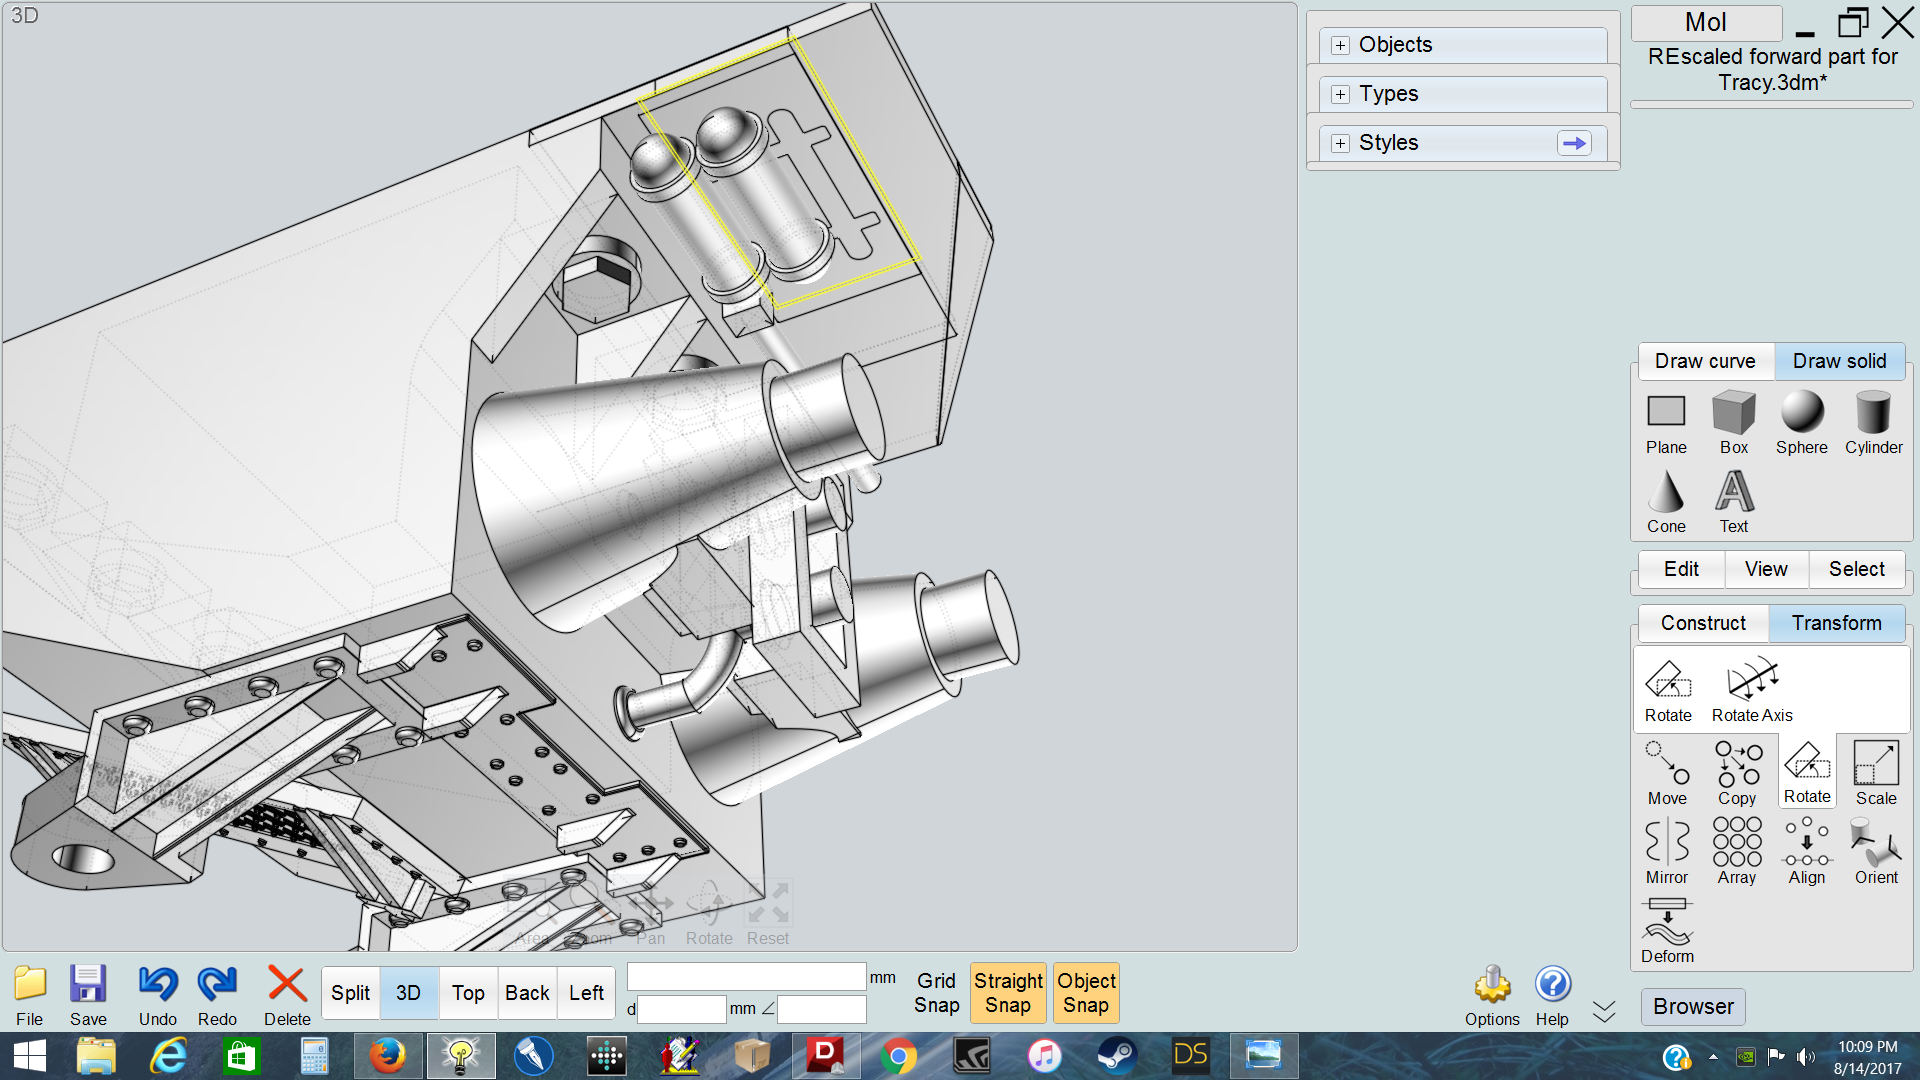
Here's the front end of the nacelle top master before filling it in to show the layers of scratch building.
After getting the new extensions on and blended them in, I discovered this subassembly is based on the original shroud that matched the original incorrect shape of the secondary hull. Since my secondary hull has been corrected, the shapes here are considerably off.
You can see here that the sides are too flat, and the door deck aggressively bends inward to the stern of the hull.
After sculpting in light weight material to the outer skin, layers of filler are added to smooth the surface. Note the new continuous gradual curve of the assembly throughout the outer edge of its base.
The original Lunar Models solid resin bay doors have been filled in and re-scribed in at their proper shapes.
Before all the above, I also discovered some serious symmetry problems in the original shroud part as well - particularly at the overhang of the bay doors.
The new bay door deck I added was thrown off centerline due to the asymmetry above, so sculpting clay was added to re-shaped the crest to centerline.
After layers of fillers and primers, I'm really happy with how this sub-assembly matches the contour of the corrected secondary hull.
This was taken before the build base was cut away.
The 3D modeled hanger bay dome came out as a near perfect success. However, due to printing limitations at Shapeways (at the time), The inner surface was going to cause a distortion problem for lighting.
The base of the dome required to approve the print was too broad. The inner radius of the base caused a vertical wall straight up into the inner surface of the dome right at the window level. This caused a seem line to develop horizontally all the way around the inner surface right through the middle of all the window panels. The fix was to grind away the material until there was a smooth inner dome shape that went all the way to the base.
This is the inner dome surface being filled and smoothed out. After primer, the dome will be ready to mold, then be cast with crystal clear resin.
Other than adding the raised panel greeblies located at the base of the shroud and on the bay doors, the main shuttle bay subassembly is complete.
Here's how the Warp Nacelle Top master came out after a few coats of primer...
Tracy

 screenrant.com
The photo here is of the pre-Lakota’d original.


