Custom Replicas 66 inch Nautilus build-RC

Status
Not open for further replies.
Couple of questions about this model, Steve.

This is water-proof? I notice you have electronics encapsulated to prevent water seepage but what about the hull of the model itself?

For that matter, did the shooting miniatures on the Disney film have to be occasionally drained of water? I'd think if they even got freshwater in them that they might tend to rot from the inside over time.

Just what kind of paint was being used on them and your build-up?

I really don't know much about the film models other the stories of the design. I saw one of them on display at the Magic Kingdom in Disney World in 1980. That was the year EPCOT also opened, too.
 
George she's a wet hull. Everything is brass and stainless so there's no rust. Water doesn't hurt epoxy or resin over time. Paint is acrylics. There are the most impervious to water as it turns out. But all paints seems to fair well.

I'm not sure either on the Disney model.

Steve
 
Gotcha.

Just googled to understand what wet hull meant.

Sounds a lot more mechanically simple, lighter, and maybe higher performance than a dry hull.

I guess if it weren't wet hull, you'd have to put in actual ballast tanks and mechanisms for taking in and driving out water like a real-life submarine.

In that case, I'd guess the Disney Studios probably used wet-hull models, too.

I read that one of the miniatures was shaped different than the others.

They didn't want to build a huge miniature set for the part of the film (near the end) where the Nautilus passes through its home berth for the final time. This smaller model was warped somehow (wider and slightly fatter) than the others so that they didn't have to use a Cinemascope camera. When the footage of that model was added into the Cinemascope footage, it was visually warped back into the proper height and width. Weird but seemed to notice!
 
Thanks George I was aware of that. The trick about the non scope is typical of the brilliant thinking of those days so sadly lacking among the computer addicts of today. ;)

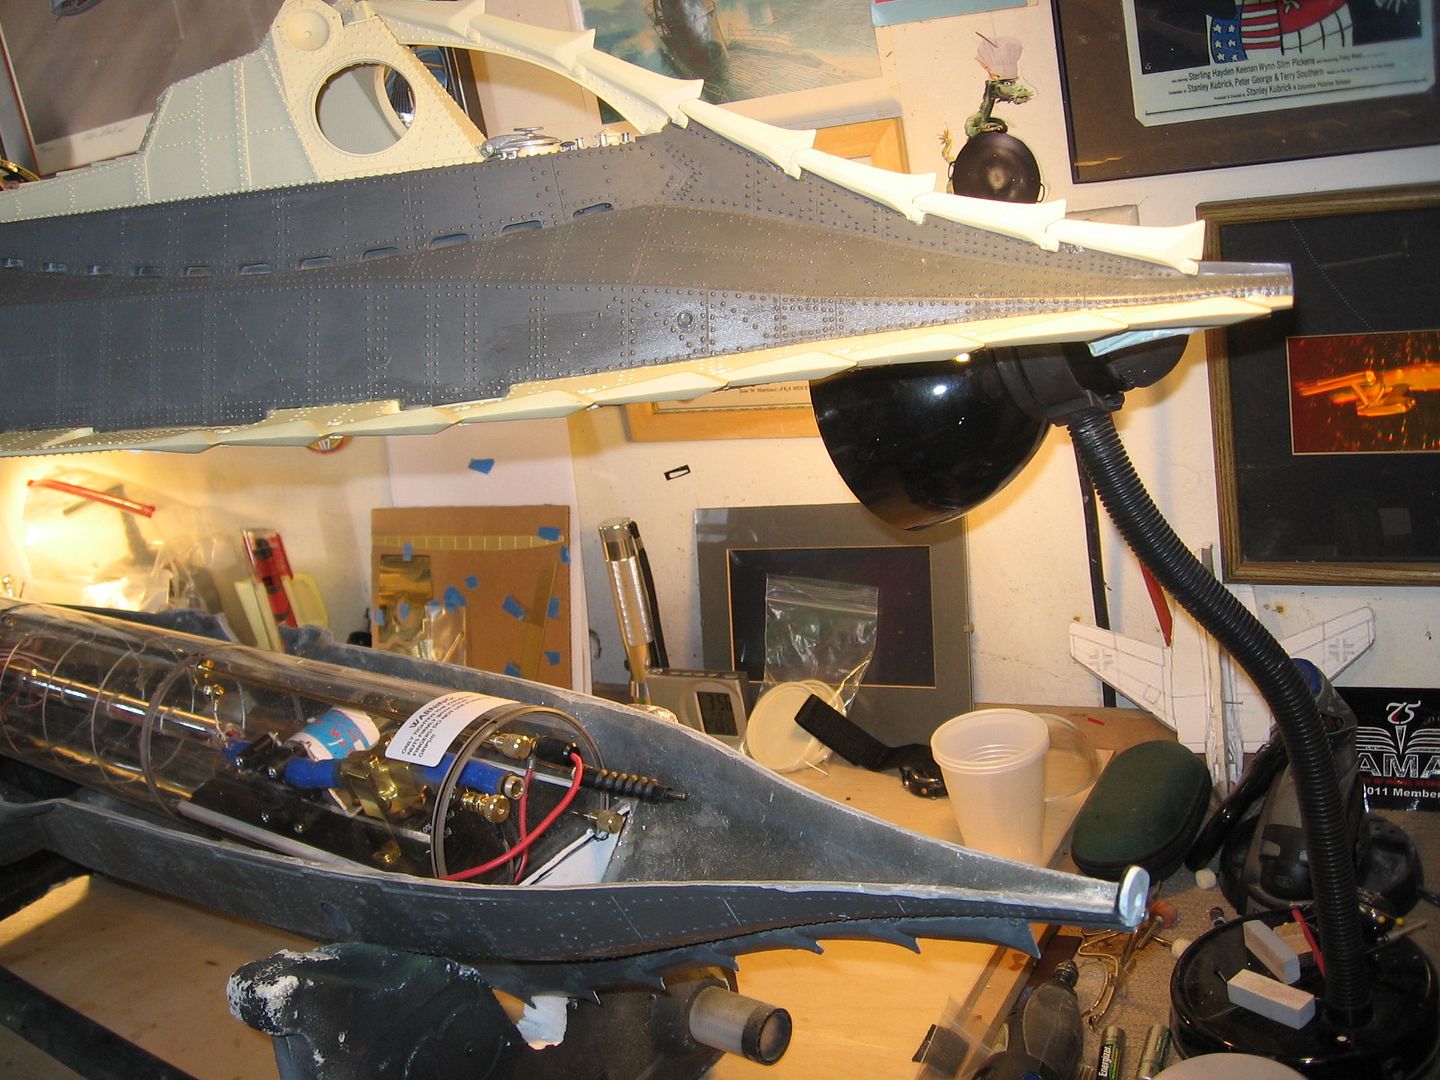
The water tight compartment has a ballast tank that we pump water in and out of for diving if you go back and look at the pictures you will see it.

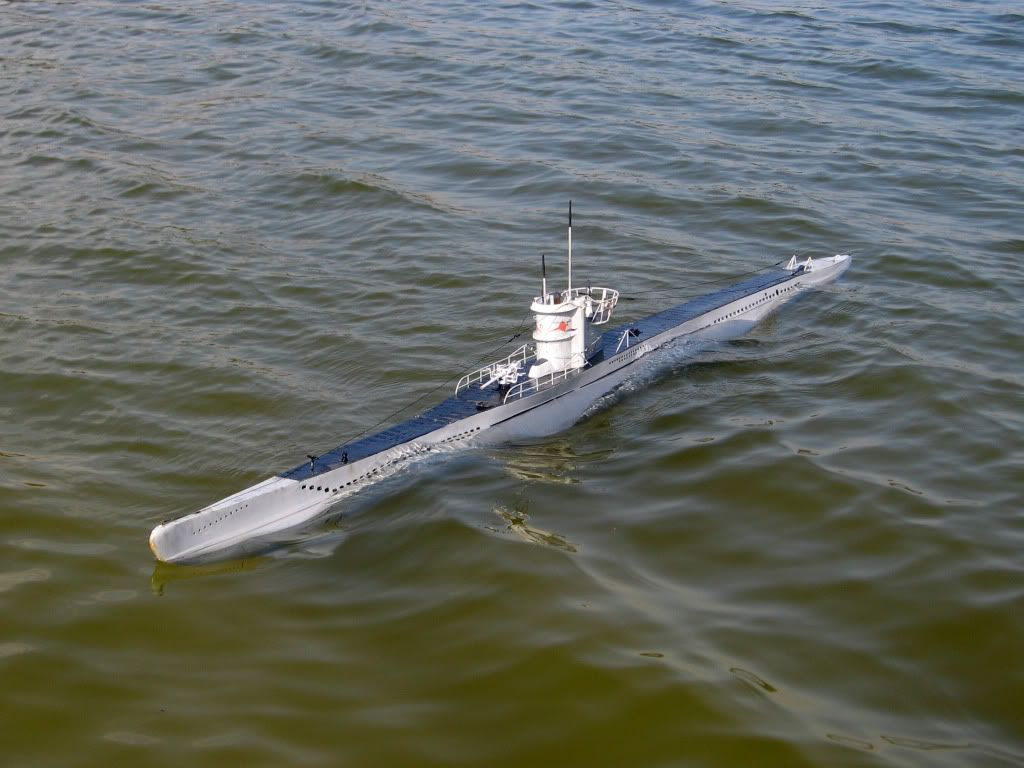
On my 7 ft. U-boat I have a ballast system like the real boats some what. It uses compressed air to get her to decks awash and once there a snorkel takes in more air and fills the tank further to get her to a scale freeboard or water line.

Steve

IMG_5090.jpg


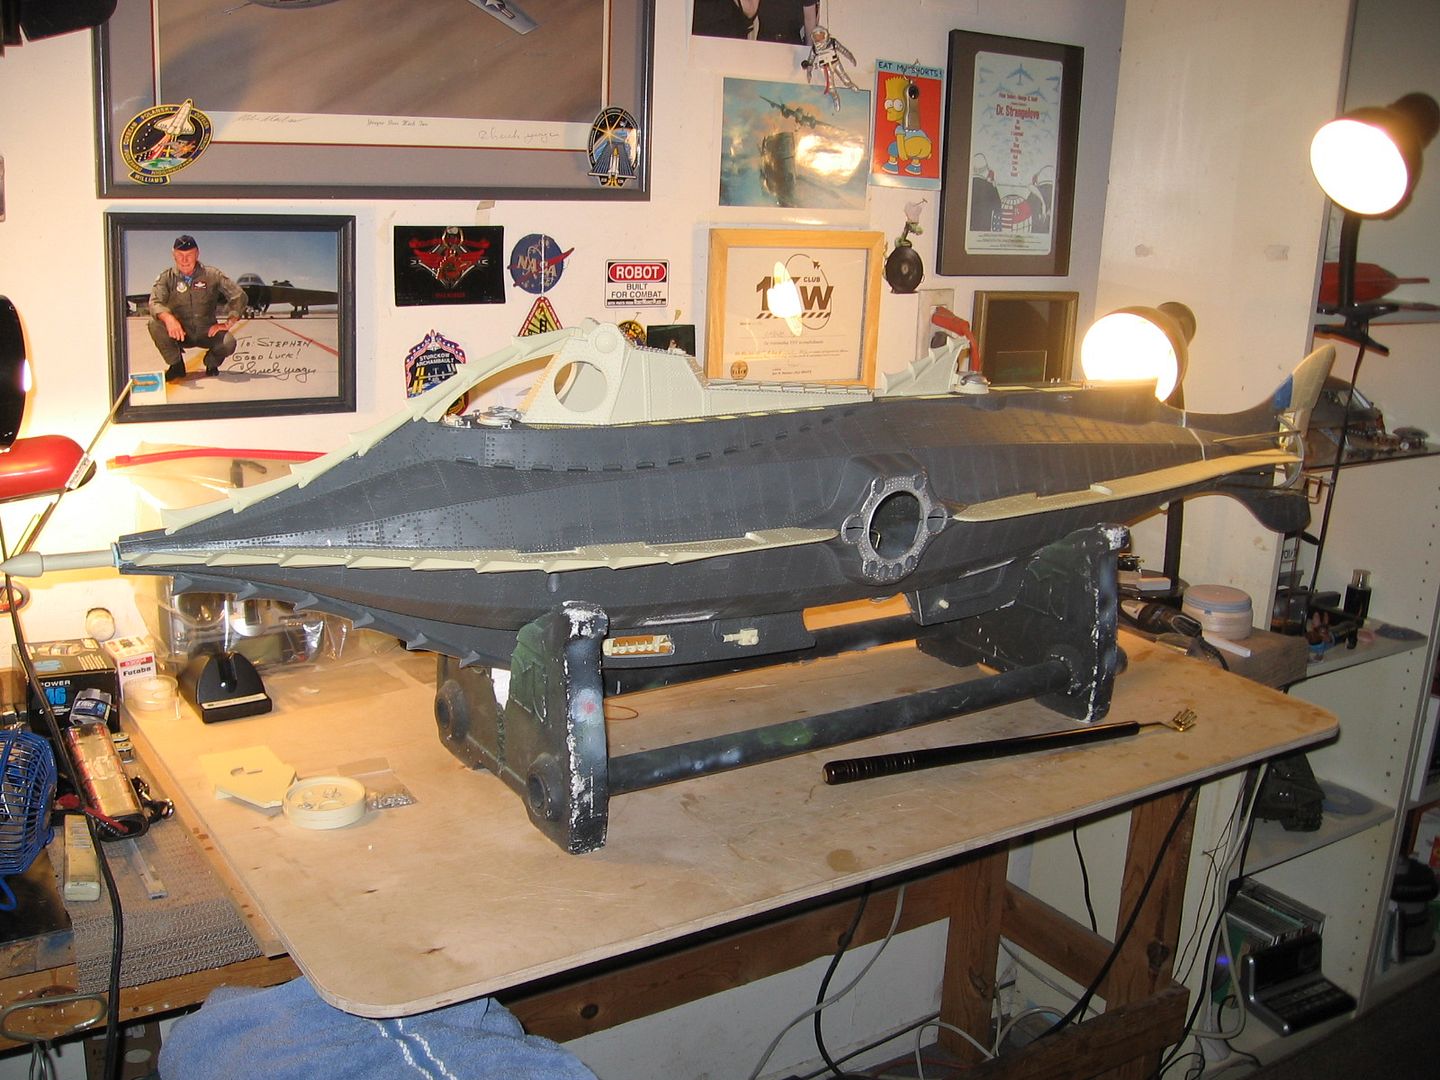
My baby all 60 pounds of her or more wet.
 
Steve,Is that a Mike Machat Bell X-1A print you have on the wall? I have two,the Stilleto X-3,and the XB-70 Valkyrie....two of my favs.I had this Scott Brodeen 31'' but had to sell it due to hard times.Scott's a great guy,I knew him when he worked at Icons and did the blueprints for this baby,I worked at Streamline Pictures pouring resin.alex
 
Today was spent getting every last single part in all those bags on the boat. All that’s left now is the windows and the wheel house which I can’t do until I primer and paint the hull. Then I can install the lights, windows and detail out the wheel house.

Tomorrow she gets primer and the last pointing up stuff. On Tuesday, paint, Wednesday lighting, and Thursday the wheel house gets detailed. Well that is the plan.

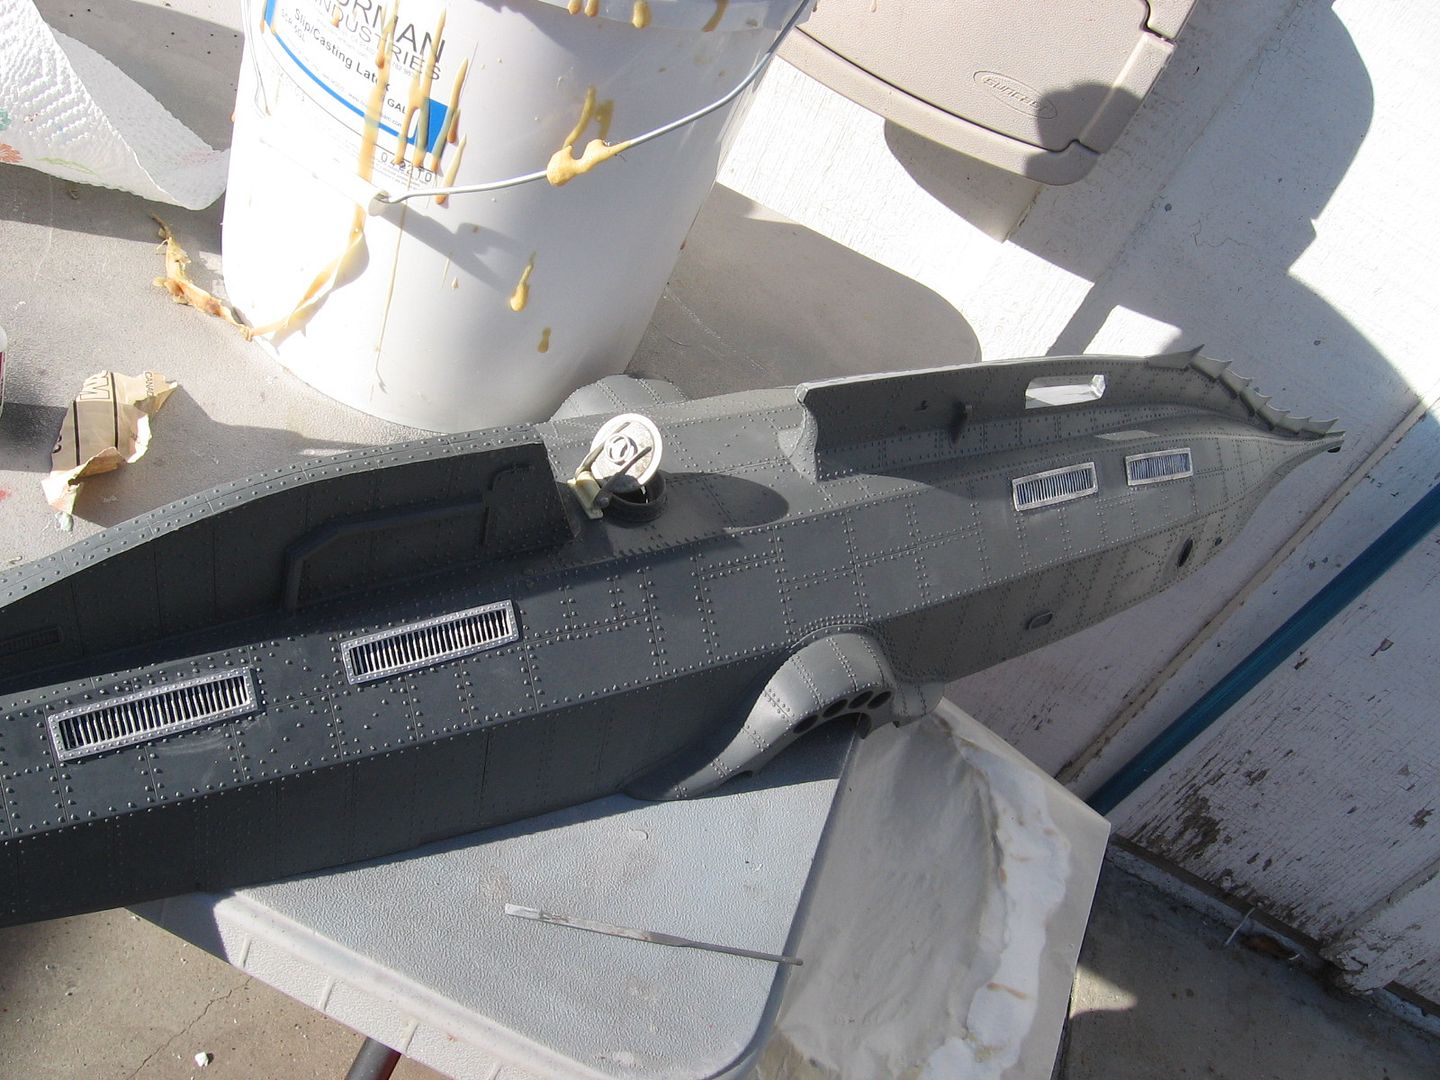
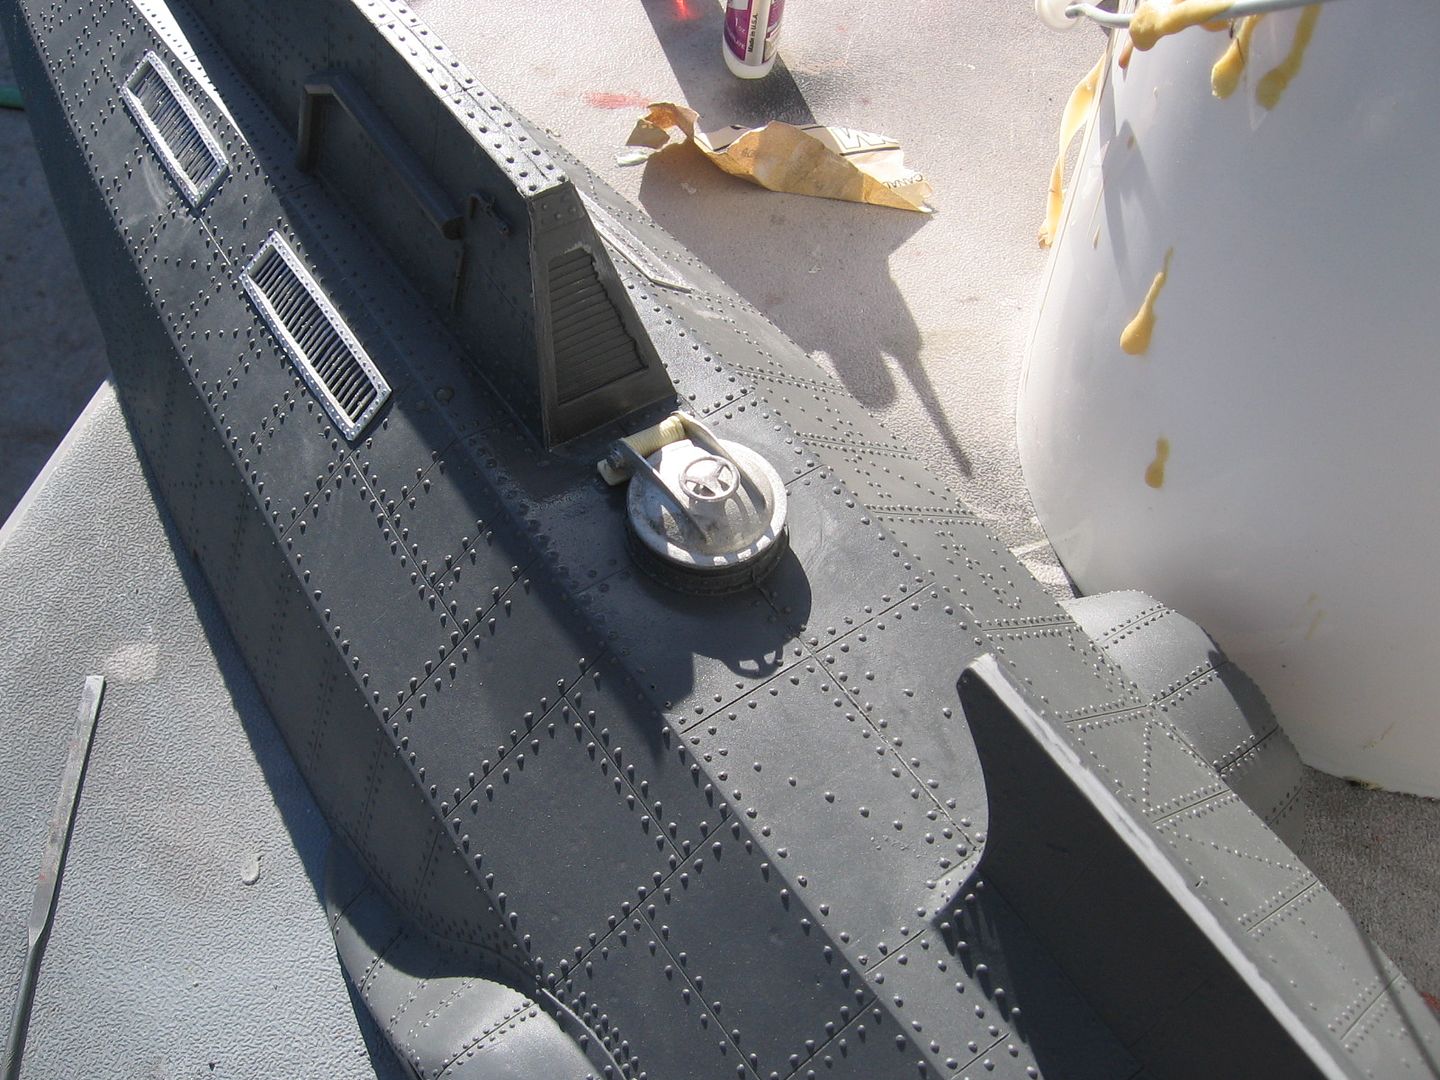
All the grills and PE is on. Everything fit pretty well. Locations were a bit of a mystery but all the pictures I have of the boat helped there. Instructions were a bit vague but not too bad.

Here are some pictures,

Steve
IMG_6020.jpg


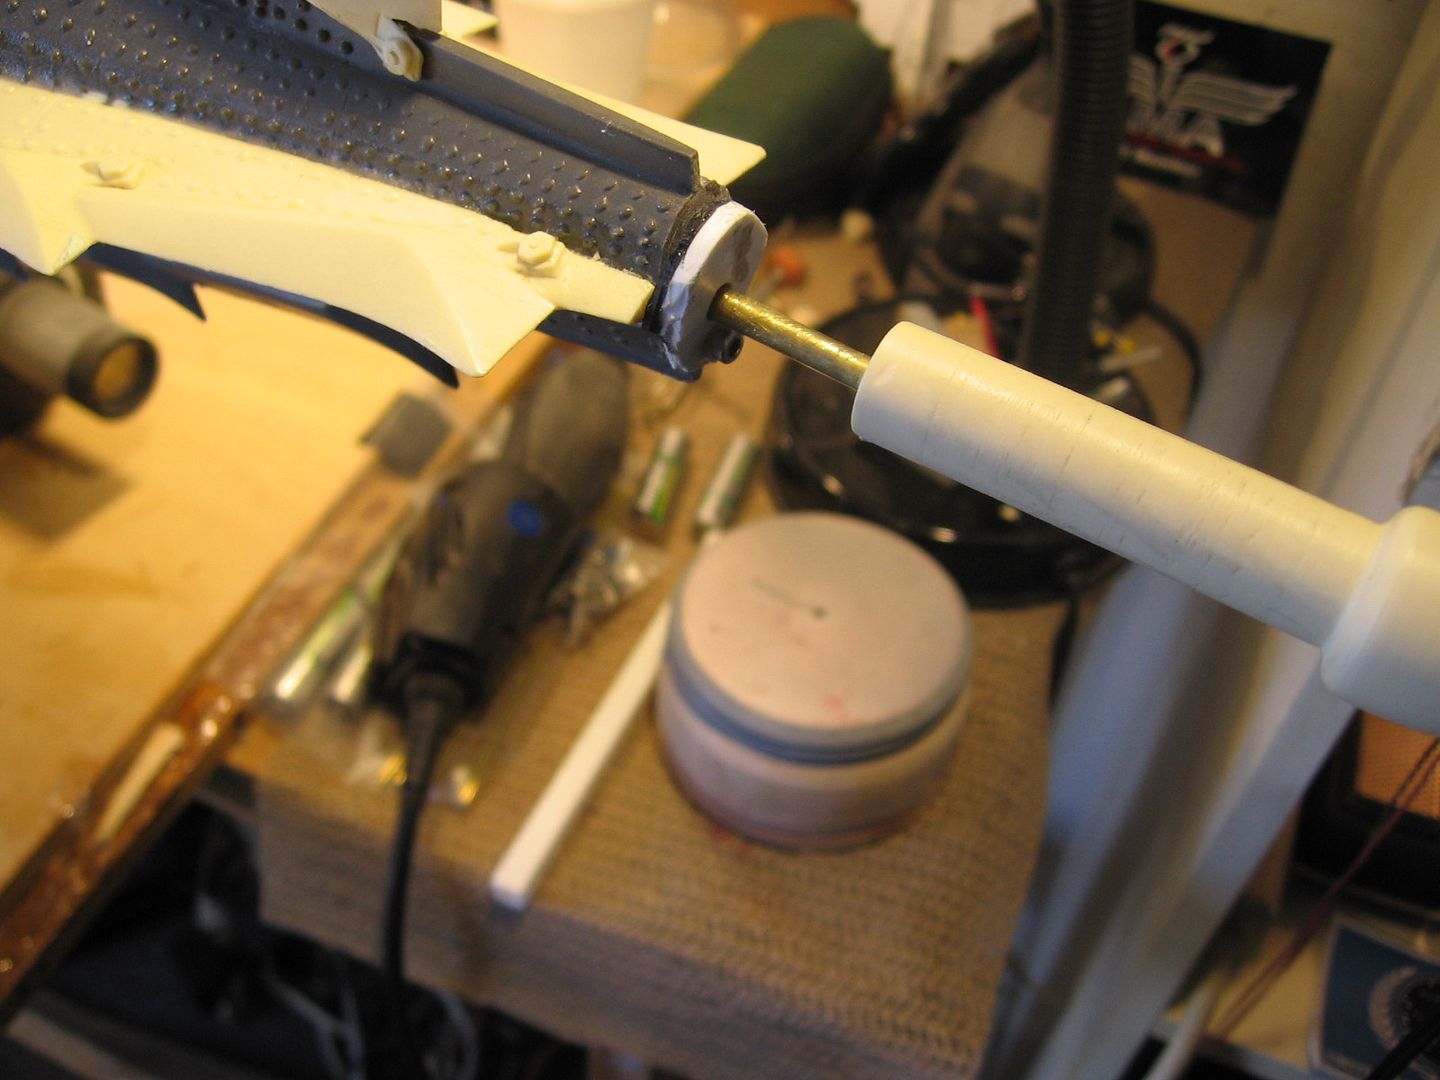
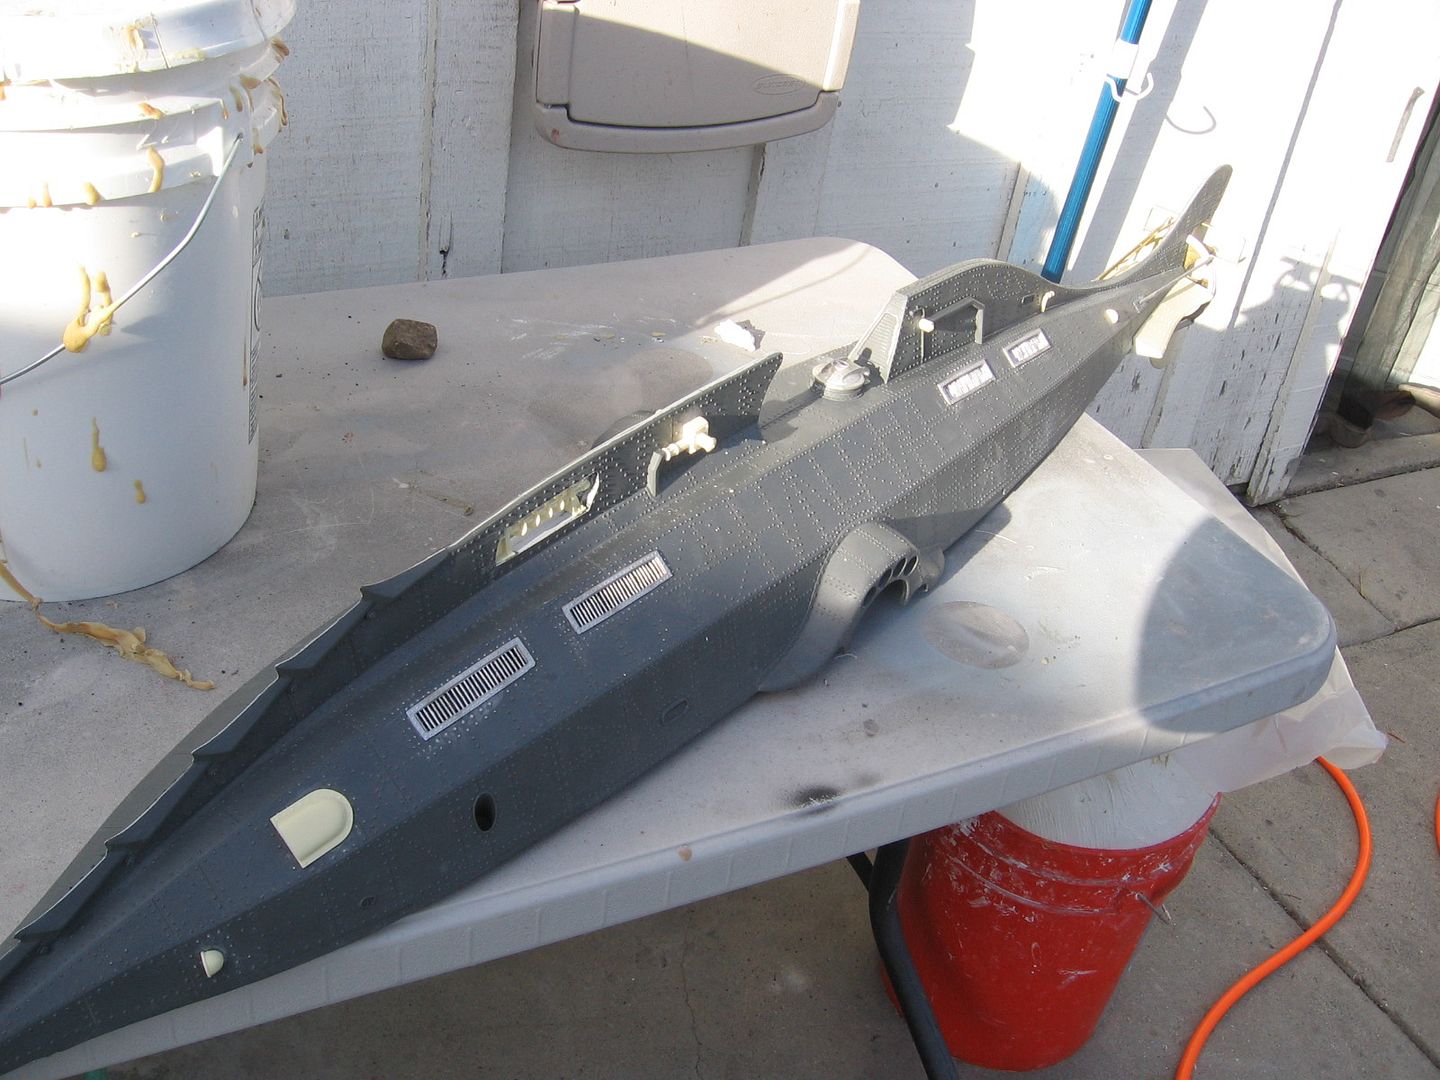
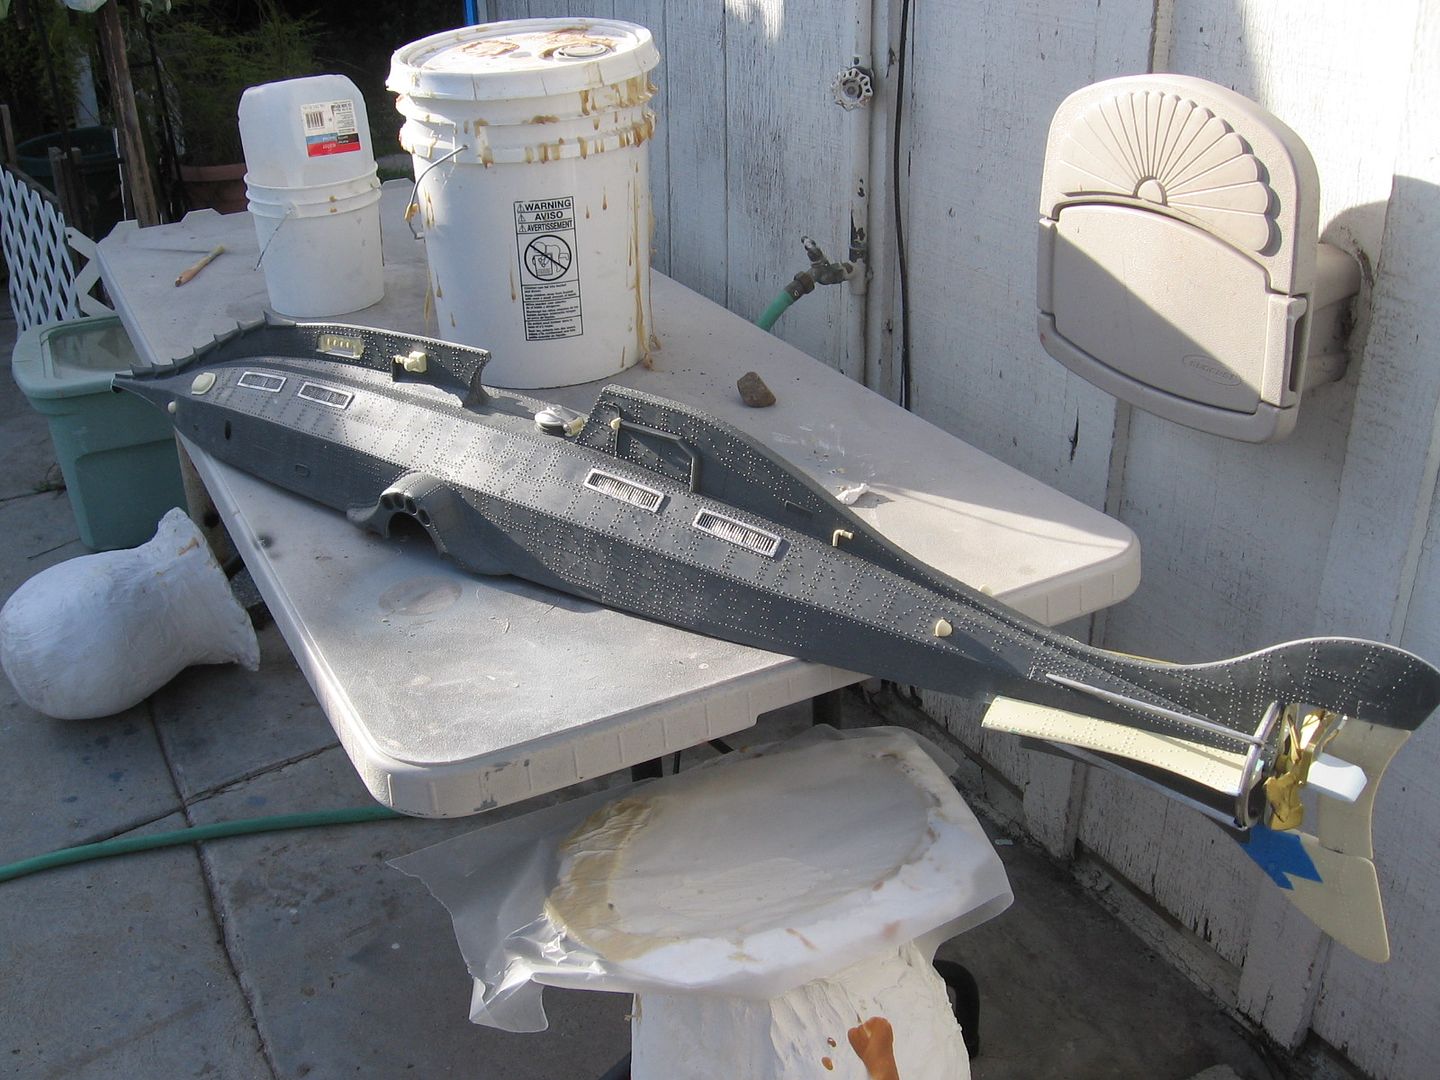
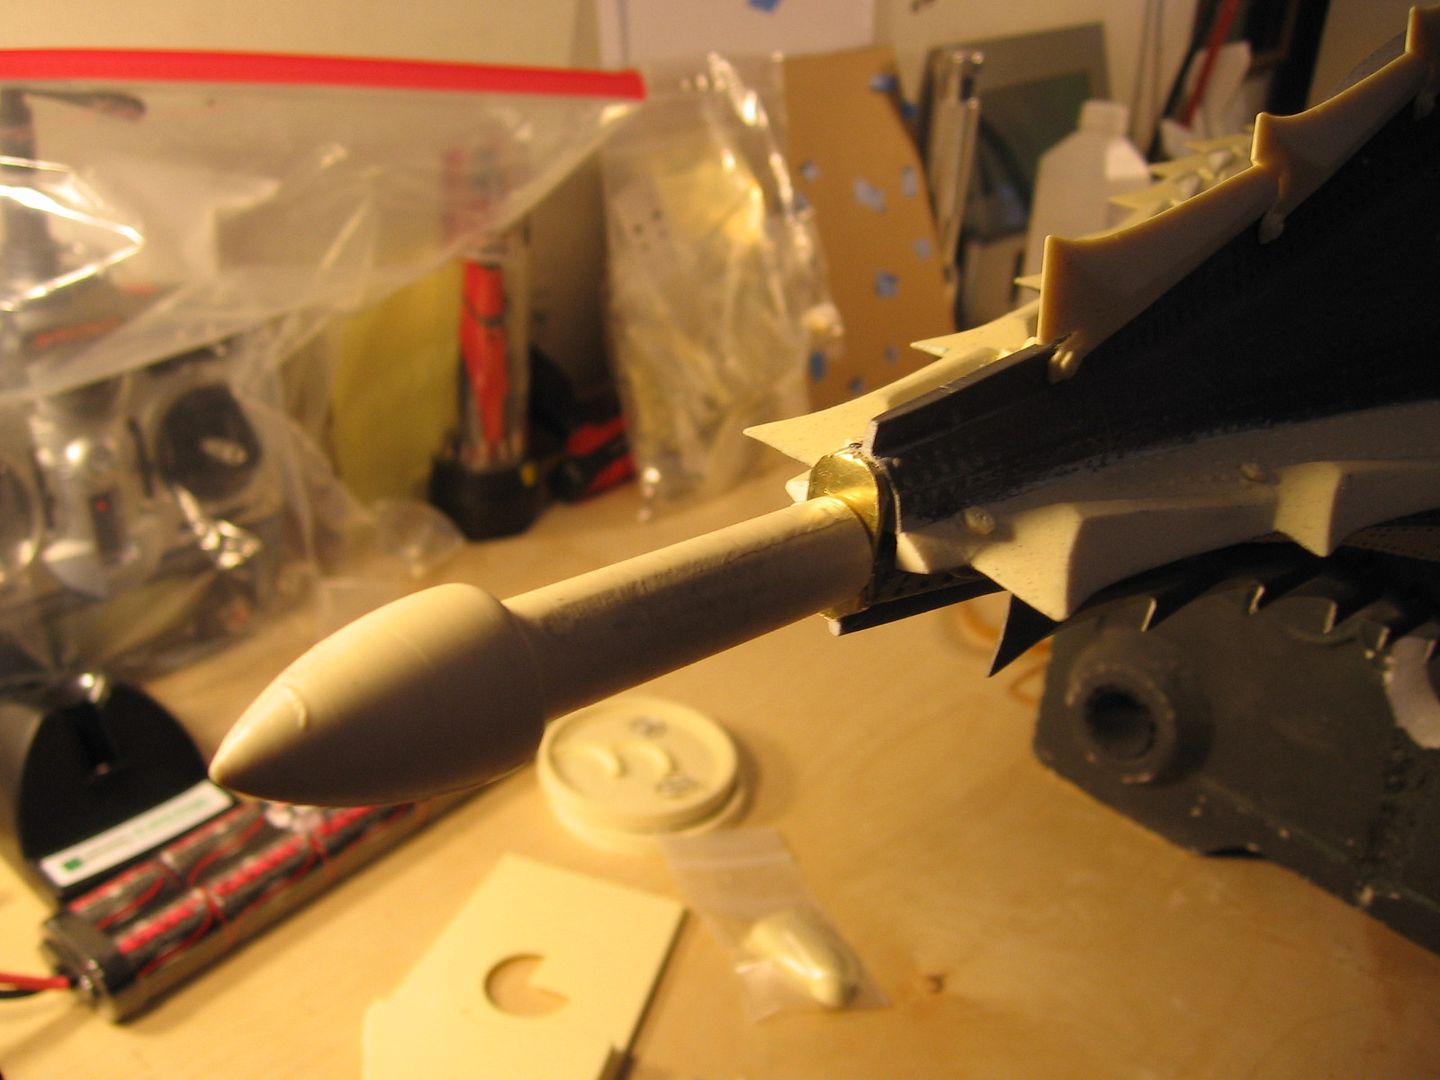
This is the removable ram. This all get filled and evened up with finishing glaze tomorrow. It’s rough but functional right now.

IMG_6021.jpg


Top just lifts off after you remove the ram.

IMG_6031.jpg


Here’s that flange in the stern that keep the top down.

IMG_6023.jpg


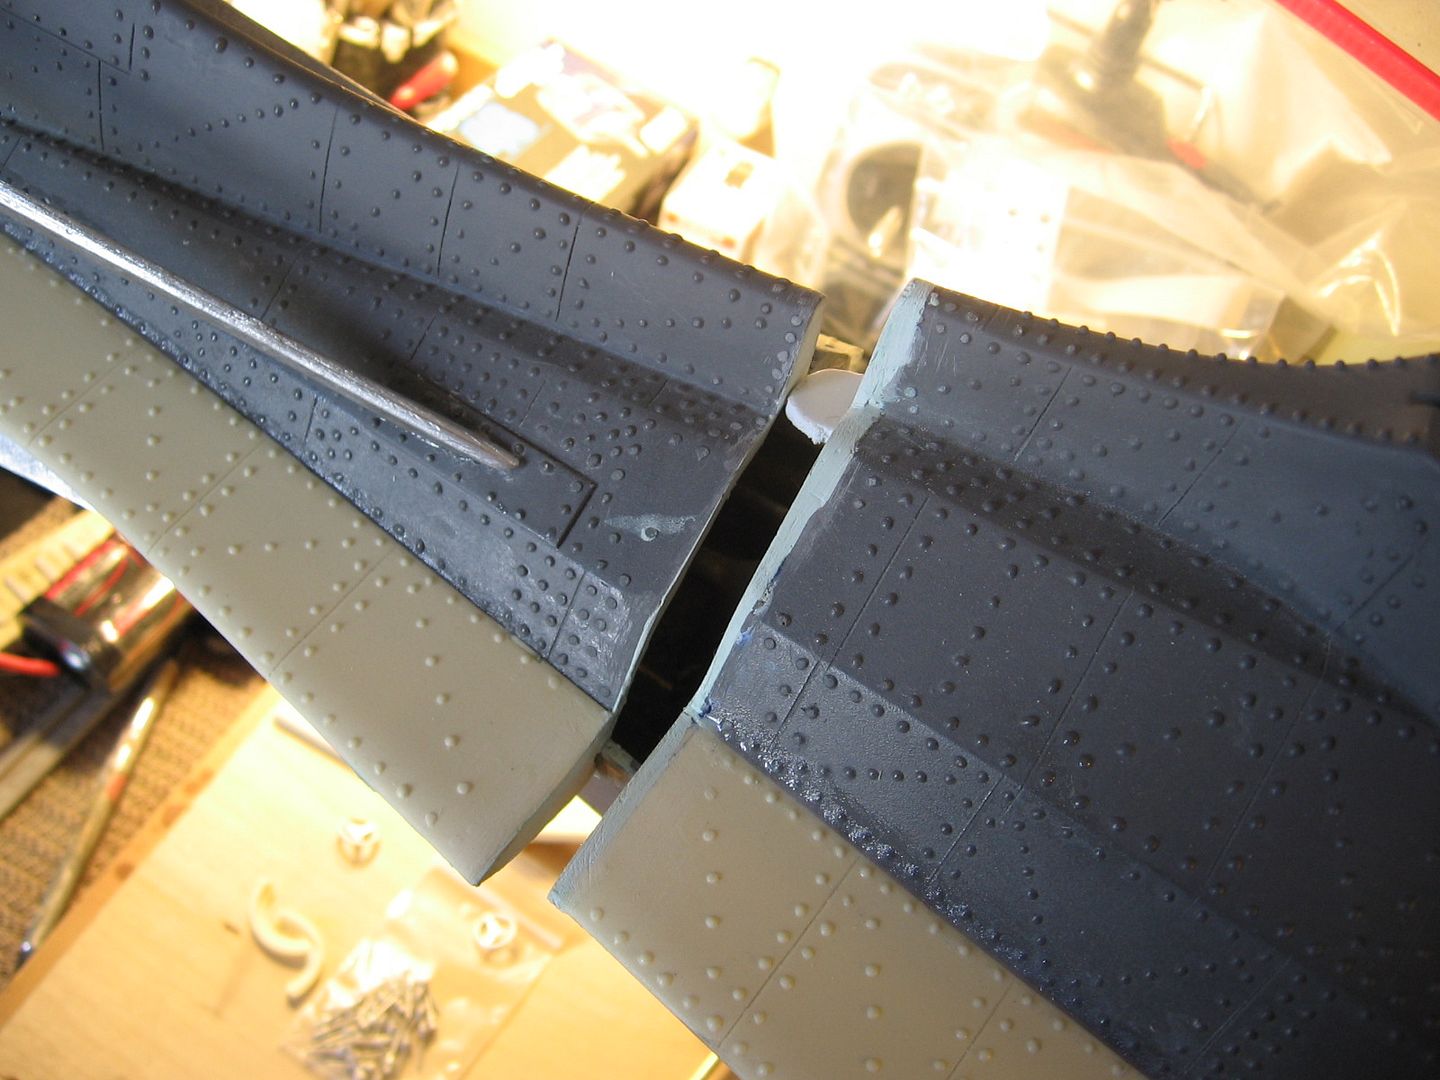
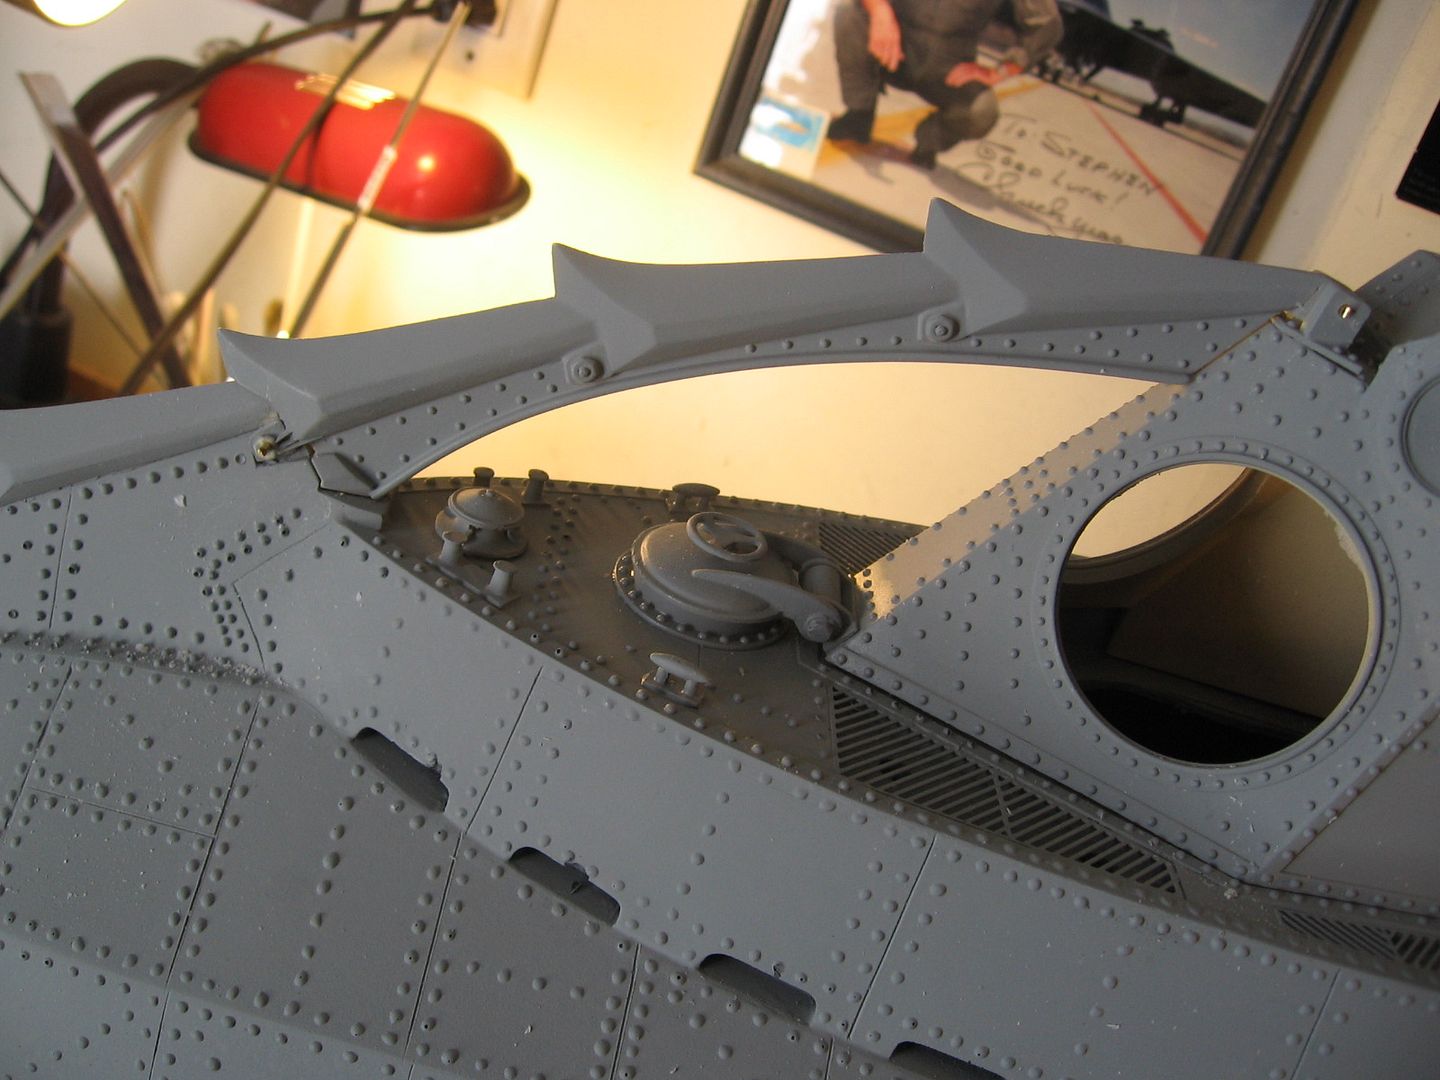
Not sure how this happened but I suspect the molds for this model are getting worn. This could take a long time to fix, or I paint it up as barnacles and sea life.

IMG_6024.jpg


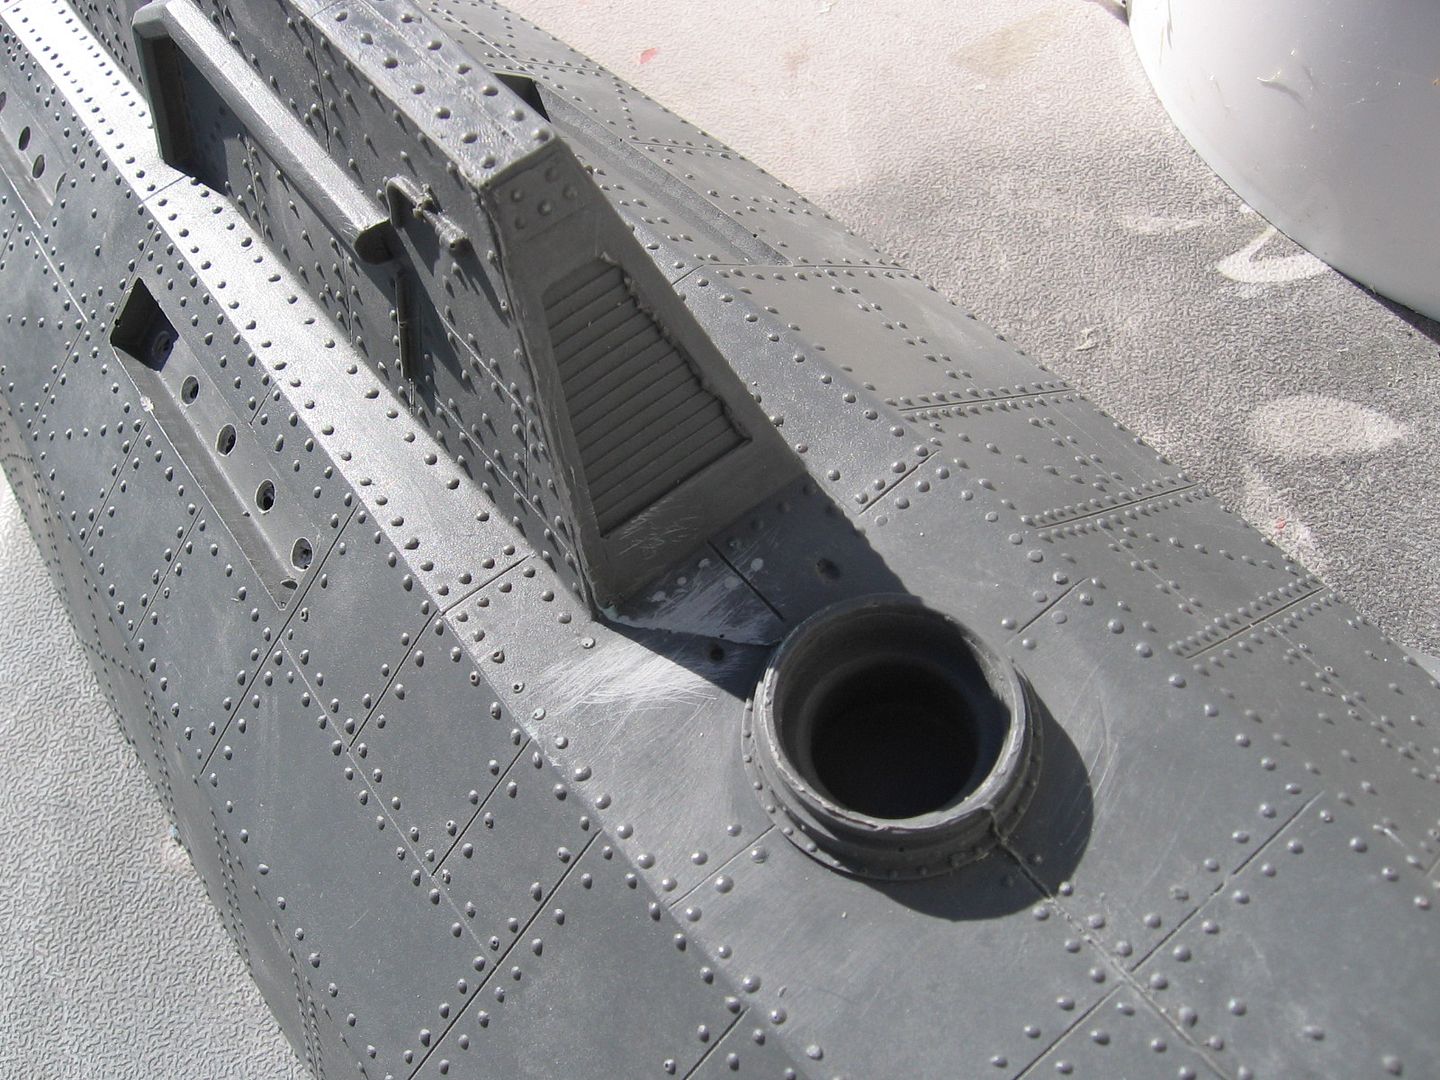
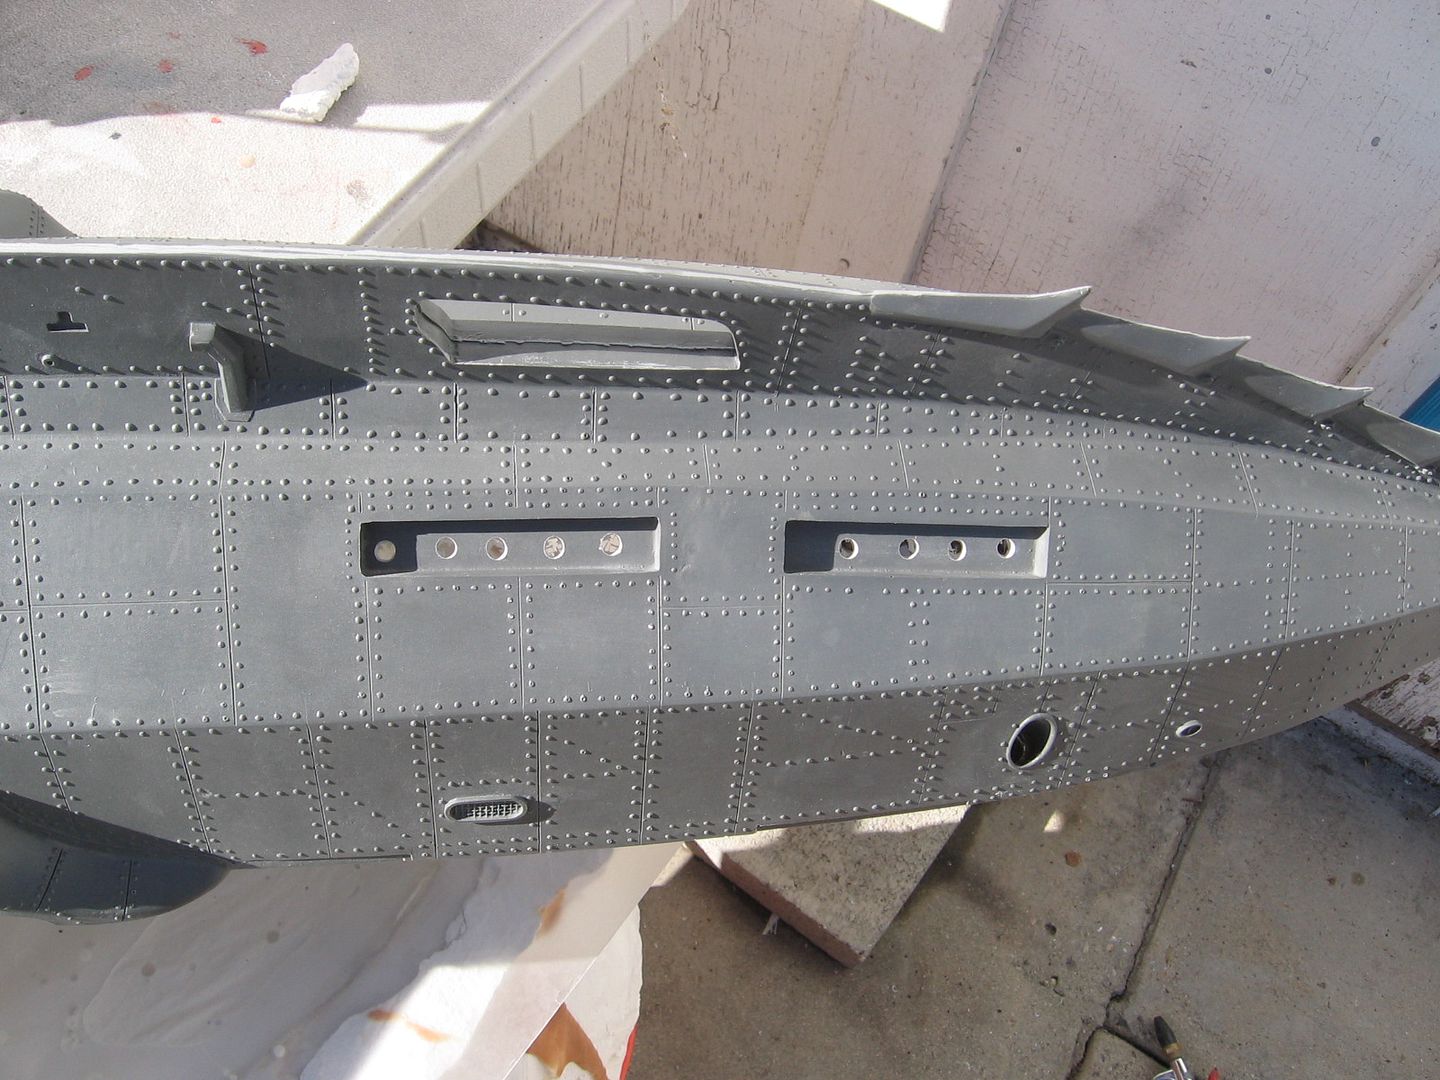
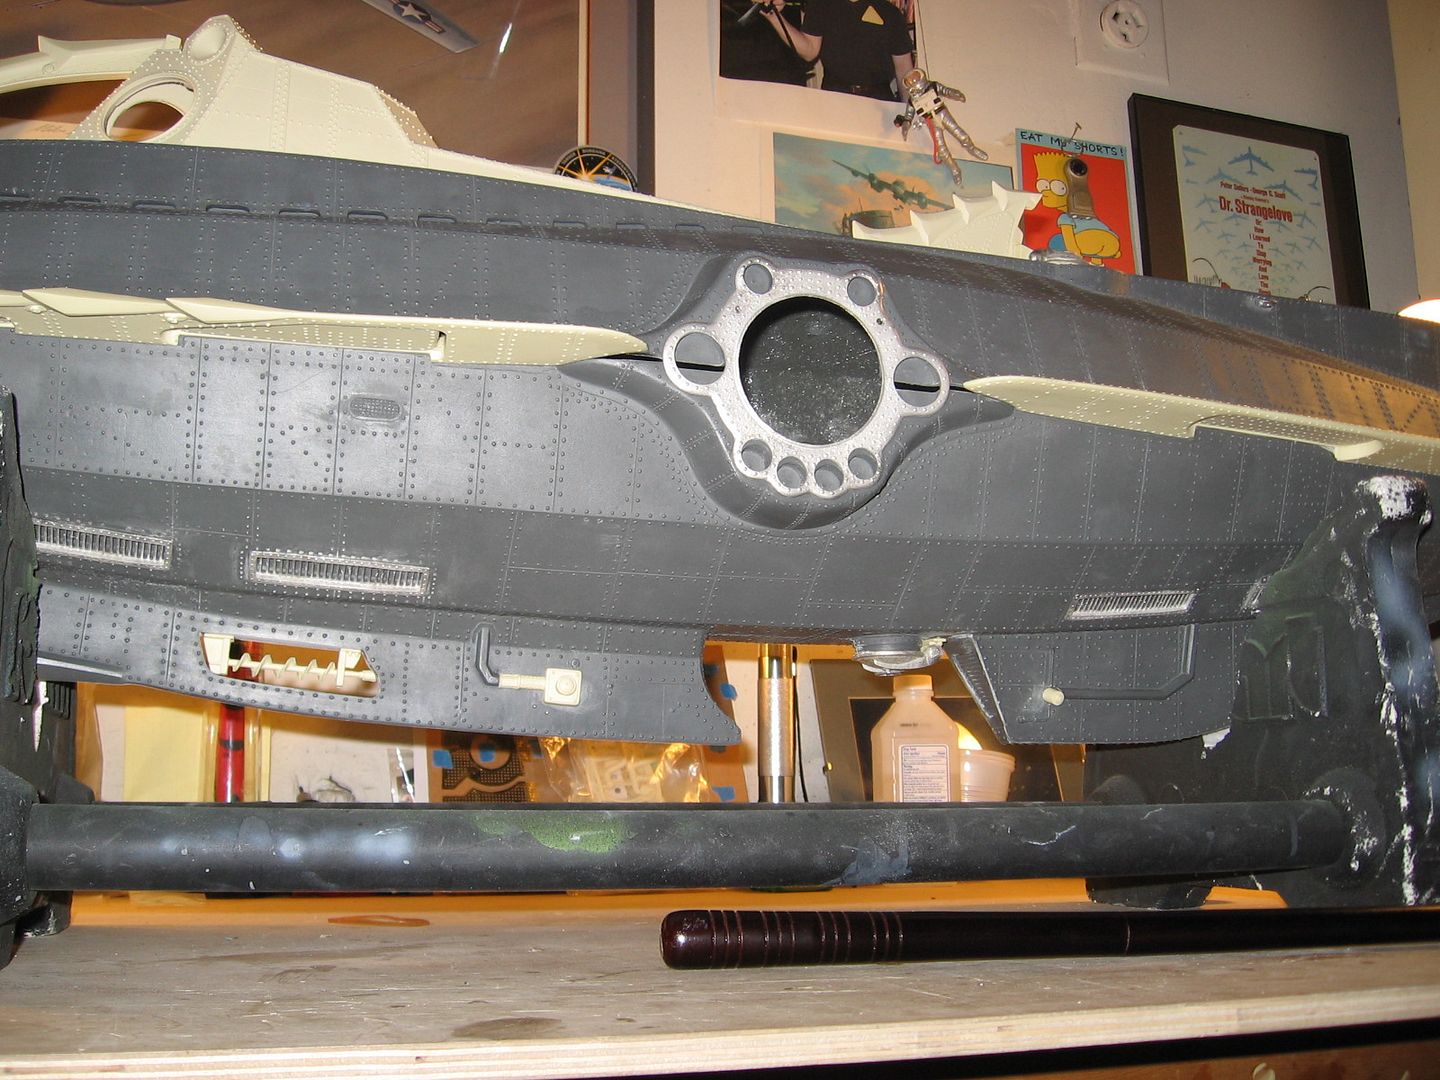
I drilled some simple holes to drain water from the hull.

IMG_6026.jpg


I then added the grills. I did the same thing with the vents top side that are covered by the PE grills. This releases the trapped air under the deck and helps the sub dive.

IMG_6027.jpg


IMG_6028.jpg


IMG_6029.jpg


All the bits on.

IMG_6035.jpg


IMG_6033.jpg


IMG_6032.jpg


More tomorrow,

Steve
 
a great tread

im really looking forward to the next steps

please keep up the great work
 
This is a fantastic project Mr. Neill and reading your progress reports is a real treat ! Disney's Nautilus and Irwin Allen's Seaview are my all-time favorite fictional submarines.
Just curious, what would that little corkscrew do under the keel if this were in the real world ? Does it serve any purpose other than looking cool ?
 
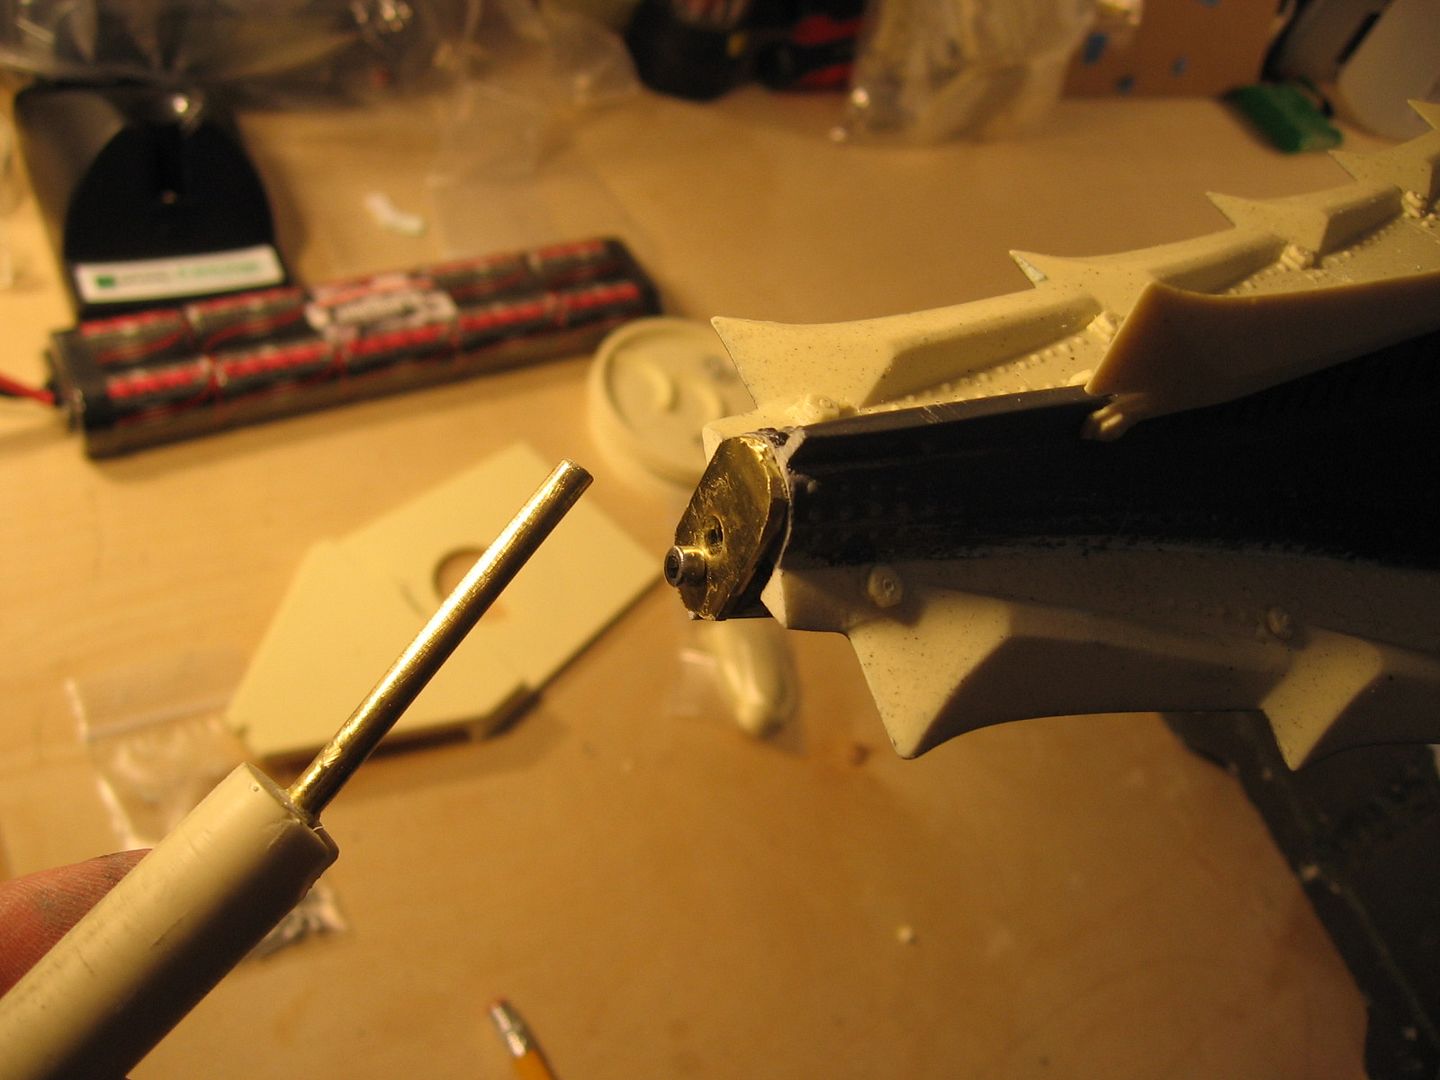
Made a change to the ram attachment that holds down the hull top. The styrene would have eventually failed IMO. So I nice thick piece of brass did the trick.

IMG_6040.jpg


IMG_6041.jpg


IMG_6037.jpg


IMG_6038.jpg


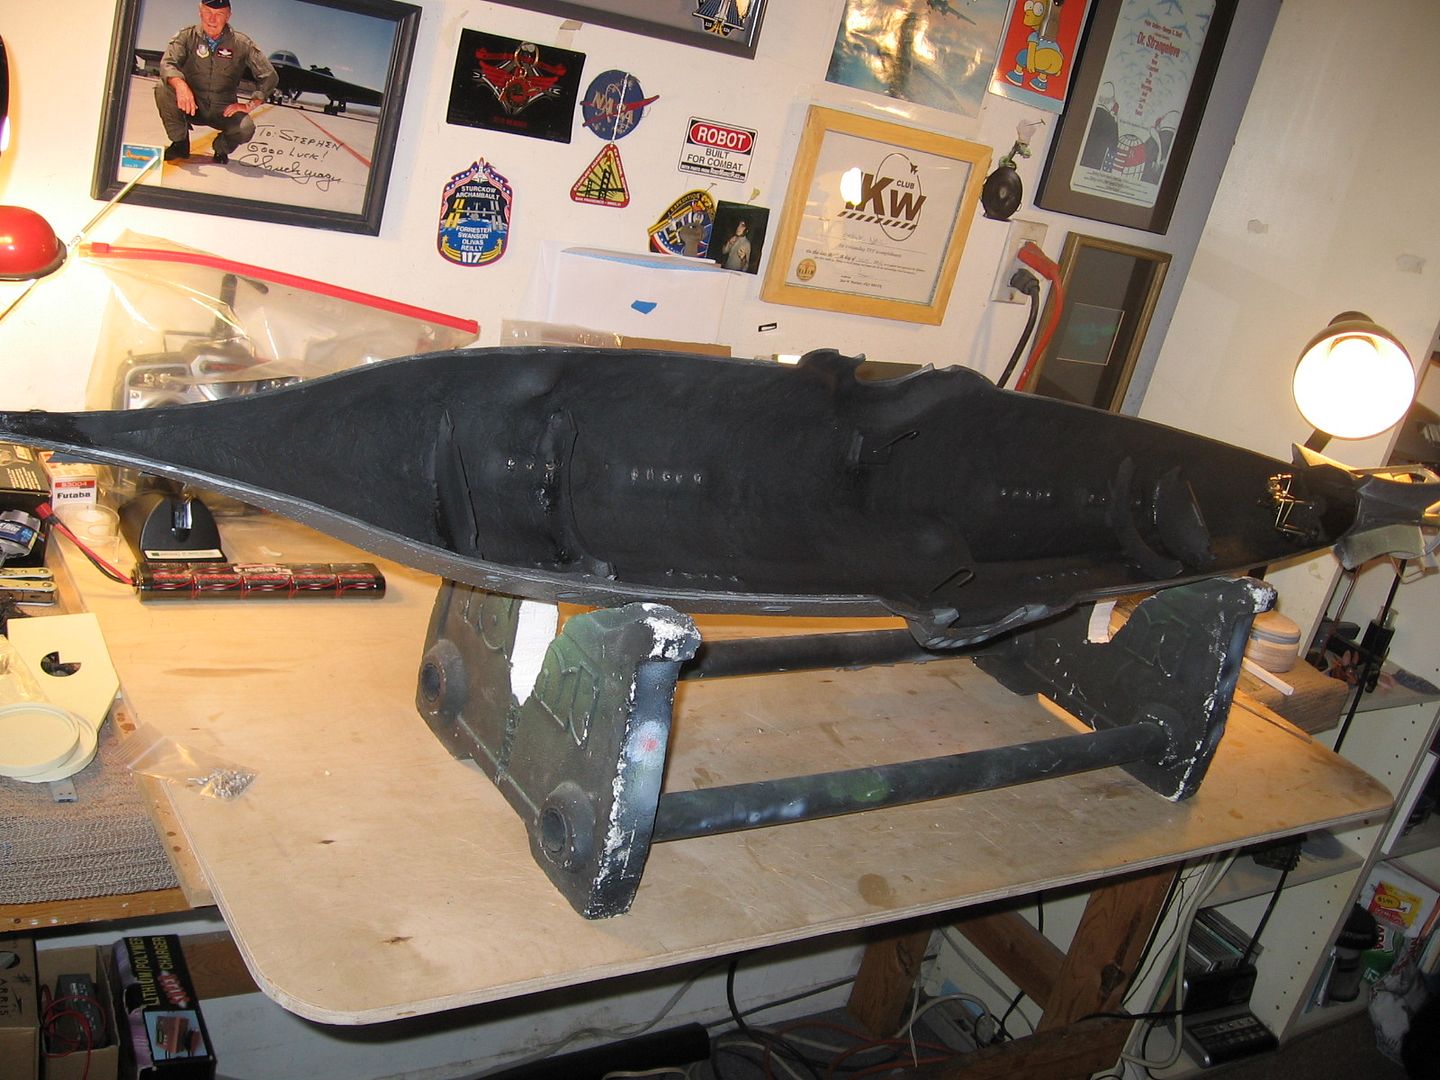
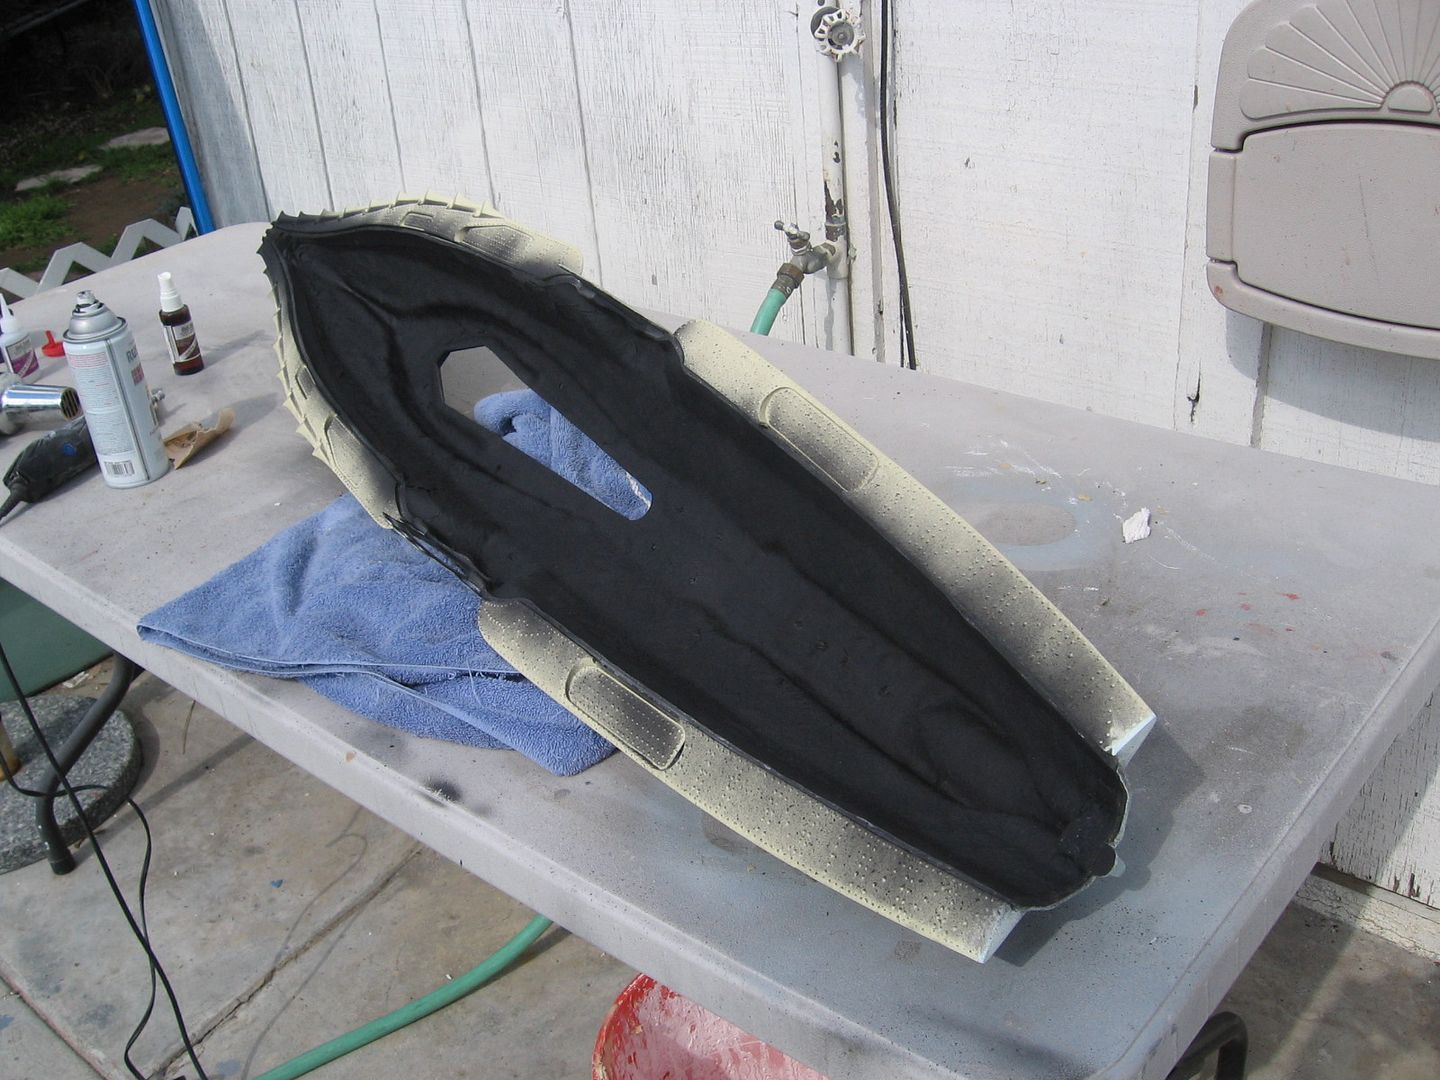
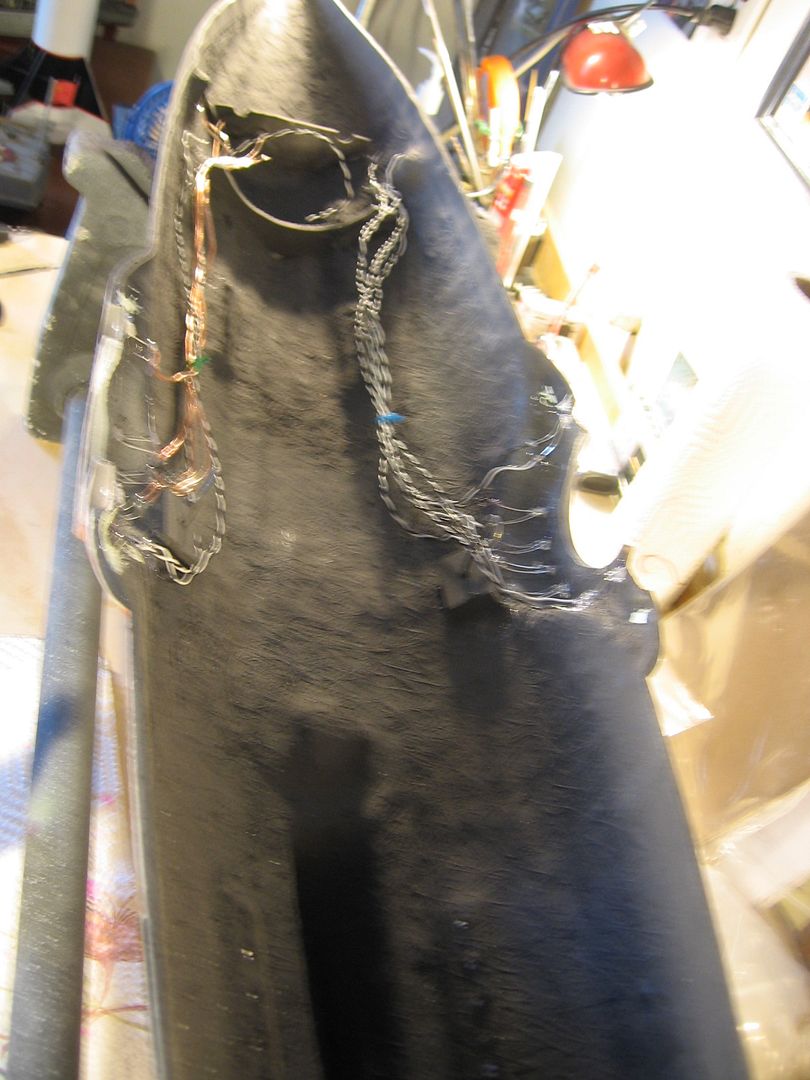
Got the insides all primered black. This cleans things up and takes away the eye distractions from the eventual wiring I'll be doing.

The outside of the hull will get gray primer next.

Steve
 
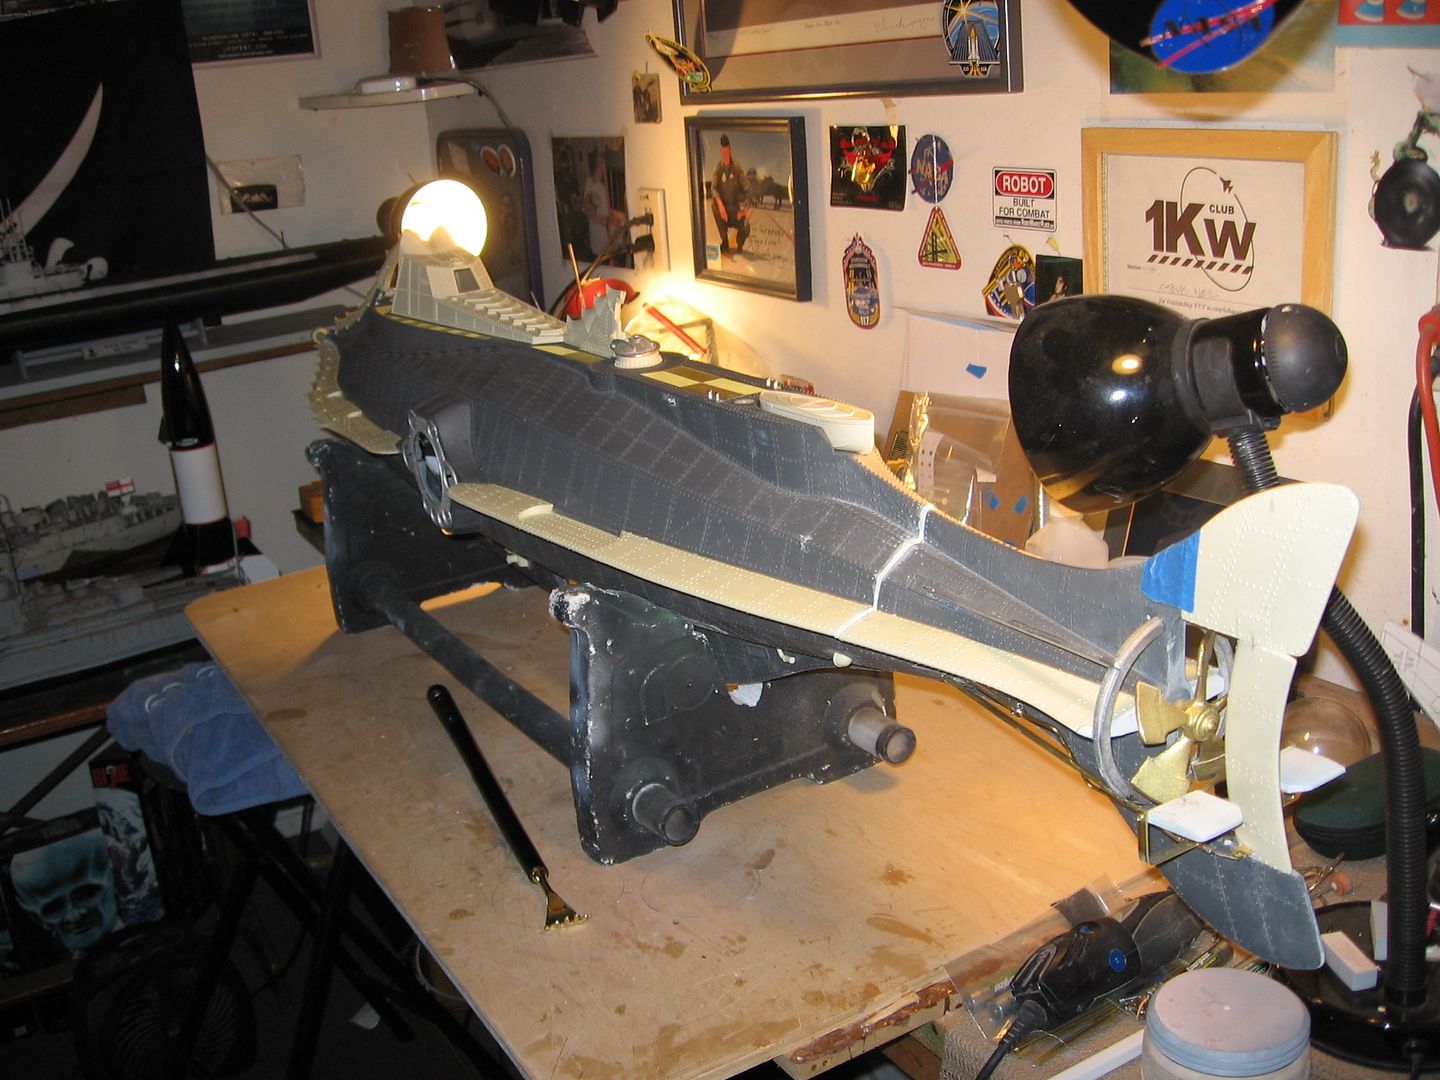
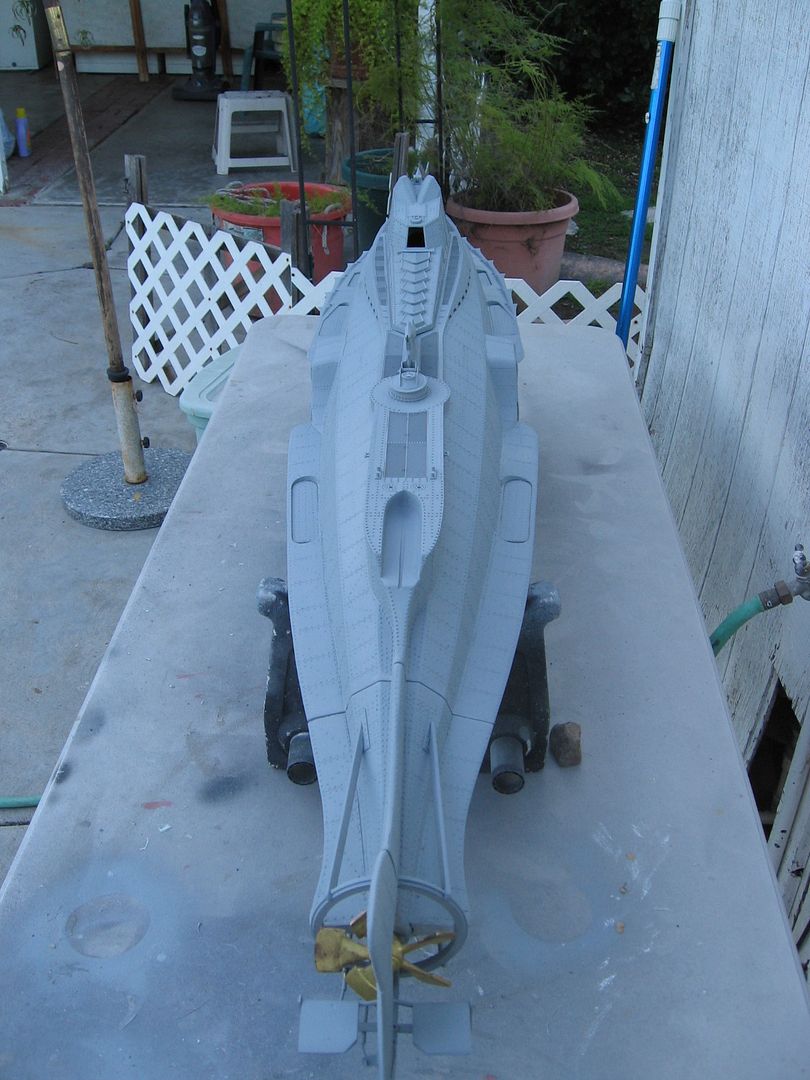
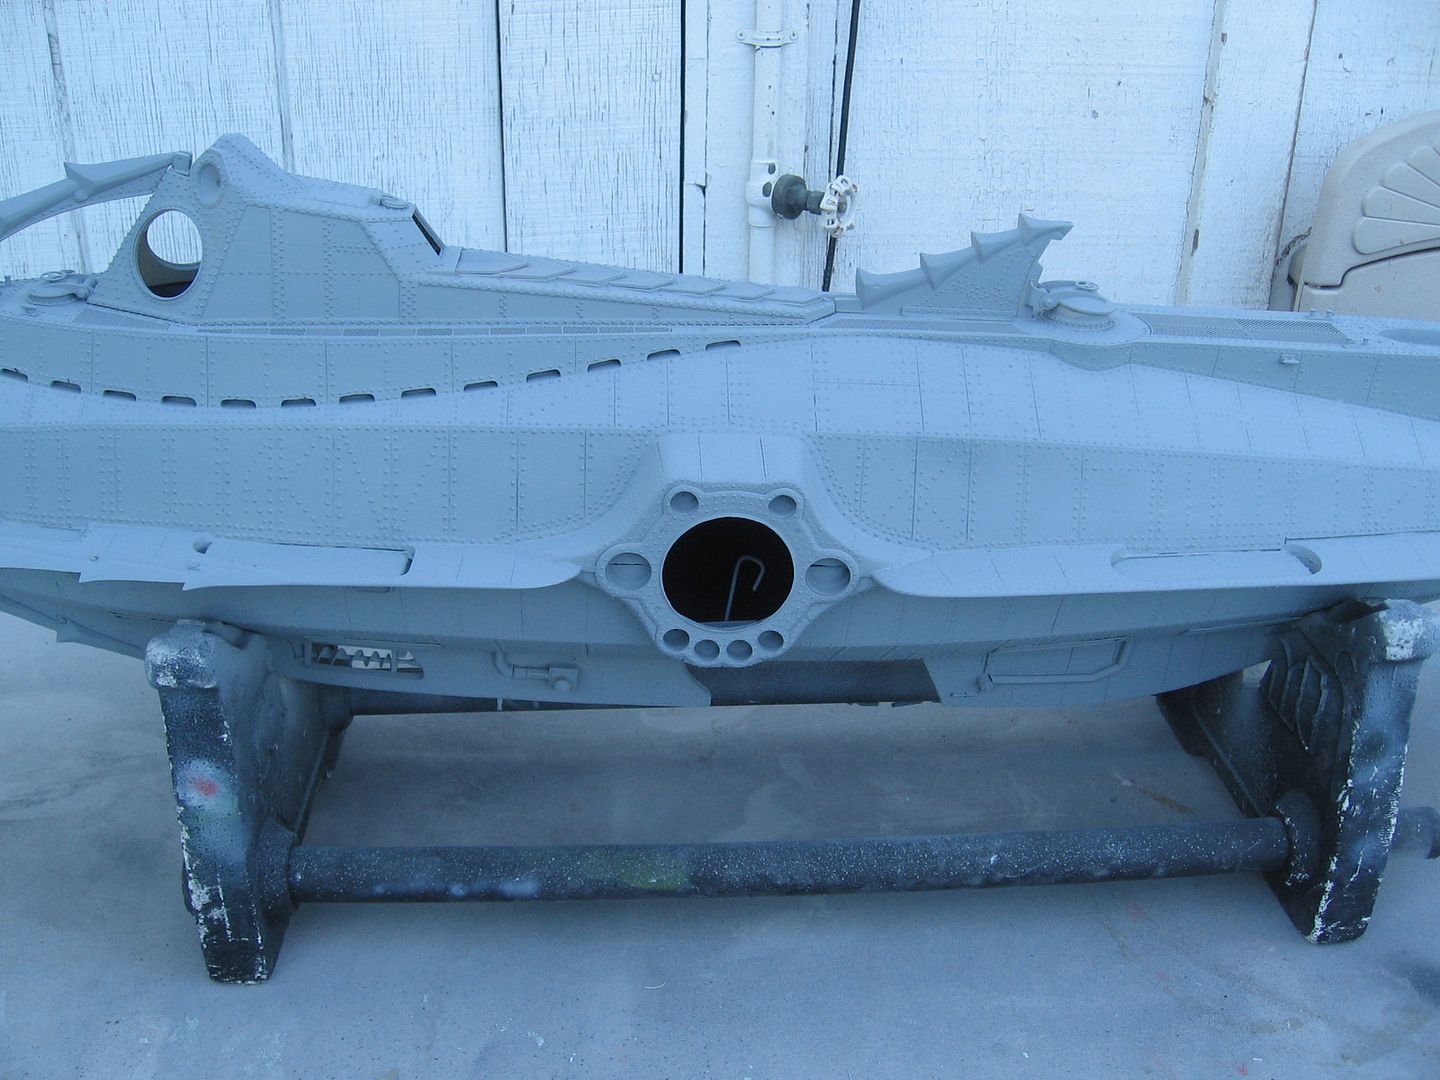
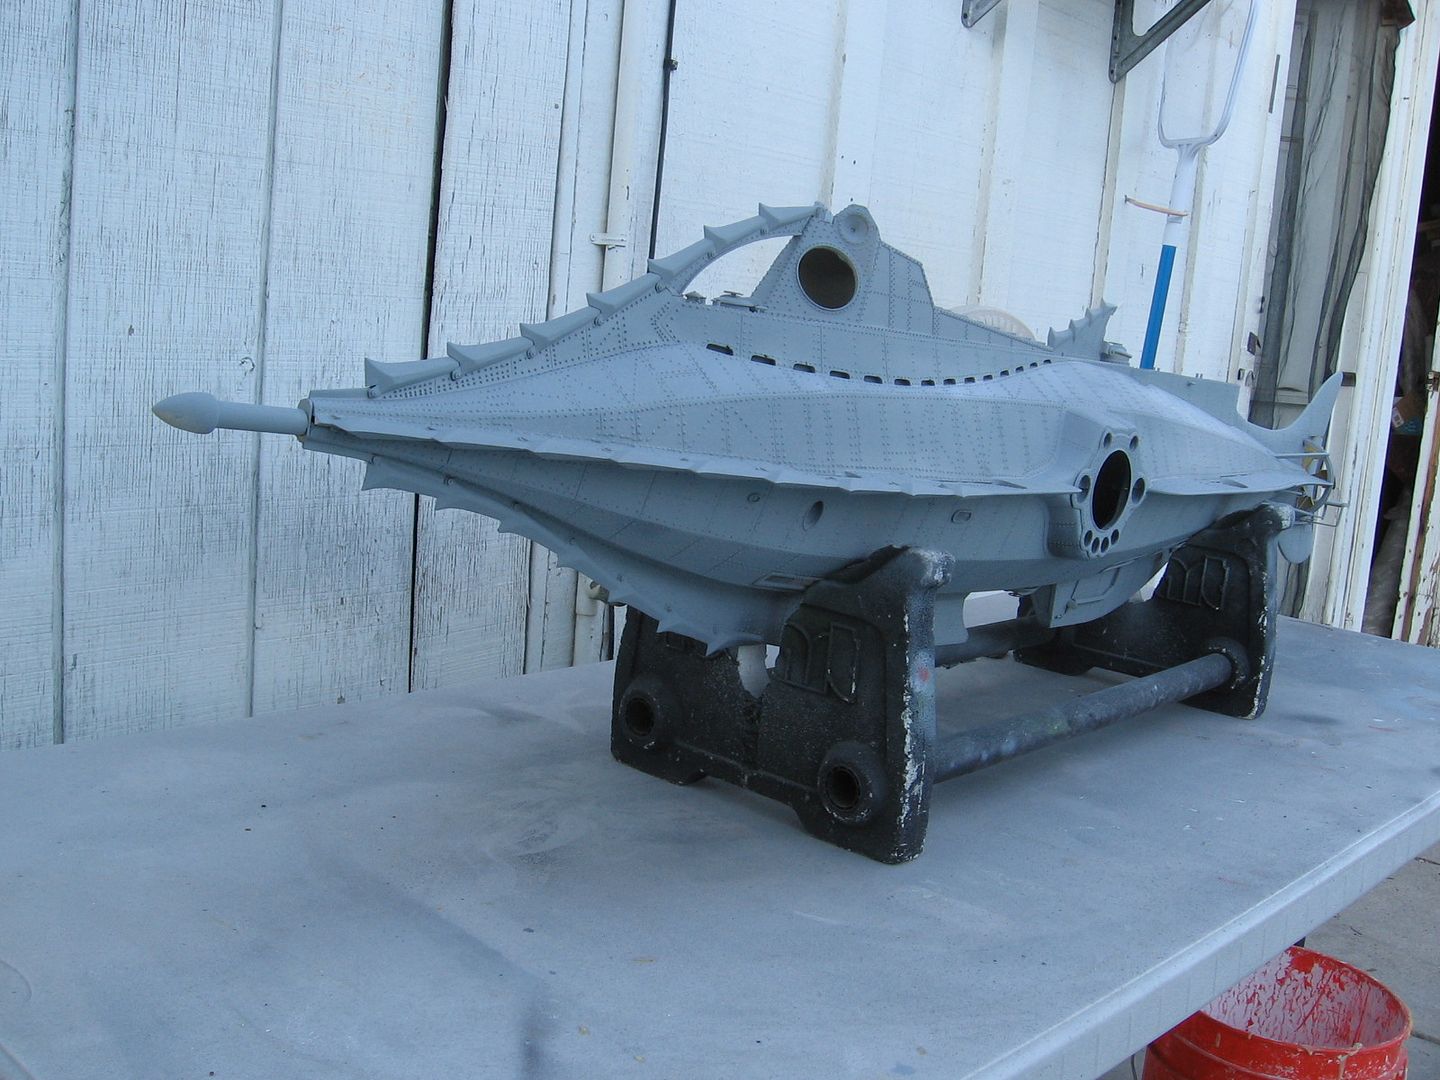
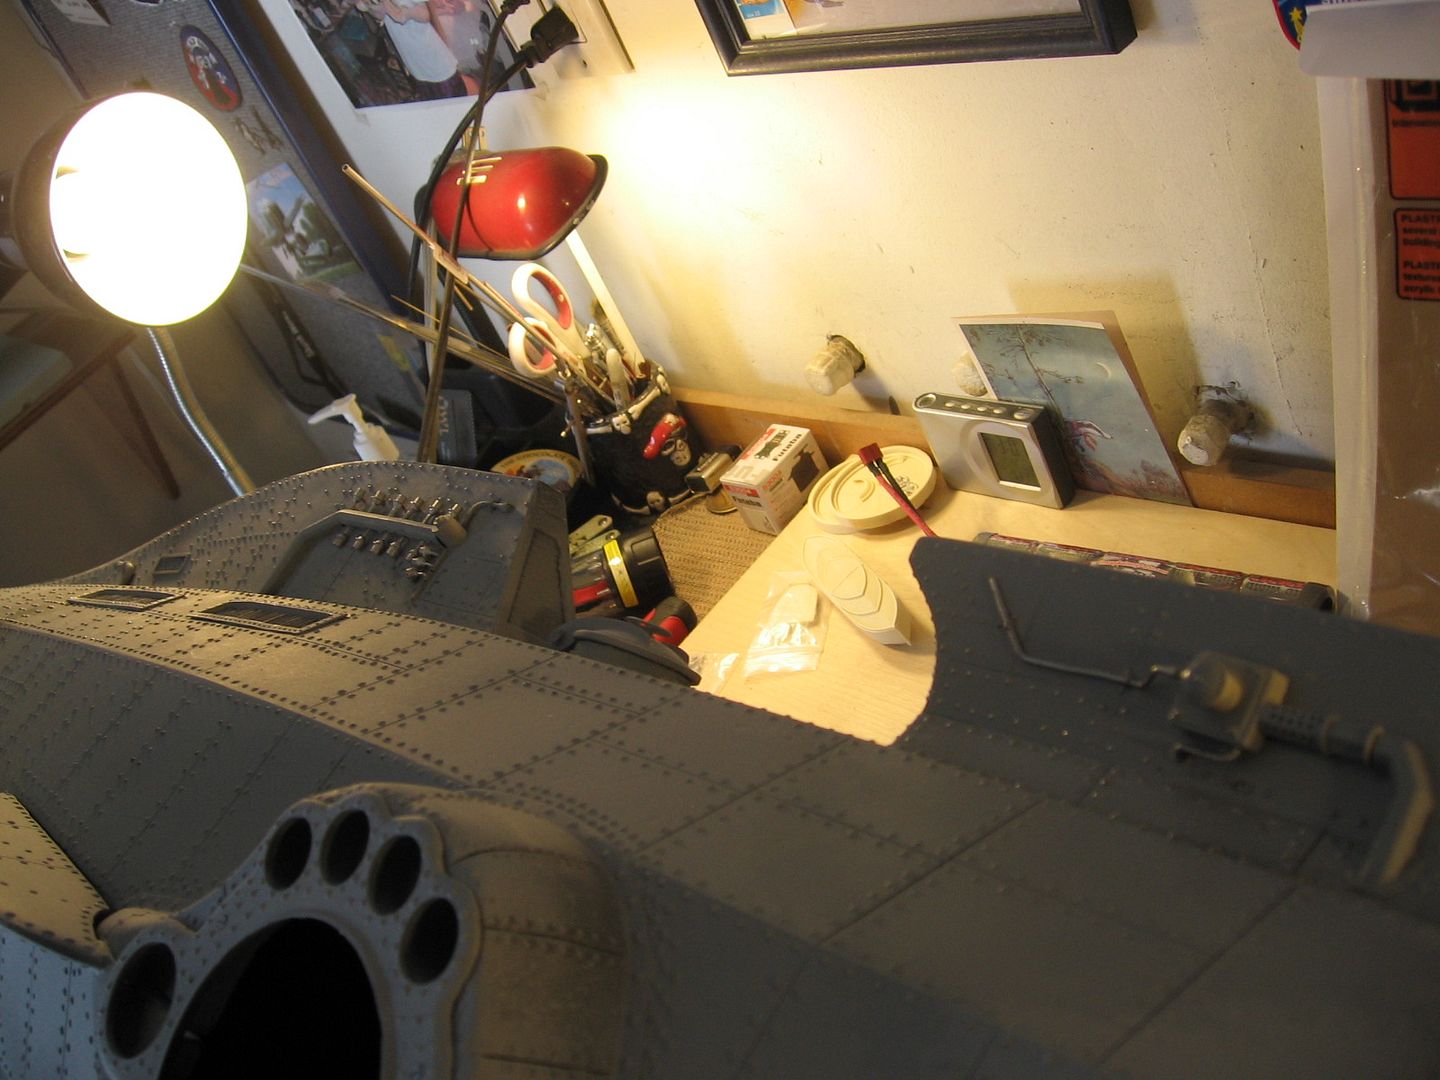
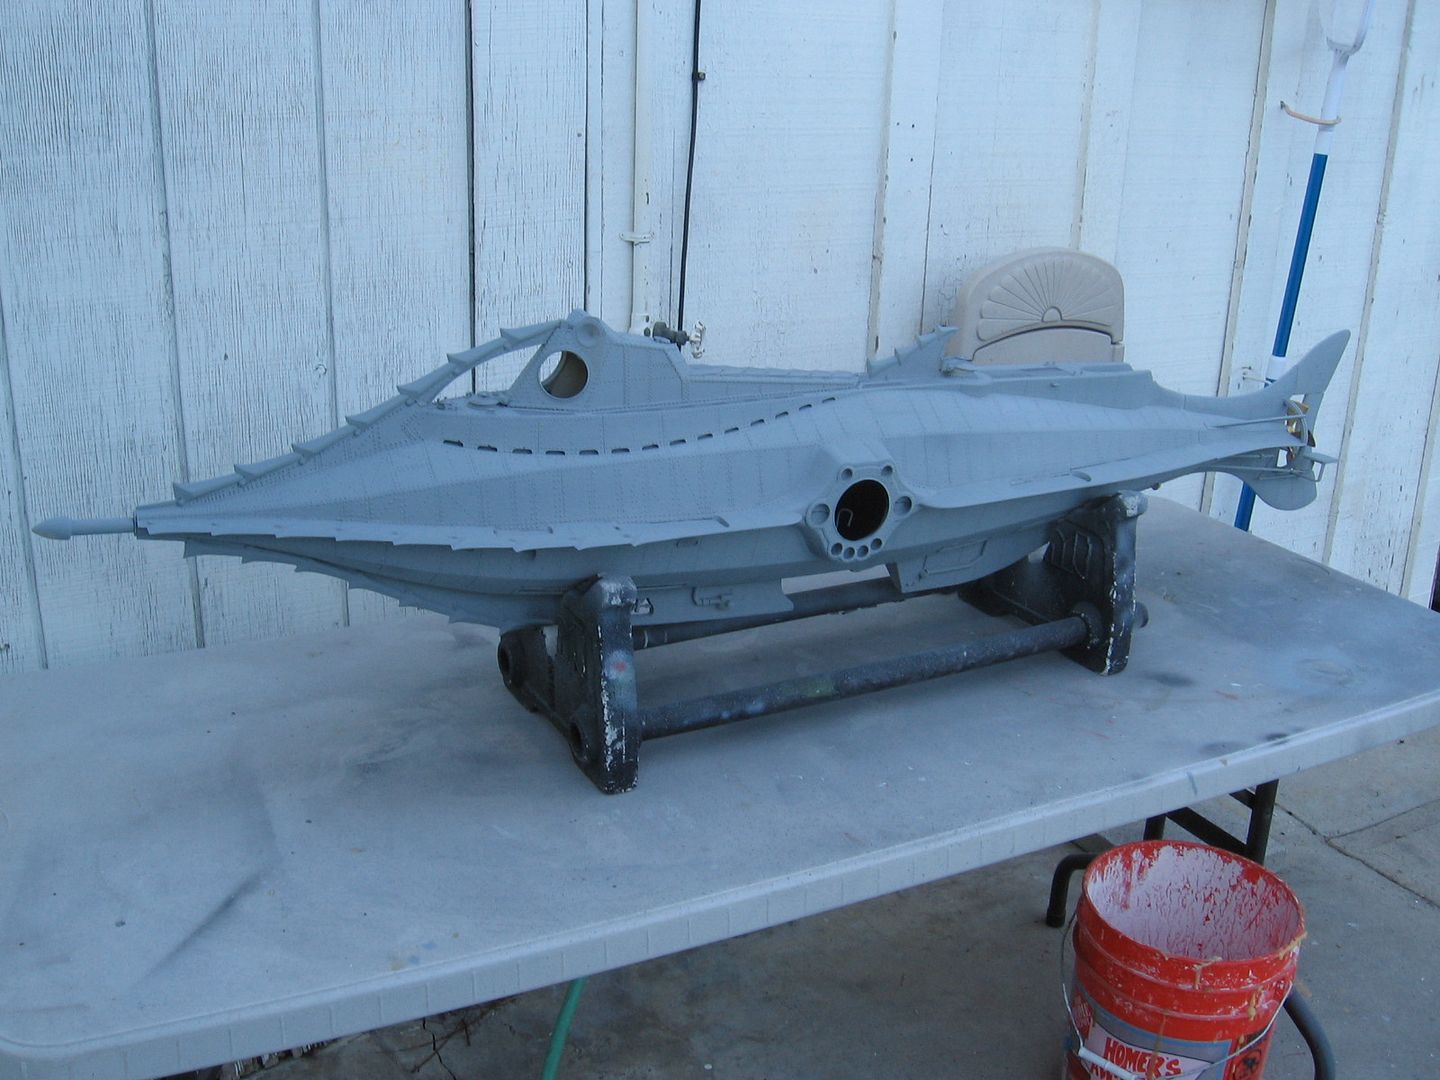
Most of today spent making her ready for paint. Nothing like a coat of primer to show you where things are flawed. I found a few bubbles in the limber holes. Some seams and joins that needed filling. So thin CA that ran down over the hull I didn’t know I had done. But overall I was really pleased that she’s quite sanitary for a mixed medium garage kit.

So tomorrow let’s slam some paint on this baby and I can start the lights and ad the windows.

Steve

IMG_6046.jpg


IMG_6045.jpg


IMG_6044.jpg


IMG_6043.jpg
 
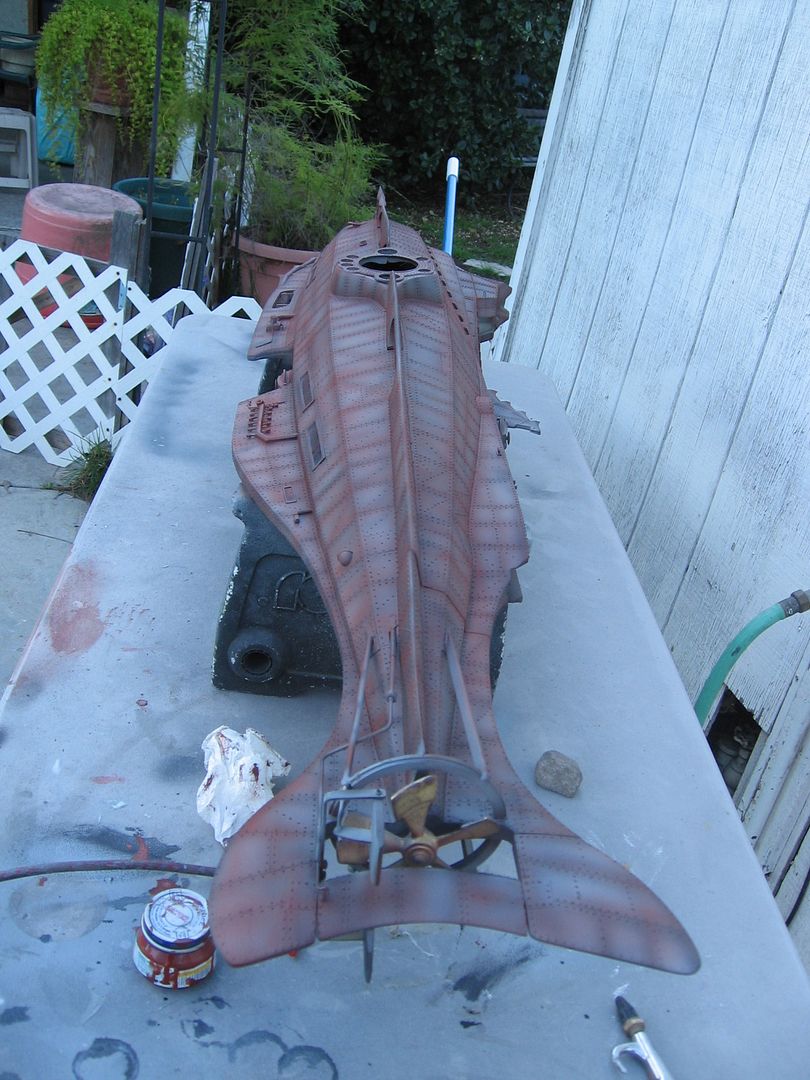
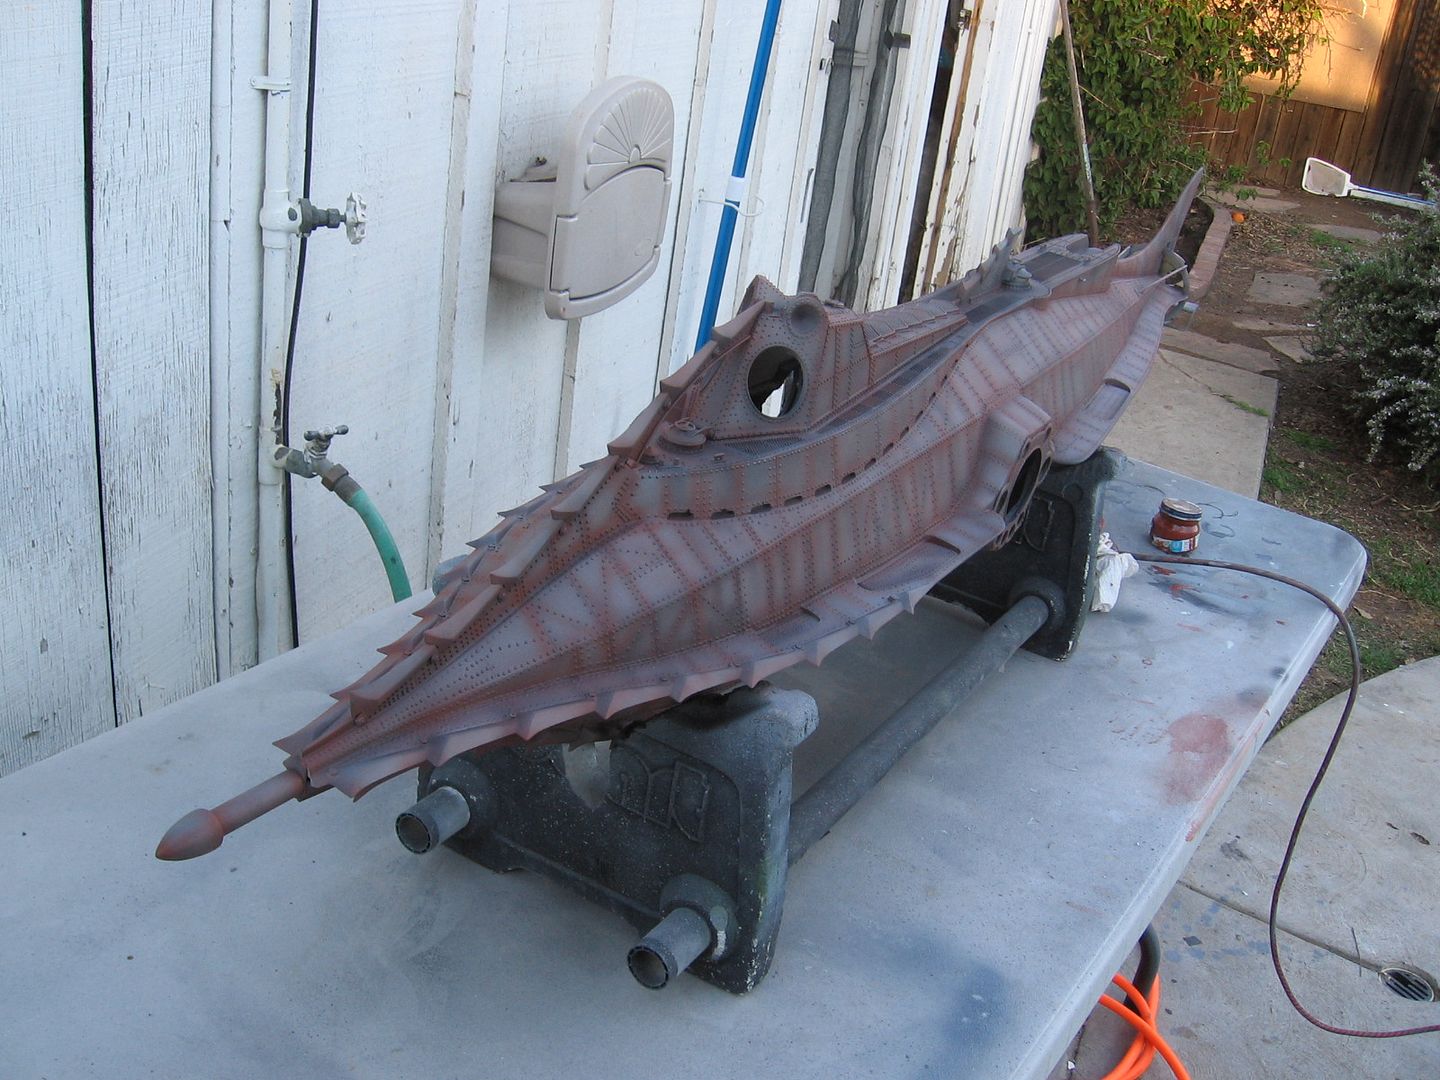
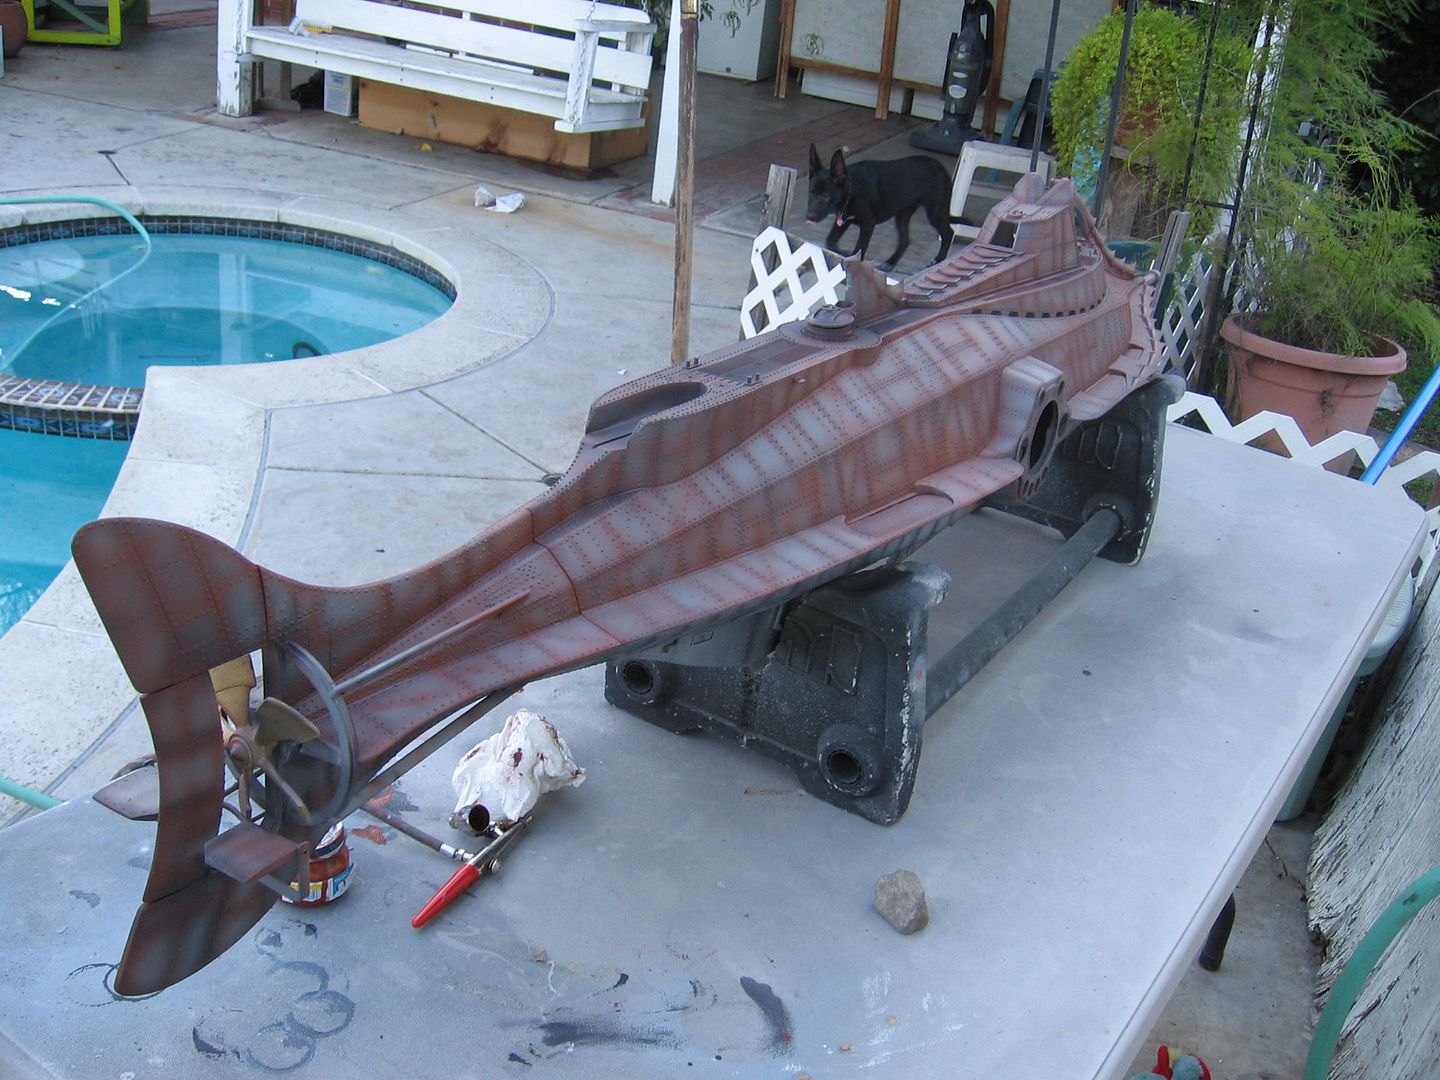
Started the paint job today after adding more parts and making the wheel house removable to add figures, repair and replace lights if ever needed. Magnets did the trick and pins to remove the rake.

What’s left is to go over the boat by hand and add weathering, streaks, bare metal effects and other details but we are safe to go ahead and add the lighting tomorrow and the windows. So far I’m sticking to my daily quota.

Here are some pictures of the paint so far. All acrylics paints were used and the entire paint free hand with an airbrush.

IMG_6049.jpg


Here are the pins that remove.

IMG_6051.jpg


Those other parts that were added I over looked.

IMG_6055.jpg


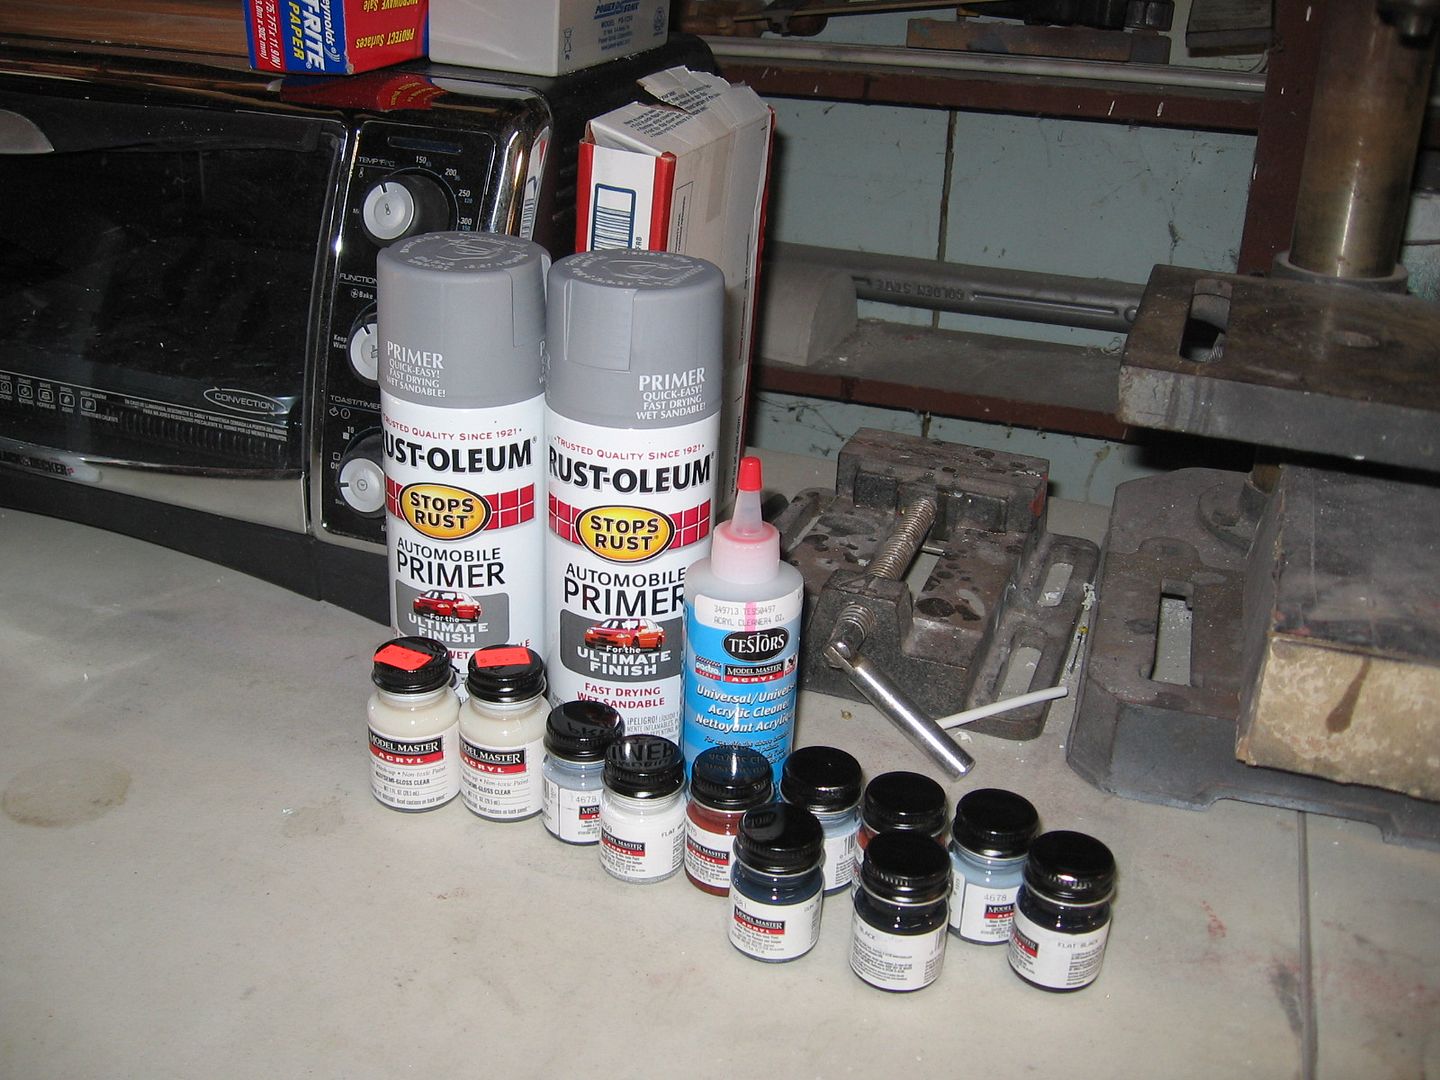
70 bucks worth of paint and thinner.

IMG_6056.jpg


IMG_6062.jpg


IMG_6061.jpg


Outside in the shade of the late day.

Lighting tomorrow!
Steve
 
Last edited:
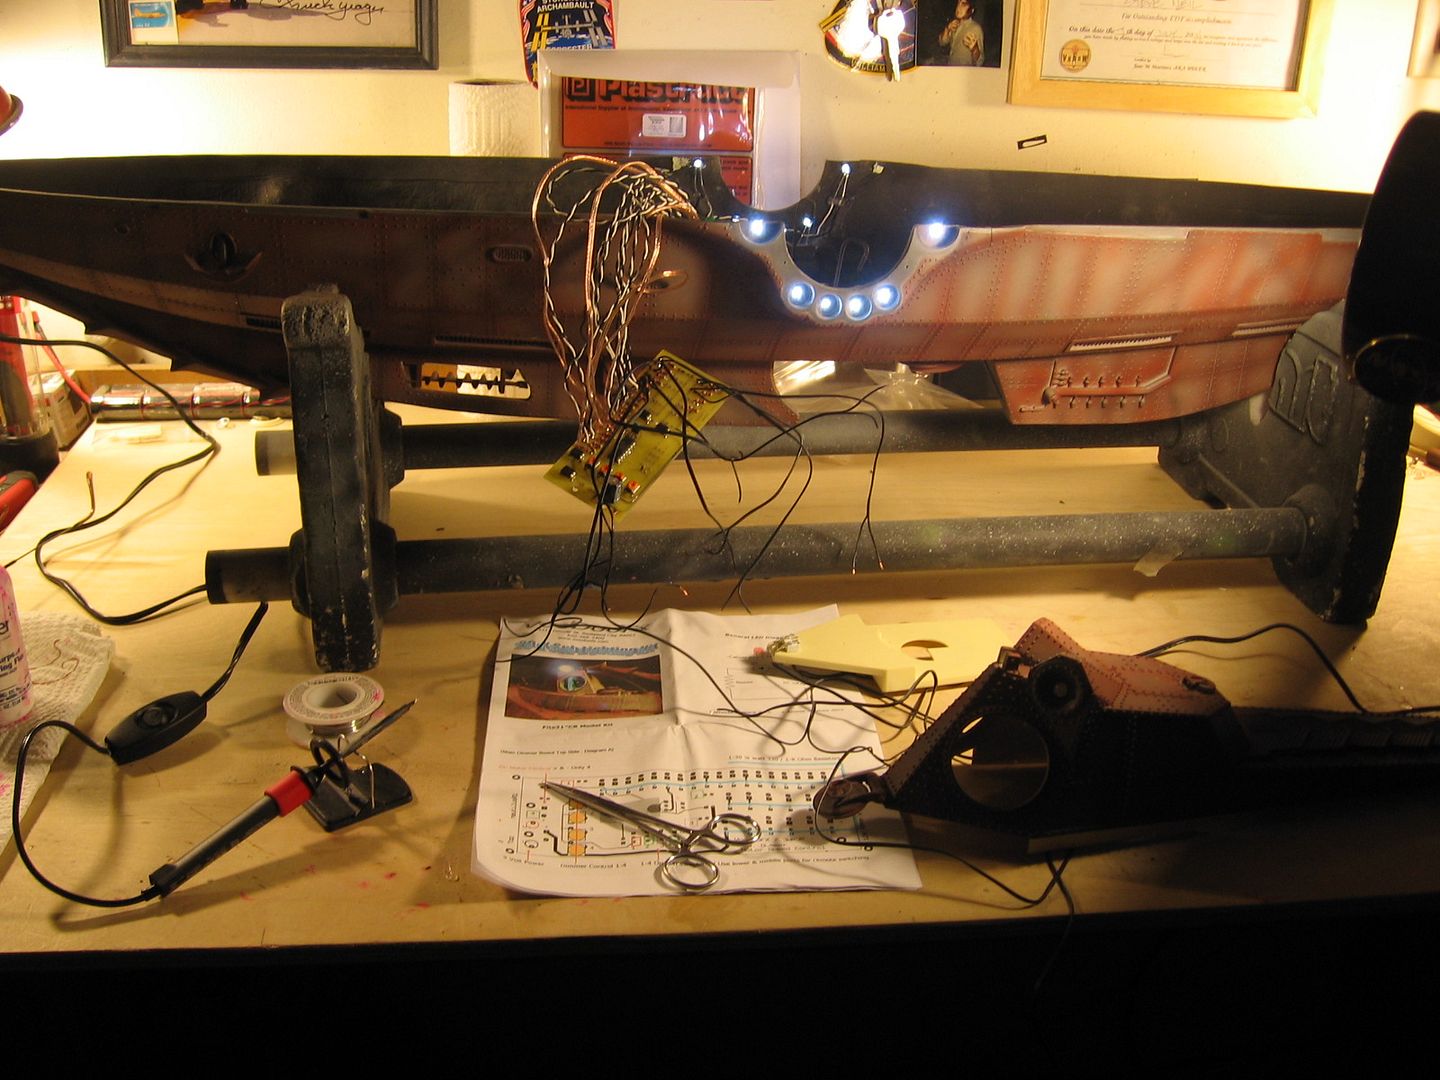
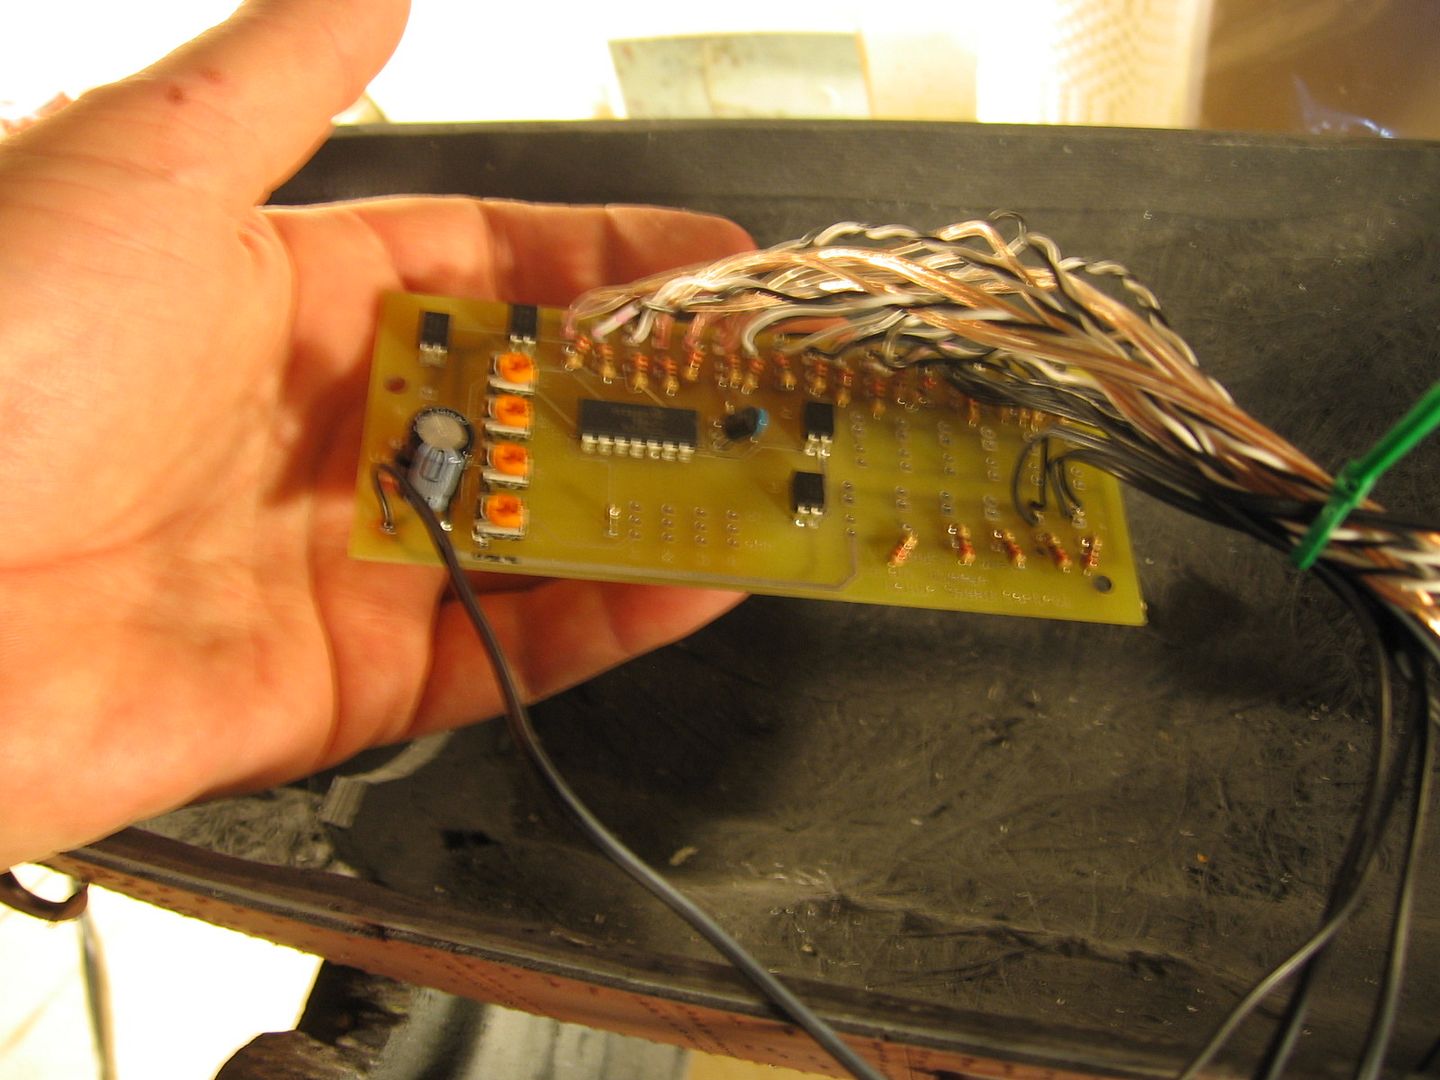
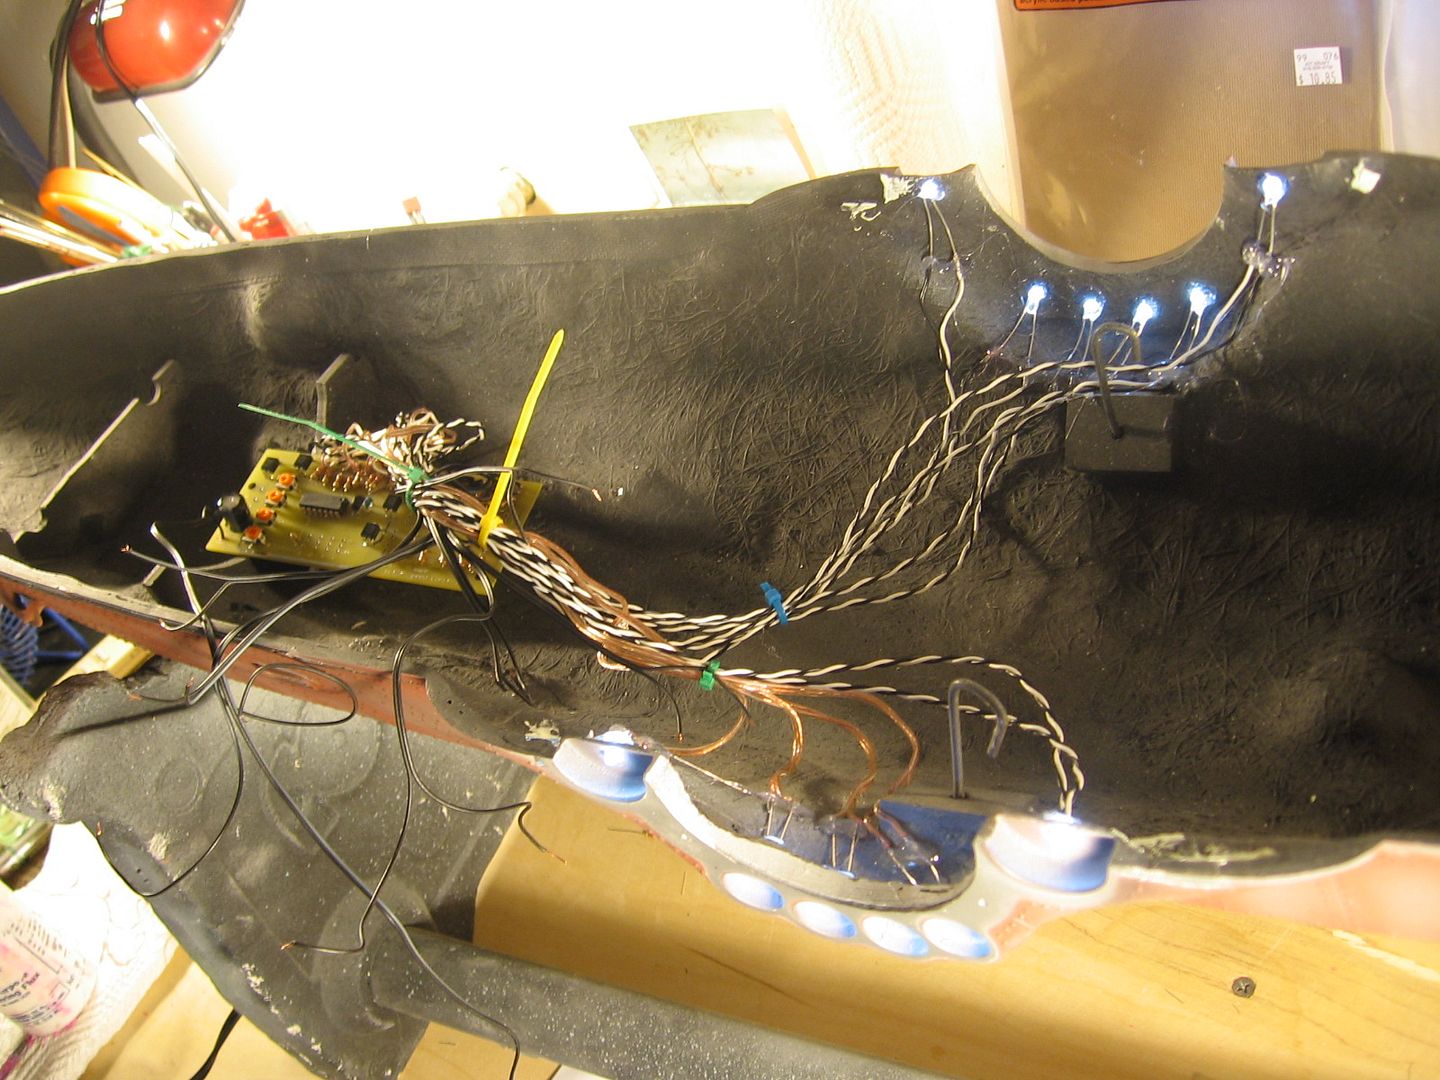
Today was fun with wiring and soldering a circuit board. Randy’s Voodoo FX lighting kits are great. But they are kits and you have to have the right soldering iron and steady nerves. But as usual you plug everything lights up as advertised.

Tomorrow I have to add a couple of connectors so you can remove the hull, the windows, water proof the board, and with any luck get the wheel house started. All the lights are in. Crock eyes, salon, and wheel house. 20 LEDS in all.

Here are some pictures.

Steve
IMG_6074.jpg


IMG_6073.jpg


IMG_6075.jpg


IMG_6076.jpg
 
This might be a stupid question, but doesn't that board need to go in the watertight compartment?
 
Status
Not open for further replies.
Back
Top