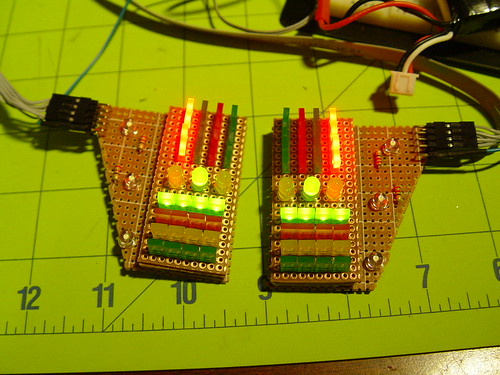
I'll take a brake from the matrix build as I wait for a few components. Now, it's time to work on the side LED boards. Since I'm not really savvy with doing PCBs yet, I'll tackle this with Prototype board :confused
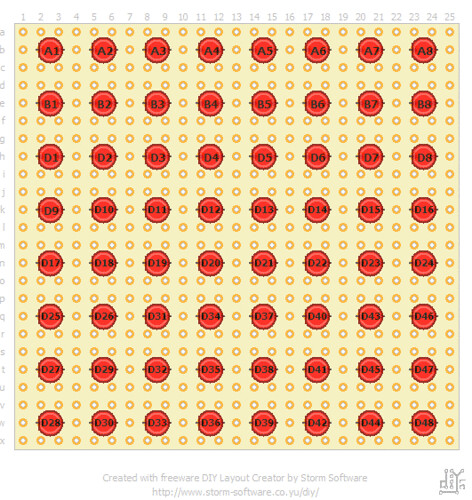
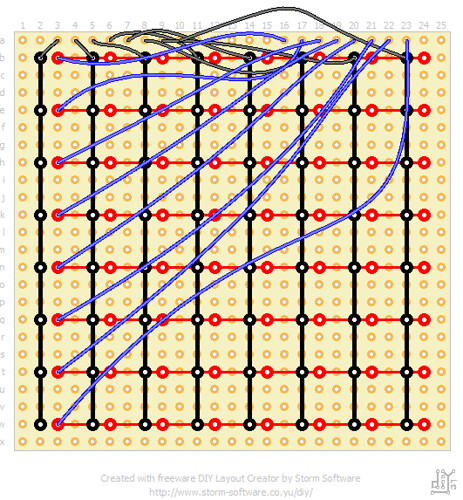
(I will later post a schematic showing the connections as they can get tricky)
Since Volpin is using PCBs which is the "
whole Enchilada", I decided to do a "
Double Decker" instead :lol .... can you tell I'm hungry?
Anyway, just stay with me...
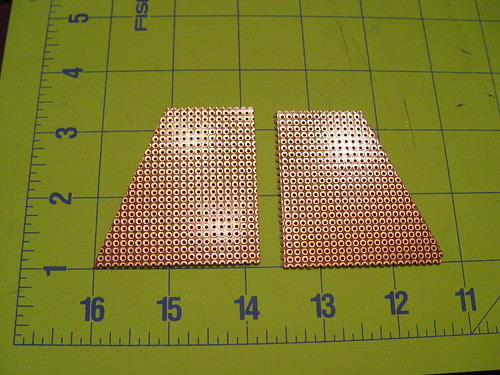
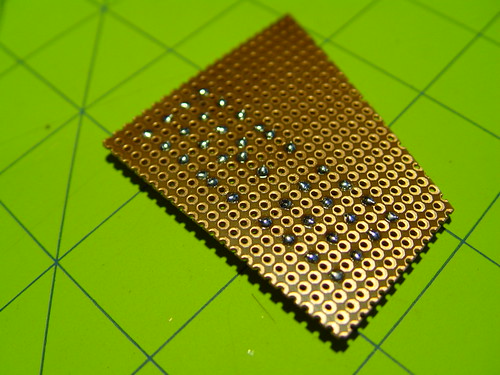
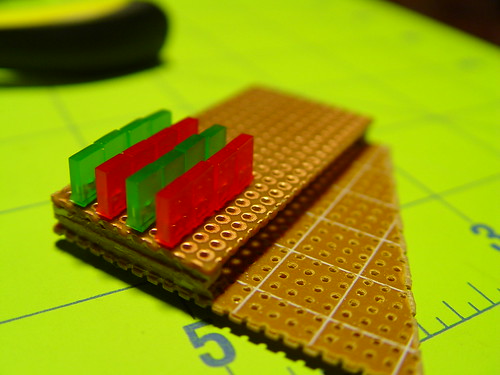
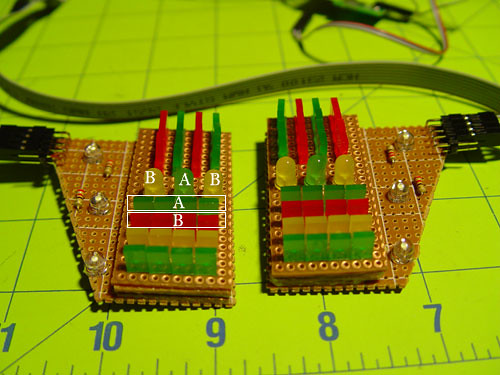
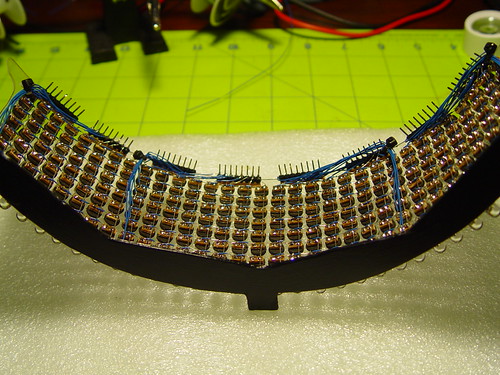
This is a little trick I used while building the electronics for my Guy Manuel helmet. Basically, I used 2 layers of perf board. The bottom layer will be used to place components that you don't want people to see OR when components are really close to each other.
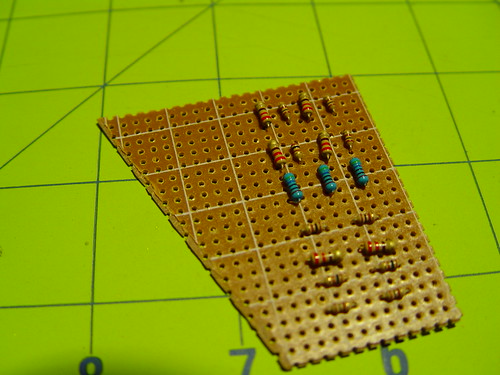
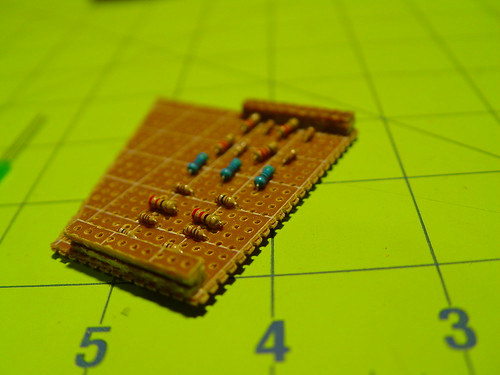
So, the first bottom layer consists of resistors only. These will later be hidden by the top layer.
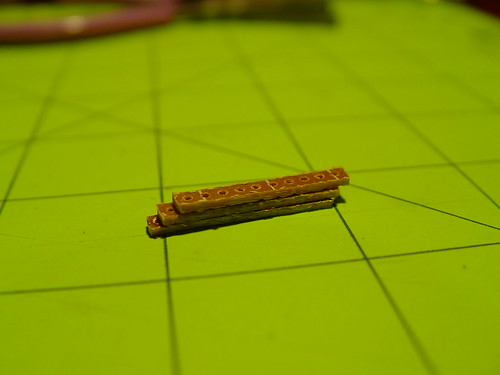
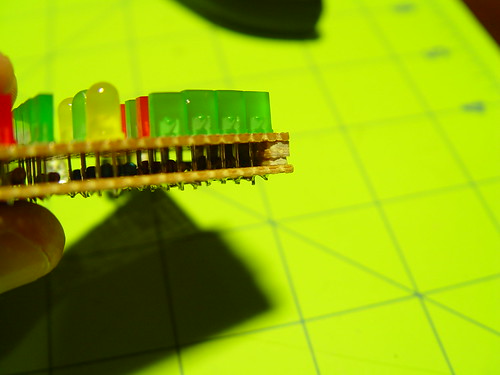
After finishing the bottom layer, I then glued these little walls of the same material thickness.
Like so..
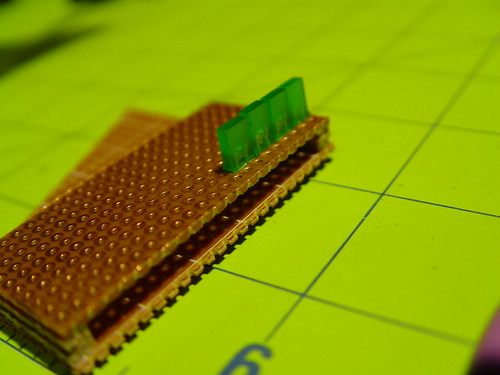
Then it was time to put the top layer while hiding those resistors underneath.
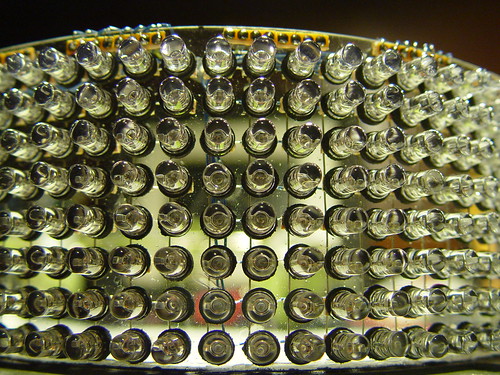
Another advantage of this method is that it brings the uncovered LEDs to the front and leaves the LEDs that will later be covered with colors gels behind. Giving them more room to diffuse the light.
Notice how clean it looks without resistors
All components in place.
Now for the fun part :confused
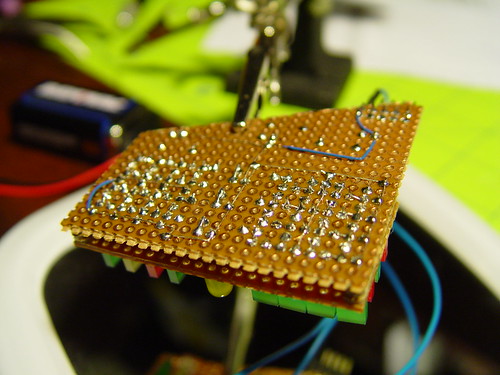
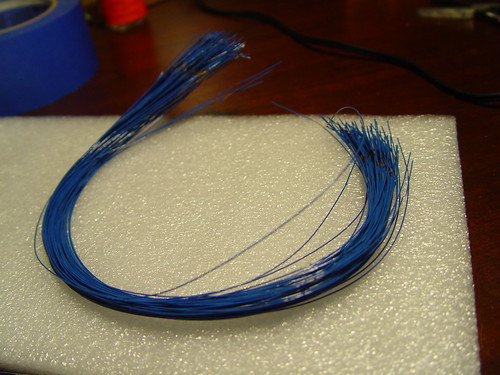
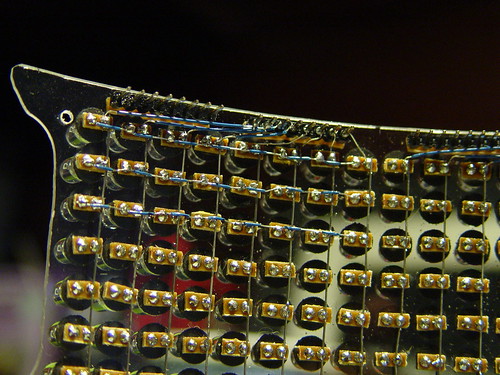
Start running traces to connect these components.
Wow!!! What a MESS..
I wonder if this will even work...:confused
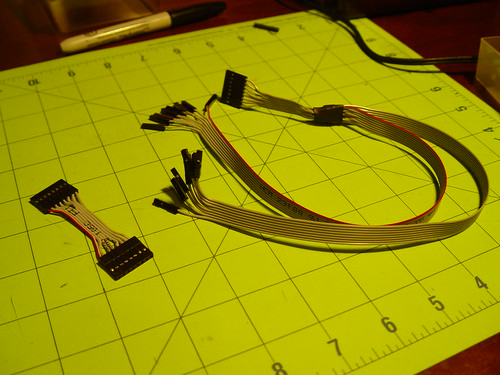
Using ribbon cable, I made the wire harnesses from the Led chaser to the transistor board to the LED boards.
This little guy is the brain power
Here are the basic components of the side boards. I still need to do another board mirror of the one shown here.
I connected everything and tested the pins with a battery before introducing the chaser and transistor board.
Then it was time!!!! After some preliminary tests.... this is how I felt (
link)
Here's a video of the lights in action...
:love
YouTube - Daft Punk - Thomas Bangalter - Helmet Side Boards‏
one step closer...

