lunar lord
New Member
one of the most impressive things ive ever seen


 thumbsup
Thanks! :$
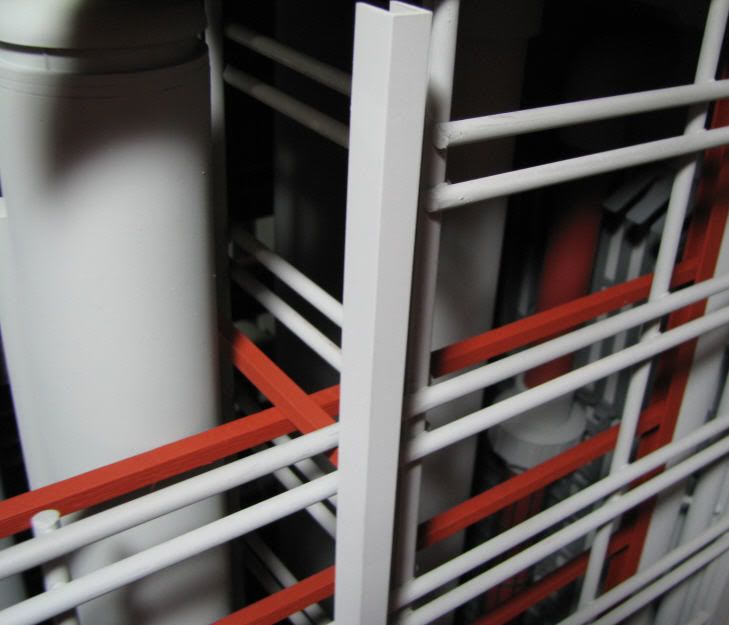
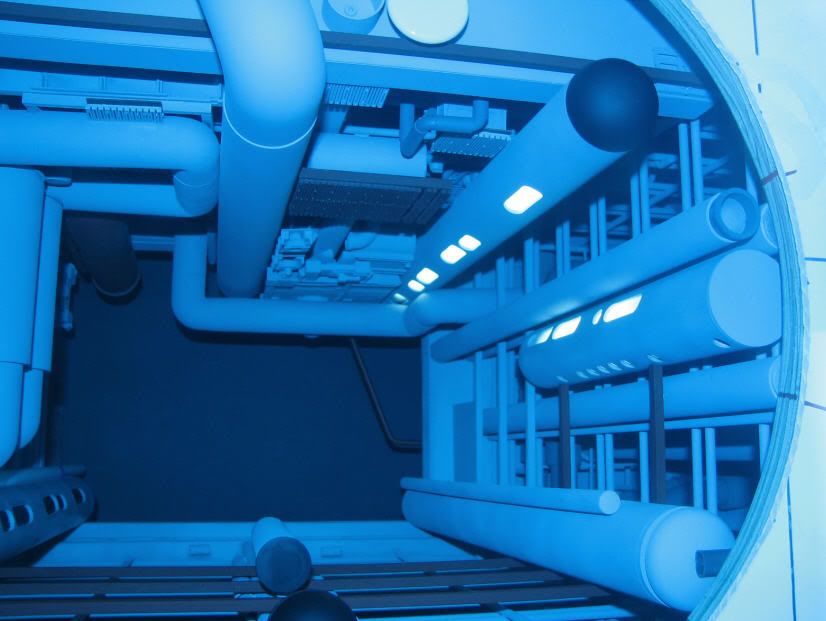
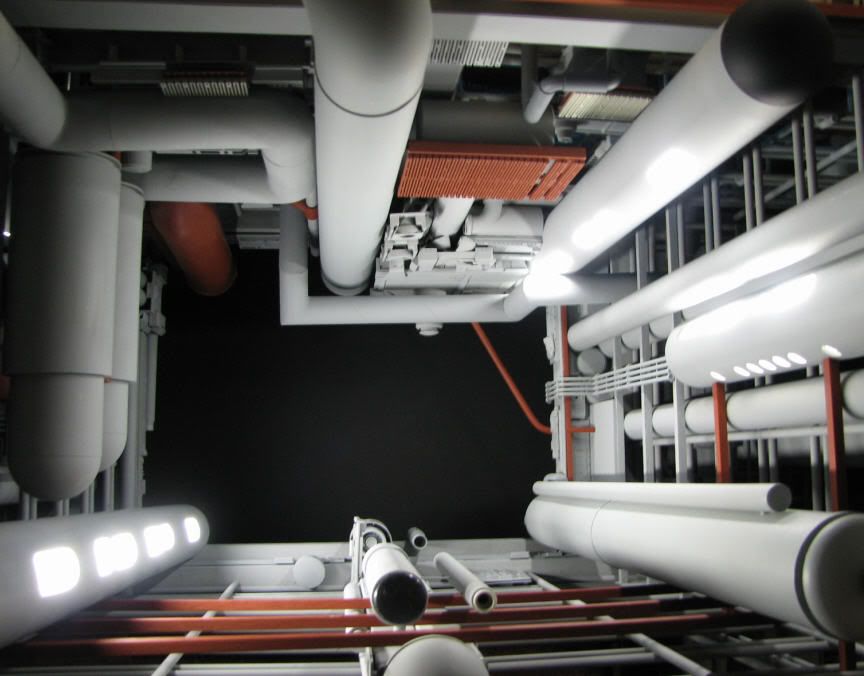
Decided to finish up all of the smaller details of the tunnel. Wrapped up the front section of the rack and the sanding, painting, and mounting of the final light tube... p.s. the only lighting is from the tunnel itself...
Off on a trip the next week... but will be working on the design of the top port and surface. "This is where the fun begins..."