DW Design Studios
Sr Member
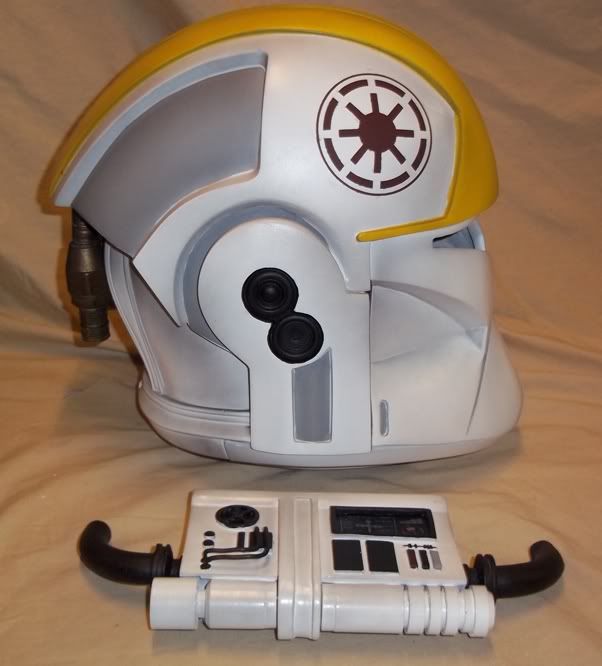
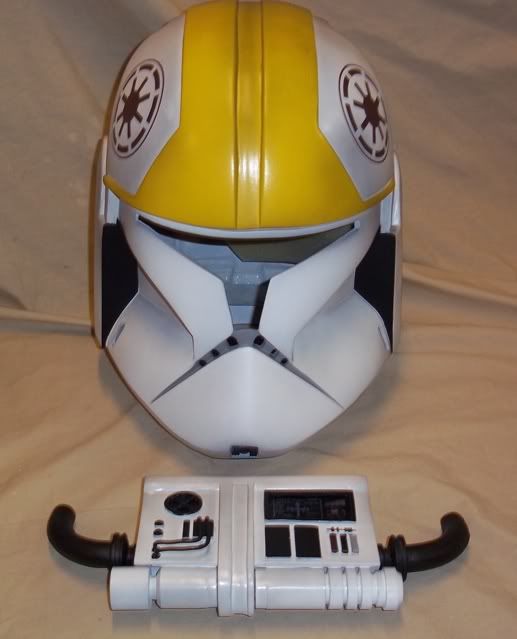
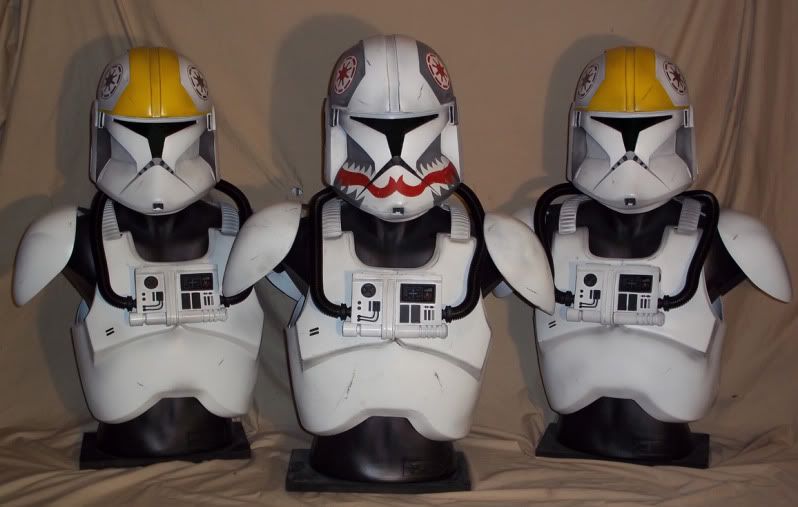
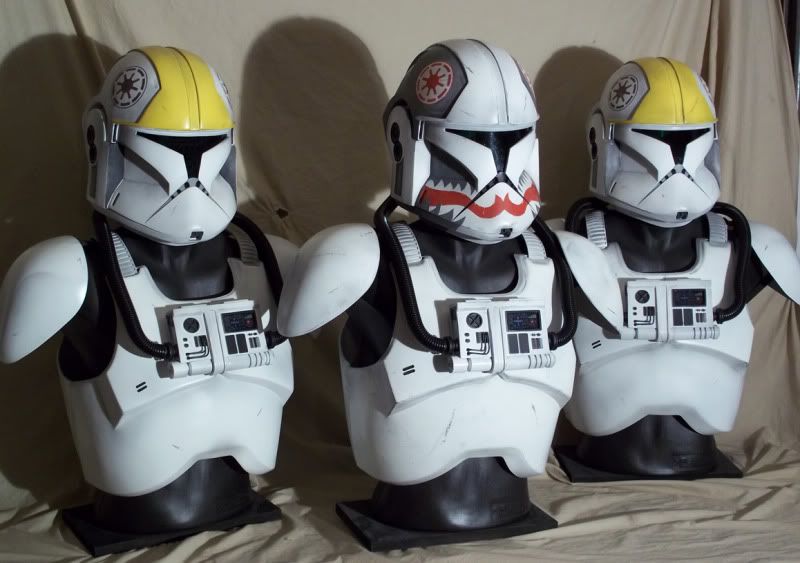
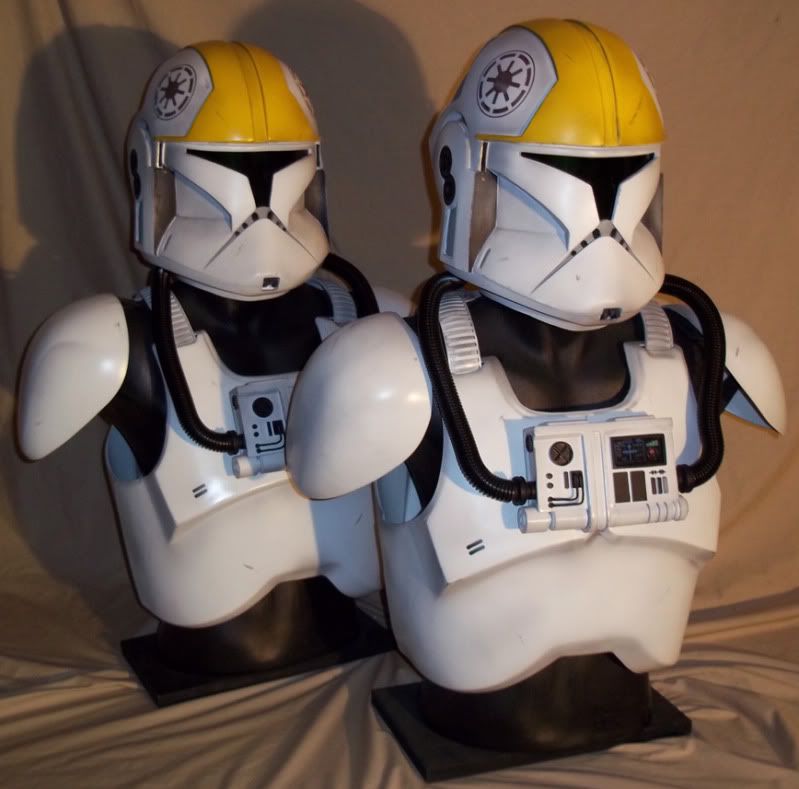
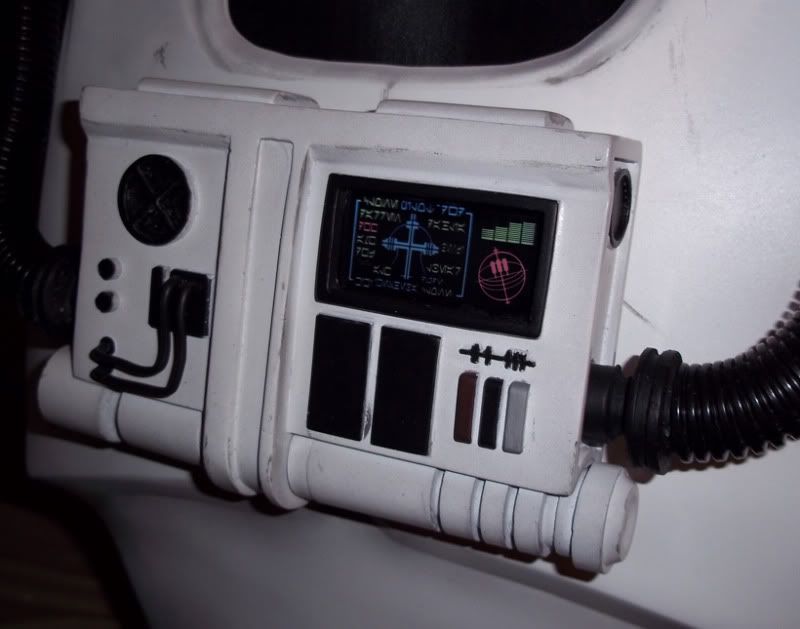
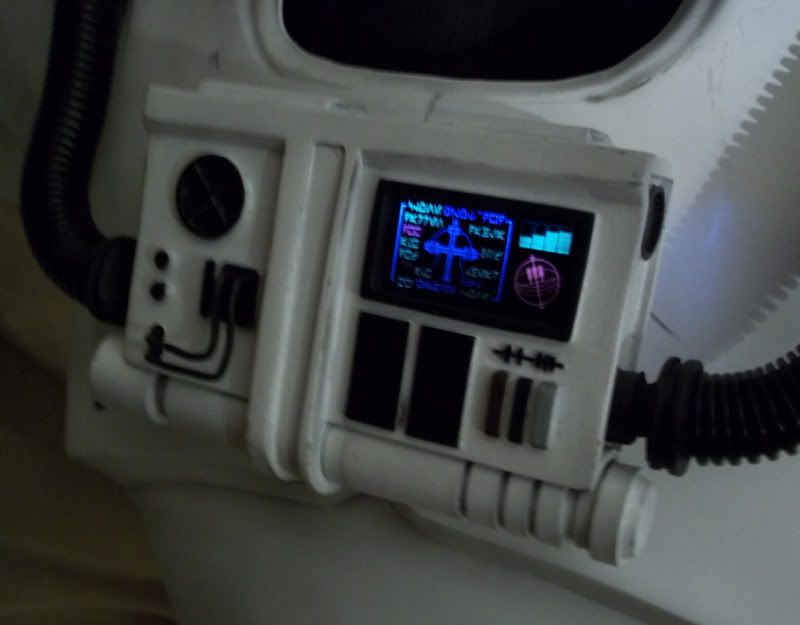
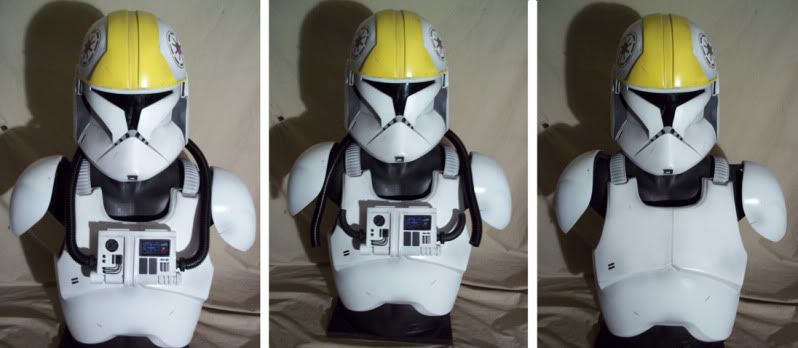
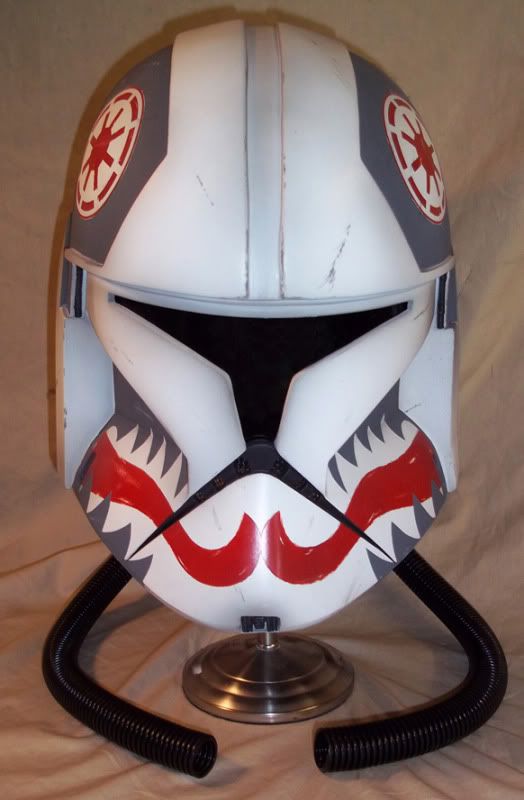
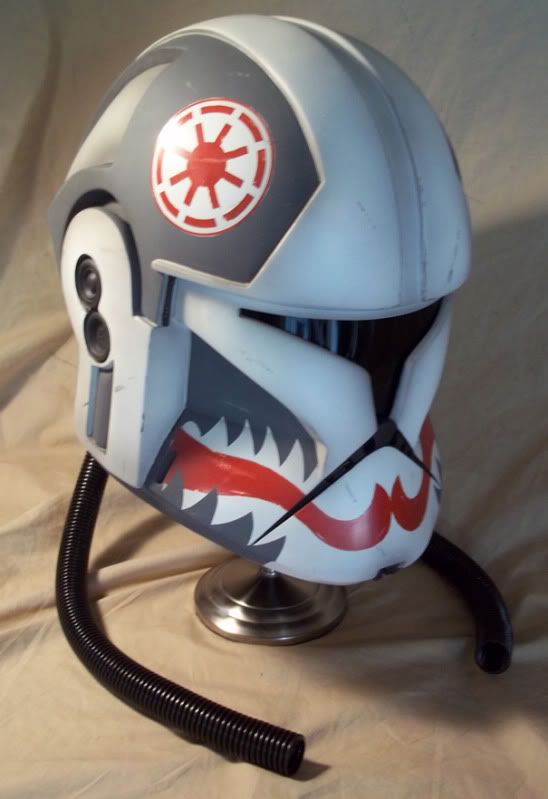
The chest box is done and the helmet is also almost finished.
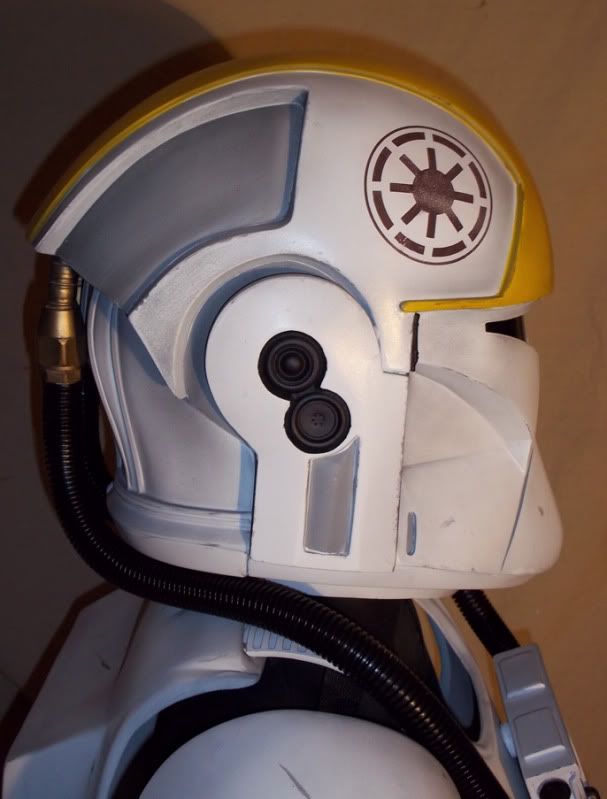
We are going to attach the chin piece and glue the black mesh and padding into the helmet.
I like to wait to glue the visor in last since we still need to airbrush the weathering.
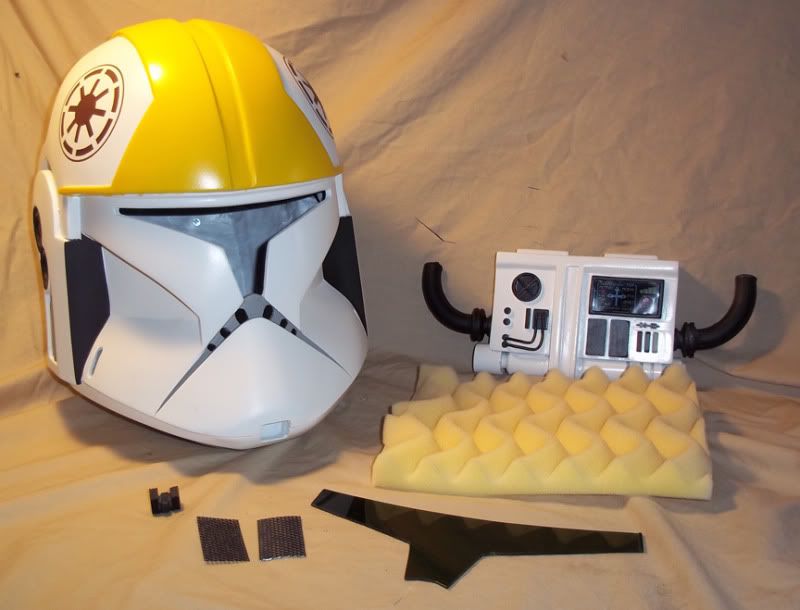
Use the same method as before and add a wood dowel to the chin pieces. Attach the chin piece
to the helmet with hot glue.
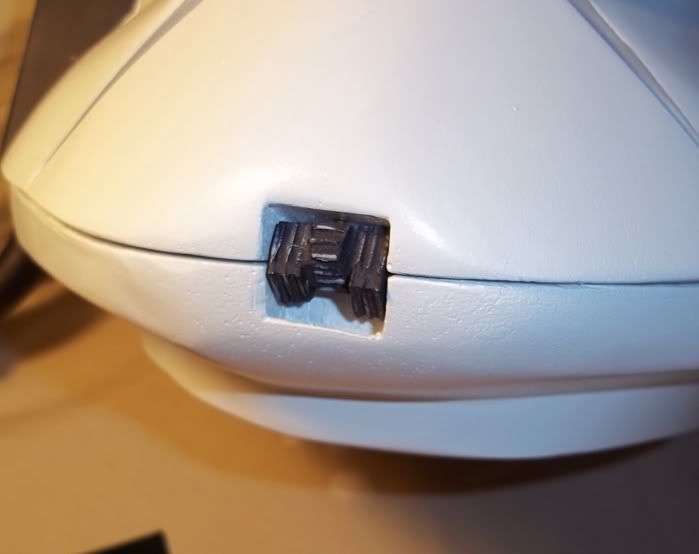
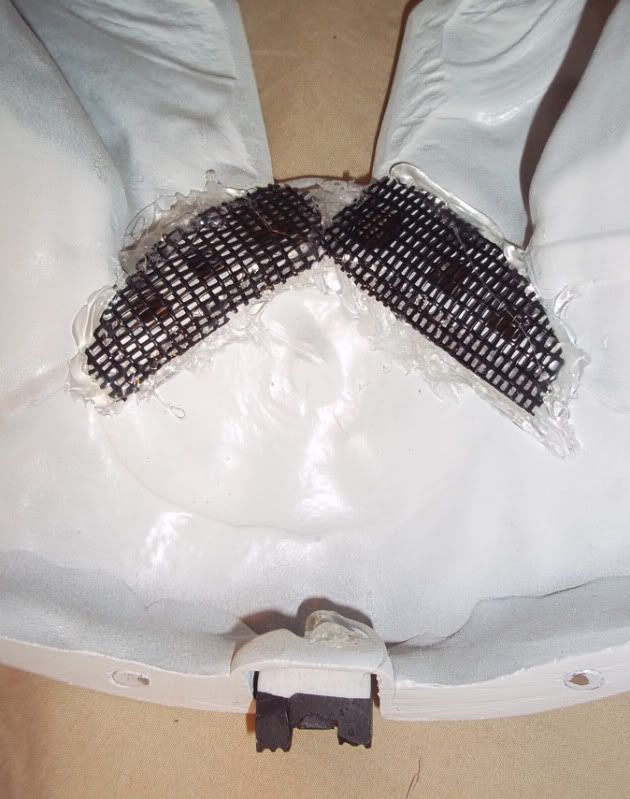
Also hot glue the black mesh in the mouth. Be really careful with the hot glue, trust me it will burn
you really bad if it comes in contact with your skin. You can use a air compressor to cool the hot
glue quicker which really speeds the process along. Just don't spray directly at the hot glue, you don't
want it to splatter while its still hot.
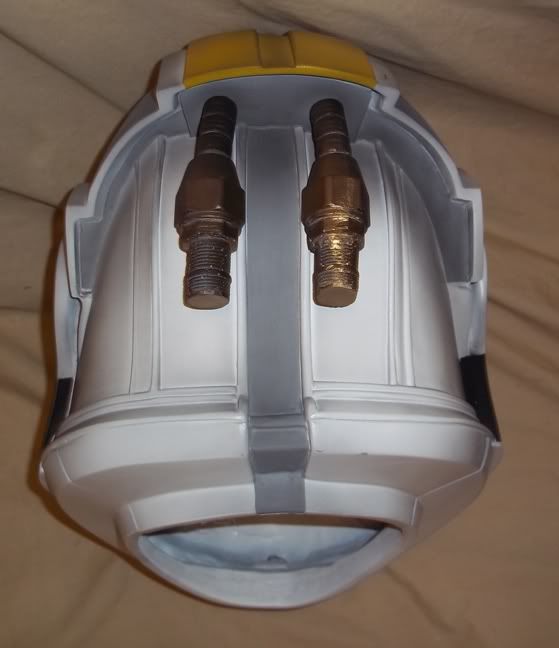
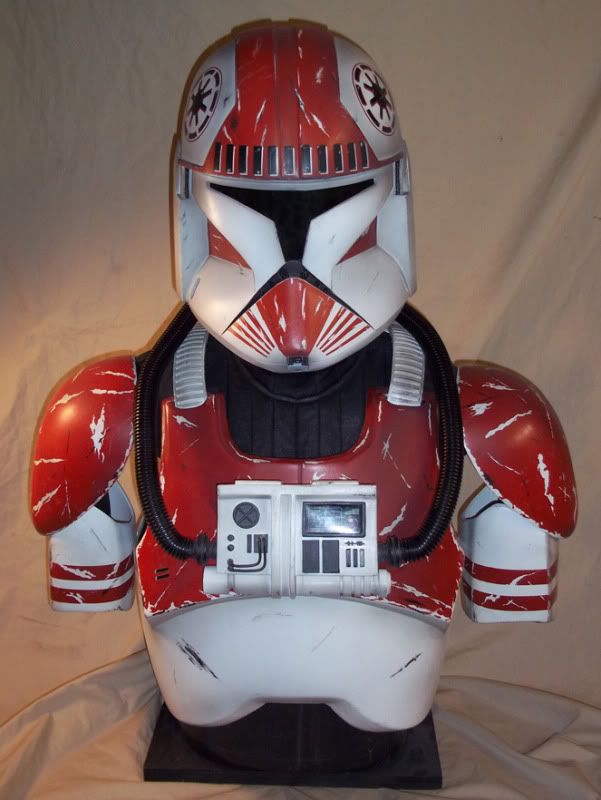
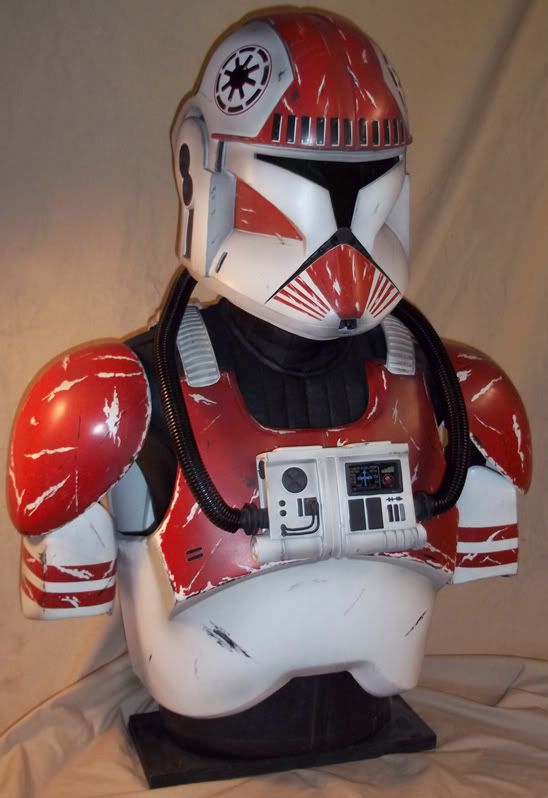
All that is now left is adding the weathering, visor and hoses.
If your kit came with hoses you will need to paint them black. I have since found a better type of hose
that is thinner and will work much better for trooping. Here is the link. You will need 4’ of the 3/4” hose.
Non Split Wire Loom
We are going to attach the chin piece and glue the black mesh and padding into the helmet.
I like to wait to glue the visor in last since we still need to airbrush the weathering.

Use the same method as before and add a wood dowel to the chin pieces. Attach the chin piece
to the helmet with hot glue.

Also hot glue the black mesh in the mouth. Be really careful with the hot glue, trust me it will burn
you really bad if it comes in contact with your skin. You can use a air compressor to cool the hot
glue quicker which really speeds the process along. Just don't spray directly at the hot glue, you don't
want it to splatter while its still hot.

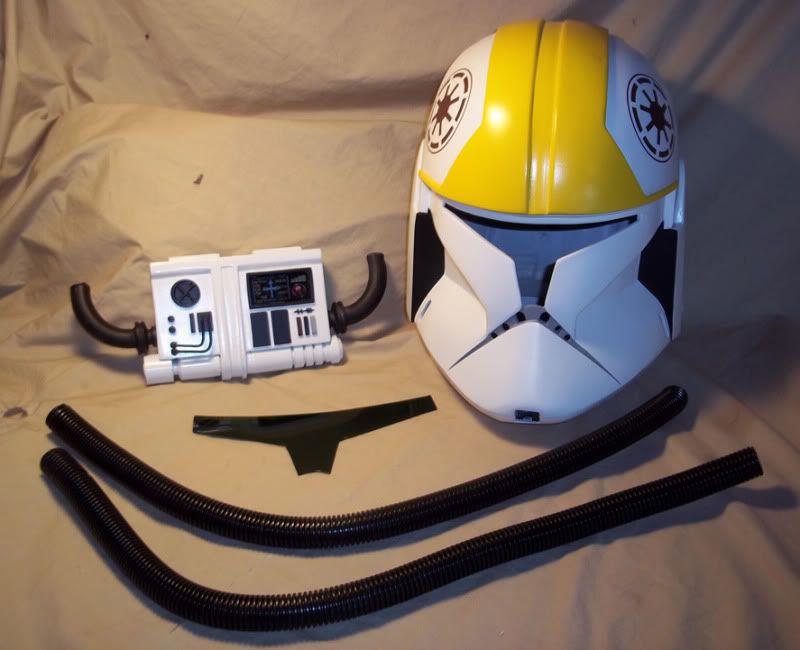
All that is now left is adding the weathering, visor and hoses.
If your kit came with hoses you will need to paint them black. I have since found a better type of hose
that is thinner and will work much better for trooping. Here is the link. You will need 4’ of the 3/4” hose.
Non Split Wire Loom


