Harry Potter - Golden Snitch - DH version, Opening snitch modelling

I think that a dab of museum wax would hold the ring in well enough. Engineering a snap fit is a lot of work and would likely wear out over time anyway.

You are doing a bang-up job on this!

Thanks for the input, I actually put small tabs on the inside of the cradle piece to try and be able to snap the ring in place. In practice, I found I had to really force the ring in as the tabs were too large, eventually it snapped in. Then I couldn't get the ring out. I had to use pliers to try and pull the ring out, my ressurection stone popped out of the ring in the process. (Good thing it's a cheap one) finally I popped the ring back out, but it was frustrating to say the least. Ok, I'll just work on it supporting the ring better so it doesn't wobble around so much.
 
Beautiful work! I would love a copy when the time comes!


Sent from my iPhone using Tapatalk
 
It's totally fine with me if it won't accommodate the ring; I'd rather compromise on the ring and have the snitch itself appear as well shaped as possible.
 
Ok, I'll work on closing the gap, I'll post some pics soon of the profile and I'd like some feedback on that please. Unfortunately may not be able to function perfectly and be printable.
 
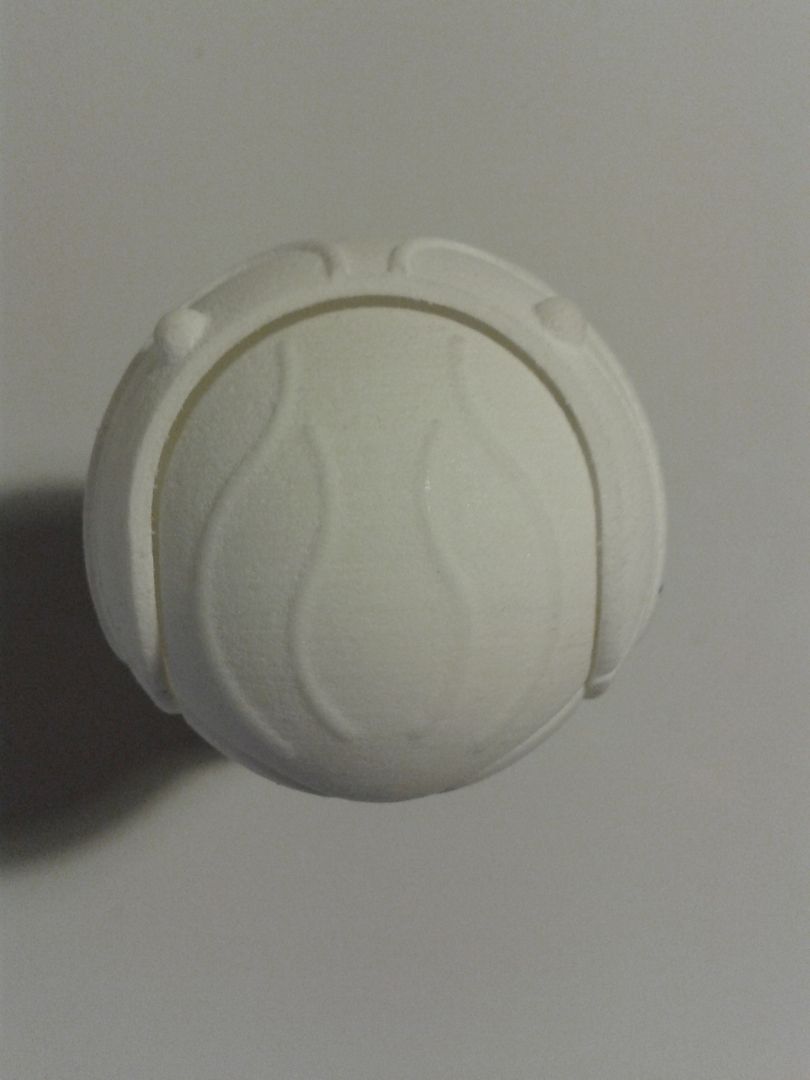
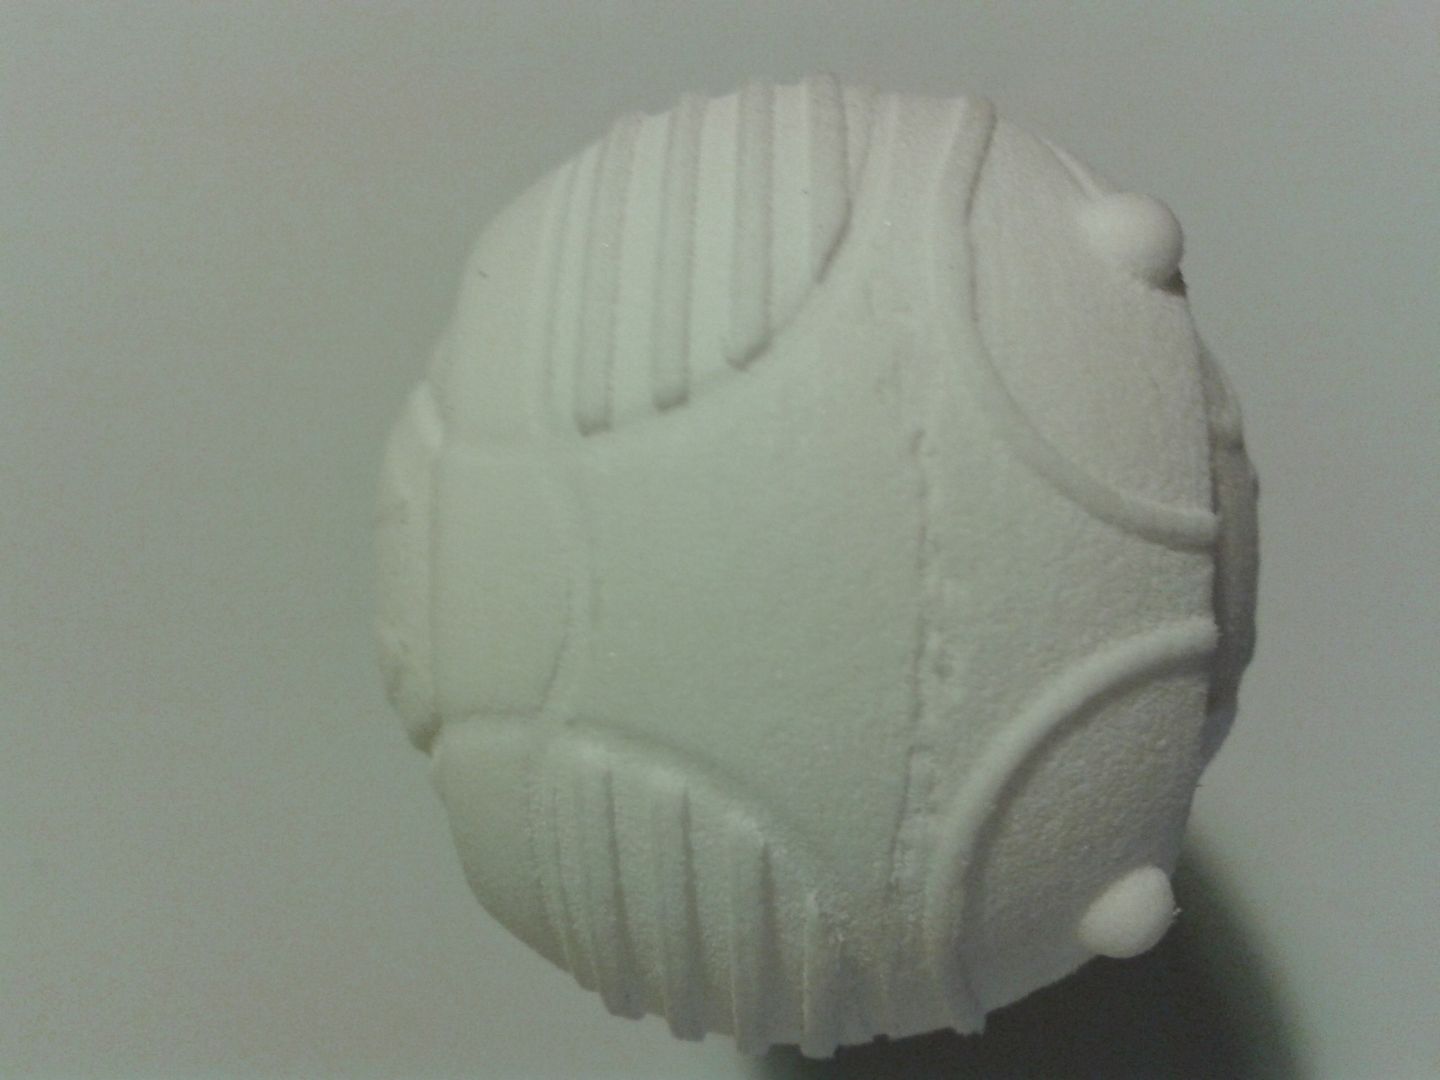
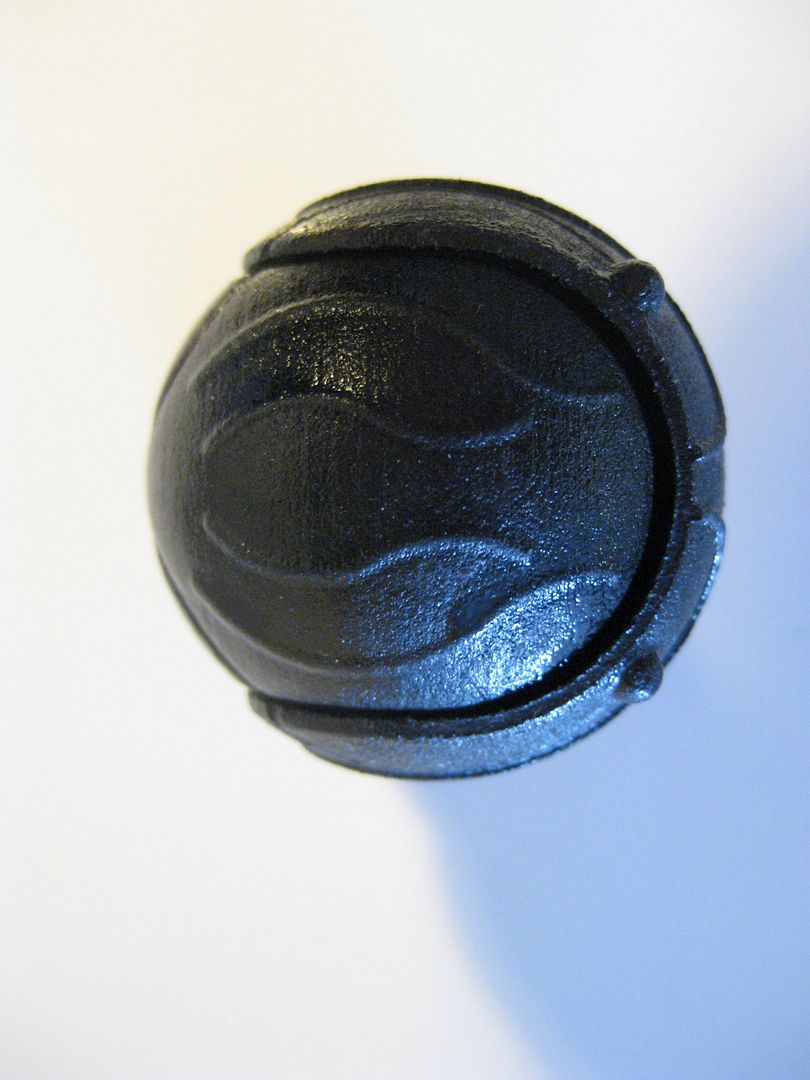
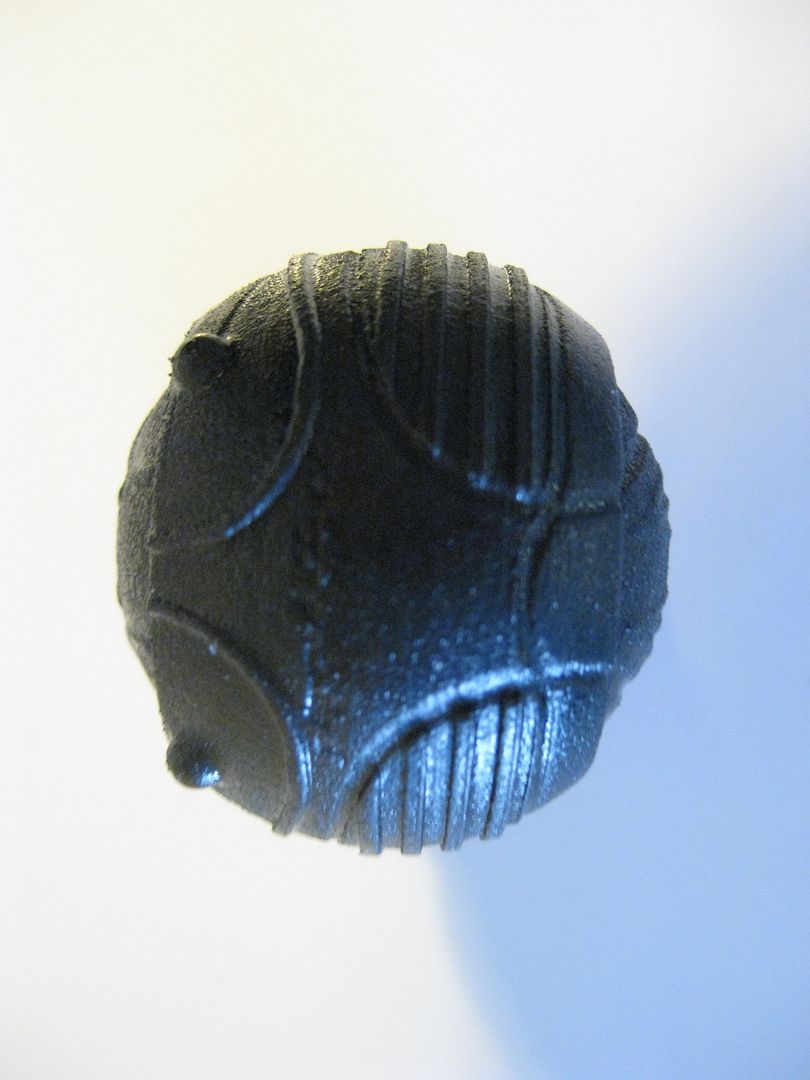
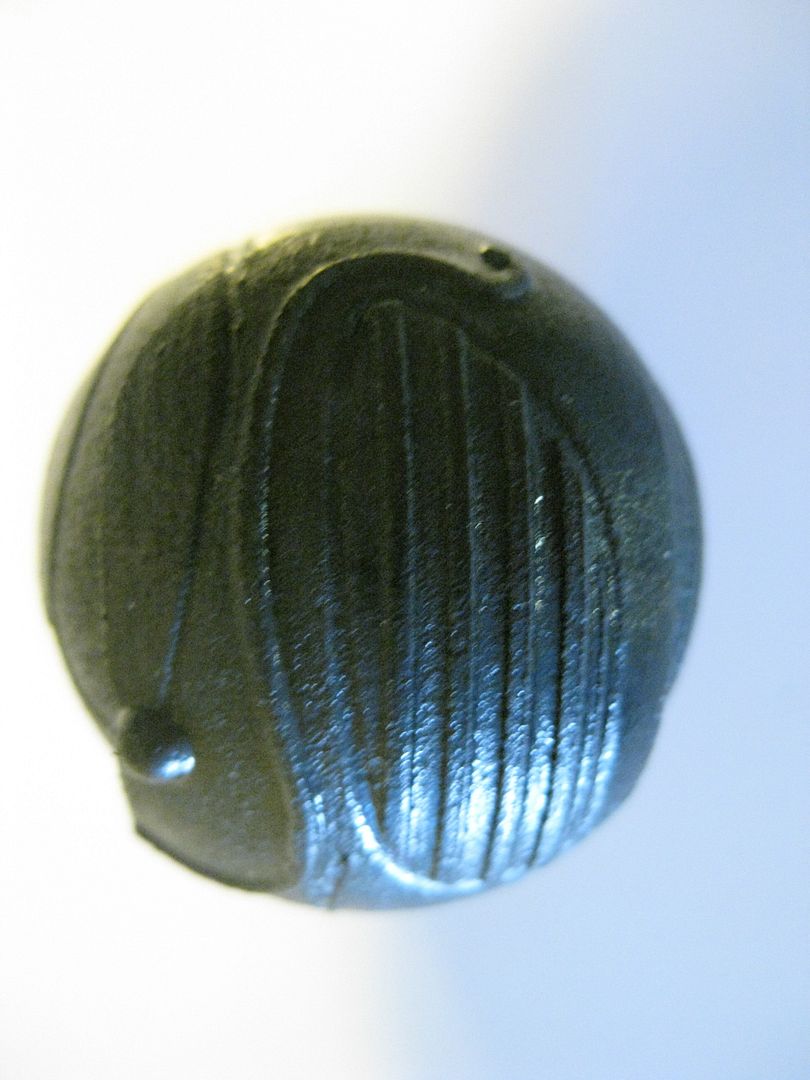
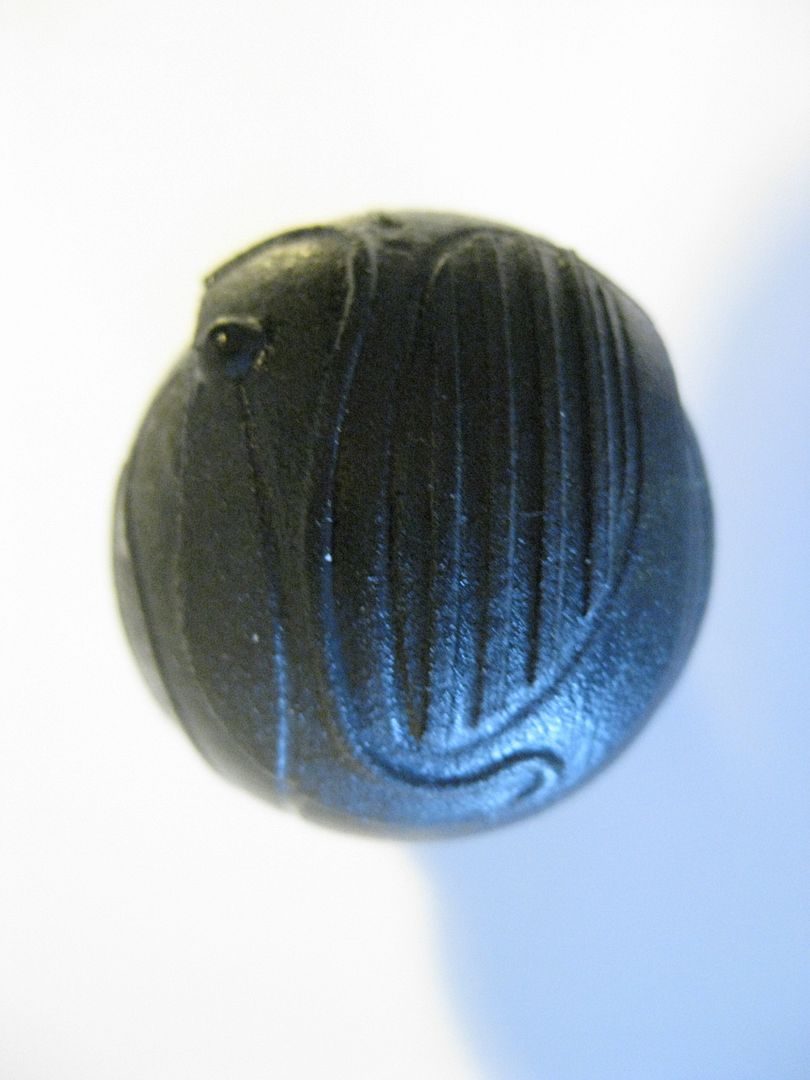
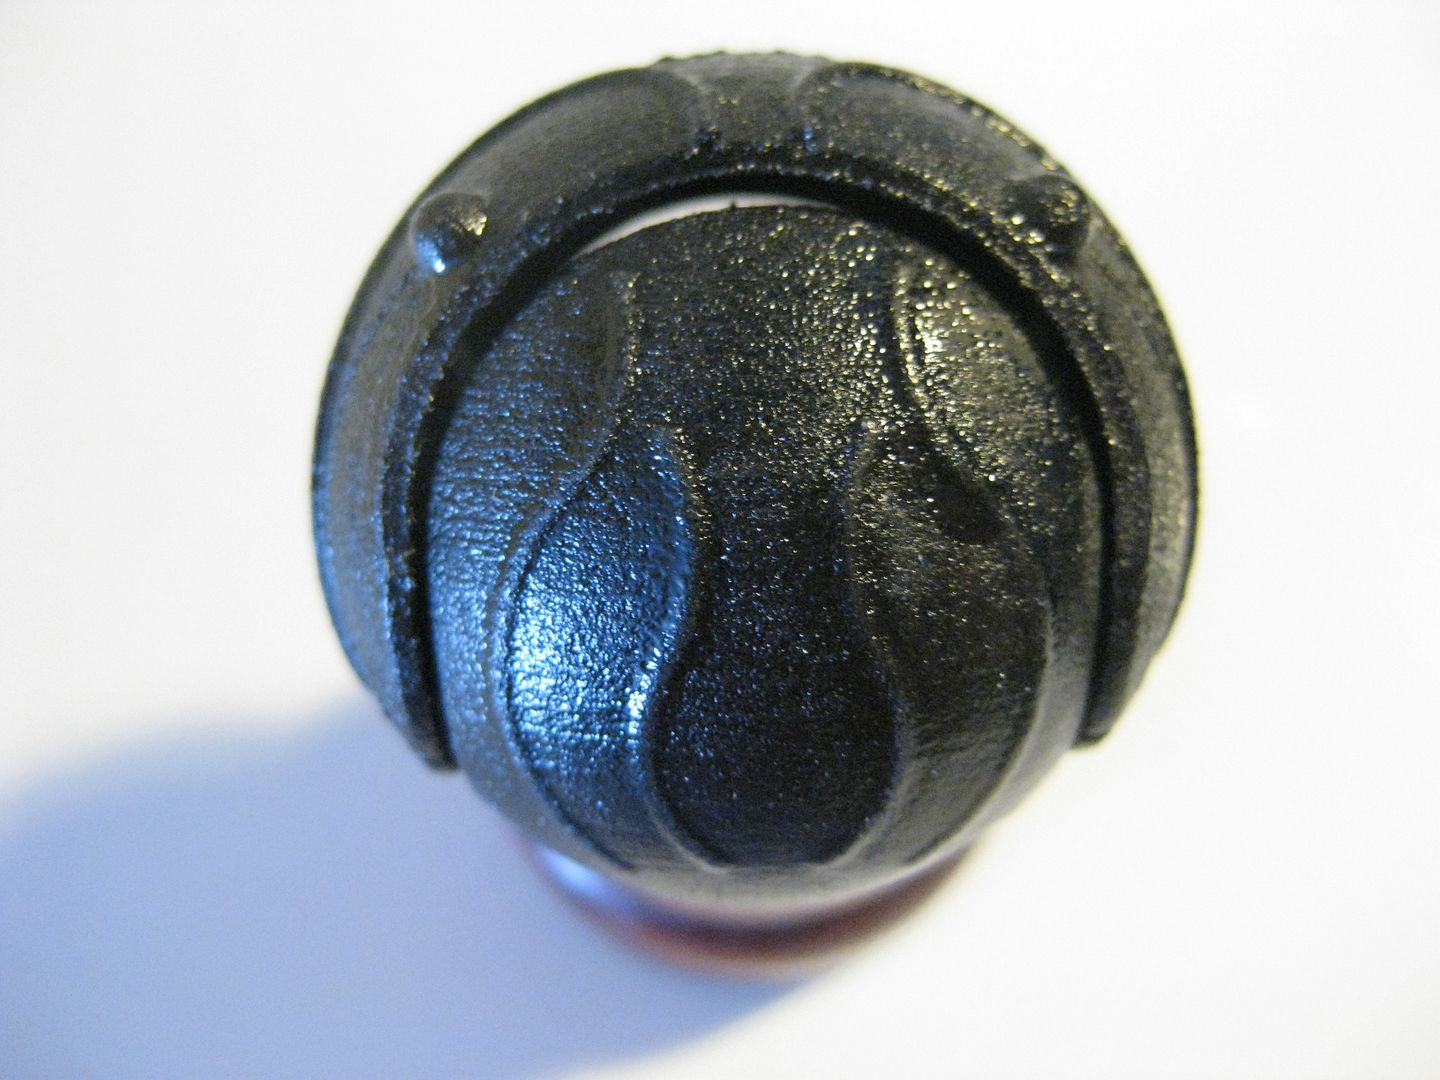
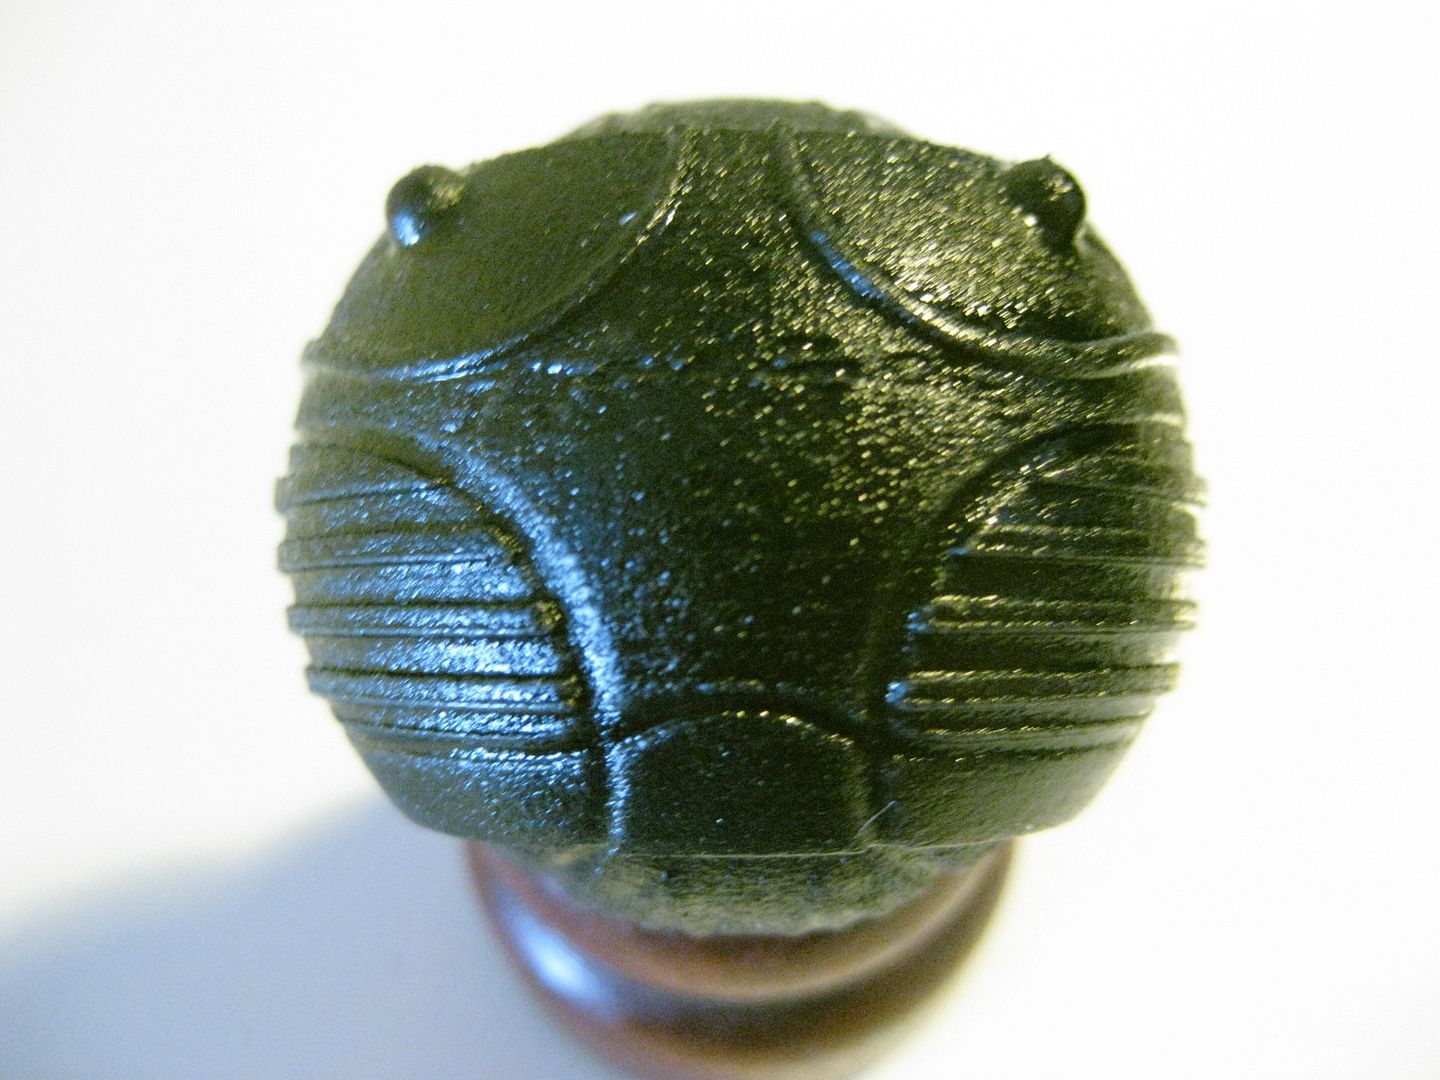
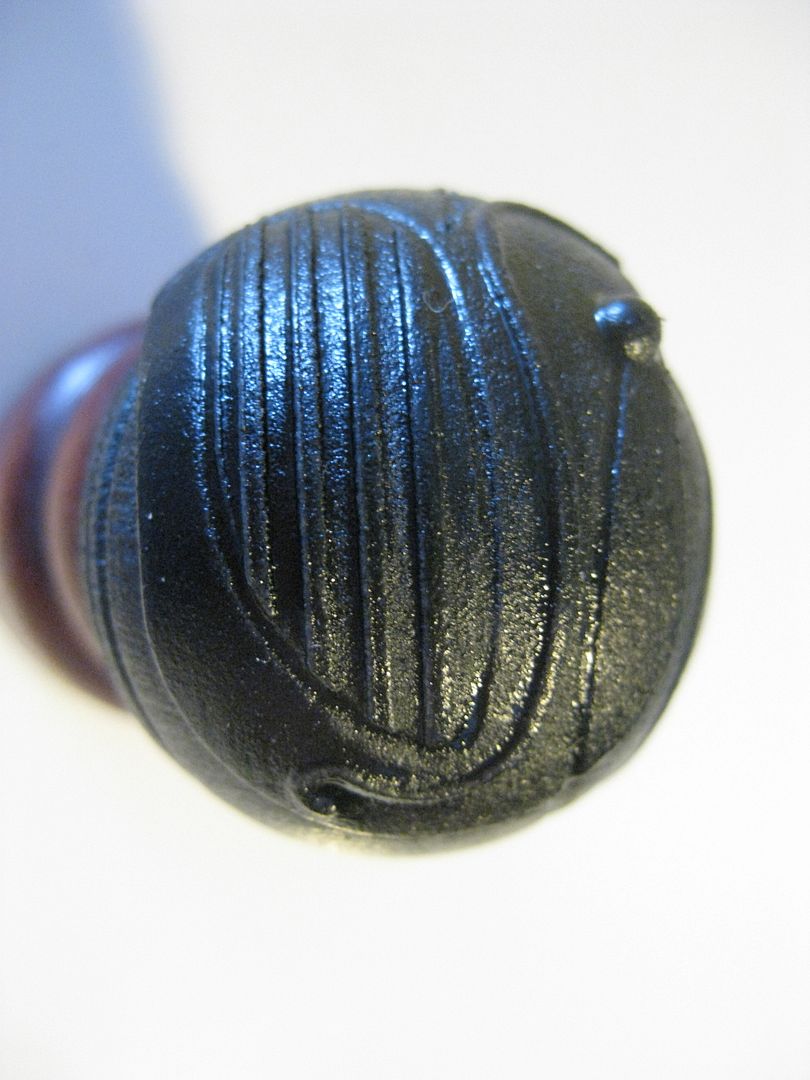
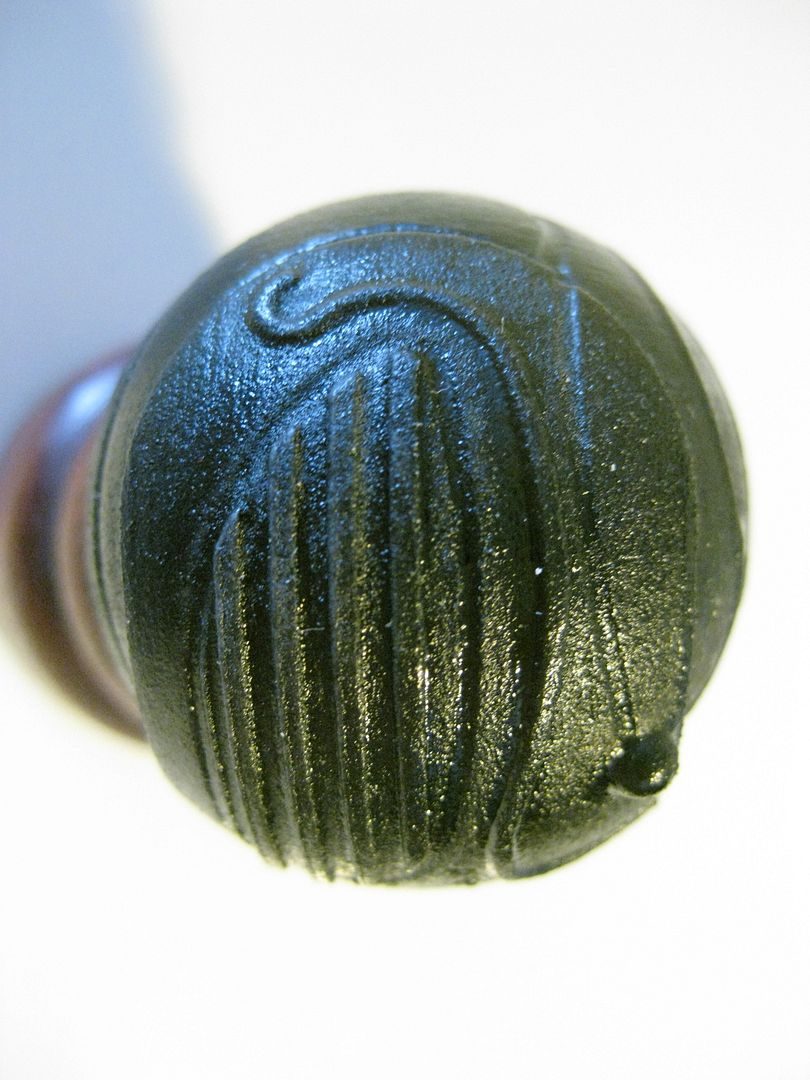
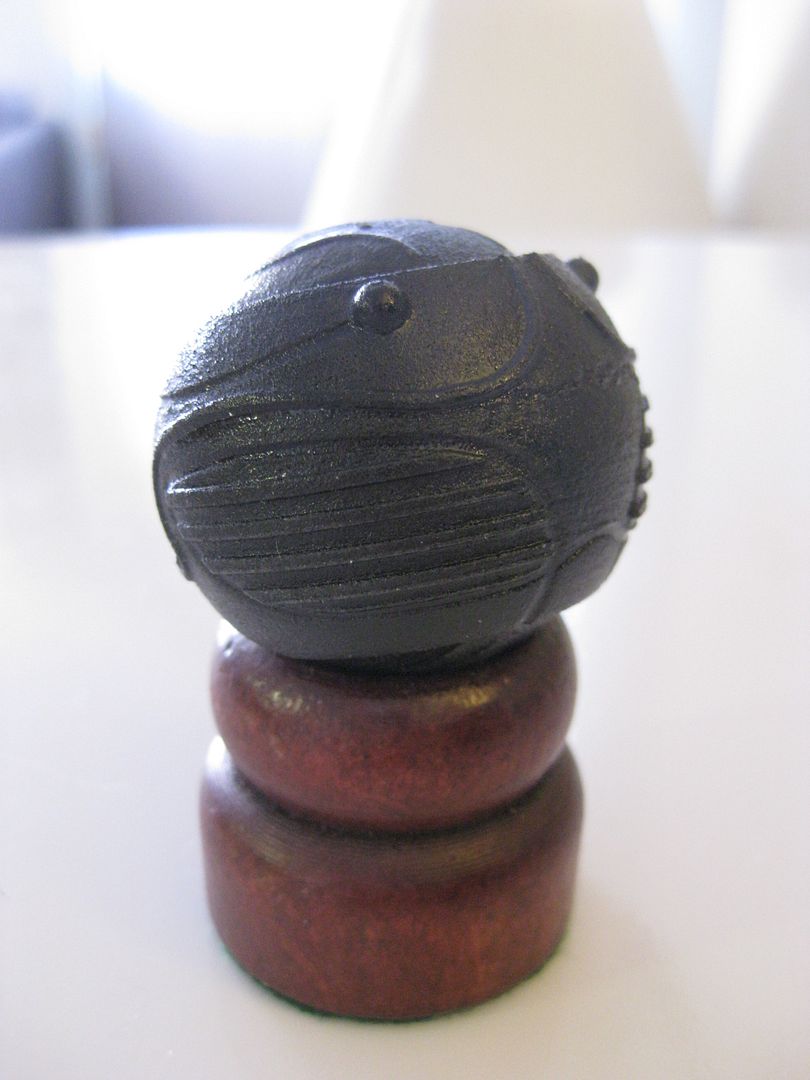
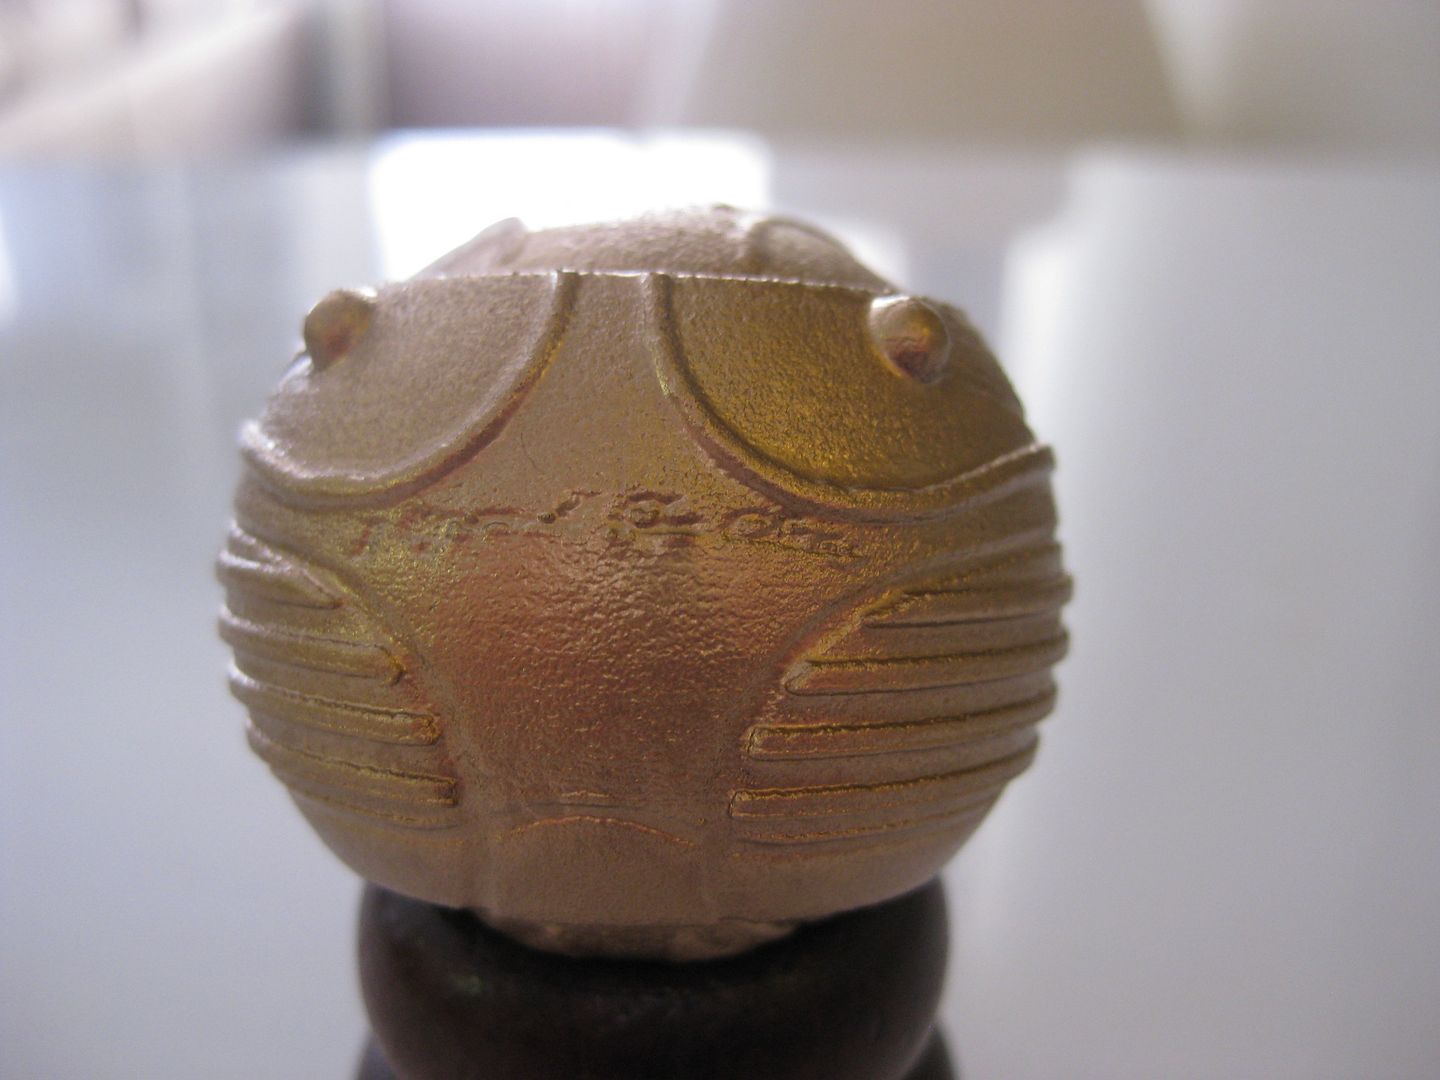
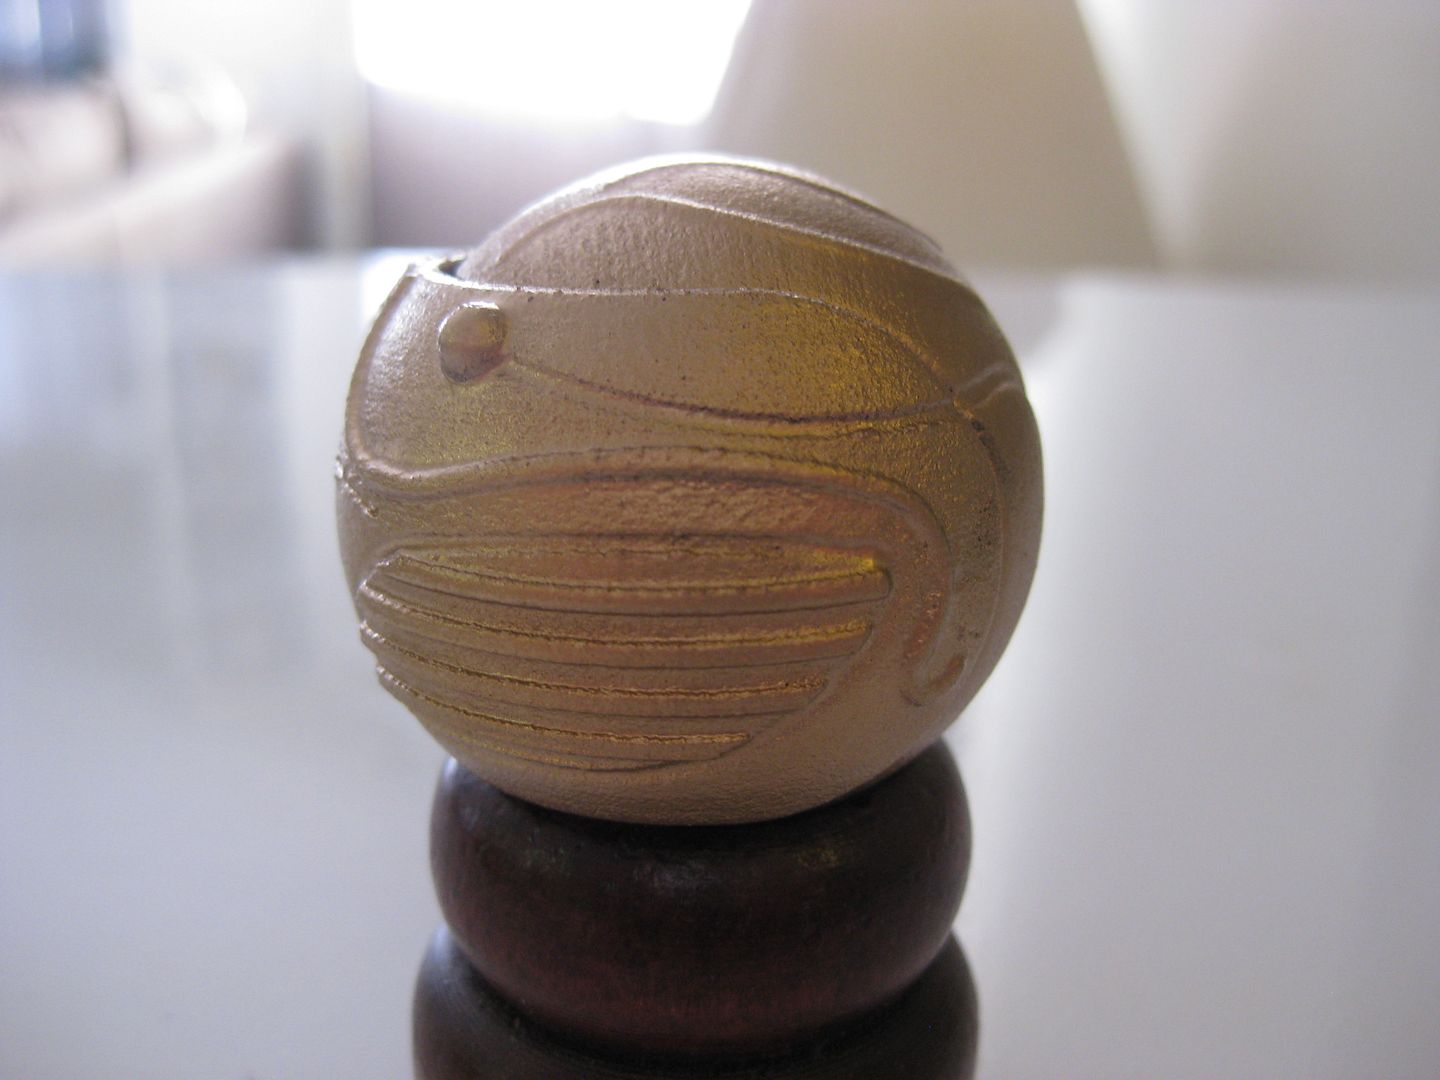
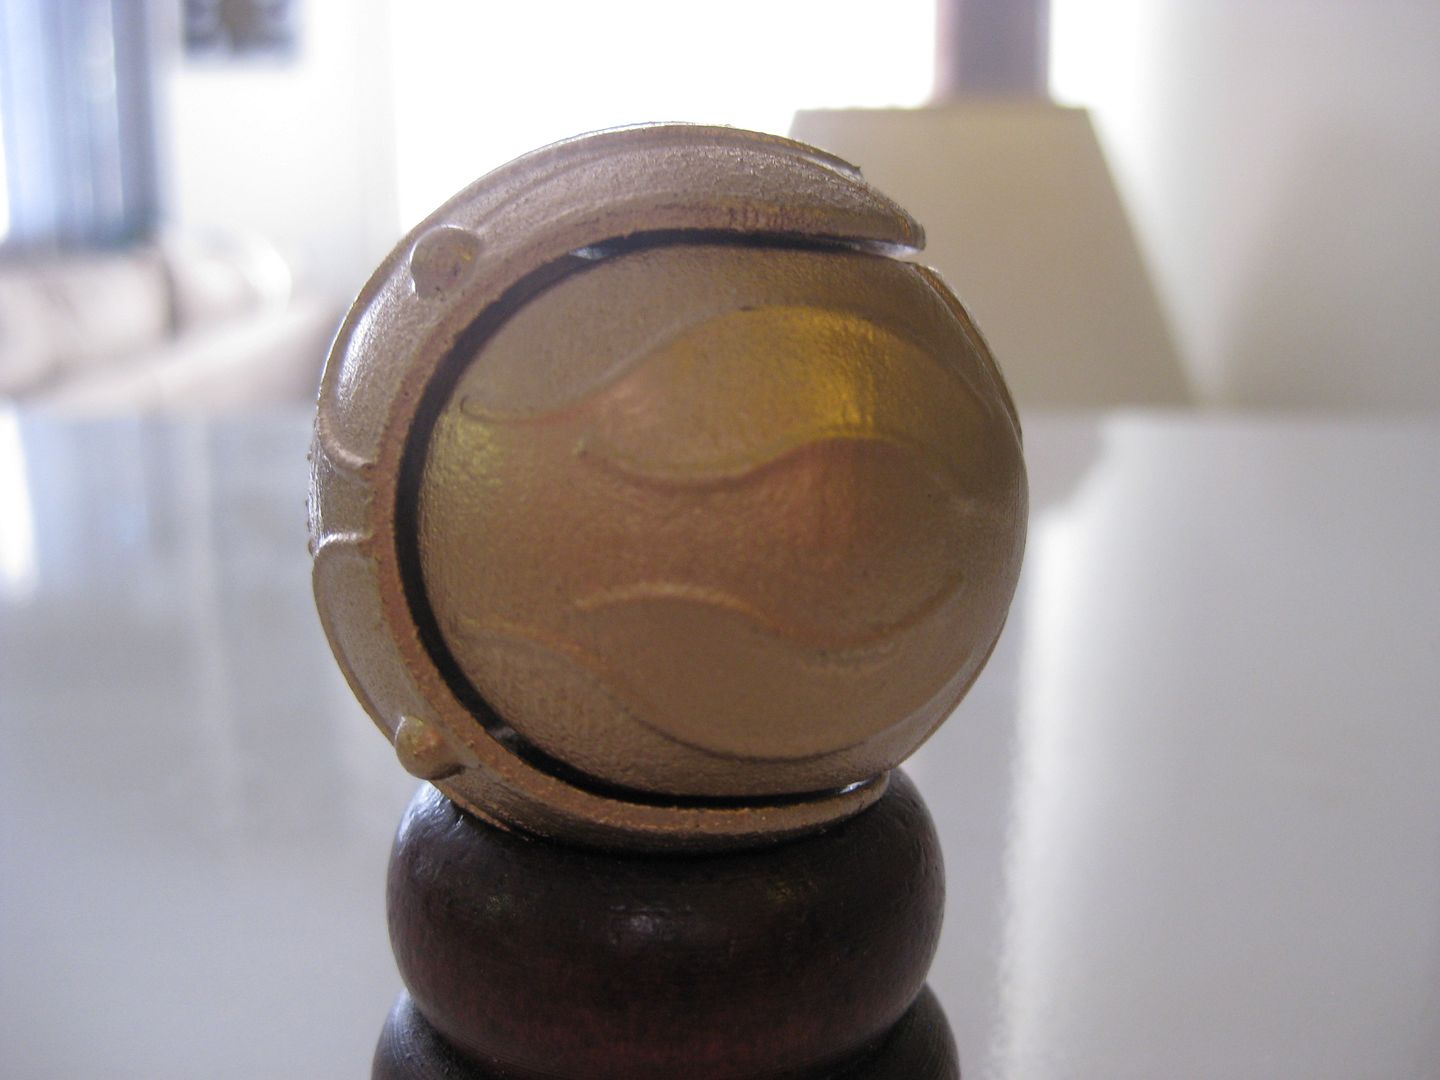
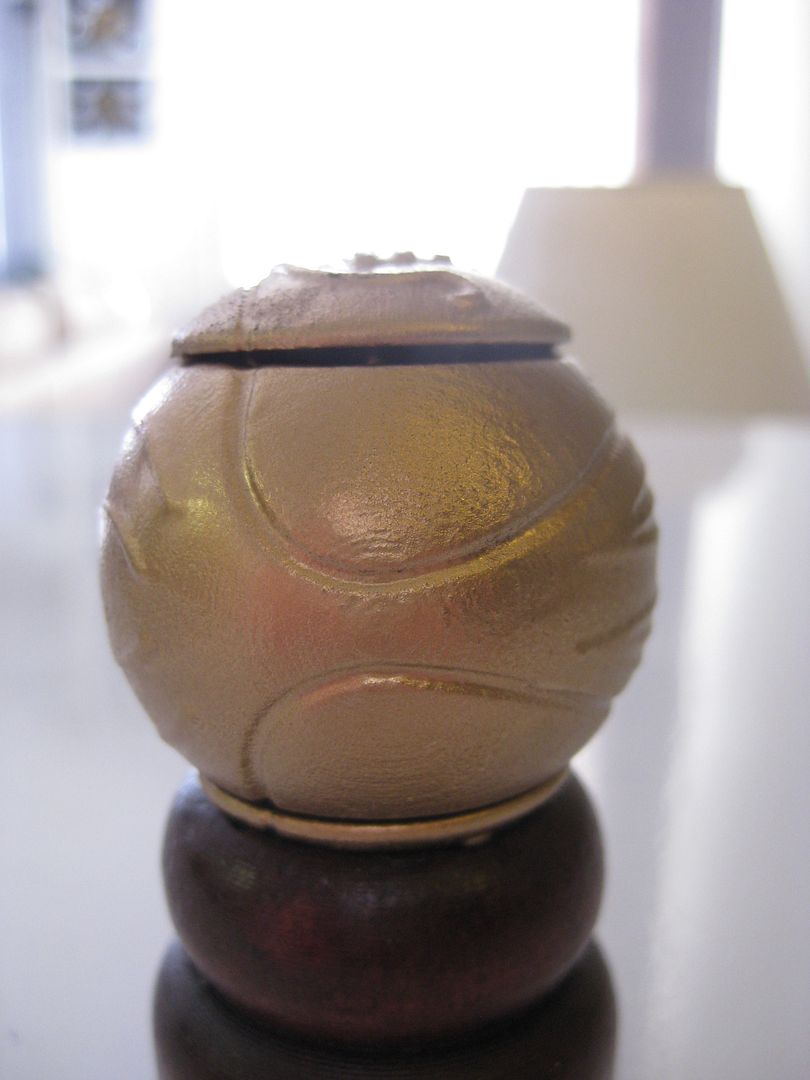
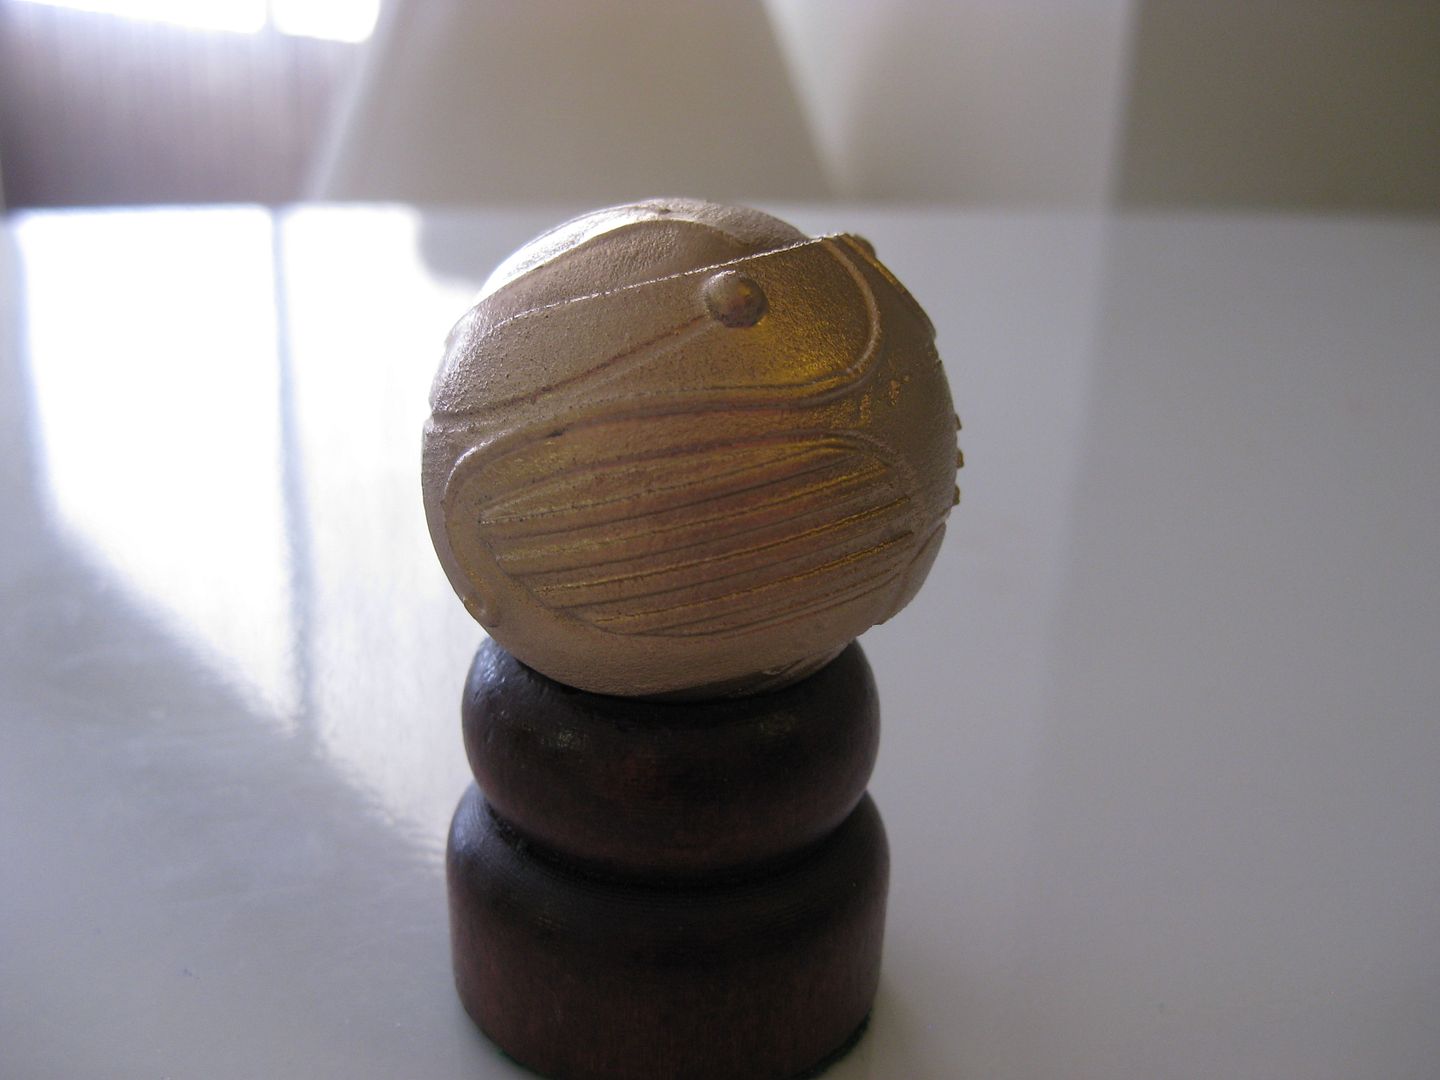
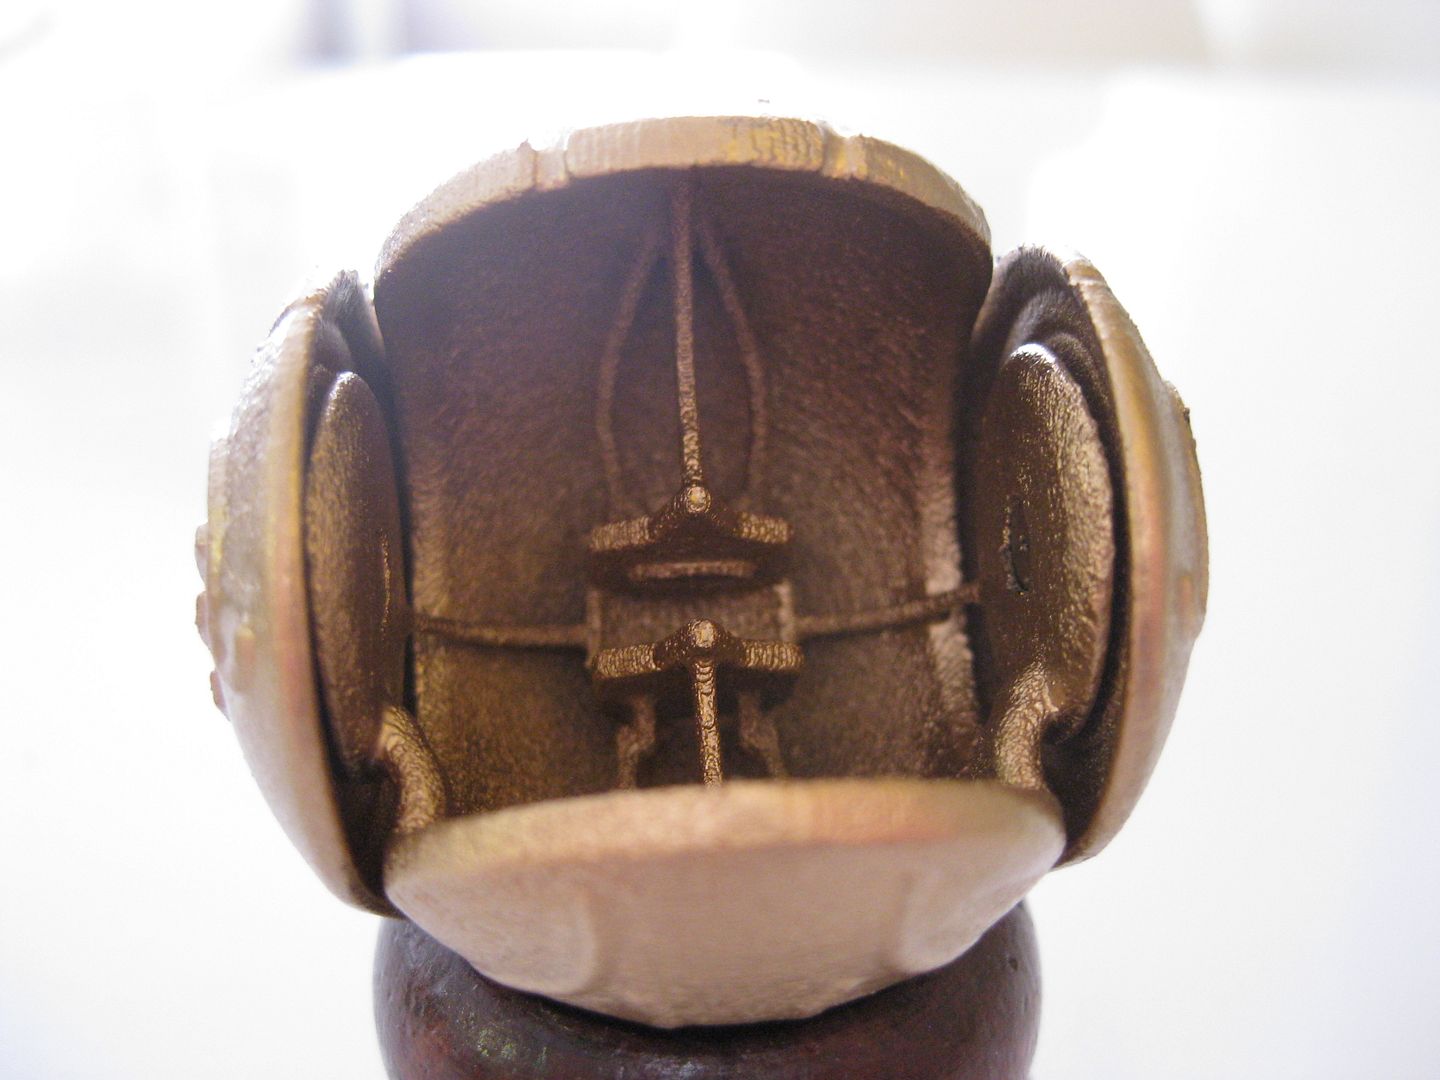
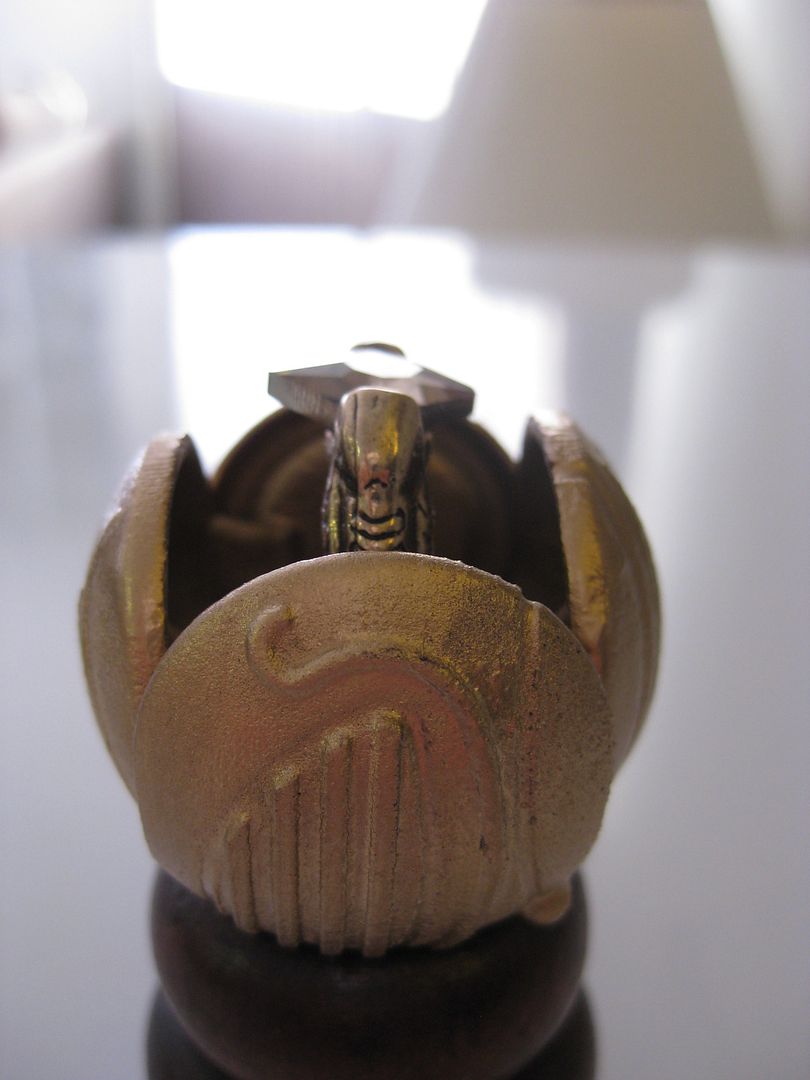
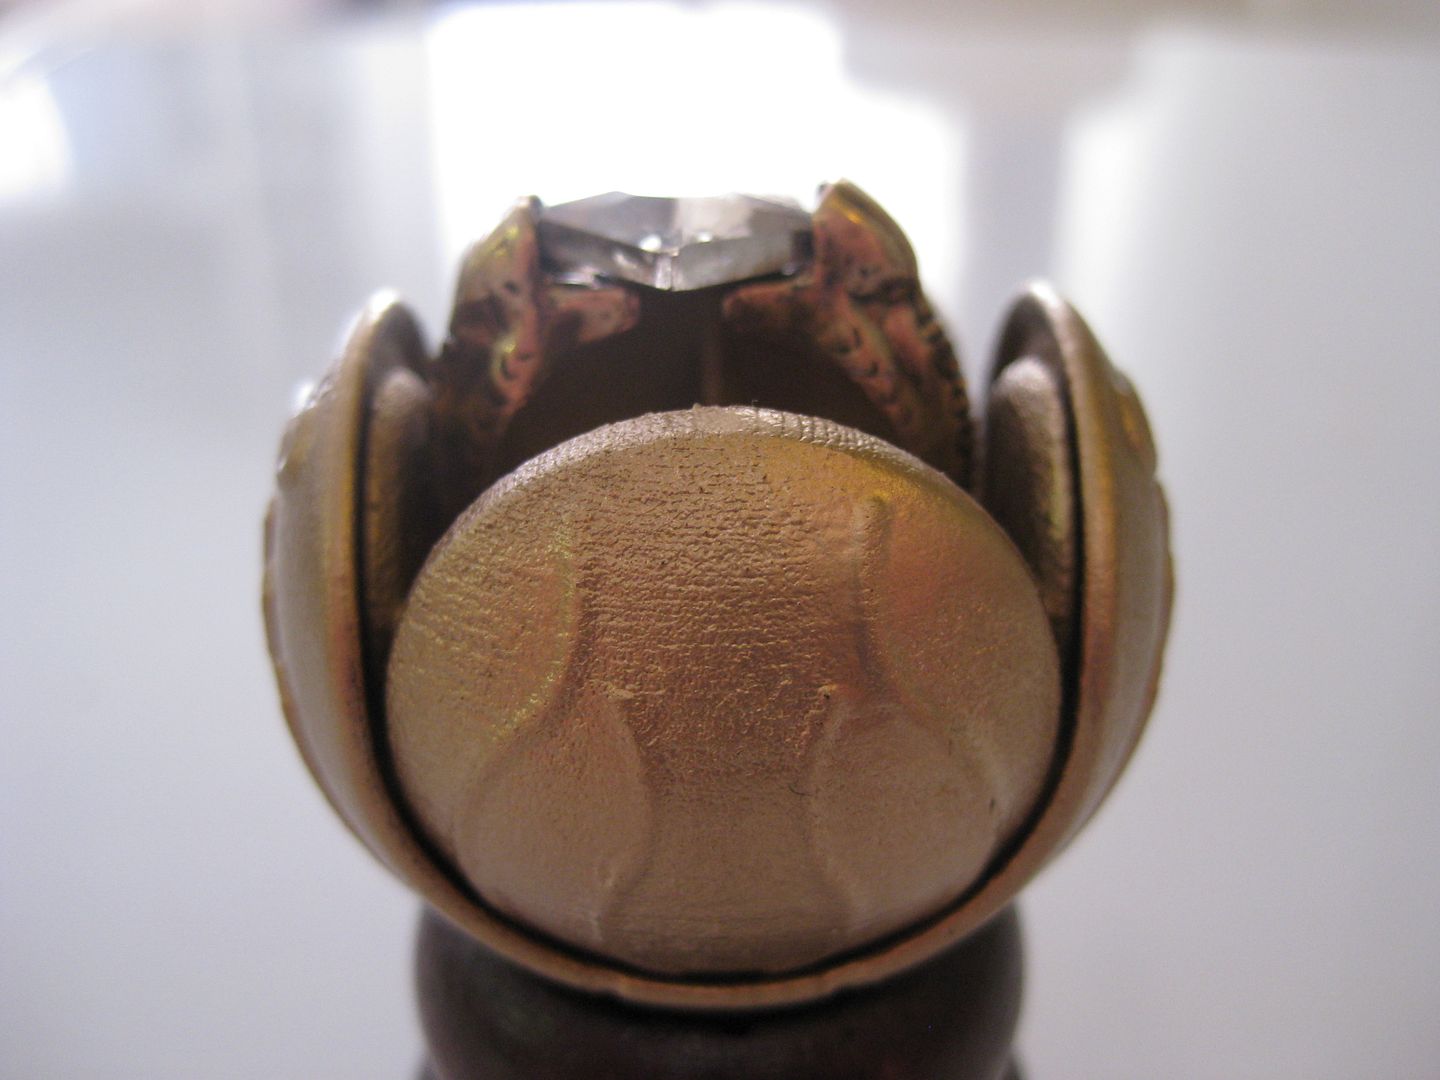
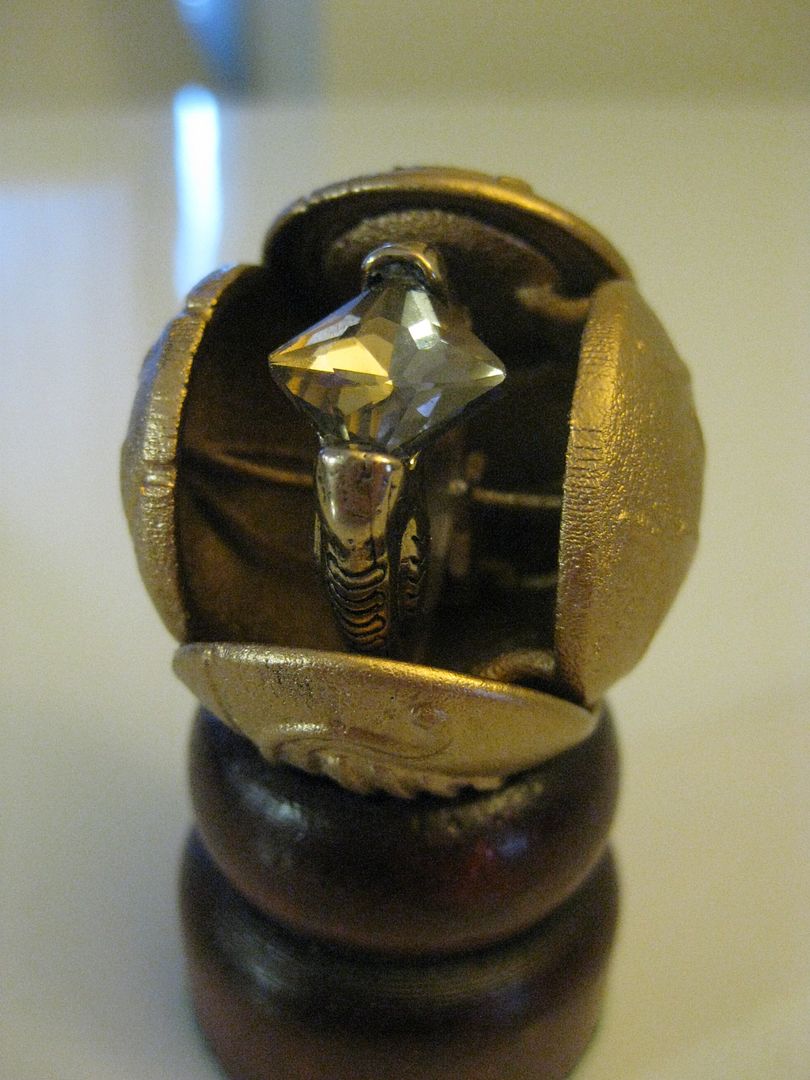
So here's a profile look at the snitch: Sorry about the quality, my phone is my camera at the moment.
20150306_181453_zpssc9mr5tm.jpg

20150306_181511_zpsj1rpjneg.jpg

20150306_181526_zpstbahmq83.jpg

20150306_181545_zpsanbbgrdh.jpg
 
Don't worry about the gap to much. The original looks like it has a huge gap. Great work.
Harry Potter 7 : Resurrection Stone in the golden…: http://youtu.be/eo-Nyx_DWU4

Wow thanks for the link to that clip, I've been looking for that video for awhile now.

it's coming along pretty nicely monkey540!!!!

Monkey you make an awesome job! really brilliant. such a hard project but it turns out great :)

Thank you for all the kind words.

Some eye candy for you guys, I decided to finish off this snitch for now. I'm not totally happy with the surface finish but I wasn't ready to sand for a long time if I was planning on changing the design.

IMG_8275_zpsuhiucvpw.jpg

IMG_8276_zpsxnltryvj.jpg

IMG_8277_zpsvkfhkvnj.jpg

IMG_8278_zpsq8ix5xs6.jpg

IMG_8279_zpsasrscg7w.jpg

IMG_8280_zpsofzlf3qv.jpg

IMG_8281_zpsvzlwnugs.jpg.html

IMG_8282_zpse9riebu9.jpg

IMG_8283_zpsmp5jlrdt.jpg

IMG_8286_zpsdqq5hdzl.jpg


I've made a few revisions, I'll post that up later today.
 
It still looks amazing! Plus having that version opened in a display cabinet with the right lighting would be far too sexy. :devil
 
It still looks amazing! Plus having that version opened in a display cabinet with the right lighting would be far too sexy. :devil

It's currently sitting on my desk open cause it's beautiful, and I know my have a cheap horcrux ring, but it looks nice in it, I may get a better one later.

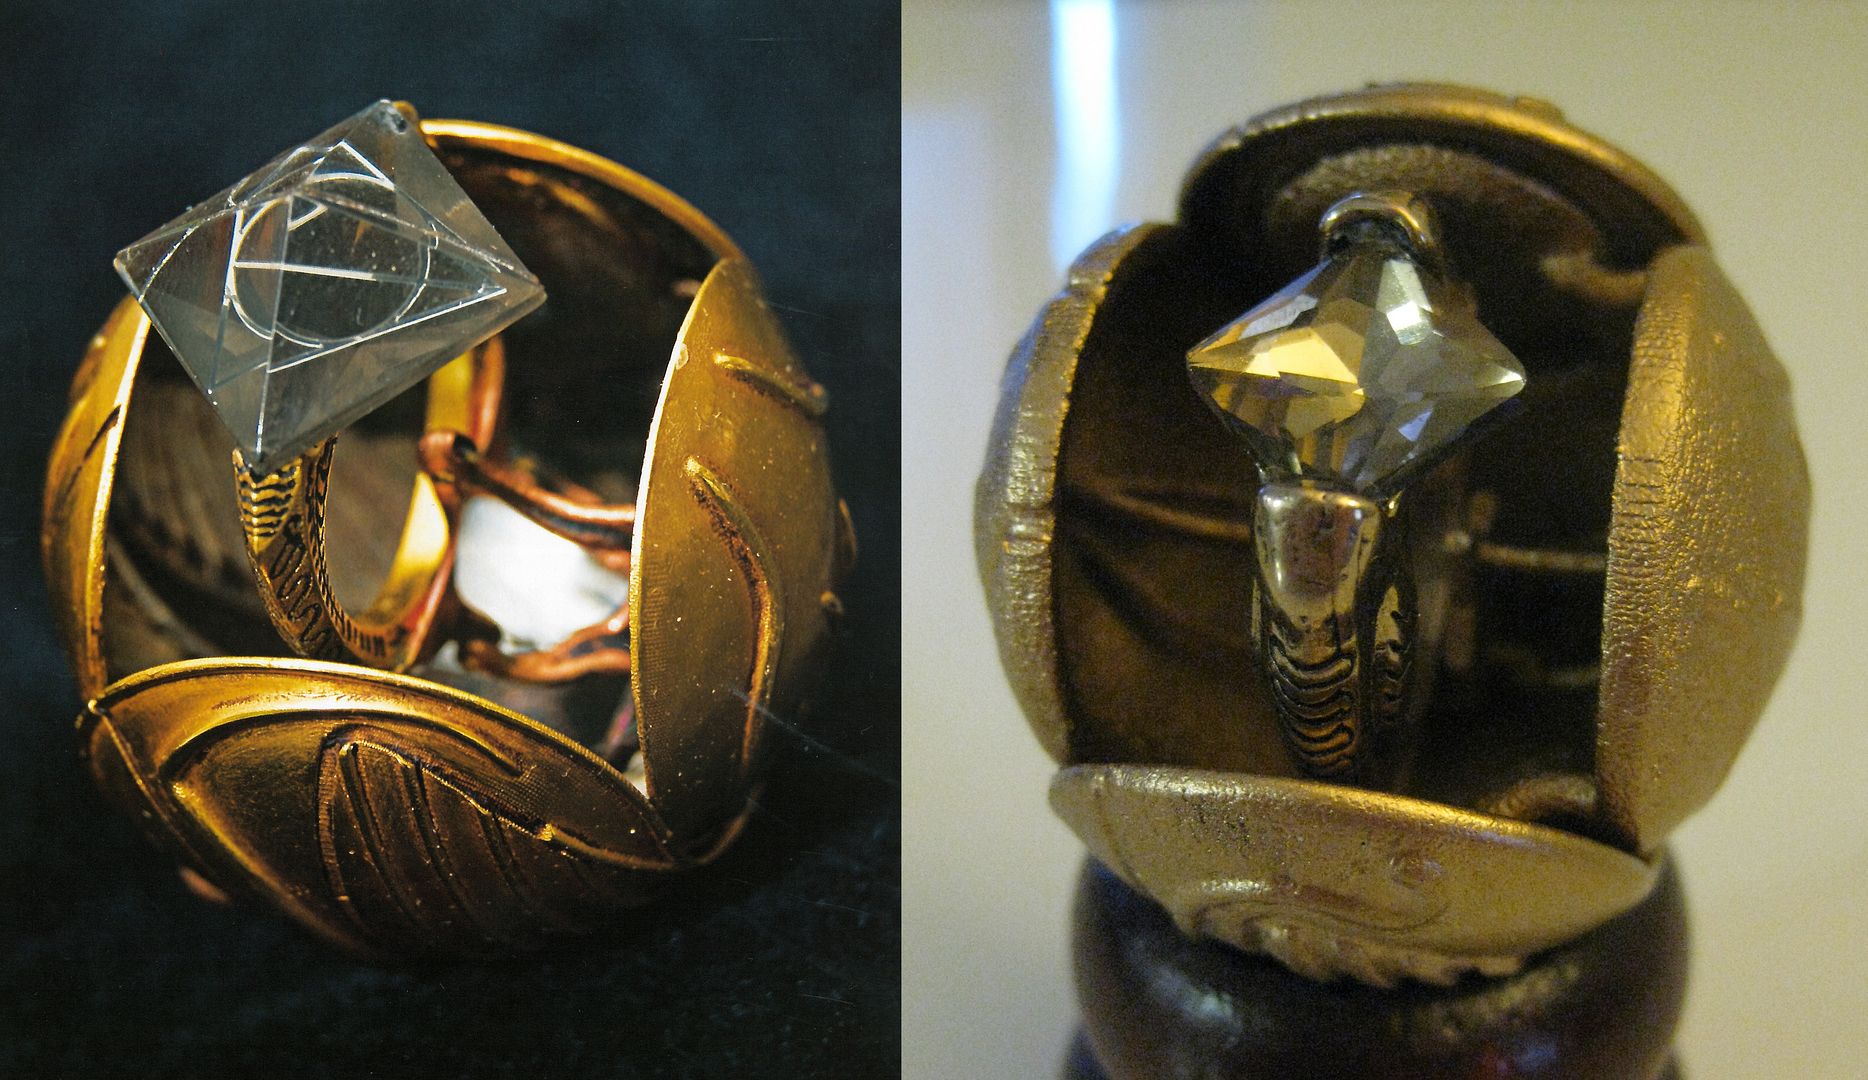
I know my paint and cleanup skills are not the best, and it's also plastic, not metal but here a side-by-side:
Compare_zpsdzu9zdah.jpg


Been thinking about whether to leave the curl at the bottom in, or take it out. There are about 3 designs out there for the snitch exterior. Mine is closest to the opening snitch with the exception of that curl and a small other detail.
 
Ok, here we go with my revisions:

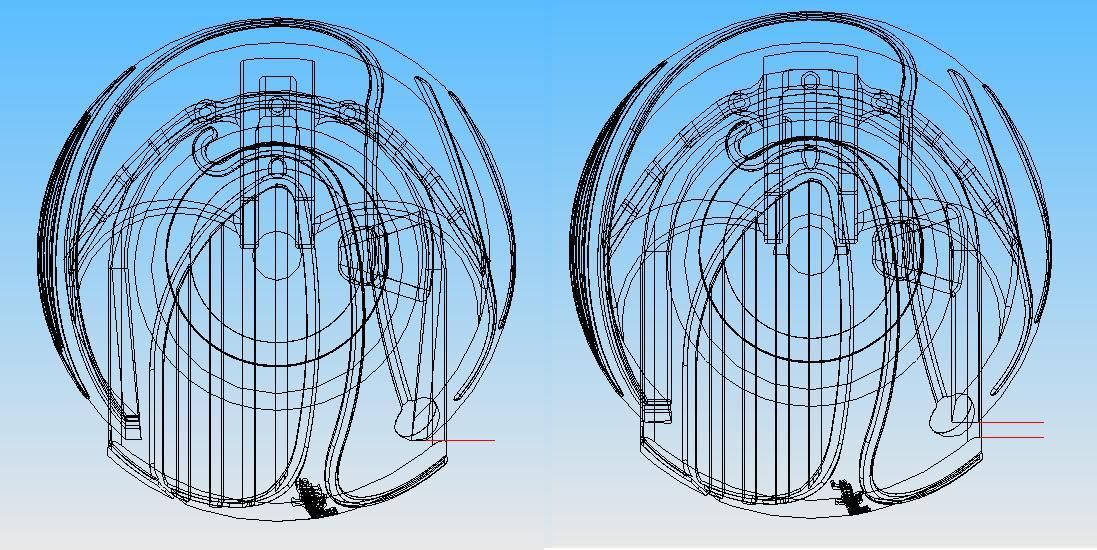
First off I tried to fix up the inside:
Inside%20Revision_zpsngyr8orb.jpg


Revised on the left, original on the right.

I made the cradle wider, took out the "clips" as they didn't work, and shifted the supports. I also made the piece thinner to make the edge look smaller, and extended the shell. (You'll see that better with the assembly).

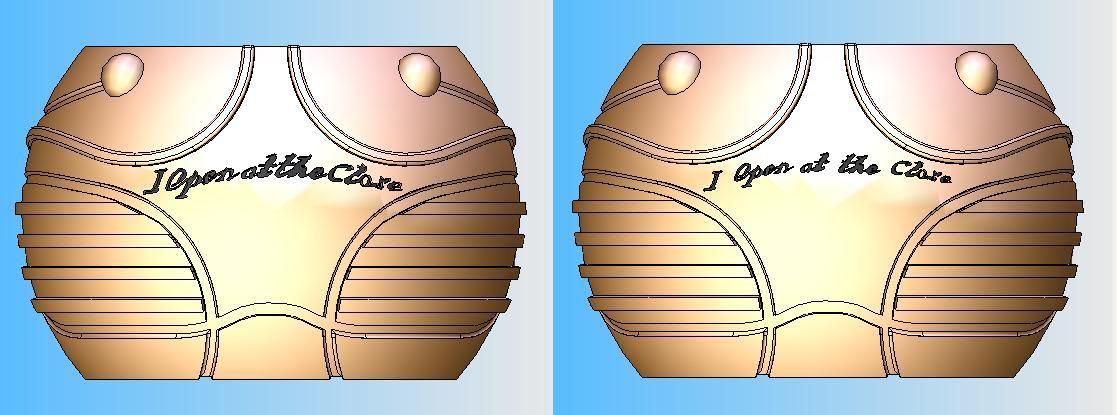
Next up, the outside shell:
Outside%20Revision_zpsx6ojipbm.jpg


Again, revised on left, original on right.

The text is now 25% bigger, hopefully it shows up better this time. And I removed the locking mechanism that no one really knew about anyways, and It didn't work anyways.


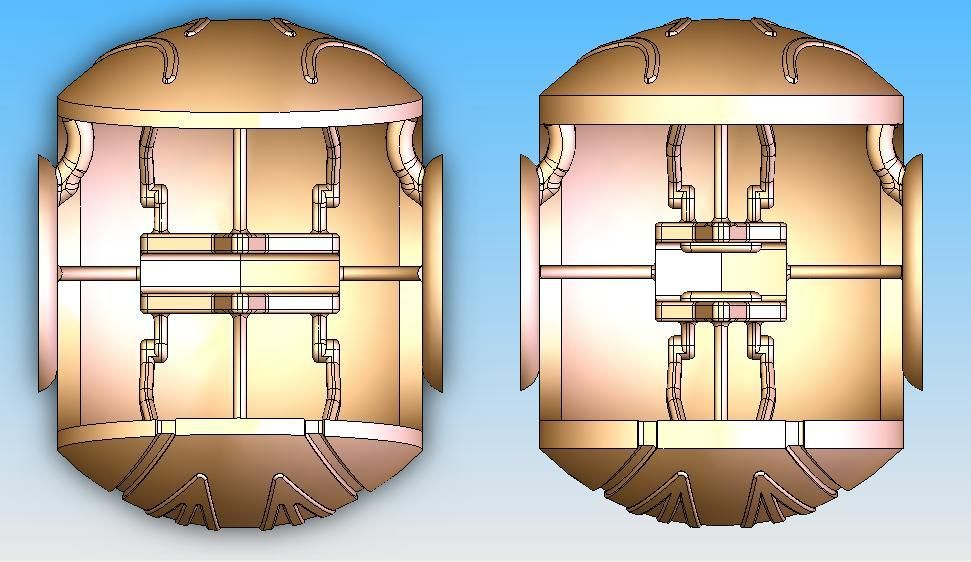
Finally, here is a look at the assembly:
Assembly%20Gap_zpsfjgdu35l.jpg


Left revised, right original.

As you can see, the edge is should no longer be visible as the line of sight is directly on the outside edge, instead of being a gap like the orignal.

The plan is to throw this into my next shapeways order next week and when it comes in we'll see what worked, but I think things should be finished after this iteration.
 
Looks great so far; I await the next version with excitement! I see a couple of minor details that appear to differ between your version and the original in the still and video clip, but I don't know if you'd want to change them -- probably not.

1. In the still, it looks like the ring cradle is supported from only one side rather than both sides as in your version.
2. In the video, it looks as if the ring is actually moved outward slightly as the snitch opens, but there is very little clue as to how that was accomplished mechanically (the three arms look like they have pivot points where they attach to the ring cradle), and I doubt you could make something similar-looking and smoothly functional in a 3-D print assembly at this size anyway.
 
Last edited:
Looks great so far; I await the next version with excitement! I see a couple of minor details that appear to differ between your version and the original in the still and video clip, but I don't know if you'd want to change them -- probably not.

1. In the still, it looks like the ring is supported from only one side rather than both sides as in your version.
2. In the video, it looks as if the ring is actually moved outward slightly as the snitch opens, but there is very little clue as to how that was accomplished mechanically (the three arms look like they have pivot points where they attach to the ring cradle), and I doubt you could make something similar-looking and smoothly functional in a 3-D print assembly at this size anyway.

Thanks for the feedback, I have noticed these differences, and here are my thoughts.

1. It is possible for me to remove the supports on 1 side, as they are not loaded, they are purely for aesthetics, I though it would be nice to keep things symmetric.
2. I was not able to figure out a mechanism to make the ring "pop" out of the ring as in the video. I may be able to figure it out at a further date, but I assume it would require a couple linkage arms, that would be difficult for me to work out for 3D printing, as it requires extensive testing, refining, repeating. I'm going to leave it as a simple cradle for now.
 
Just wanted to drop in and say that this looks to be coming along very well. You've obviously invested a lot of time and skill and it certainly shows. My opinion (and you know what they say about opinions) is to get rid of the little curl and not worry about the 'pop out' mechanism. Like you said, that seems to be more trouble than it's worth.
Which Resurection Stone/ring do you plan to use?
 
Looks amazing, incredibly impressed at the skill and time put into this. Can't wait to buy a polished brass or a plated 14k gold version of this!
 
I know it's hardly Canon, but have you considered putting a small magnet in the ring mounting, and removing one of the sides of the mounting? If you put it in the bottom or embedded it in the support for the ring, it might hold it in place and allow you to have both the ring and the one-sided support. You could also use magnets to 'lock' it closed or open. I know you've already addressed the one-sided mounting thing, but I thought a fresh idea might be of interest.

Best of luck!
 
Back
Top