VacTrooper
New Member
Hey, New here. Thought I would start off with this....
Over Christmas Break, I sculpted my own stormtrooper helmet to go with my armor that I made myself using a vacuum-forming machine:
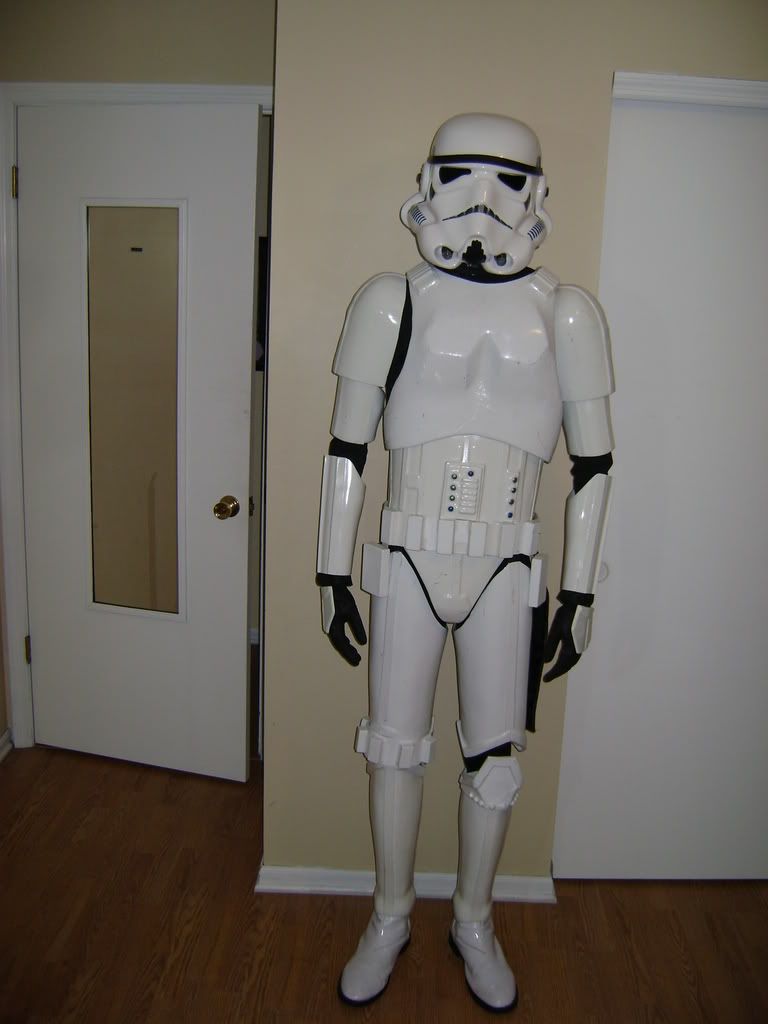
I've been modding that suit for some time, and I figured it was time for a helmet of my own...
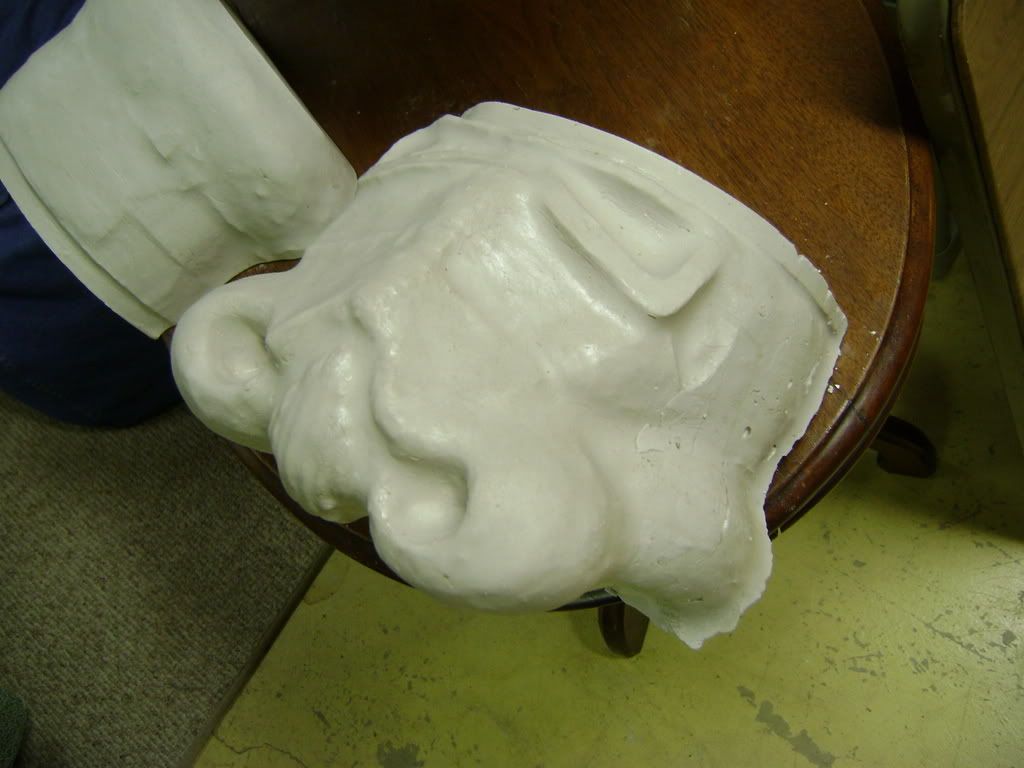
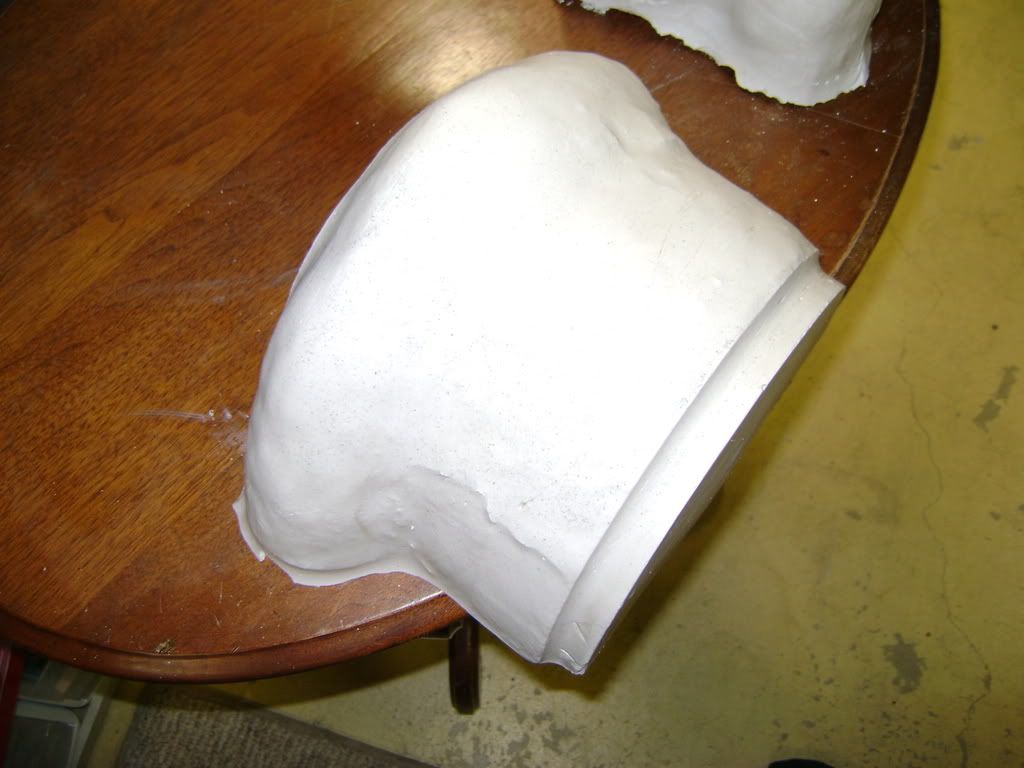
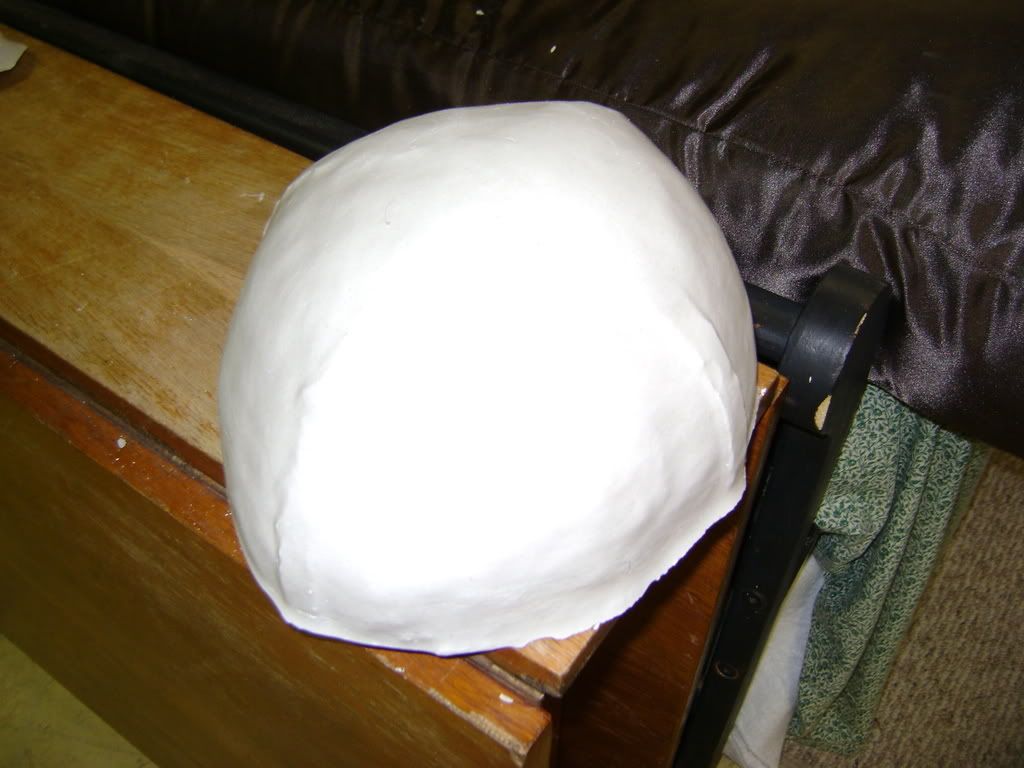
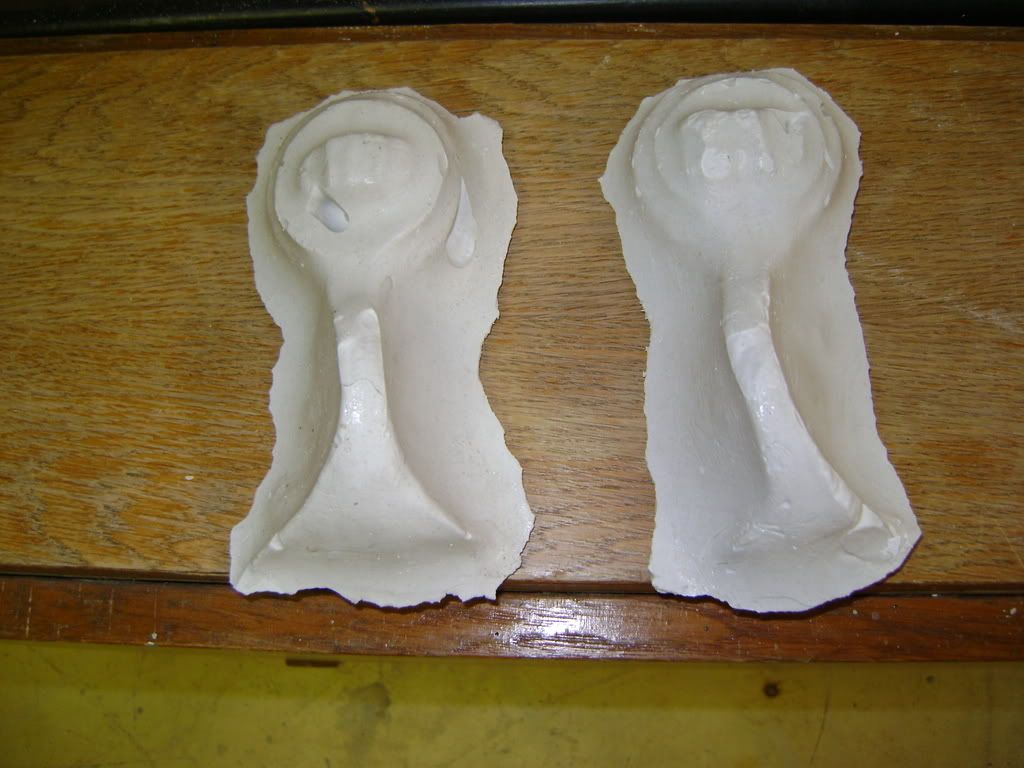
As of now I have plaster casts ready to be heavily sanded and modified to get the perfect bucket for my armor. I used my AP helmet as a guide, which really helped because I had the measurements of an accurate helmet at my disposal.
Over the next several days, (or weeks, or months, or years... :wacko ), I will be trying to get an accurate helmet, and in the process, tweaking my armor even further that accurate "came off the Star Wars set" look. Or, at least get close enough to get into the 501st.
Here is some more information about my setup. I use a 2'x2' forming table to produce formed pieces of armor. I use HIPS (PolyStyrene) to form armor. It's 1/6" thick, which is good for trimming and wearing, because it's light, yet strong in trooping events. I need to paint each part after assembly with Rustoleum Gloss White. Over time, the armor picks up scratches and cracks, which i leave on the armor, again, to give it the screen used look. When the amor cracks enough, I use gaffer's tape to fix the cracks (like in the movie). Hopefully you get the idea that I'm shooting for every little detail to pull this look off.
Enjoy the pics, and watch this topic, because I'll be working pretty hard on this helmet.
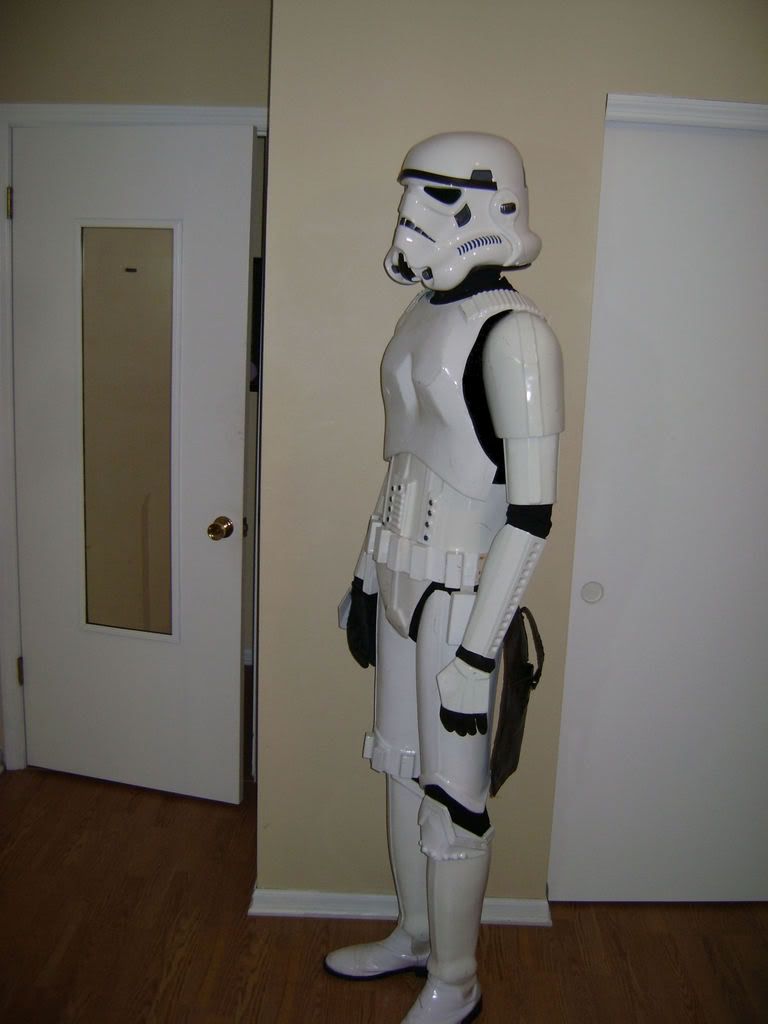
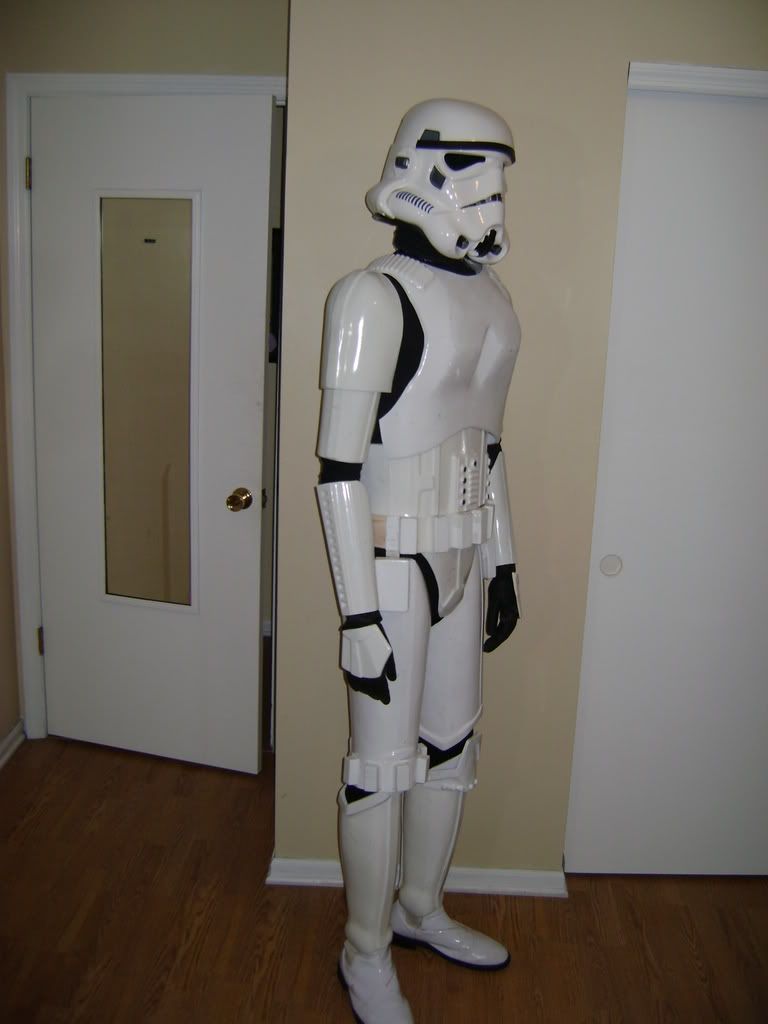
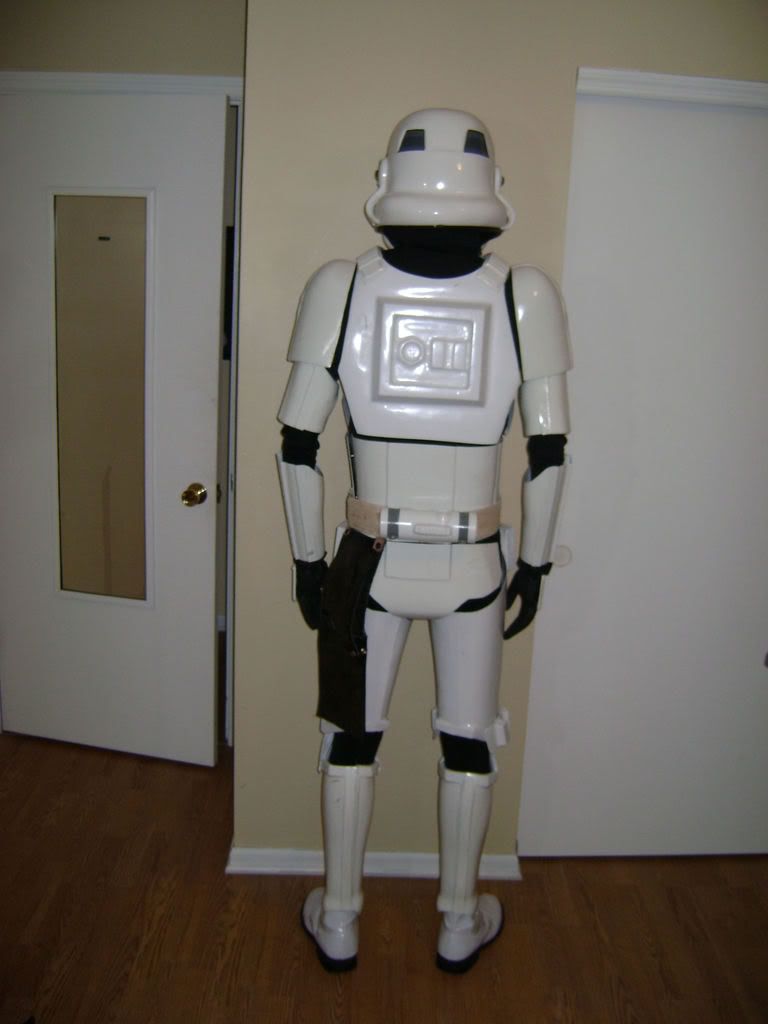
Over Christmas Break, I sculpted my own stormtrooper helmet to go with my armor that I made myself using a vacuum-forming machine:
I've been modding that suit for some time, and I figured it was time for a helmet of my own...
As of now I have plaster casts ready to be heavily sanded and modified to get the perfect bucket for my armor. I used my AP helmet as a guide, which really helped because I had the measurements of an accurate helmet at my disposal.
Over the next several days, (or weeks, or months, or years... :wacko ), I will be trying to get an accurate helmet, and in the process, tweaking my armor even further that accurate "came off the Star Wars set" look. Or, at least get close enough to get into the 501st.
Here is some more information about my setup. I use a 2'x2' forming table to produce formed pieces of armor. I use HIPS (PolyStyrene) to form armor. It's 1/6" thick, which is good for trimming and wearing, because it's light, yet strong in trooping events. I need to paint each part after assembly with Rustoleum Gloss White. Over time, the armor picks up scratches and cracks, which i leave on the armor, again, to give it the screen used look. When the amor cracks enough, I use gaffer's tape to fix the cracks (like in the movie). Hopefully you get the idea that I'm shooting for every little detail to pull this look off.
Enjoy the pics, and watch this topic, because I'll be working pretty hard on this helmet.