MisterFubar
New Member
Being new here I thought I'd help out my post count by cross posting my Doopy's build from FISD and get a few pointers or tips.
Started with a full Doopy's kit. This is the second Doopy's E-11 I've done. The first was mostly just slapped together and painted to eventually troop with. This one i hope to make a little more accurate, paying a bit more attention to detail. Here is a picture, I'm sure no one has seen it all laid out like this before. I really don't have much experience with resin like this, but the details all seem very crisp and I have no complaints.

I decided I wanted a working trigger and safety/selector so I drilled the trigger and housing for a pin, and drilled/tapped a hole where the selector goes and installed a fine thread screw, leaving it just a few threads loose.
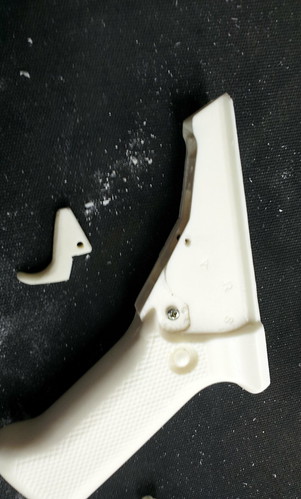
I then drilled a hole in the back of the selector switch that is roughly the same size as the head of the screw.

...and double bubbled(2 part epoxy) the selector onto the screw head.

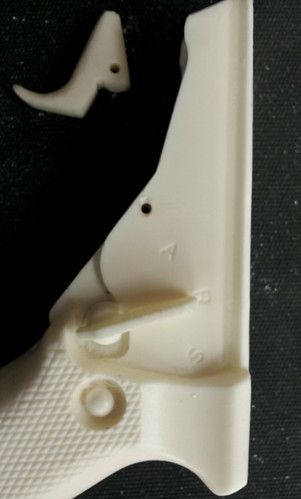

I self tapped it with the screw in a hole a couple sizes too small so the threads are nice and tight and the selector takes a little bit of effort to move and won't move on it's own. I thought about doing 3 indentions on the back of the selector and using a spring loaded ball in the grip to keep it in place but figured that might be going a little overboard.
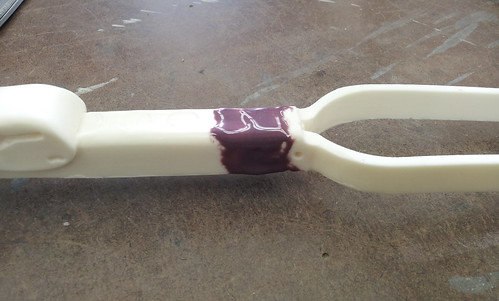
I used a little 9309 to attach the two halves of the stock together. I should have just superglued them and filled it in with the same bondo I've been using on everything else.
Cleaned up/fitted the front sight.

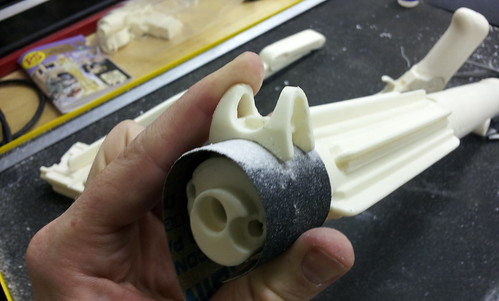
Screwed the D-ring holder onto the end cap.

...and replaced a few of the screws on the counter with real ones. Not really sure why, but I figured it wouldn't hurt.


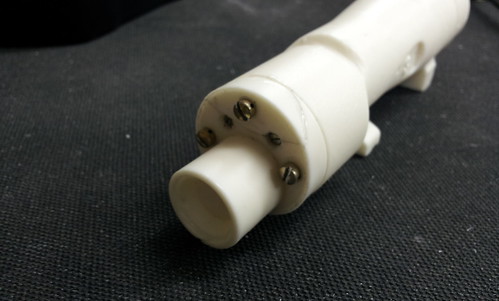
Added a few screws to my scope. One was slightly longer than the hole I drilled was deep so I split a chunk of the scope off. Oops. It's already glued back together and I'm hoping to fill and clean it up so you'll never be able to tell.
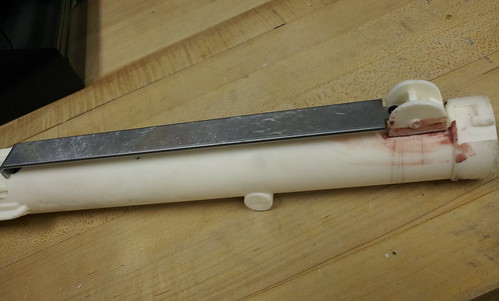
I made a scope rail, wasn't that happy with it so I made another one. Second one turned out pretty good.
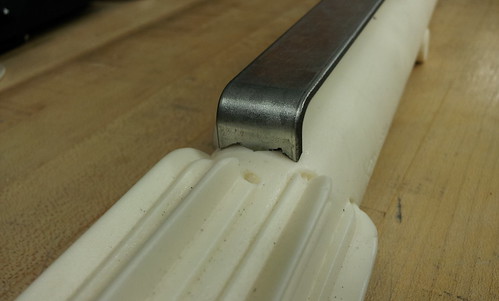
Spring loaded the trigger and finished up the grip portion.

Used a #1 spring out of the handy dandy Ace hardware spring assortment.

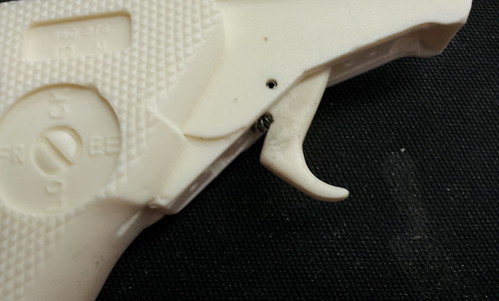
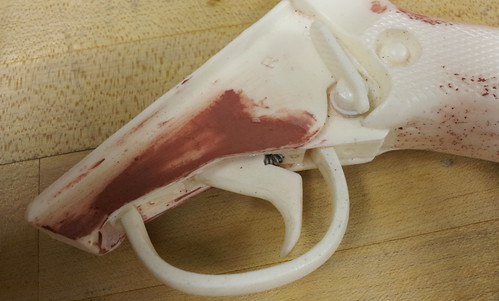
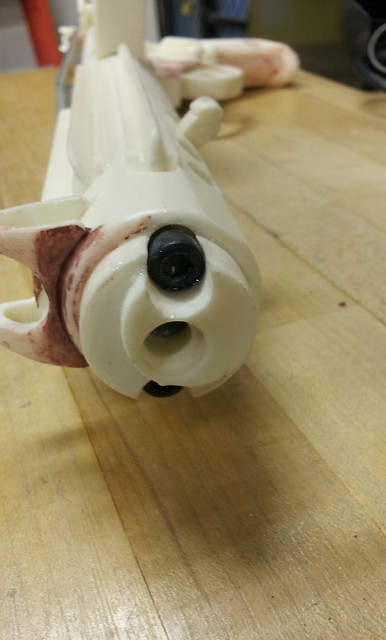
Installed a 1/4-20 Allen head bolt in place of the cast-in one.

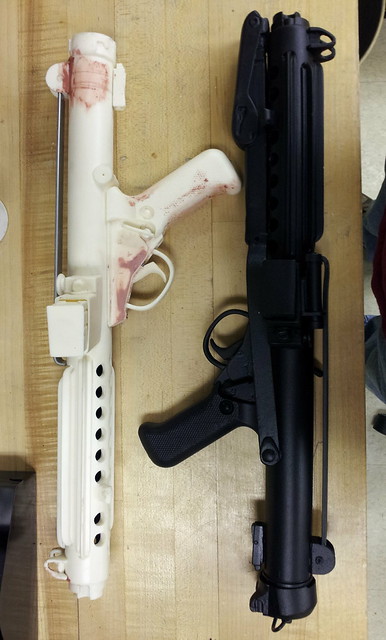
Side-by-side with my first one I built(the scope and counter were removed because I'm building a new rail and bracket for it) The first one was painted all over with Rustoleum Textured Black. I'm going to try masking off a few of the parts on this one to keep just the gun parts textured and the T-tracks, counter, scope, and grip glossy to try to make it a little more screen accurate.
The freshly primed and painted scope in the handy-dandy heat gun powered curing oven. It will get a coat of black over this and I will try to weather it a little bit. I've never been much good at painting or weathering so I'm hoping it will turn out OK.

Started with a full Doopy's kit. This is the second Doopy's E-11 I've done. The first was mostly just slapped together and painted to eventually troop with. This one i hope to make a little more accurate, paying a bit more attention to detail. Here is a picture, I'm sure no one has seen it all laid out like this before. I really don't have much experience with resin like this, but the details all seem very crisp and I have no complaints.

I decided I wanted a working trigger and safety/selector so I drilled the trigger and housing for a pin, and drilled/tapped a hole where the selector goes and installed a fine thread screw, leaving it just a few threads loose.

I then drilled a hole in the back of the selector switch that is roughly the same size as the head of the screw.

...and double bubbled(2 part epoxy) the selector onto the screw head.


I self tapped it with the screw in a hole a couple sizes too small so the threads are nice and tight and the selector takes a little bit of effort to move and won't move on it's own. I thought about doing 3 indentions on the back of the selector and using a spring loaded ball in the grip to keep it in place but figured that might be going a little overboard.
I used a little 9309 to attach the two halves of the stock together. I should have just superglued them and filled it in with the same bondo I've been using on everything else.

Cleaned up/fitted the front sight.


Screwed the D-ring holder onto the end cap.

...and replaced a few of the screws on the counter with real ones. Not really sure why, but I figured it wouldn't hurt.


Added a few screws to my scope. One was slightly longer than the hole I drilled was deep so I split a chunk of the scope off. Oops. It's already glued back together and I'm hoping to fill and clean it up so you'll never be able to tell.

I made a scope rail, wasn't that happy with it so I made another one. Second one turned out pretty good.


Spring loaded the trigger and finished up the grip portion.

Used a #1 spring out of the handy dandy Ace hardware spring assortment.


Installed a 1/4-20 Allen head bolt in place of the cast-in one.

Side-by-side with my first one I built(the scope and counter were removed because I'm building a new rail and bracket for it) The first one was painted all over with Rustoleum Textured Black. I'm going to try masking off a few of the parts on this one to keep just the gun parts textured and the T-tracks, counter, scope, and grip glossy to try to make it a little more screen accurate.

The freshly primed and painted scope in the handy-dandy heat gun powered curing oven. It will get a coat of black over this and I will try to weather it a little bit. I've never been much good at painting or weathering so I'm hoping it will turn out OK.


