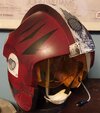
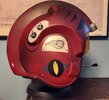
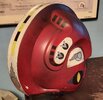
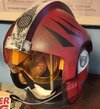
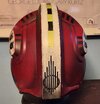
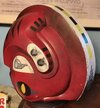
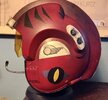
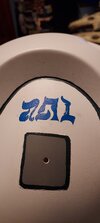
my repaints/mods to Galaxy's Edge X-Wing helmets (with tutorial)

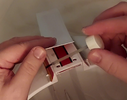
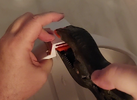
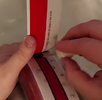
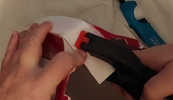
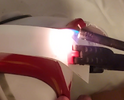
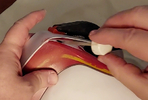
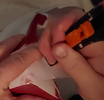
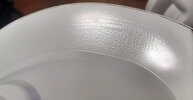
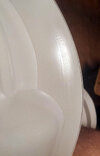
Welding on a new mohawk strip.

If you do no other modification for your repaint, do this. You don't even have to take it apart (except maybe the front cap), and it makes a world of difference in an accurate look.

As noted previously, the built-in one is recessed, while the ones on screen had one sitting on top. (It was there simply to hide the seam of the two vacuformed halves stuck together.) Keep the original, though, because it helps keep the helmet together, and is a surface to weld upon.

Start from the front and do a bit at a time.
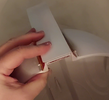
vlcsnap-2023-02-26-22h12m06s616.pngvlcsnap-2023-02-26-22h12m33s975.pngvlcsnap-2023-02-26-22h13m20s167.pngvlcsnap-2023-02-26-22h13m58s792.png

At the back, a little touch of flame softens up the plastic to enable the strip to be bent with a nice curve.
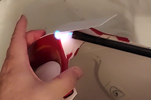
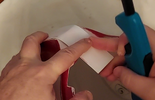
vlcsnap-2023-02-26-22h15m46s353.pngvlcsnap-2023-02-26-22h15m59s134.pngvlcsnap-2023-02-26-22h16m20s826.pngvlcsnap-2023-02-26-22h16m49s257.png

Weld & trim.

vlcsnap-2023-02-26-22h17m43s116.pngvlcsnap-2023-02-26-22h19m27s896.png

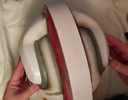
Strip attached!

vlcsnap-2023-02-26-22h22m13s993.png
 
Last edited:
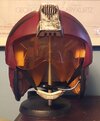
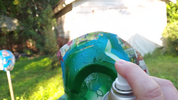
First coat: I hoped to skip priming the whole thing, and sprayed semi-gloss white. Some of the original paint/screenprinting ink still on the helmet did not react well.
20221110_182506.jpg20221110_182521.jpg

A couple more rounds of sanding and priming,

asdf.JPG

then a top coat of semi-gloss white. I think this pic is just the white primer though.

20221115_122106.jpg
 
Last edited:
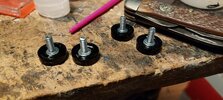
Decals!
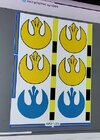
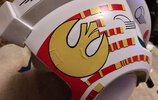
I couldn't find a "Rebel symbol" online that matched the ANH helmets. So I took a Porkins framegrab into Photoshop and did my best to warp it back to normal, given it was at angle to camera and on a curved surface. Then I drew over that image. To my eye it is not symmetrical, so mine isn't either.

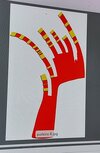
For red/yellow stripes, I taped a piece of paper onto the helmet and roughly drew them on, scanned that piece of paper, and used that to draw over in Photoshop. Several printouts/adjustments/redos follow. I didn't bother tidying up portions that would be covered by the "rebel symbol".

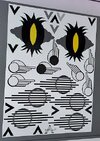
Making the "cat eye" emblem involved the same process. I made two versions, with different amounts of.... eyelashes?.... and variance to the grey blobs, since I think those were hand-painted directly on the helmet.

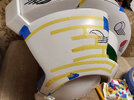
Making the black/yellow and blue/gray stripes was comparatively simple, although again with a couple trials and adjustments.

Three other symbols were downloaded from partsofsw.com (although I had provided one of them in the first place ;) ).

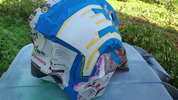
1.jpg2.jpg3.jpg


Red and yellow dots are commercial stickers:
91e4qTx-22L._AC_SL1500_.jpg

The others I printed onto vinyl sticker paper:
71bHEW9voIL._AC_SL1500_.jpg
 
are you doing 3 Porkins? or are all these going to be different?
I noticed you had a few buckets out there getting whited.
(y)
 
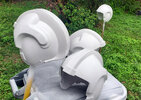
I did two Porkins, the extra for a friend who helped me get the helmets at a good price.
The third became the "generic" white helmet at the beginning of the thread, and the fourth will be a Luke blastshield.
More to follow after that!

edit: the fourth ended up being used for the John D. helmet.
 
Last edited:
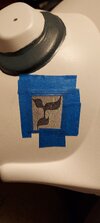
Masked off and painted the area around the ram's horns. See post #5 in this thread for why I chose green instead of the black most folks do.
vlcsnap-2023-04-08-22h29m33s788.png

For smaller pieces the decals worked fine. But for bigger ones....
20221125_221340.jpg
I eventually figured out how to get the rebel symbol down without wrinkling. The white interior portions need to be partially cut out, a little over halfway, and allowed to be overlapped by the black border as you work your way around during application. But that's only part of the problem here. The big red area just won't go down without wrinkles. Or without cutting it in sections, and if that were done, the seams would show.

So there was nothing to do but mask and paint. Having made the graphic did help, though, as I was able to use it as a guide.
20221126_013738.jpg


Red, then remask for the rectangles, hit it with more white, then yellow. Masking for all those little rectangles is laborious. One loses track of what are positive and negative areas. That resulted in some redos, and only very recently I noticed I still have one too few or two many in a couple places.

vlcsnap-2023-04-08-22h25m16s727.pngvlcsnap-2023-04-08-22h26m56s396.pngvlcsnap-2023-04-08-22h23m30s499.png

The black drop shadows around the yellow rectangles were done by hand with a paint pen.
 
Last edited:
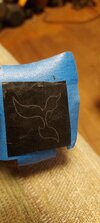
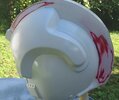
The first pass of weathering, a misting of flat black. There was also dabbing on watercolor to get in the crevasses, and smearing on soot from my fireplace with my bare hands. And stages of partial removal and light sanding of each of those passes. Finish off with a spray of satin clear.
Final result in first post.
 

Attachments

  • 20221203_164842.mp4
    70 MB
Last edited:
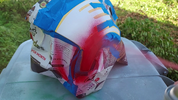
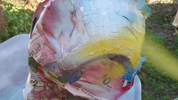
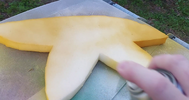
I could not find any yellow foam for screen-accurate padding. I seem to recall old yellow foam was made out of material since deemed dangerous, and I guess they don't use the color anymore to differentiate the safe stuff from it. (I wonder how RS does it.) Anyway, I just spray painted white foam yellow.

vlcsnap-2023-04-22-21h44m58s029.png

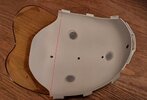
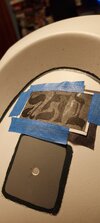
However, the plastic insert covering the visor when in retracted position takes up too much room, so if you wear it with the padding, it sits way too high on your head. What I plan to do (and haven't yet) is to cut that part down, just past the first spot where it's screwed down, at the red line shown here. I think that will free up the needed space.

319039582_875142753631718_7287763505758194657_n.jpg
 
Last edited:
Did up another. Red 4 John D.!
 

Attachments

  • 20230827_134259.jpg
    20230827_134259.jpg
    751 KB · Views: 70
  • 20230827_134316.jpg
    20230827_134316.jpg
    805.2 KB · Views: 83
  • 20230827_134347.jpg
    20230827_134347.jpg
    712.7 KB · Views: 76
  • 20230827_134502.jpg
    20230827_134502.jpg
    727.8 KB · Views: 85
  • 20230827_134405.jpg
    20230827_134405.jpg
    752.6 KB · Views: 75
  • 20230827_134423.jpg
    20230827_134423.jpg
    713.4 KB · Views: 73
  • 20230827_134433.jpg
    20230827_134433.jpg
    794.9 KB · Views: 75
  • 20230827_134515.jpg
    20230827_134515.jpg
    655.3 KB · Views: 85
Working on a new one, a former Black Series Wedge is becoming a Luke Blast Shield.
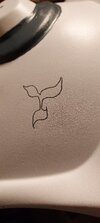
Here are the button covers (as IDed by lonepigeon) that are the black knobs featured on this helmet. They come as two interlocking halves, the cap snapping onto a smaller piece with mounting tabs. I decided to use my own mounting method, though, by epoxying screws into the caps. I can attach them with nuts inside the helmet, and thus no danger of making a mess with glue or them getting knocked off.

link to the parts on the Digikey site:
 

Attachments

  • 20231229_190520.jpg
    20231229_190520.jpg
    2.1 MB · Views: 48
Fantastic. I bought a couple Trapper Wolf Black Series from Ollie's when they were on sale and am hoping to repaint them. This and few other threads have been invaluable. Thanks for posting in-progress photos and details.
 
I searched Etsy and eBay for decals for the Luke Blast Shield, but I wasn't happy with any of them. So it's back to my own devices!

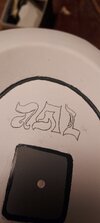
I took the most straight-on reference pics I could find of the symbols on the sides of the helmet, and cut them out in Photoshop. I warped them to what I hoped what they should look like flat. I made test prints on regular office paper at different scales until I got to where I thought they looked correct on the helmet.

Then I cut them out and taped them onto carbon paper. Then I taped that sandwich onto the helmet and traced their outlines with a pencil.
20240401_015730.jpg
20240401_022055.jpg
20240401_022509.jpg


So now I had a guide to paint to.
20240401_015945.jpg
20240401_023508.jpg

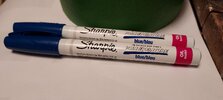
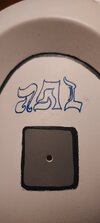
I used paint pens.
20240401_020451.jpg
20240401_023739.jpg


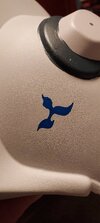
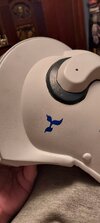
Here they are toward the end of the process---still some touchup to do them (and also to the other painted parts of the helmet)
20240401_021324.jpg20240401_021336.jpg20240401_030532.jpg

I've been avoiding doing the big symbols but I've run out of other stuff to do. Gotta dive in!
 
Not a highjack but just a comment again about how fun for me Treadwell’s thread is. Gave me the spark really to fix my Galaxy’s Edge “Biggs” helmet. I wet sanded off the inaccurate checkerboard and other details and followed Treadwells guidelines. A blank pallet awaits.

CDA320AE-0B3E-4F48-8AEA-D10B669AB0AD.jpeg

I then realized I could “fix” the Luke helmet of all the silly battle damage chipping too.

Doesn’t look half bad now, way better than before !
1D5CF143-85FC-4E27-B789-EF02007CF27C.jpeg

Rediscovered some fun. Thanks Treadwell!
 
Back
Top