Studio Half Scale TOS Enterprise Scratch build

Status
Not open for further replies.
Not sure Bondo. It's just an expression for improve the overall form. Preening comes to mind as well. Primer? Well even though I have a big compressor and several airbrushes these nothing like 3.49 a can Rustoleum gray primer. It's thick and fills scratches. Dries super fast and sands well.

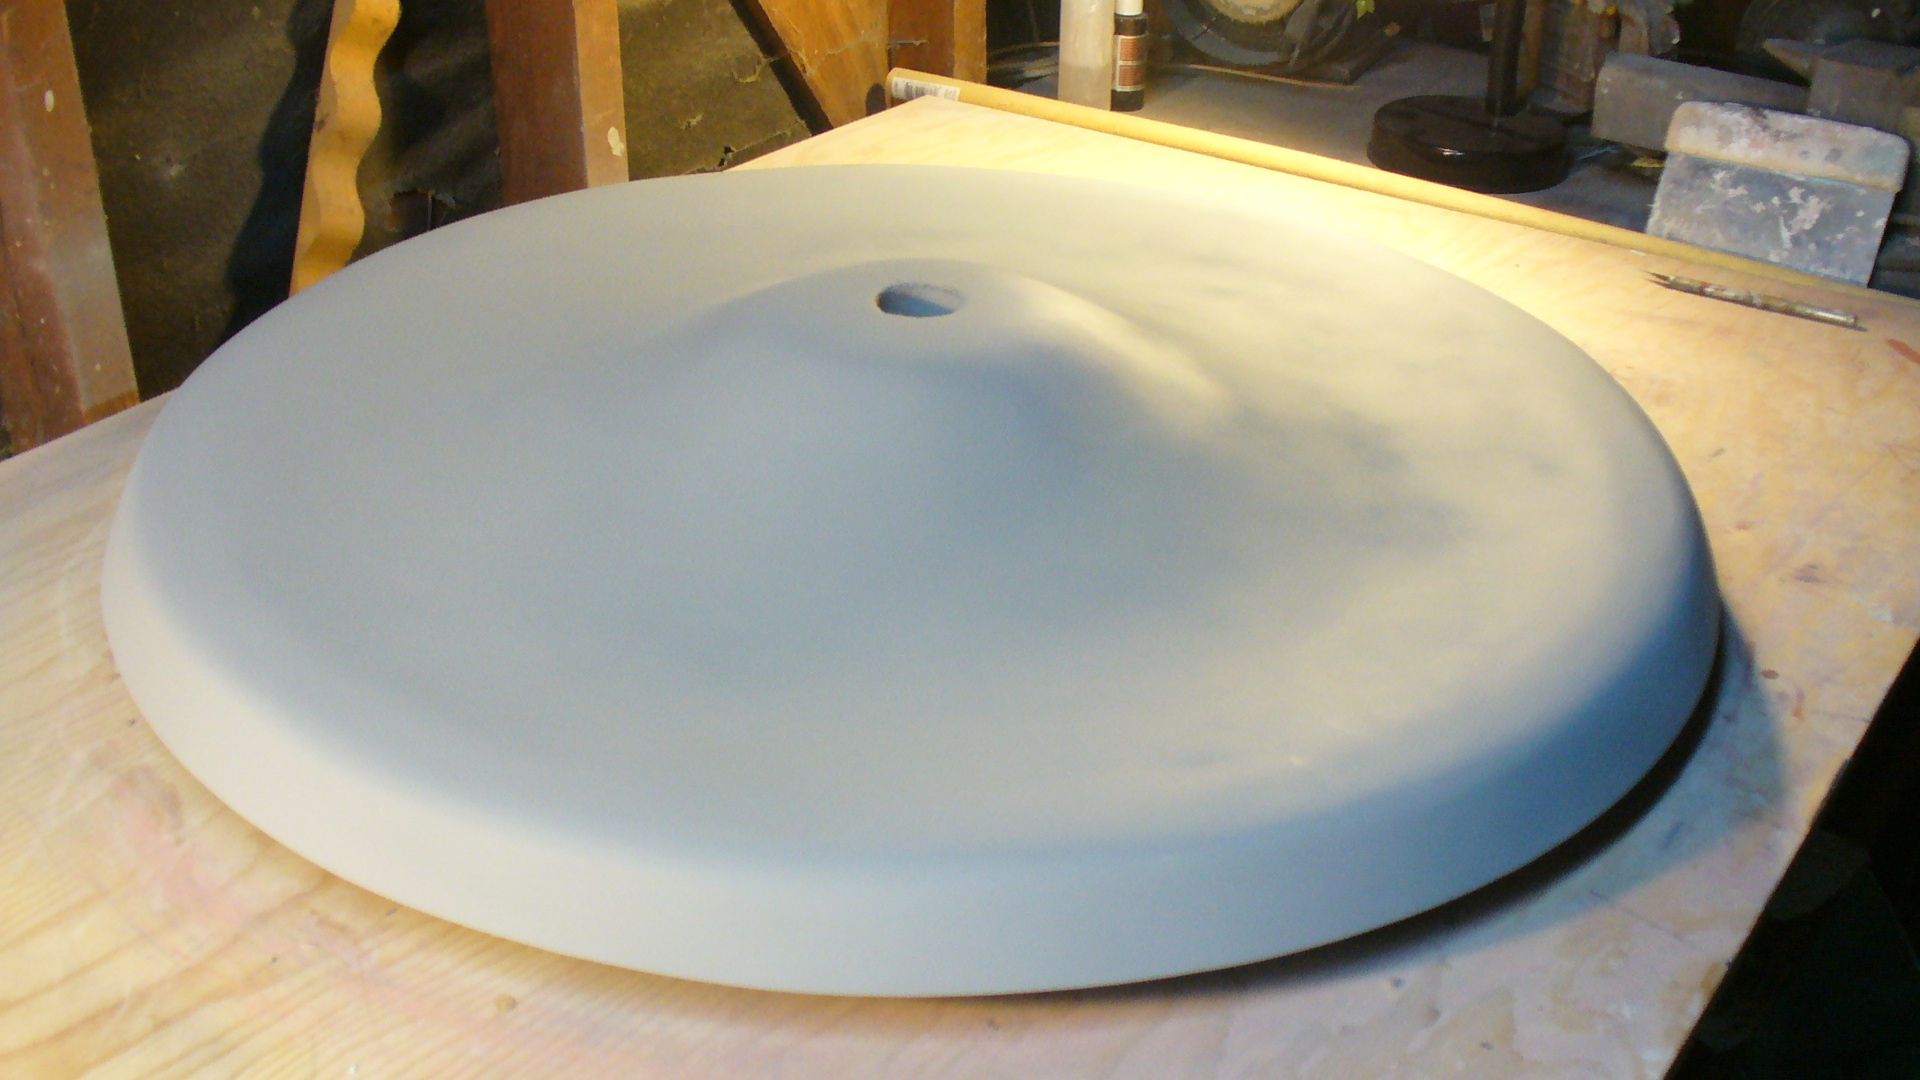
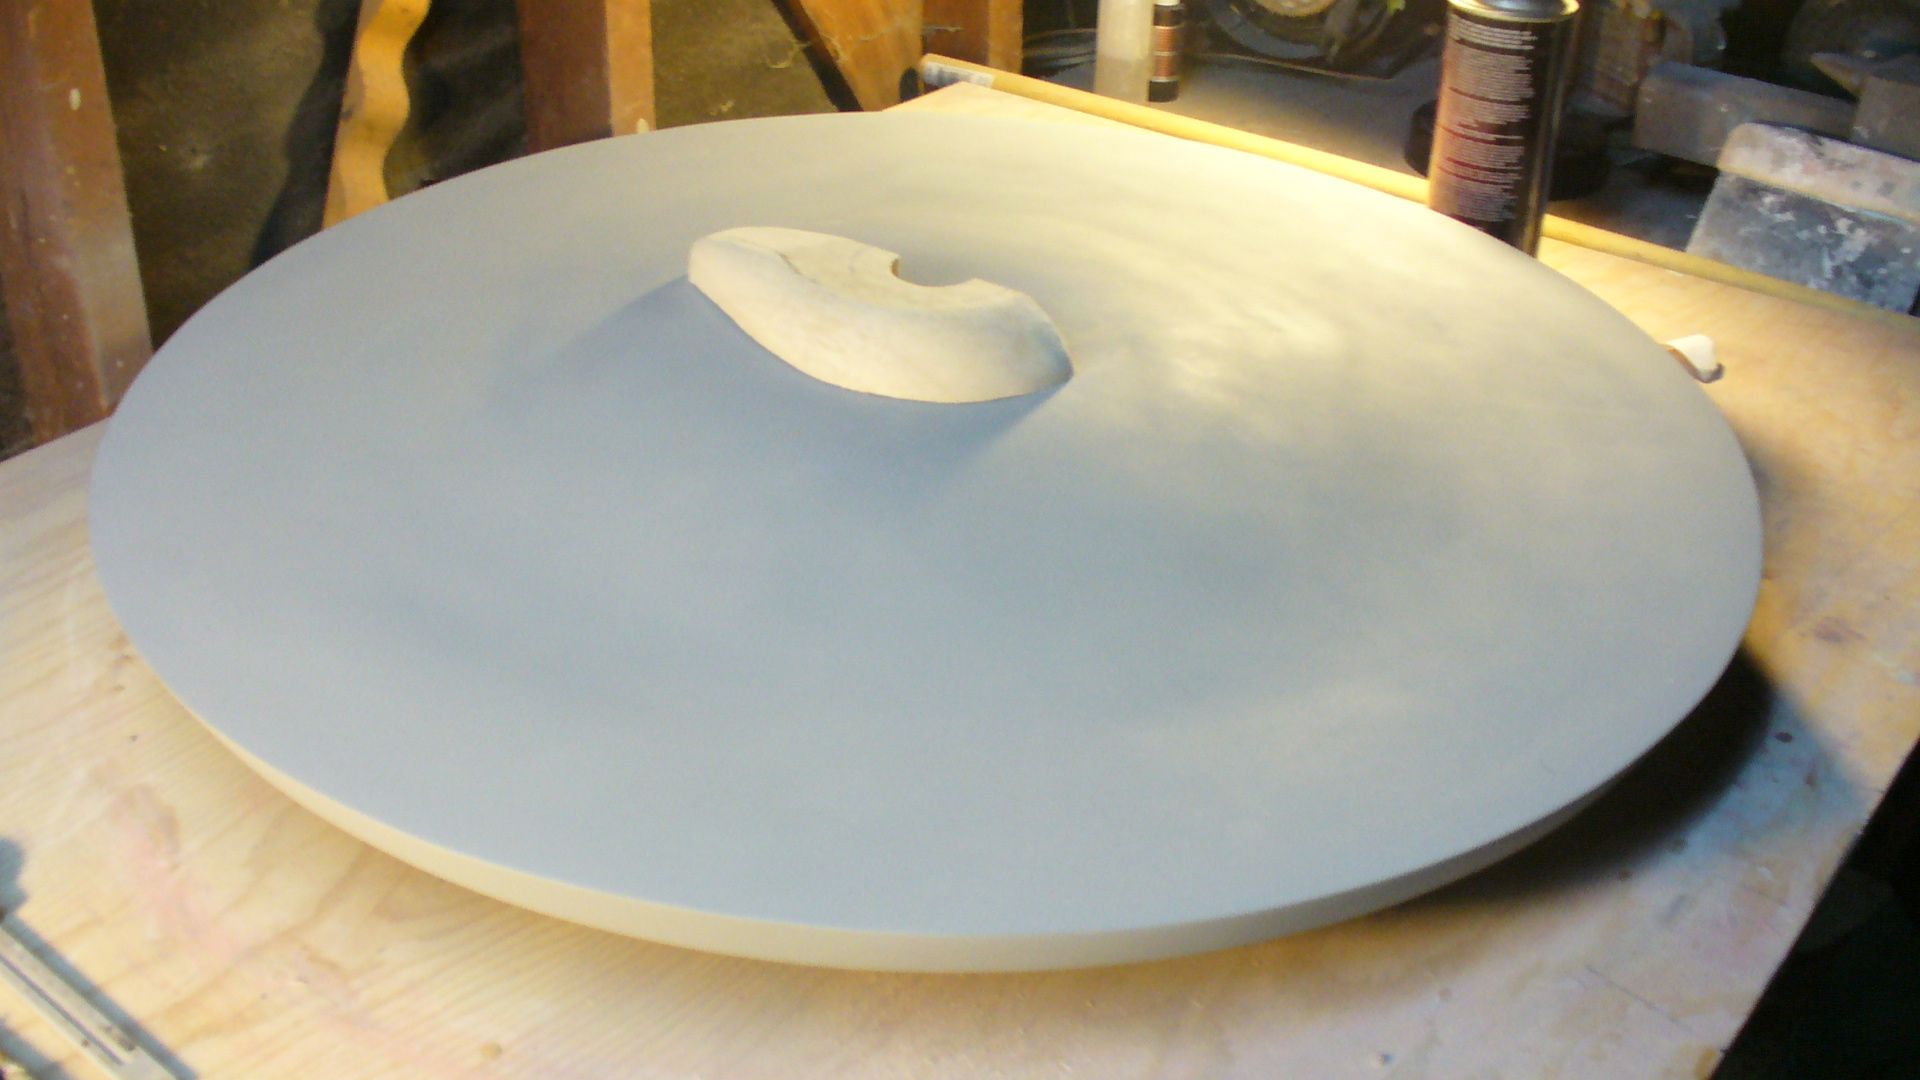
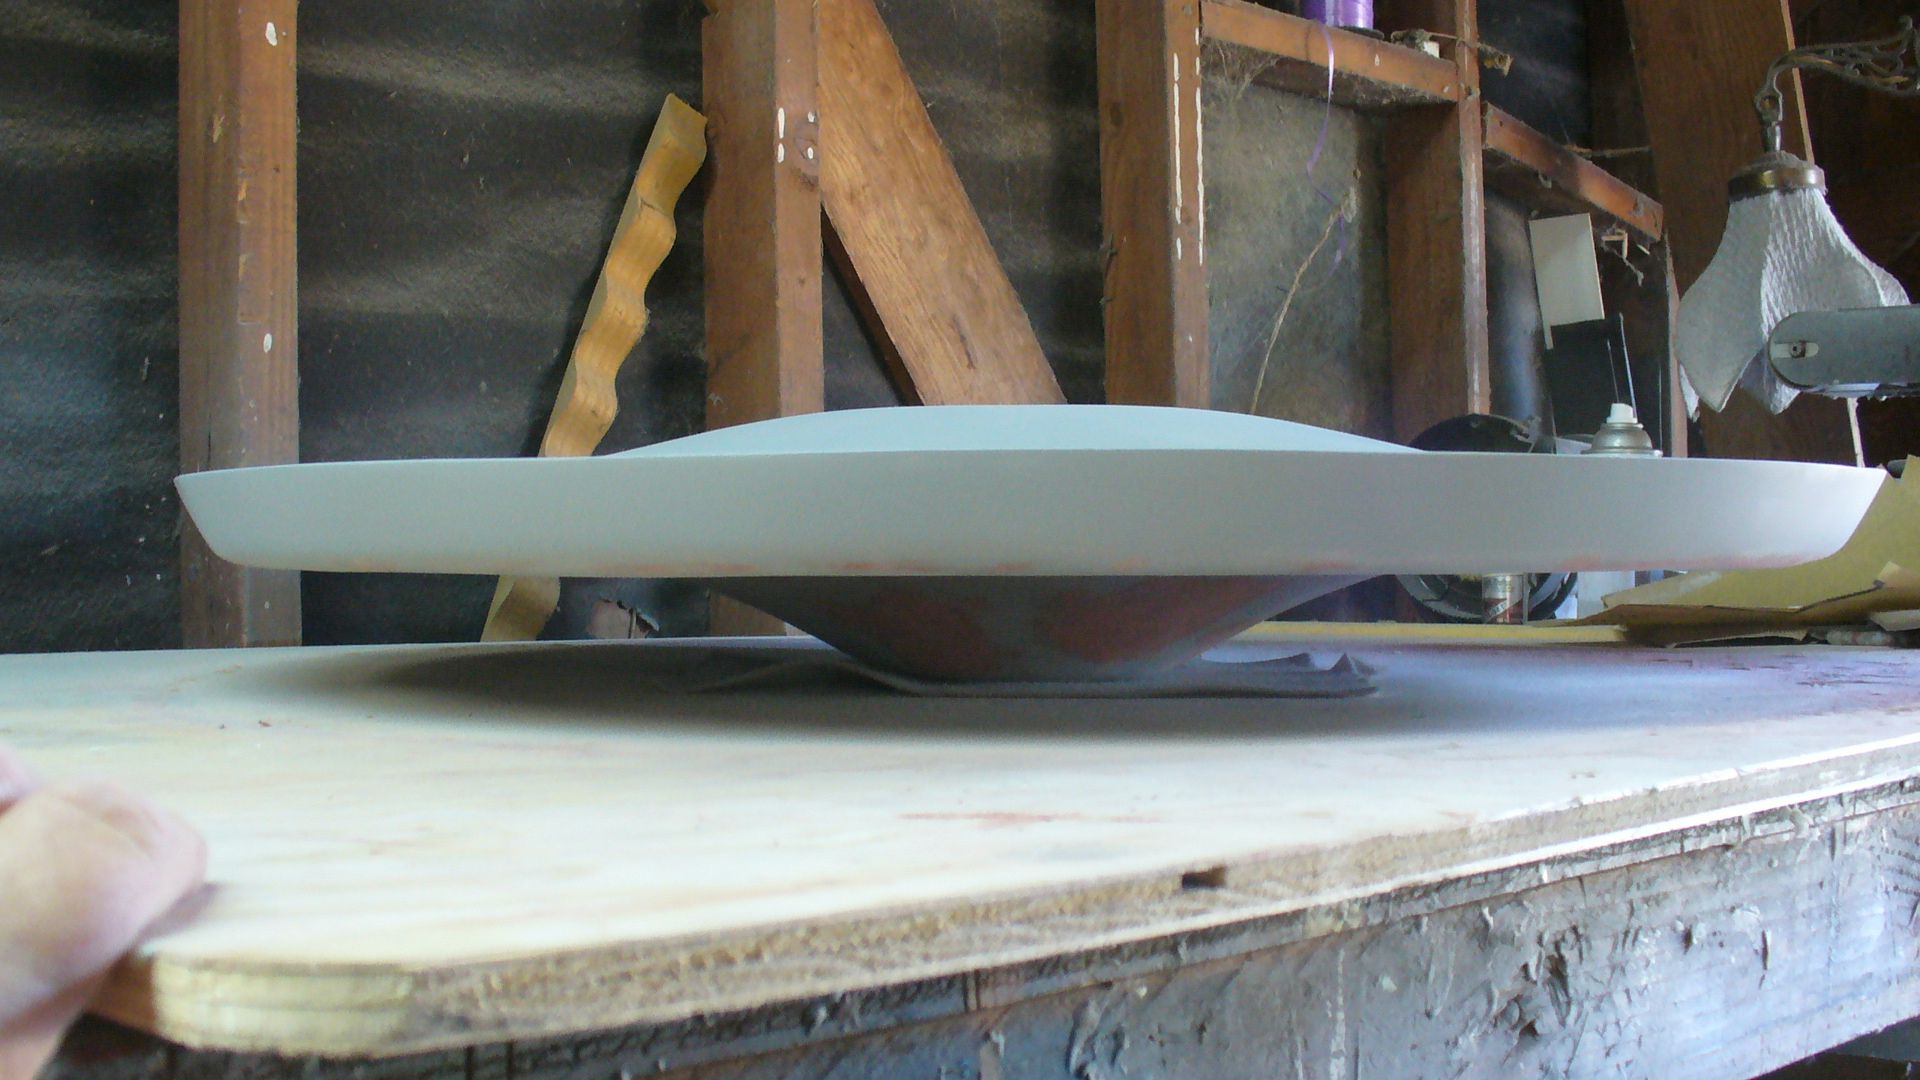
So I got the saucer section hull master finished for now. Good enough to move on to the bridge and other saucer section parts and details. I took a trip to my favorite hobby store and picked up some nice pieces of balsa. Balsa works great for this kind of thing. Sculpts like clay and forms very symmetrical. Once I have the part formed to my liking it’s easy to seal the balsa, primer and detail. After all the orignal 11 foot model was formed from wood.

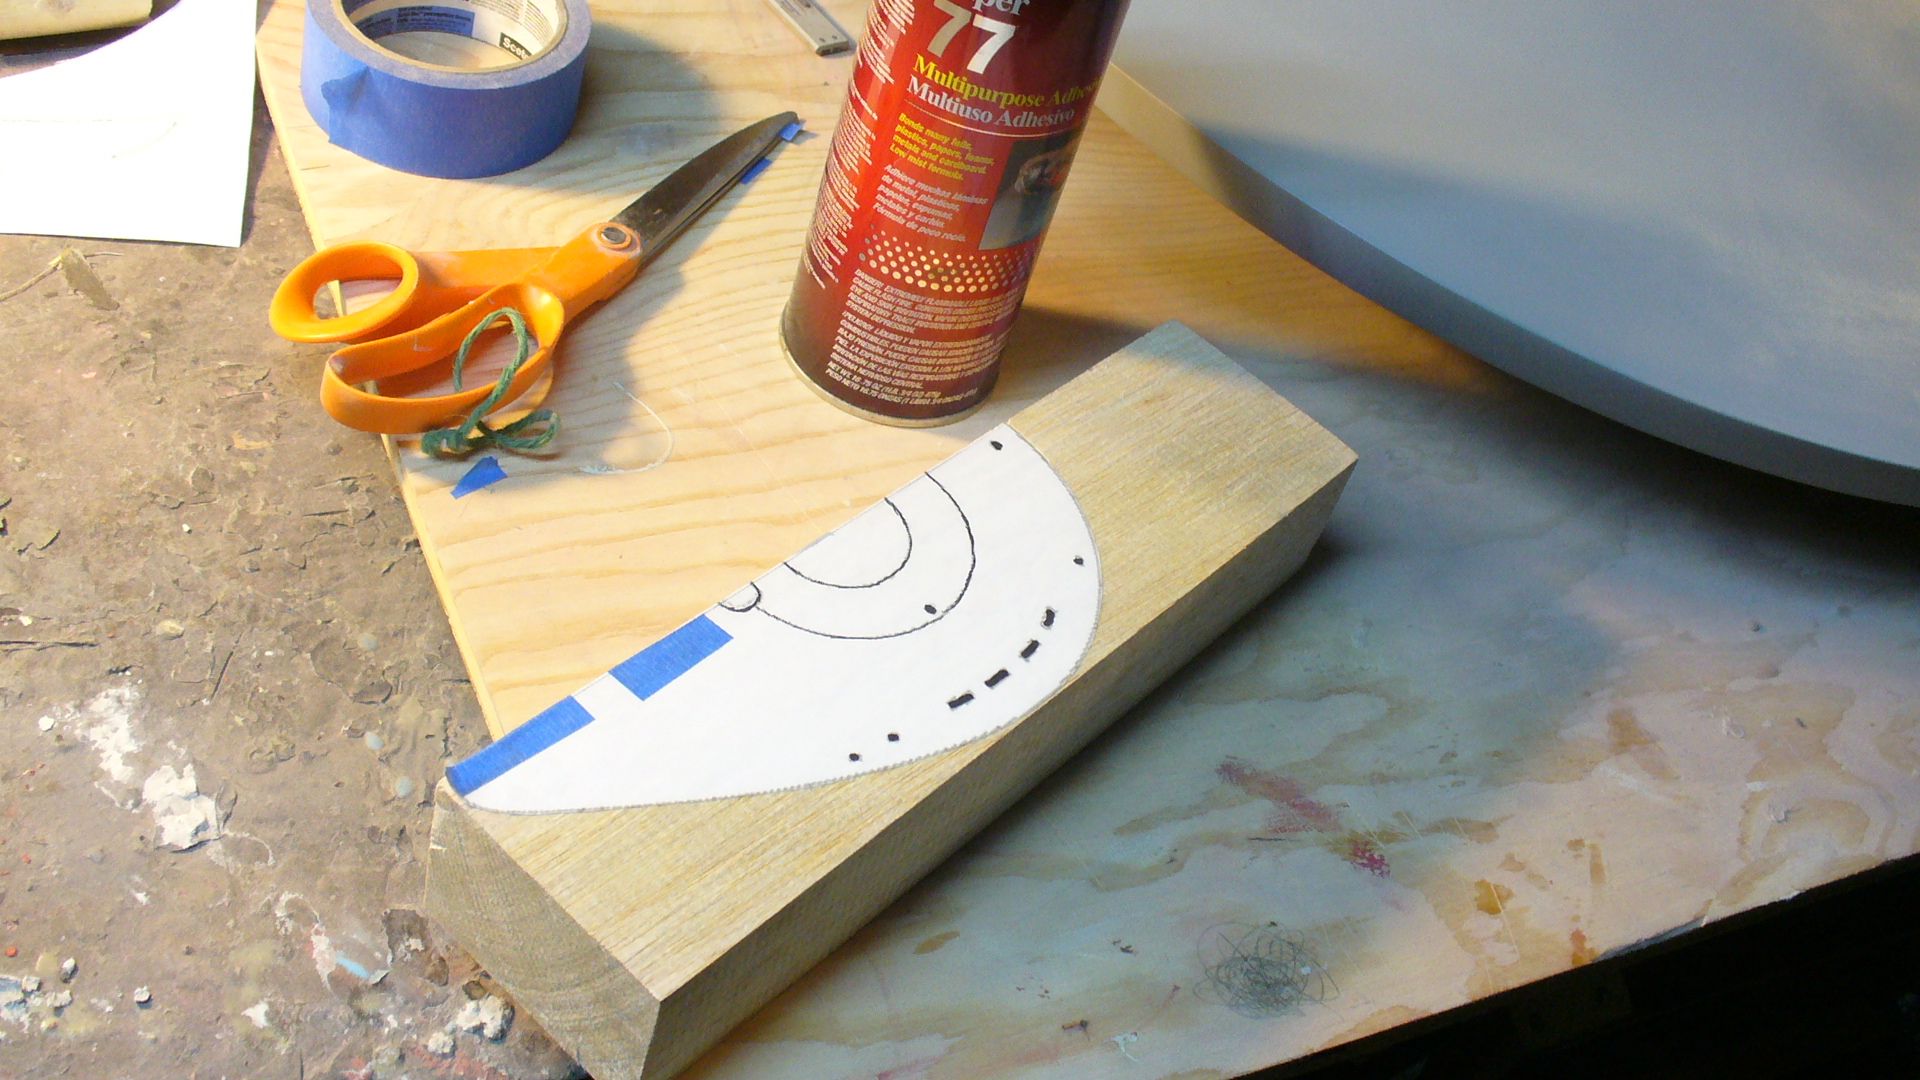
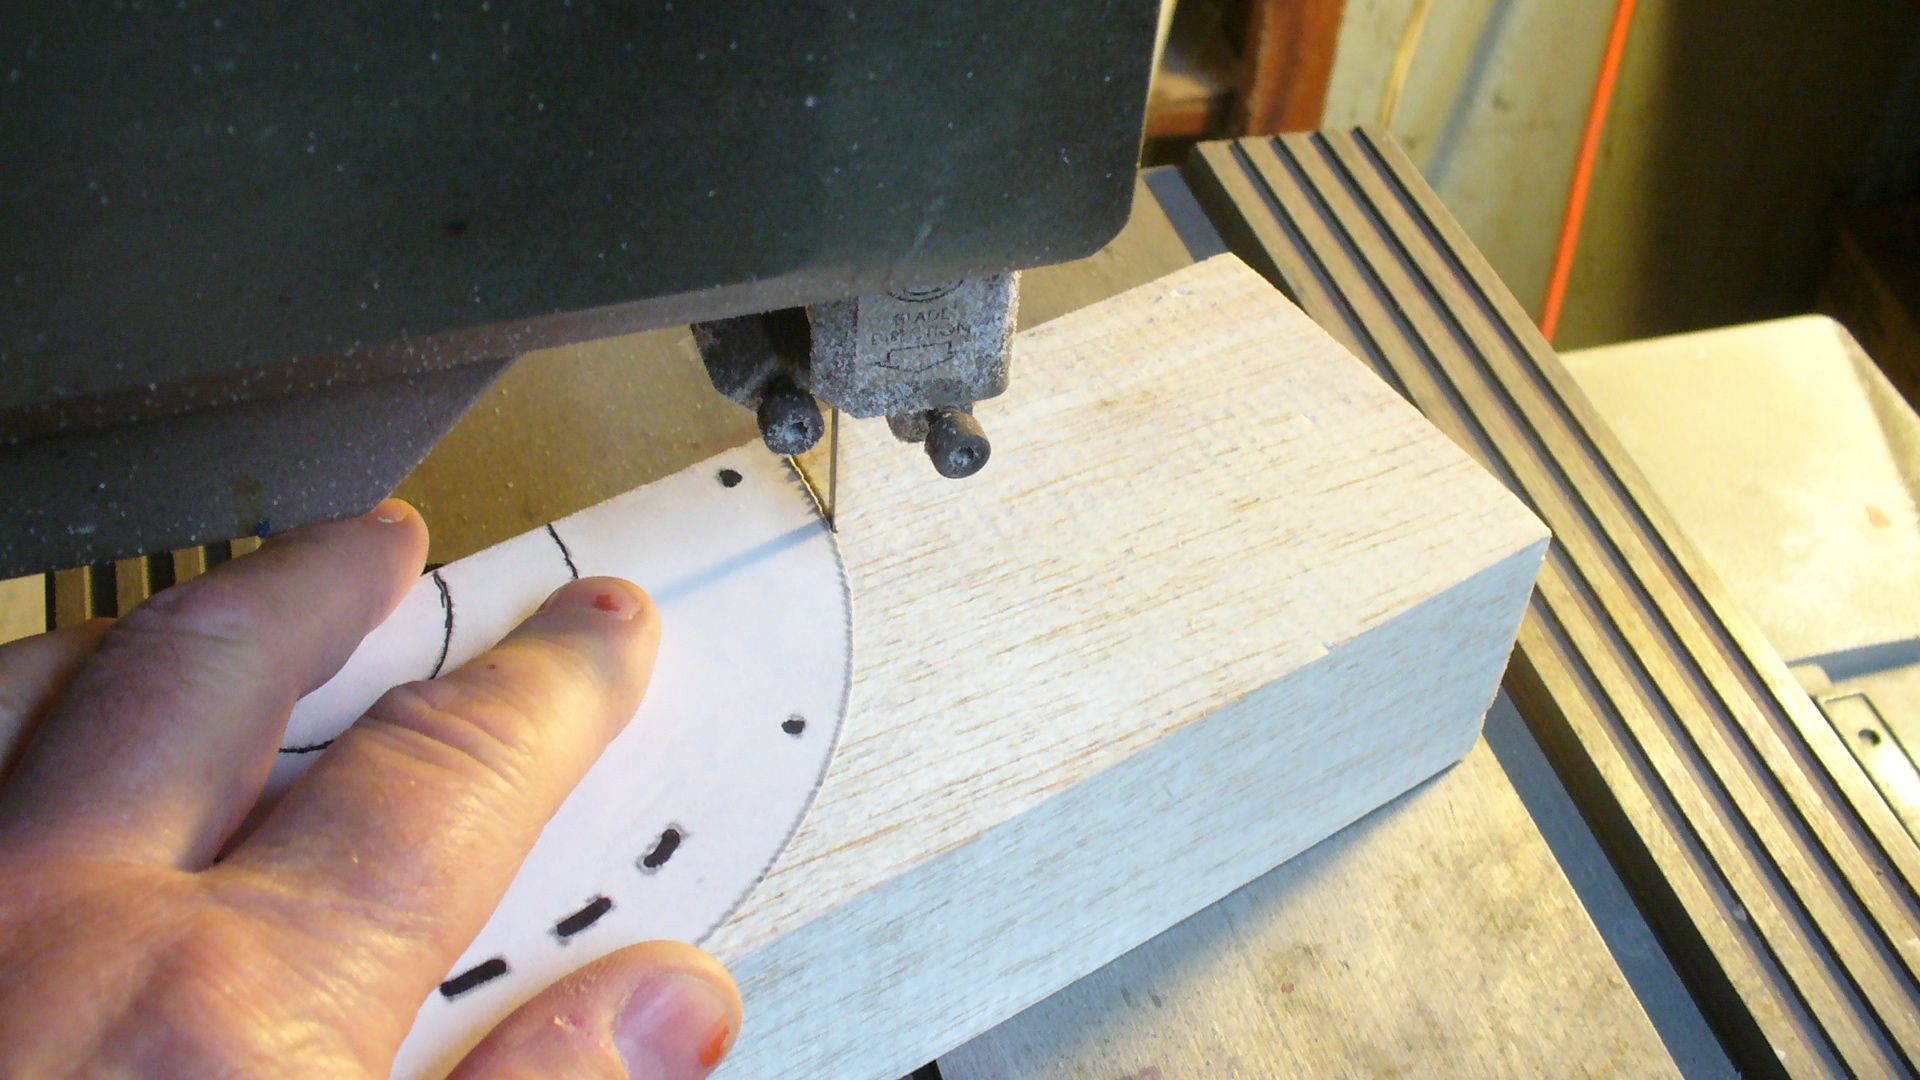
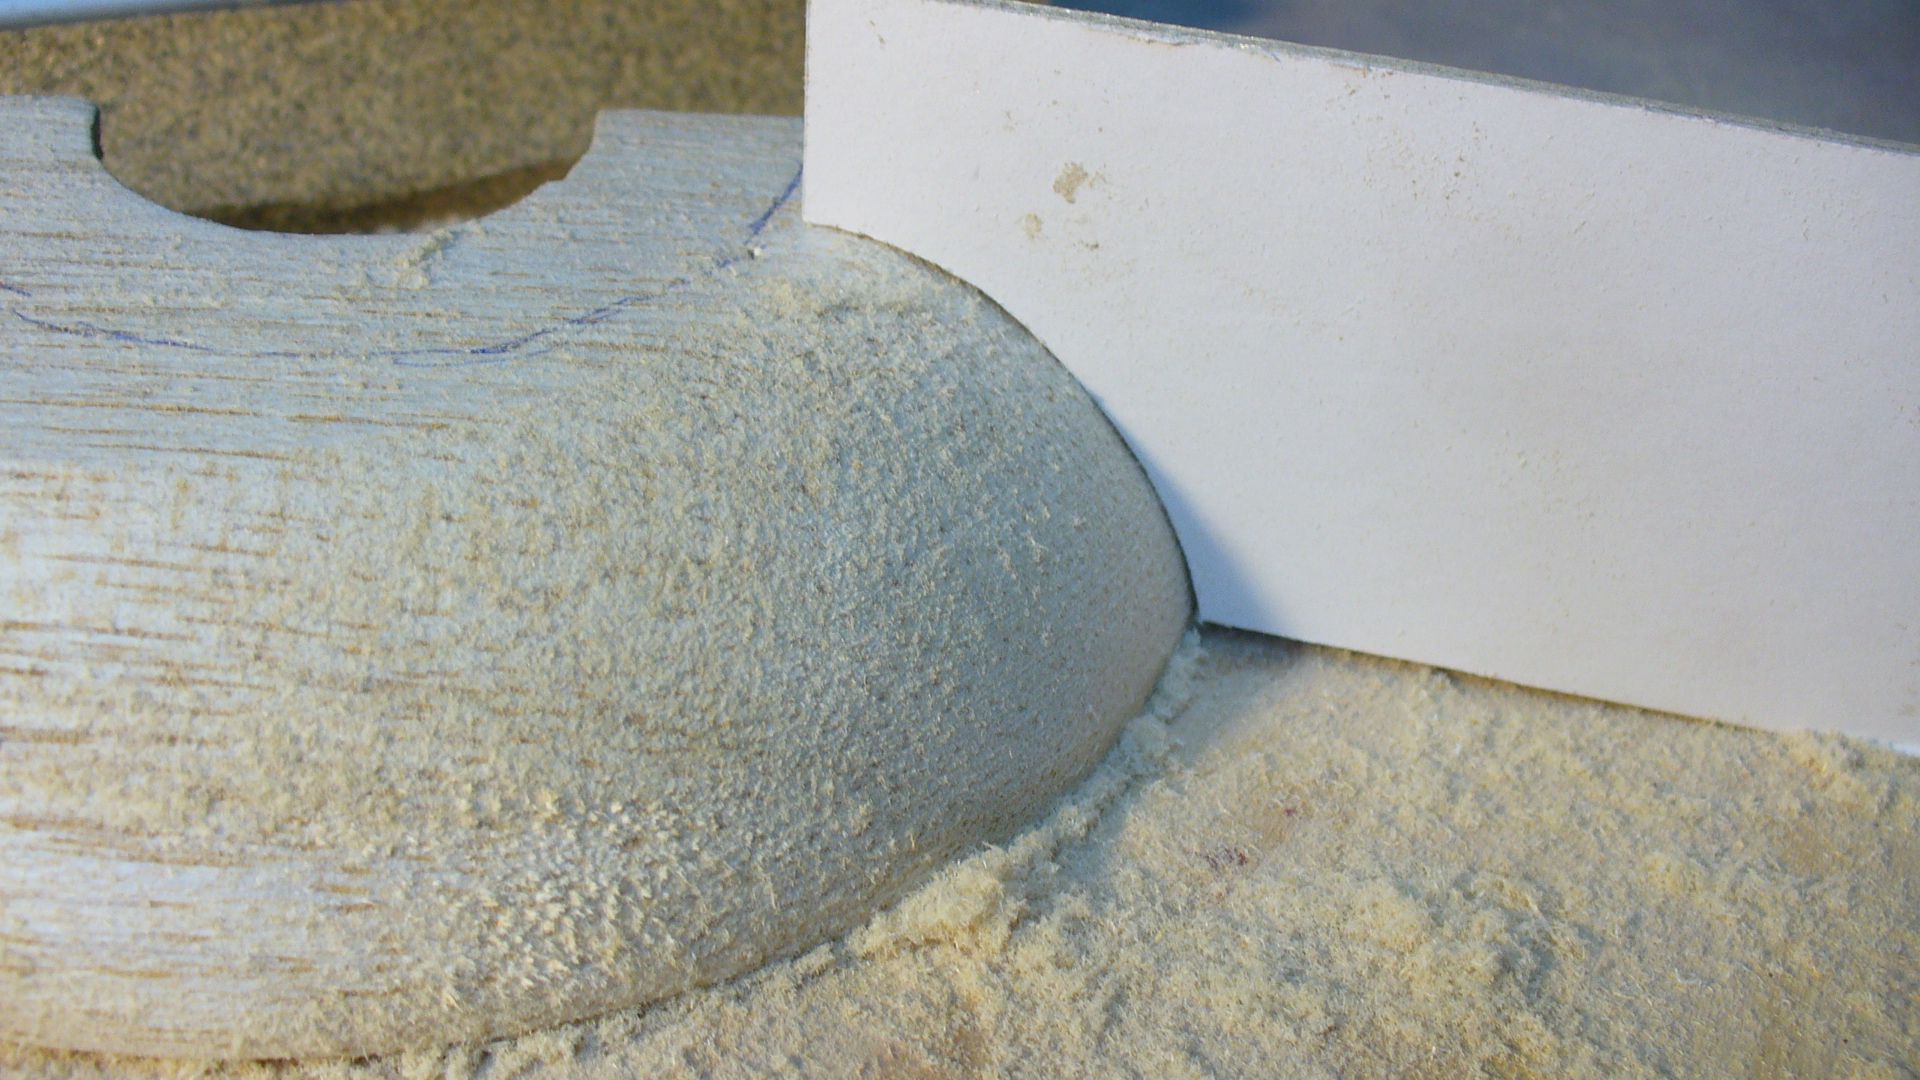
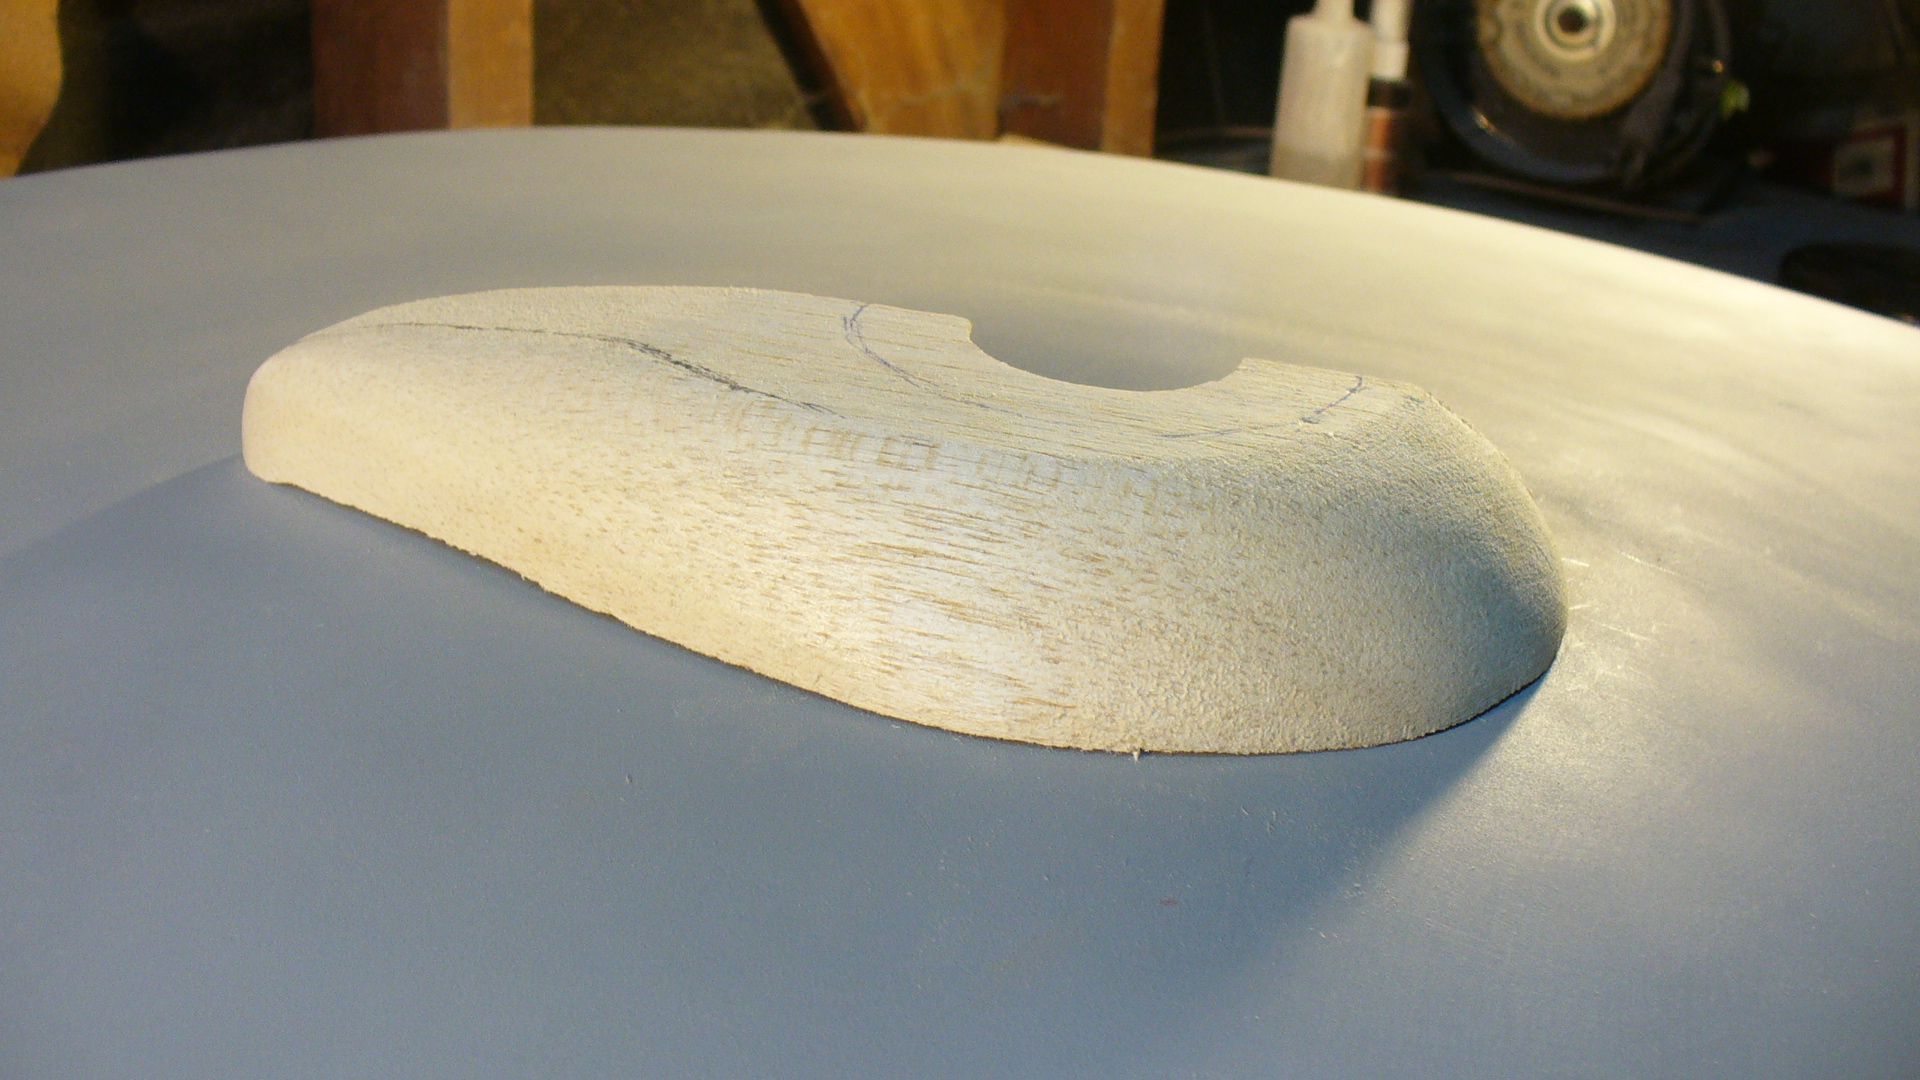
Using my plans I made a nice contour tool to check the shape. I used a band saw and a scroll saw to cut the bridge base using a top and side view. Then eye balling the original and using the contour tool gave it the basic shape. Time ran short tonight and I’ll finish the other side tomorrow. Hoping to get to the bridge itself too and the dome that I will later vacuum form.

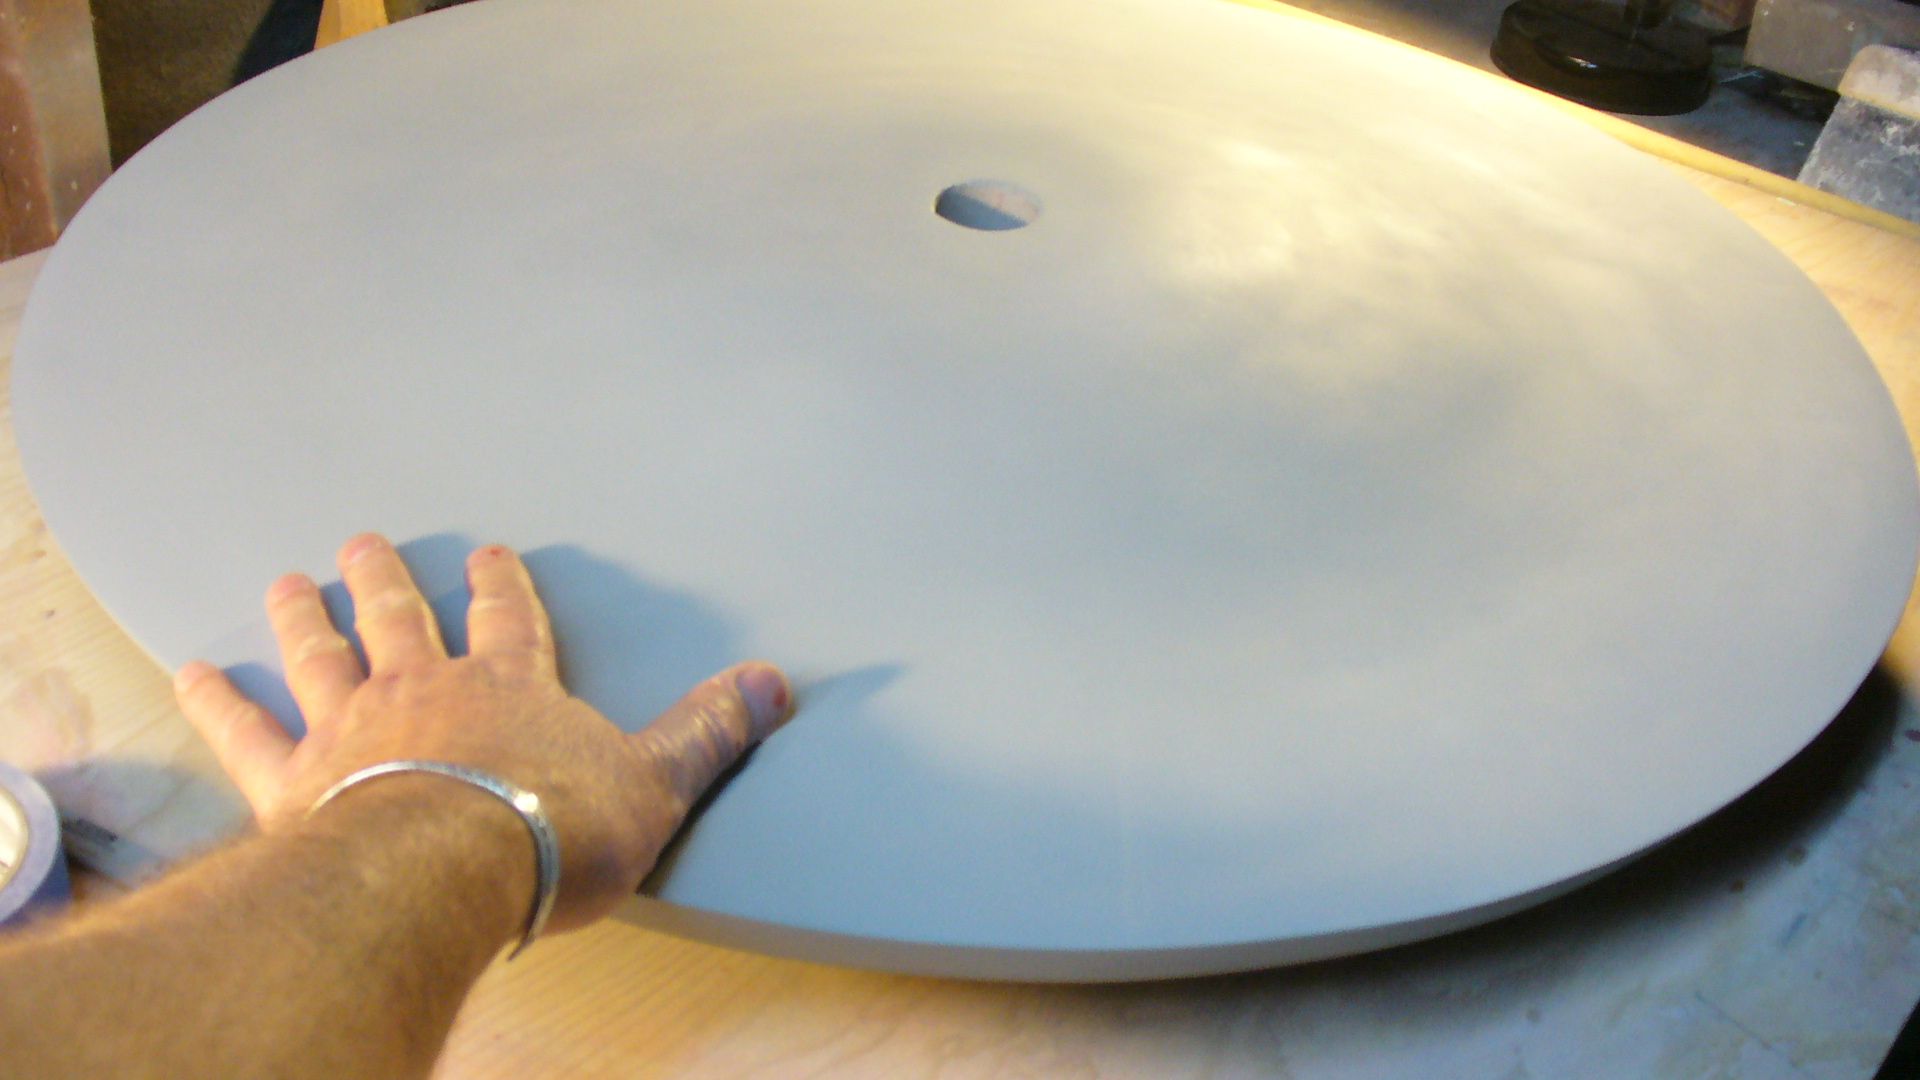
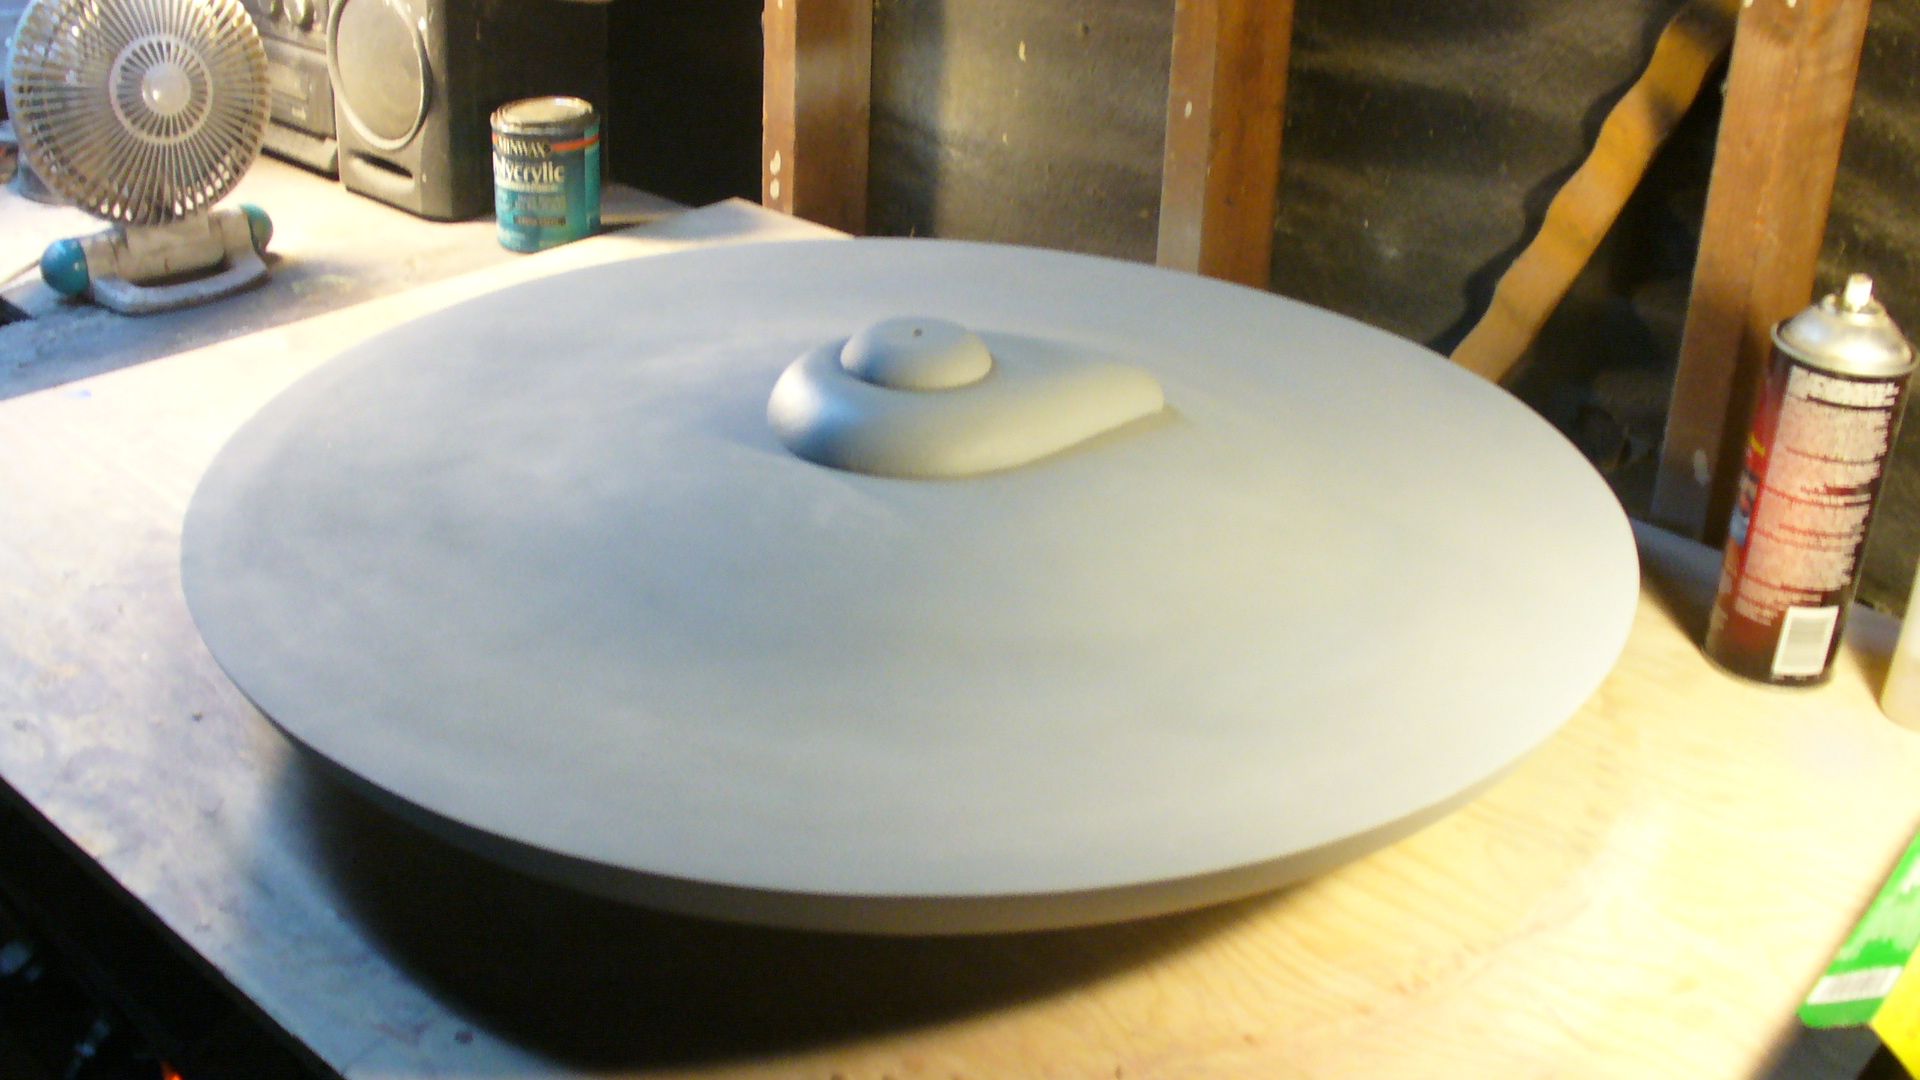
Here’s some pictures of the finished saucer hull and a hand for size reference. This is a nice big model!

Steve
P1050221.jpg


P1050225.jpg


P1050232.jpg


P1050235.jpg


P1050236.jpg


P1050240.jpg


P1050241.jpg


P1050242.jpg
 
That thing looks good enough to eat...very smooth on that hull and the bridge looks like alot of work but is turning out good so far as well.
Enjoying the show..you do great work.
How are you planning to do the secondary hull and the Nacelles?
Mobius
 
Wow! It's amazing seeing the process on this...I've already learned so much and I can't wait to see what comes next! Thanks for sharing!

Maybe I'm missing something...why is the bridge being made in half?
 
Thanks guys. Squirrel. Because they don't make balsa stock wide enough. So I make it in two pieces.

Well I'm off to get a new band saw blade and some more primer and back to the fun today. I'm hoping to see the entire bridge structure by the end of the day.

Thanks for all the support!

Steve
 
Hey Steve, I was wondering what happened to you, I've been looking for this thread on the studio scale forum where you started. DAMN!!!! This model is gonna be sooooo SWEET!! I'm already deciding what to sell in order to buy one of these beauties!! Am watching this progress intensely!
 
Fantamation thanks. And I'm all so impressed with Kong. My background is a creature maker and make-up effects artist. And I worked a lot with Randy Cook and Dave Allen. Good friends with Bob Burns. They would be impressed too. Your work doesn't get any better. Right on the button.

Thanks Micdavis.

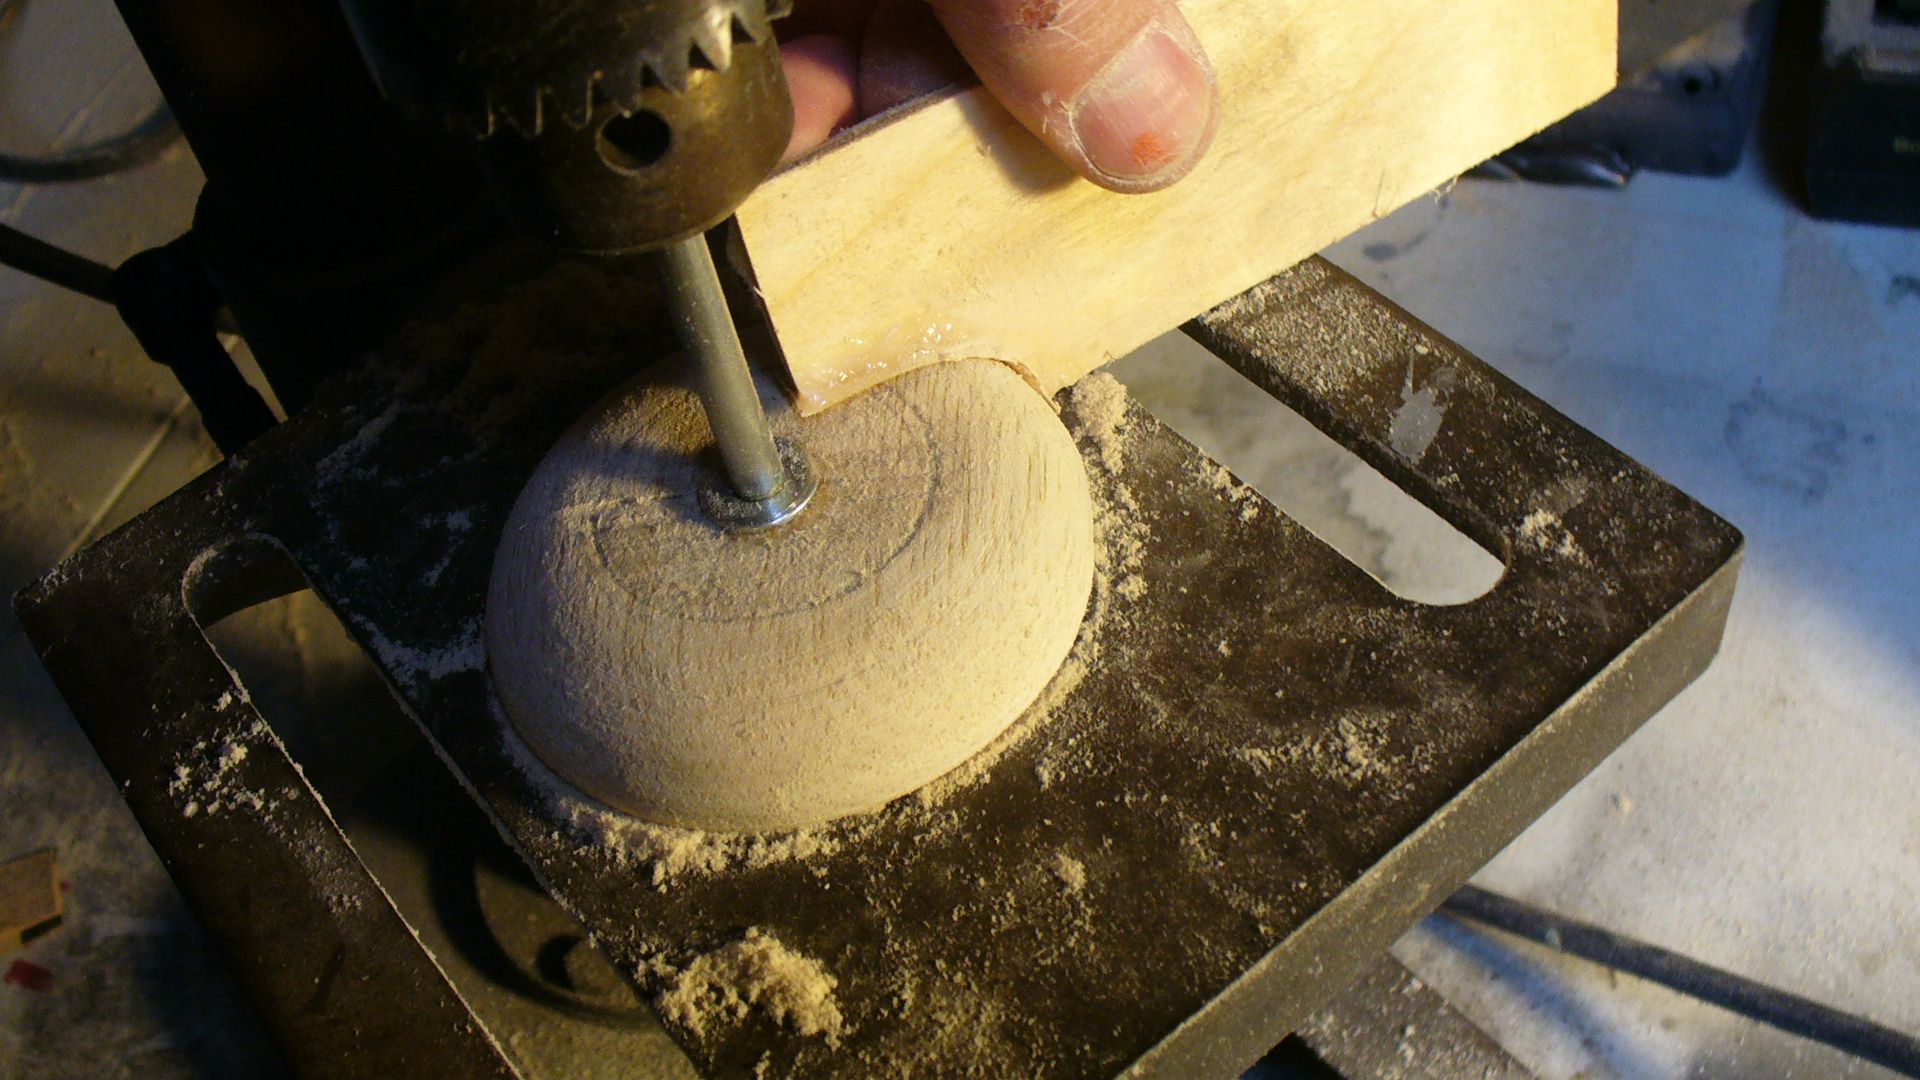
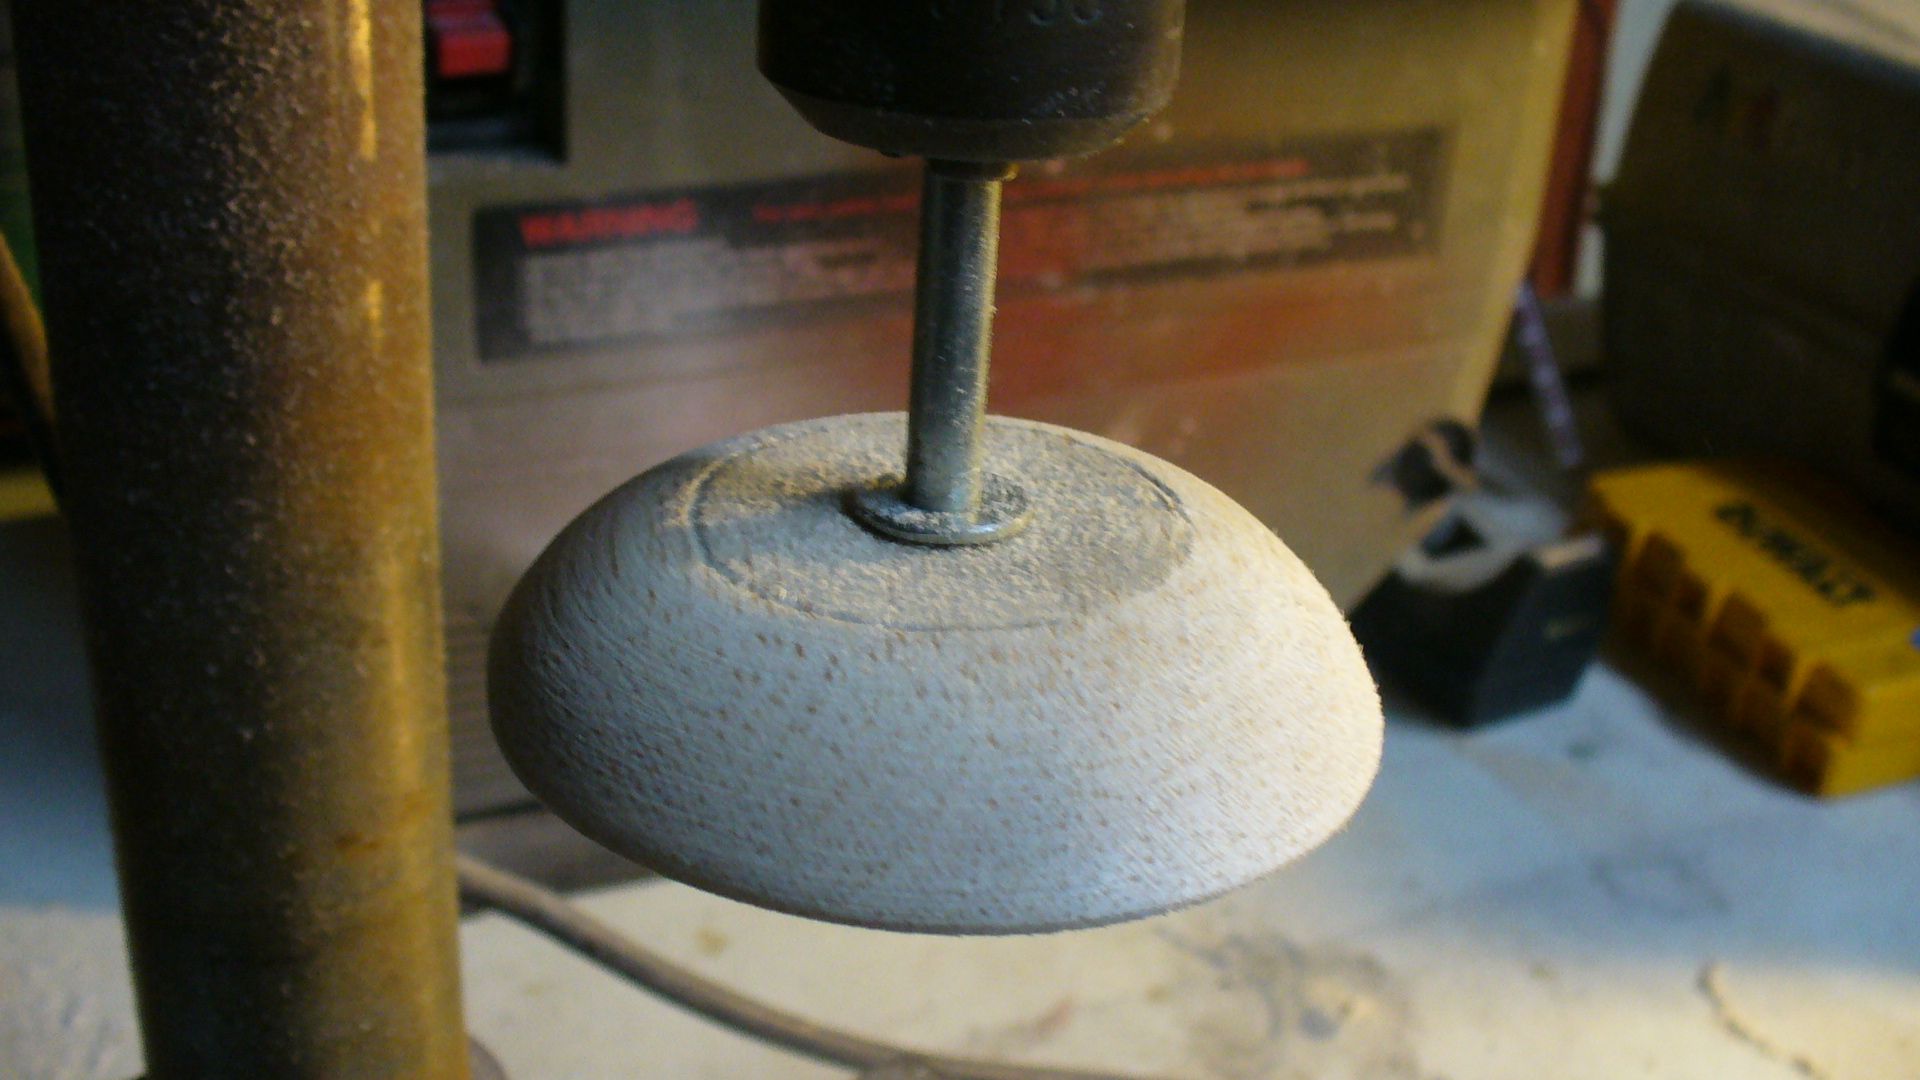
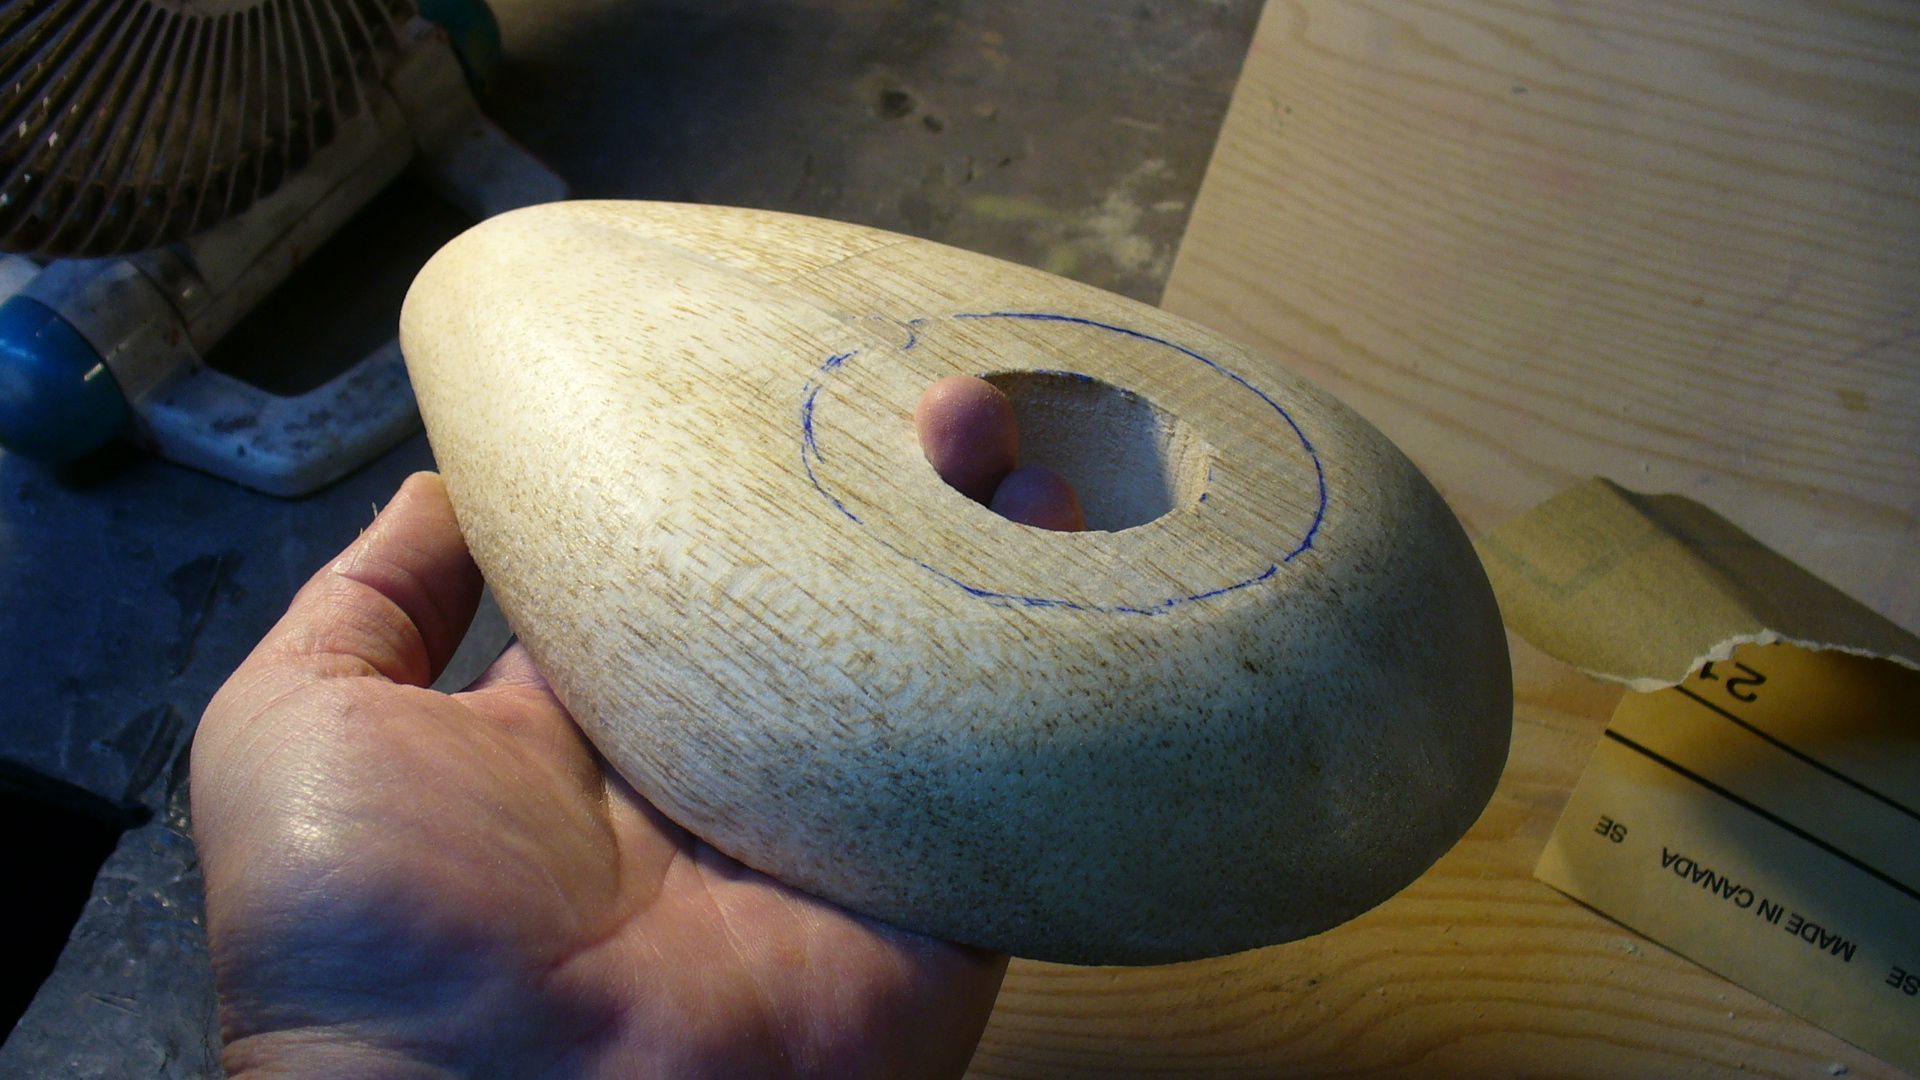
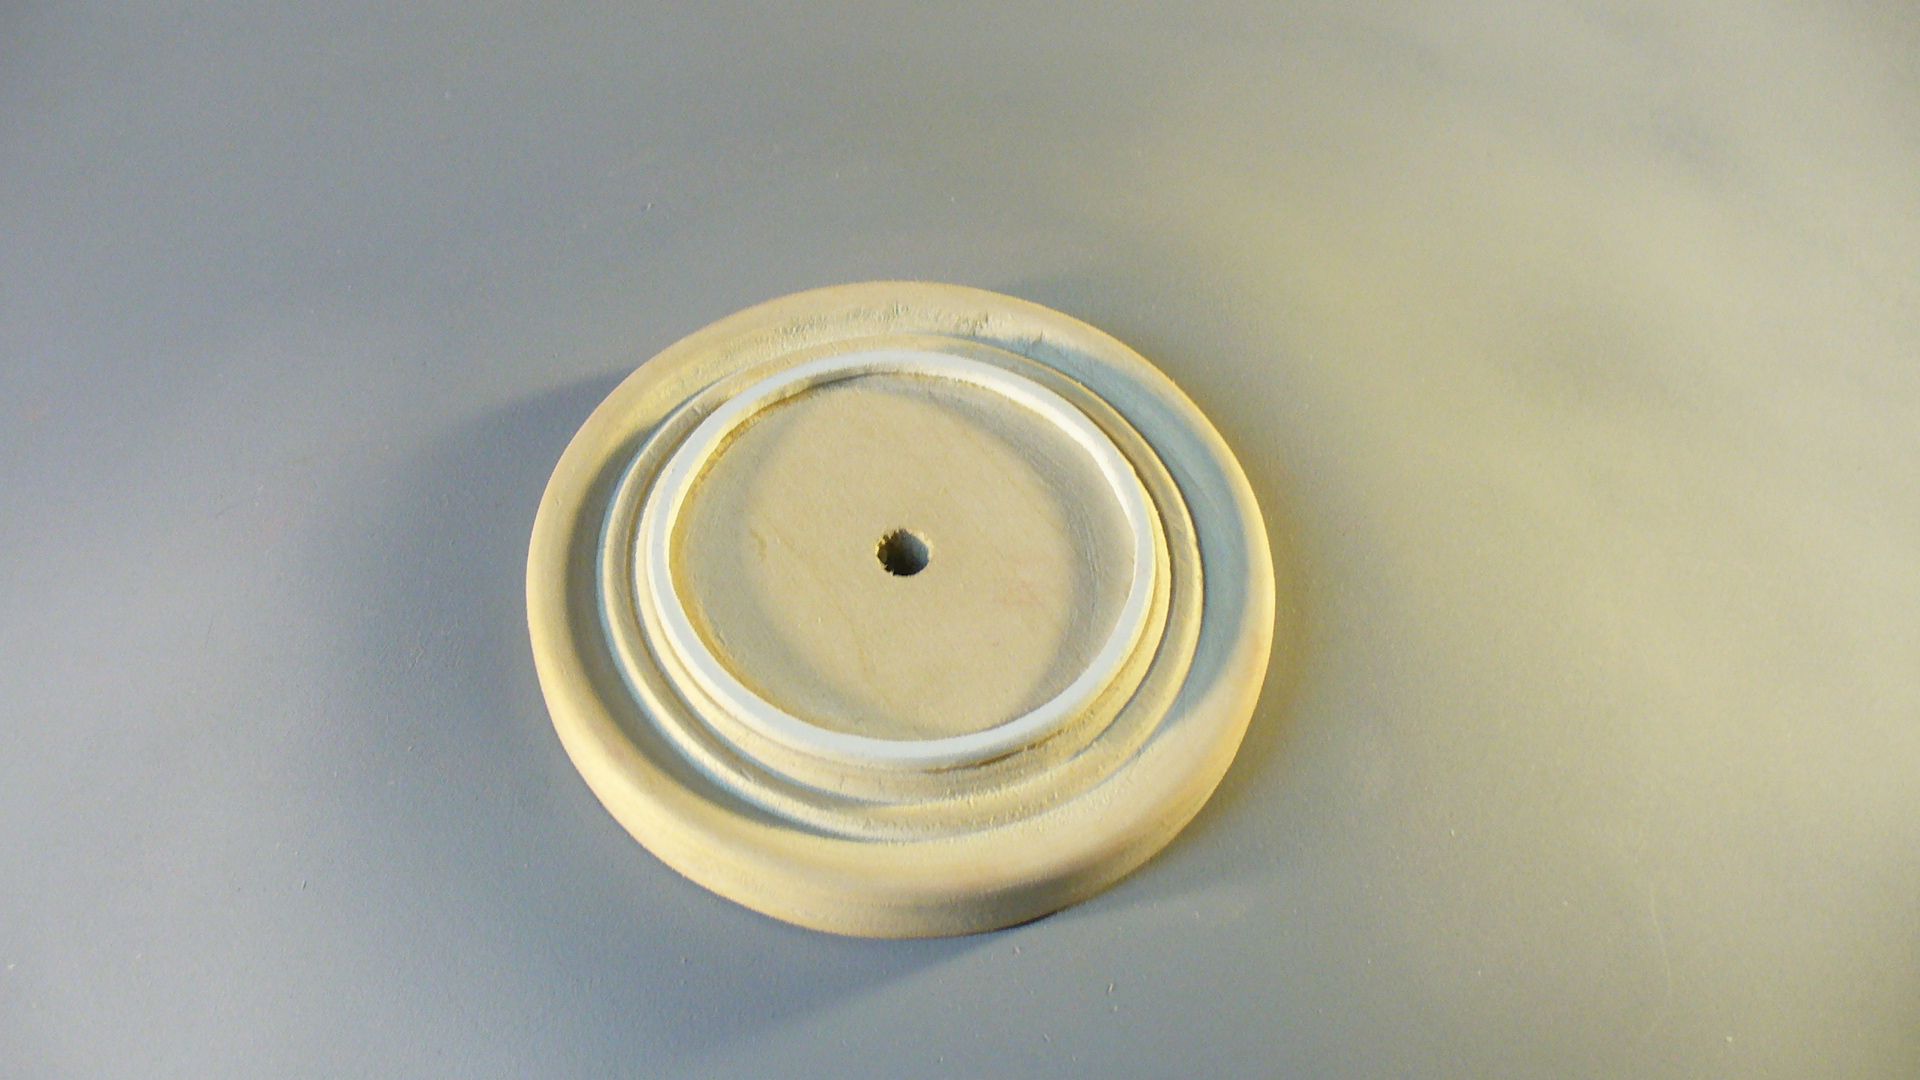
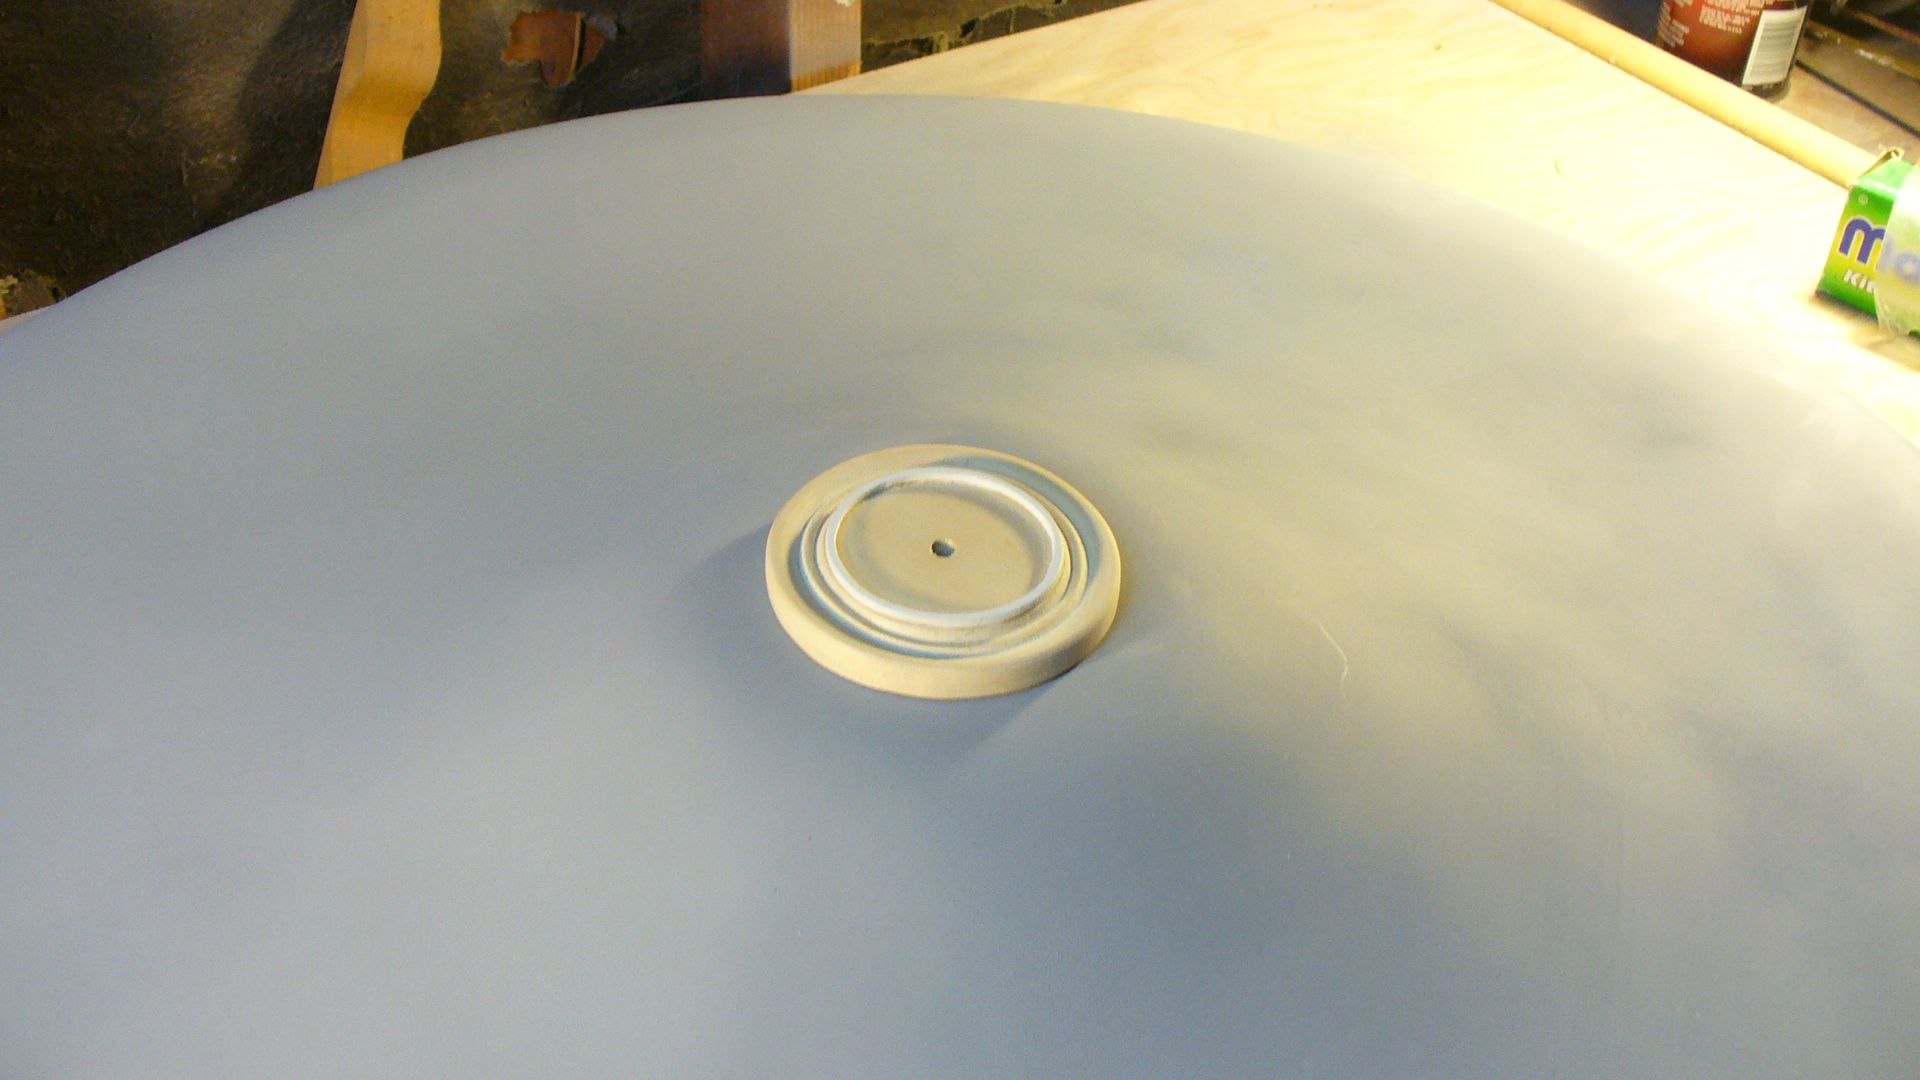
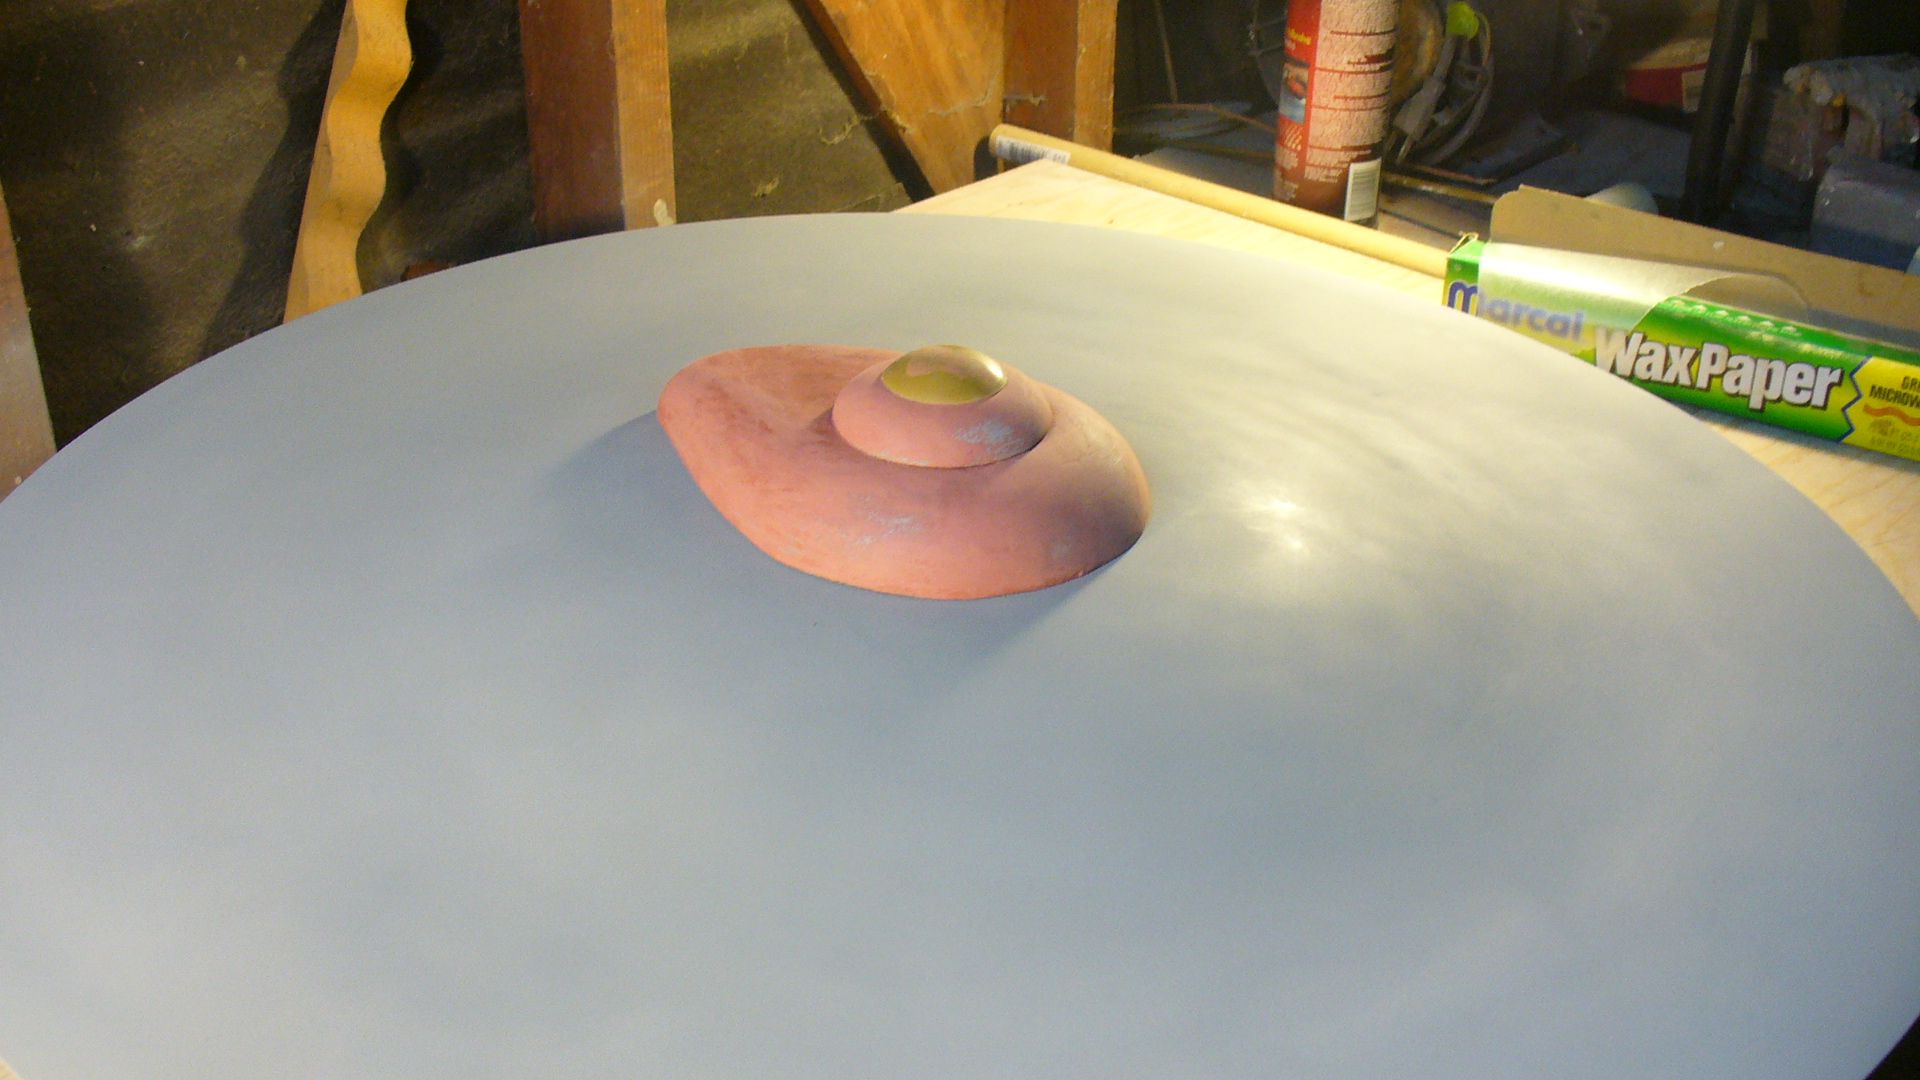
Today I got the bridge all shaped up. The actual bridge shape was made using my drill press as a lathe of sorts. My lathe is too small for this large model so you got to inventive. It worked well.

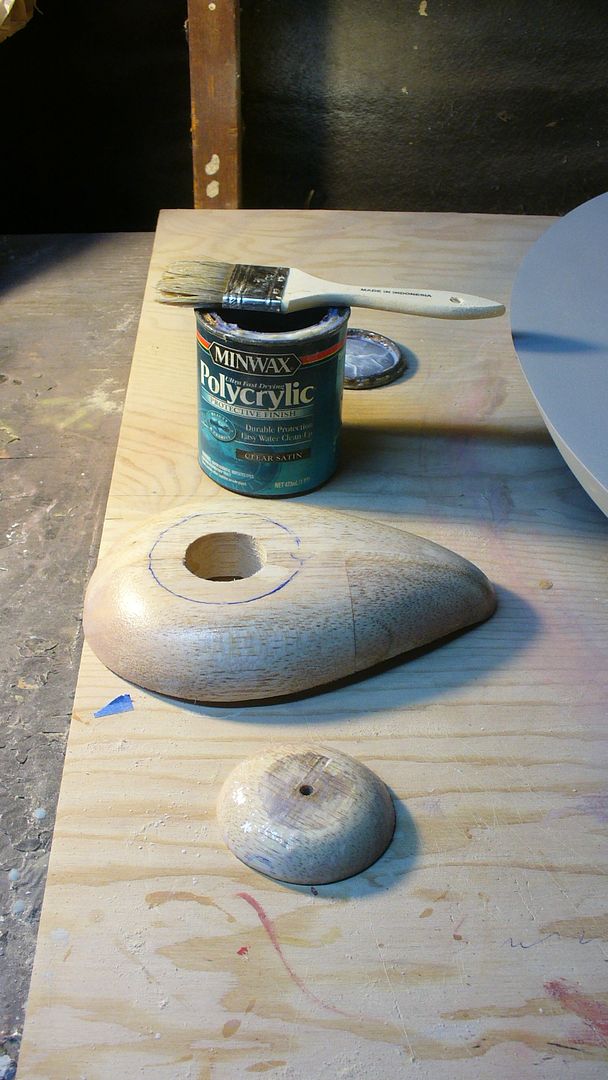
Then I basic sanded the shapes and sealed them with water based Polycrylic floor sealer. Great stuff. Dries fast and seals the wood well enough to apply primer and red putty. It will all need to sit over night and I'll sand it smooth tomorrow and add many coats of primer.

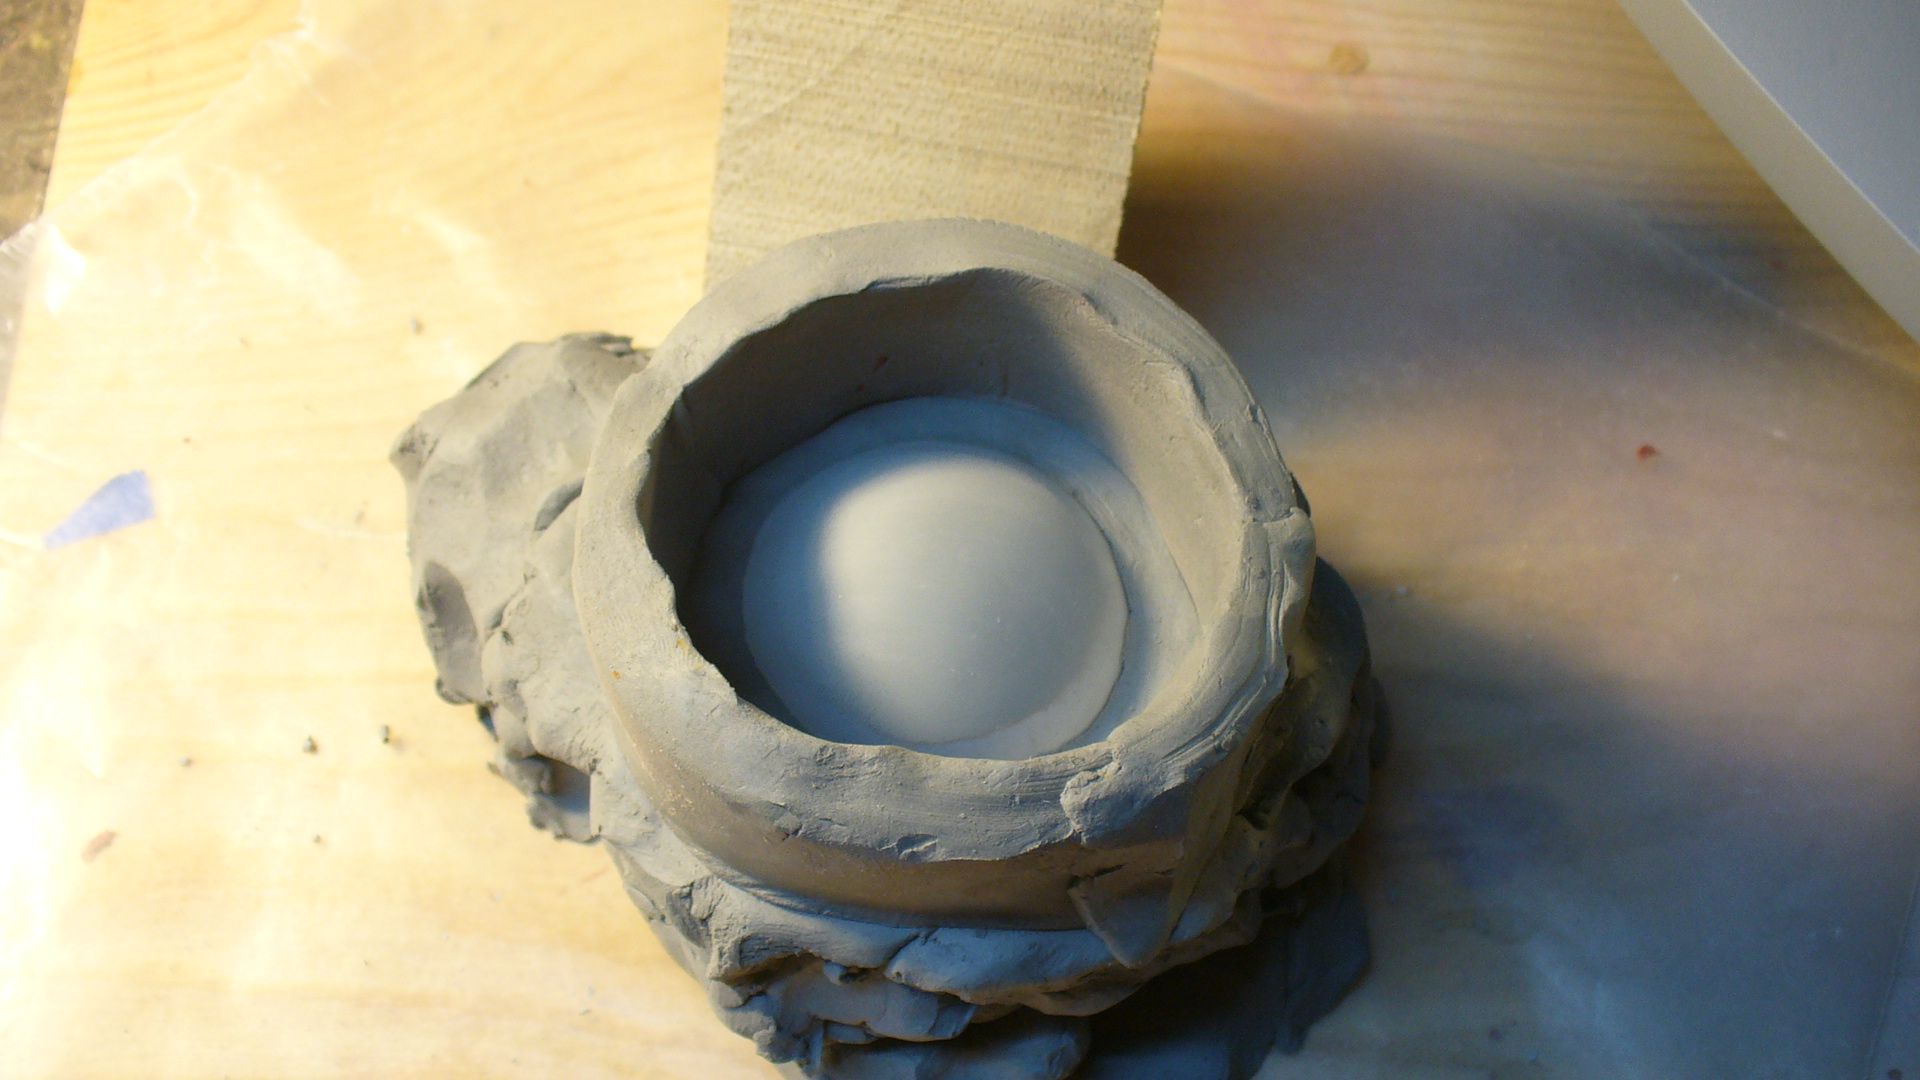
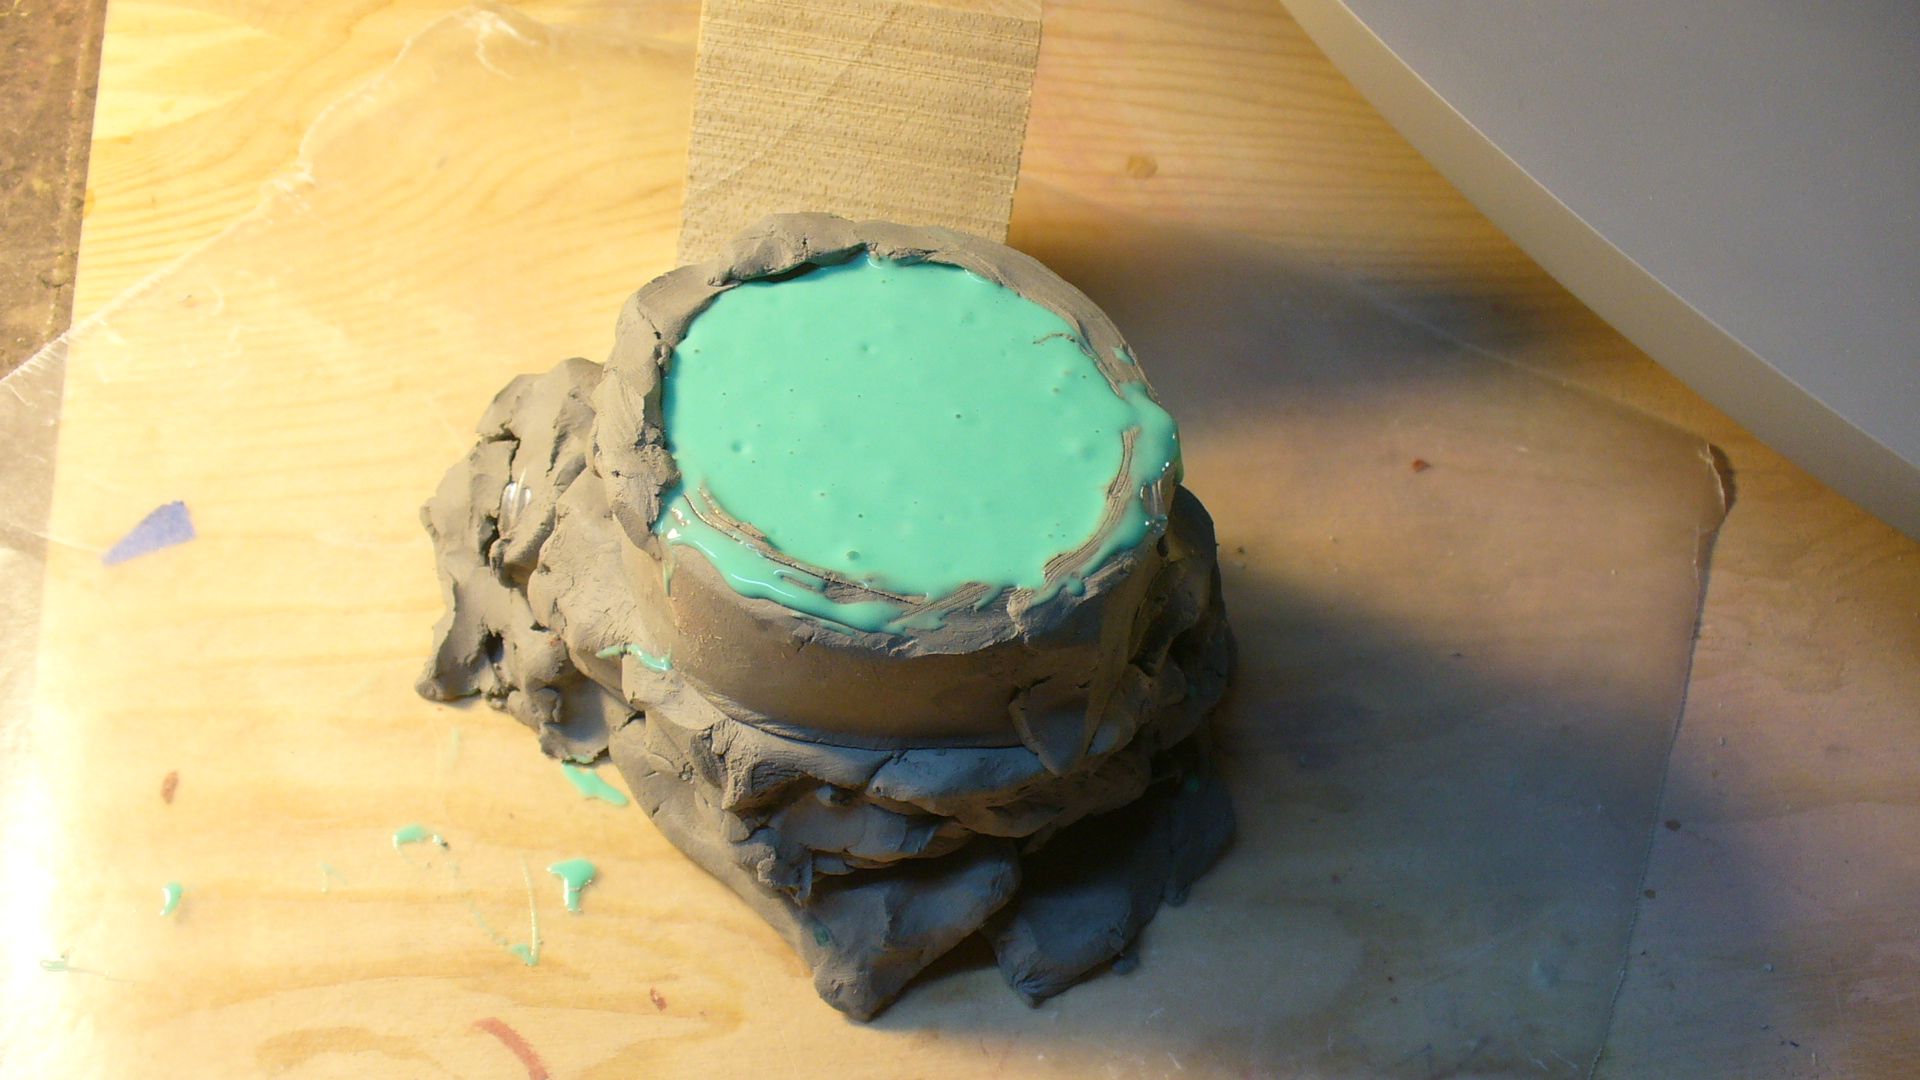
For the domes I found a light bulb matched my plans so I pulled a quickie silicone mold off the shape that I can use to cast up tool stone shapes from to later vacuum form. And I can run Alumilite in them to so I have some to add to the masters to see how it's all going to look.

I used EM 210 wet clay for the layup.

Tomorrow I'll be moving on to that ring on the bottom that holds the lower dome. More lathe work on the drill press and with any luck I'll get to the impulse engines.

Steve

P1050245.jpg


P1050249.jpg


P1050252.jpg


P1050250.jpg


P1050256.jpg


P1050260.jpg


P1050262.jpg


P1050263.jpg
 
Last edited:
"By god, that's a big ship!"

My geek meter just pegged seeing the pic of the bridge module in place.

CGI is nice and all, and certainly has it's place, but there is nothing, and I mean NOTHING that compares with a ship built by hand by an artist like you.

Waiting for updates like this is like being a kid on Christmas morning waiting to open up the next present! :)
 
25 years - that's how long it would take me to figure out how to come up with those shapes, what materials to use, and finally build it. You just get right onto it while I spend my time imagining. And you make it all look so easy - especially shaping the wood - which seems to be the fastest way to build those curved shapes than using styrene pizza slices. Is there a drawback to the material - my imagination takes me to how old wooden floors creak at night and distort to changes in humidity. Does that mean that as long as it's sealed, there's absolutely nothing to worry about and that it should last indefinitely? And are you using other kind besides balsa? I'm thinking about using it on my Falcon cockpit tunnel if I could find a big enough chunk from the craft store. You are terrifyingly skilled, by the way - a McGyver of sorts.
 
You guys are making me blush! Geeeessss. Thanks a bunch.

OK. I do CGI too but I agree with you 100 %. Welcome To My Website

Big models still look the best in movie and there are talented directors both young and old that still know this. I say some. ;)

As for the wood. Wood is fine. Will last forever if treated correctly. But in my case I'm only using it for masters to make molds from. Once I have the molds all the parts for the actual models will be made from epoxy glass and Alumilite resin. That does last forever.

The pie sheeting you saw was Depron foam sheet and is only used to get the shape before it's epoxy glassed and then finished for molding. But you could make a one off model this way and it will last too.

As always thanks for the kind replies and support. Don't dream just go out there and do it. I don't think you need me to tell you you'll thank yourself for it. Life is too darn short. Make your dreams come true.

Steve
 
These are techniques that I have not even thought of doing, which is awesome. If I were to ever embark on something like this, I'm sure I would have to restart it several times because of trial and error. Your process is so smooth and effective and is really motivational for those of us that wanted to do something like this but really didn't know how.

Thanks again for doing this and especially sharing your process.
 
Thanks a bunch you are so welcome.

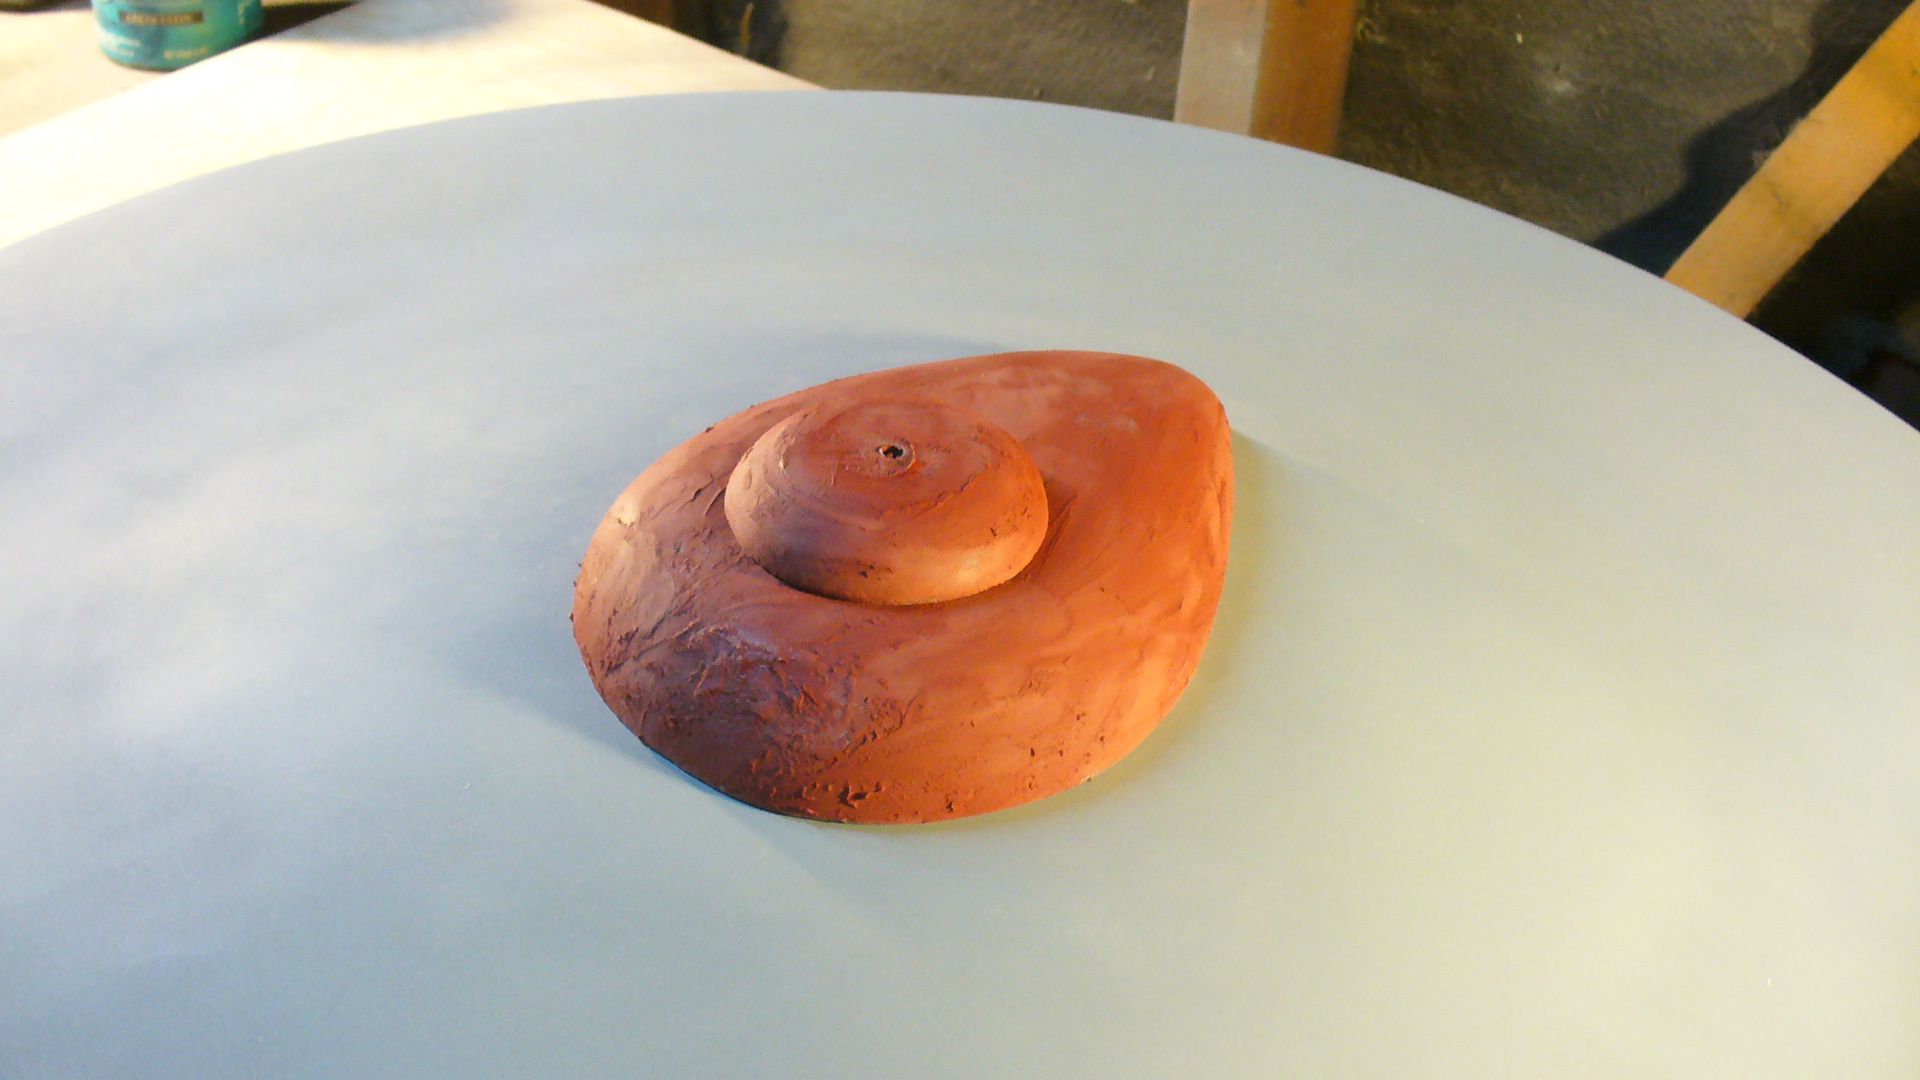
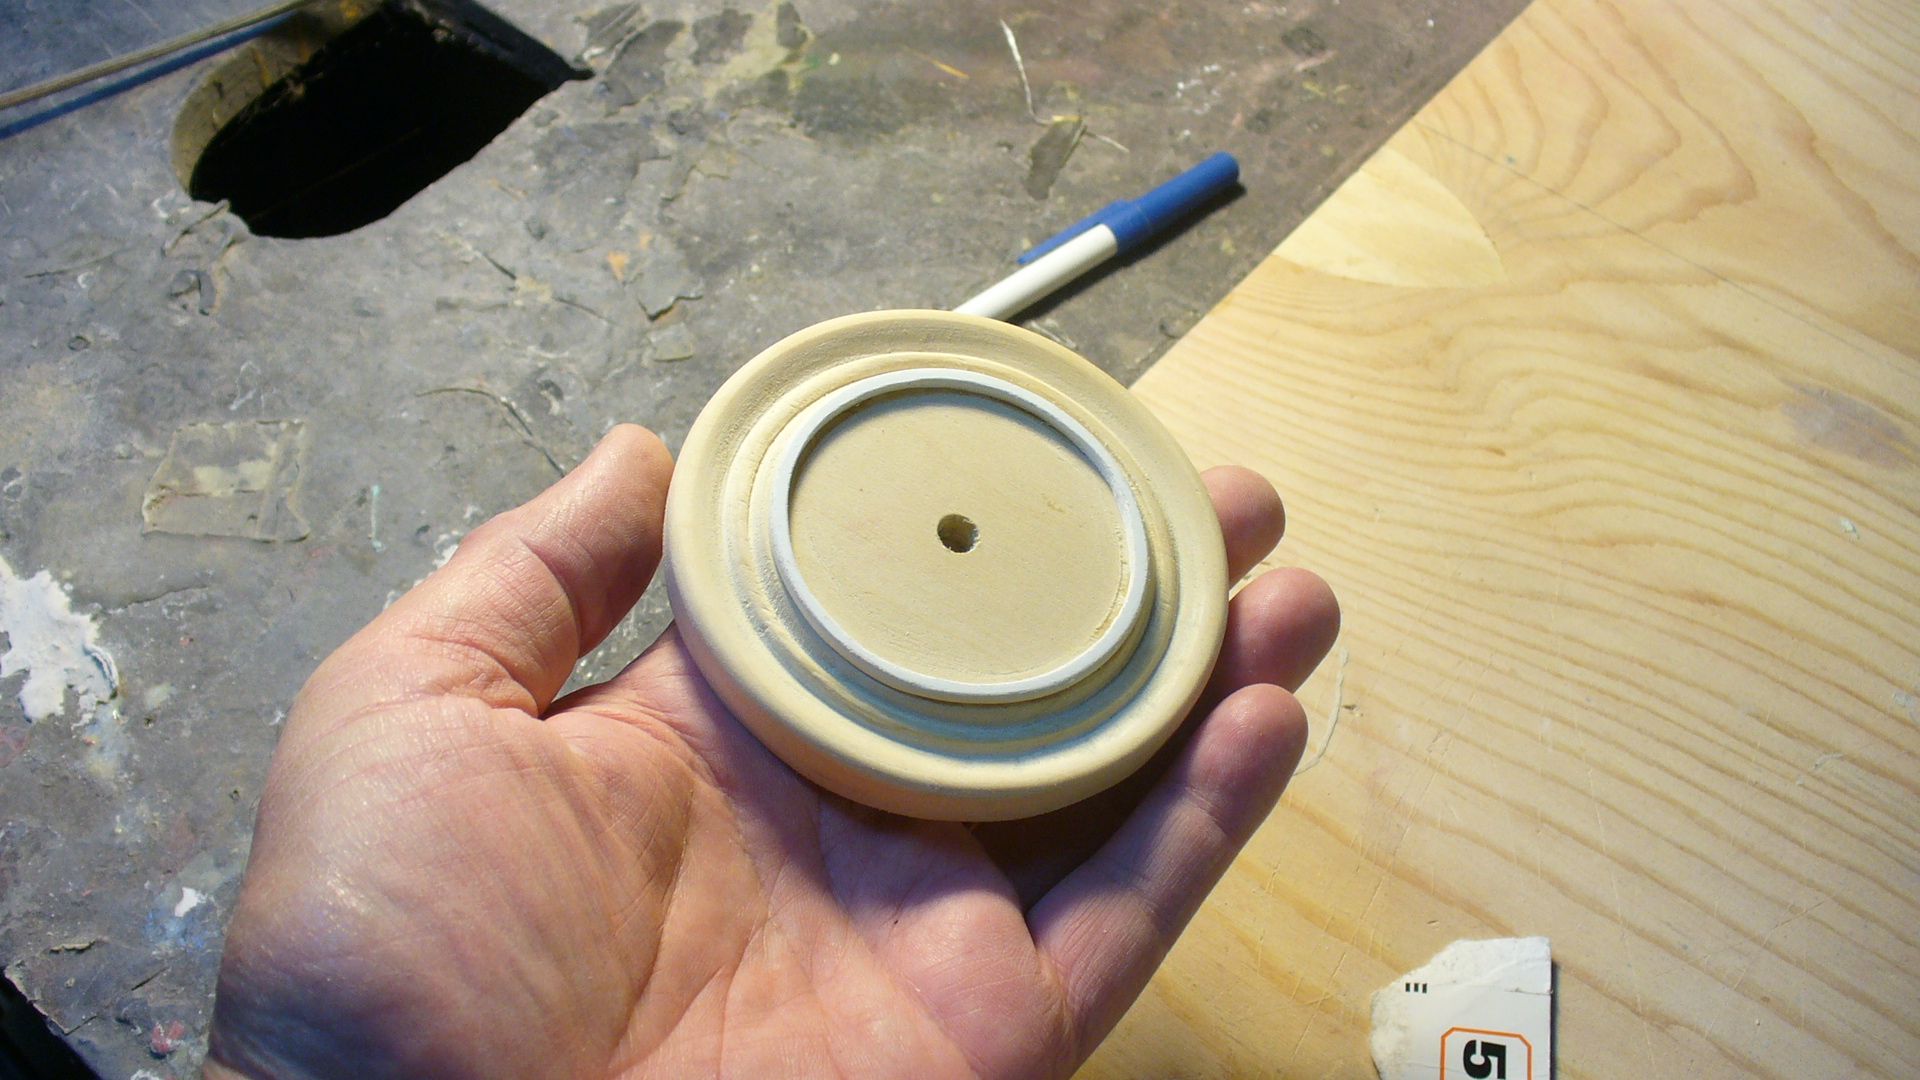
Today I went through that trial and error. With that darn part that holds the dome on the bottom of the saucer. Balsa didn't work the first time so I got some Basswood and that fixed it. Got it the second time. Took me all day. But a short day with other things to do around the house.

Now I can work on to the impulse engines! That should be a bit easier.

I used the drill press lathe again. I really must get a new, larger lathe.

Also tomorrow I hope to get all the saucer parts sanded and smoothed. After that it's scribe the parts time with windows and light locations.

Steve

P1050269.jpg


P1050271.jpg


P1050268.jpg


P1050266.jpg
 
Steve,
Looking BE-YOU-TEE-FUL

one question, if I may.
How did you shape the bottom of the B/C deck part to the contour of the top of the saucer?
 
Status
Not open for further replies.
Back
Top