So here's a small assembly guide for the Trigun Long Colt. It's a pretty easy gun to assemble, only the locking hinge might confuse some people.
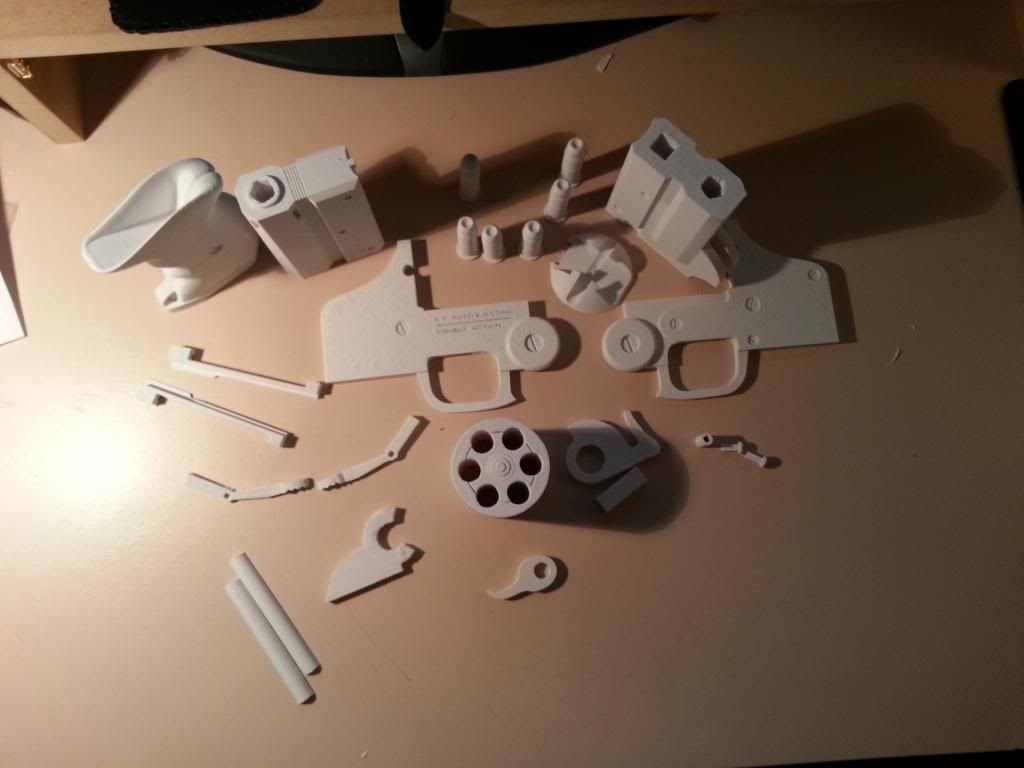
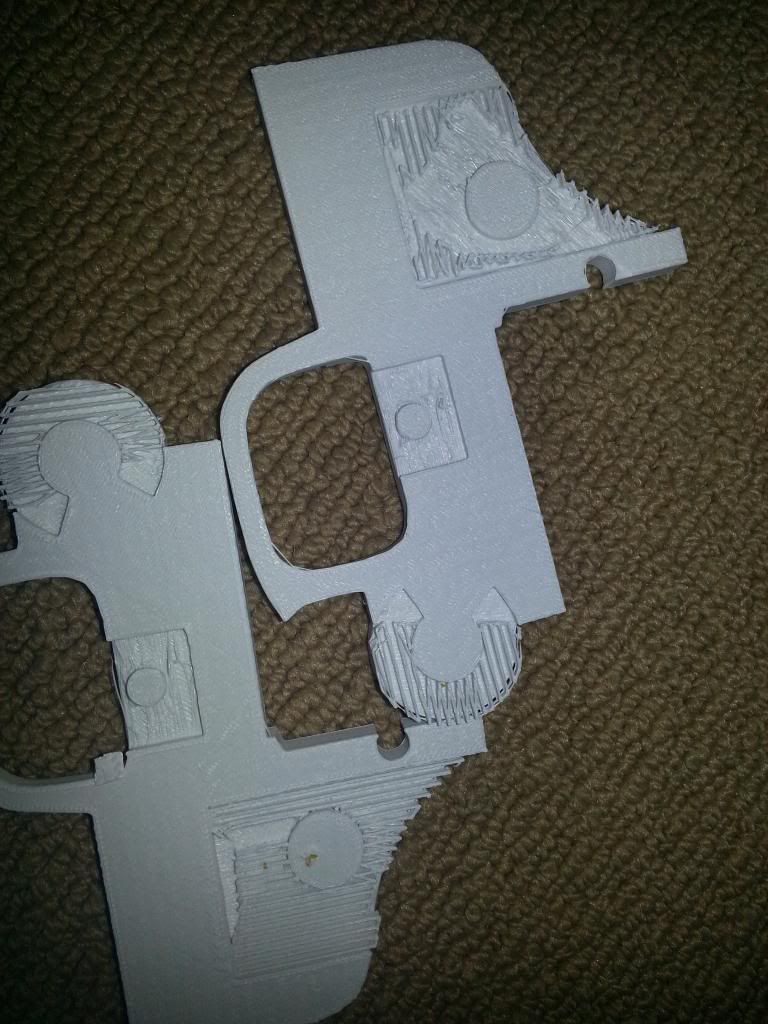
1) Make sure you spend time removing any support pieces or extra bits of plastic. I'd also recommend doing the bulk of your sanding now. The pieces are easier to sand apart. I like 80 grit (or a roofing shingle:lol) just to take the 1st bit off. Then I go to some 150 and then finish with 220. Make sure the inner voids are real smooth for the trigger, hinge and hammer to slide.
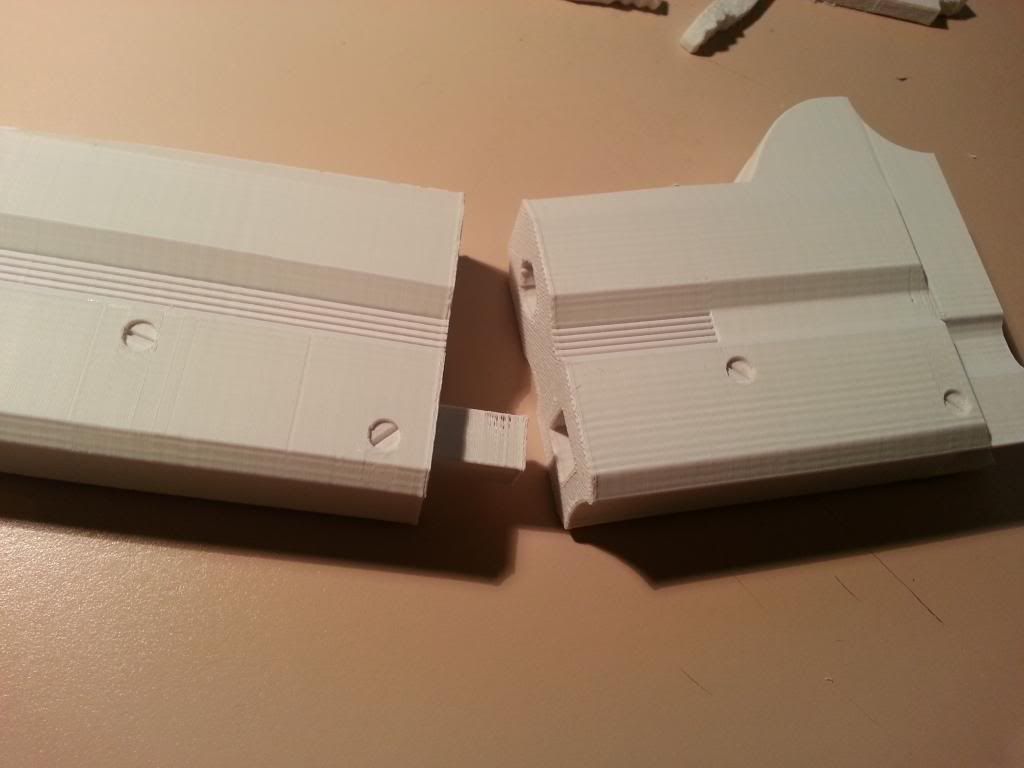
2) I'd start by assembling and gluing the 2 barrel pieces together 1st. Use the peg to align and strengthen:
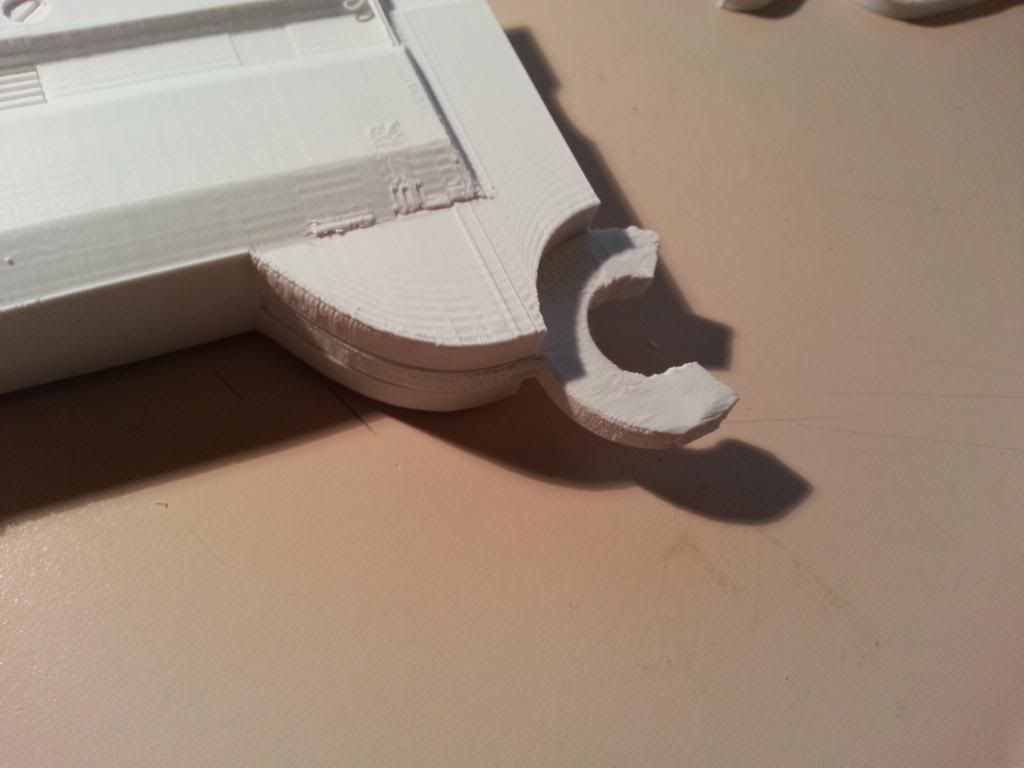
3) insert the hinge into the barrel and glue it like crazy:
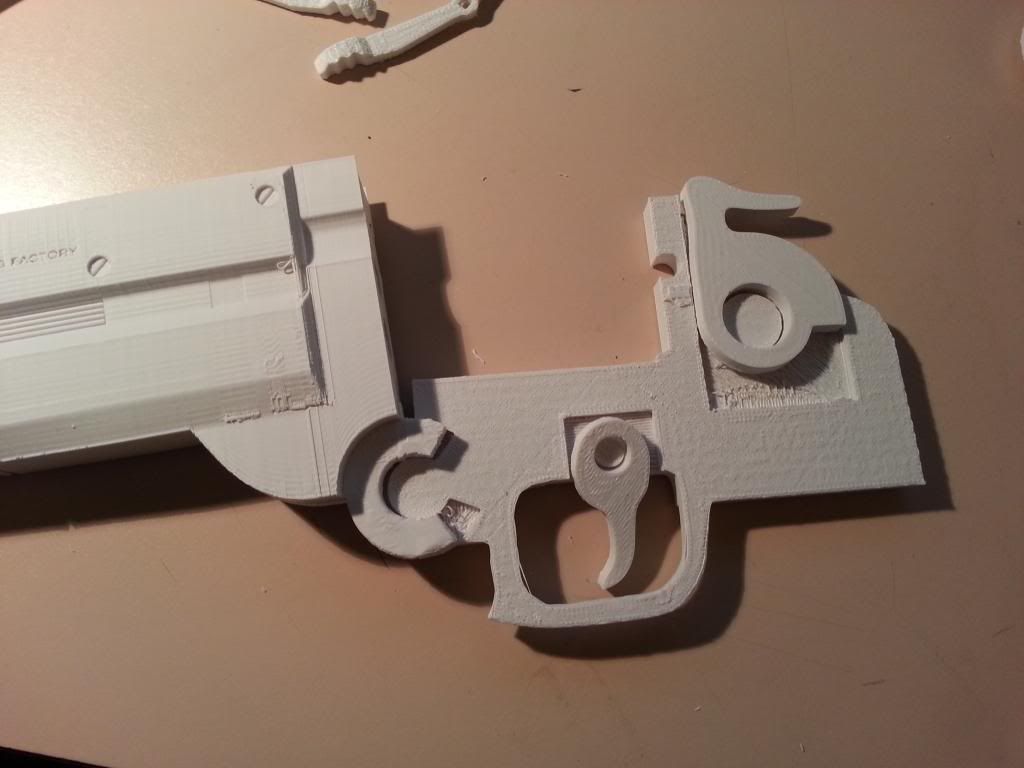
4) Place the trigger and hammer and hinge into 1 half of the body, apply glue liberally around body and sandwich the top half of the bosy on, locking those 3 pieces in place.
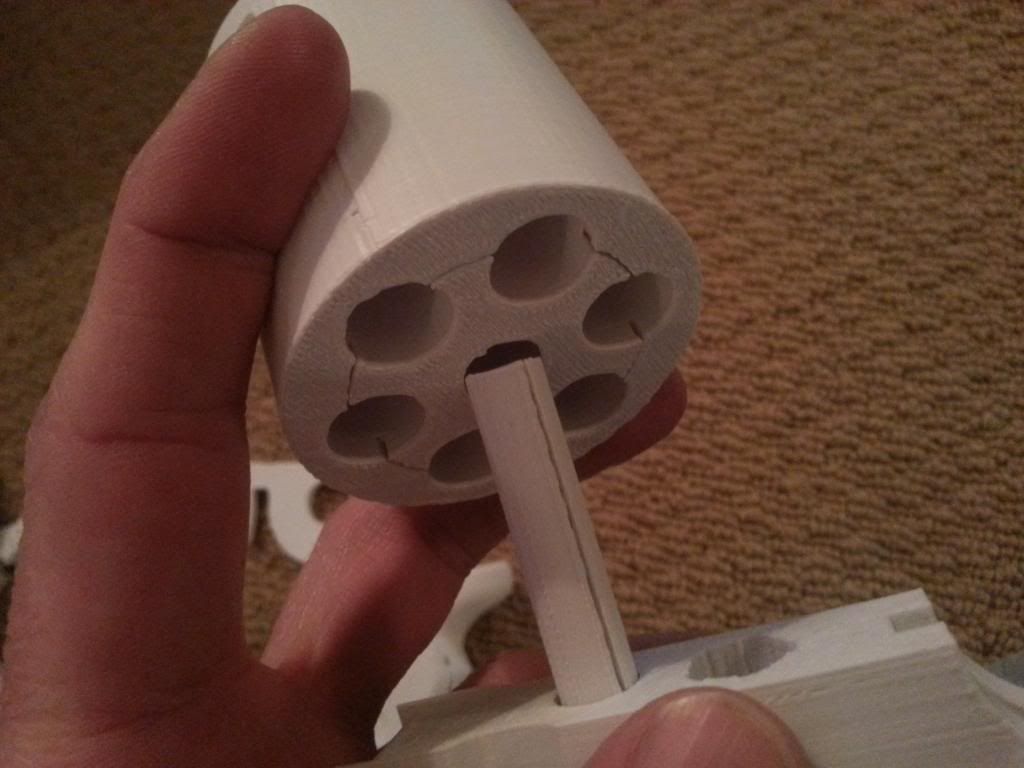
5) Glue the 2 long cylinder pieces together and insert into the end of the barrel, slide the cylinder on:
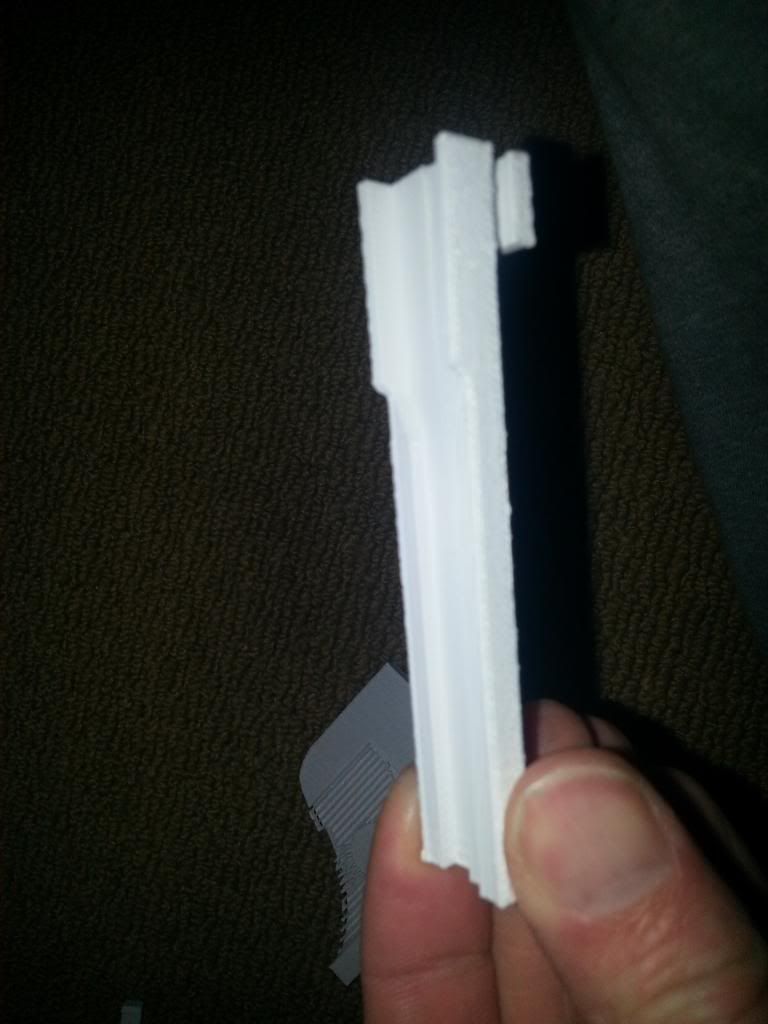
6) Glue the 2 site rails together and glue into the top of the barrel:

7) Now the tough part (for me to explain), insert the small keyed cylinder into the void at the back of the body (where the cylinder closes). Then insert the two unlocking levers into that keyed cylinder (they may need to be shaved down a bit). Glue the unlocking levers into the cylinder, but DO NOT glue the cylinder into the void, it needs to rotate:
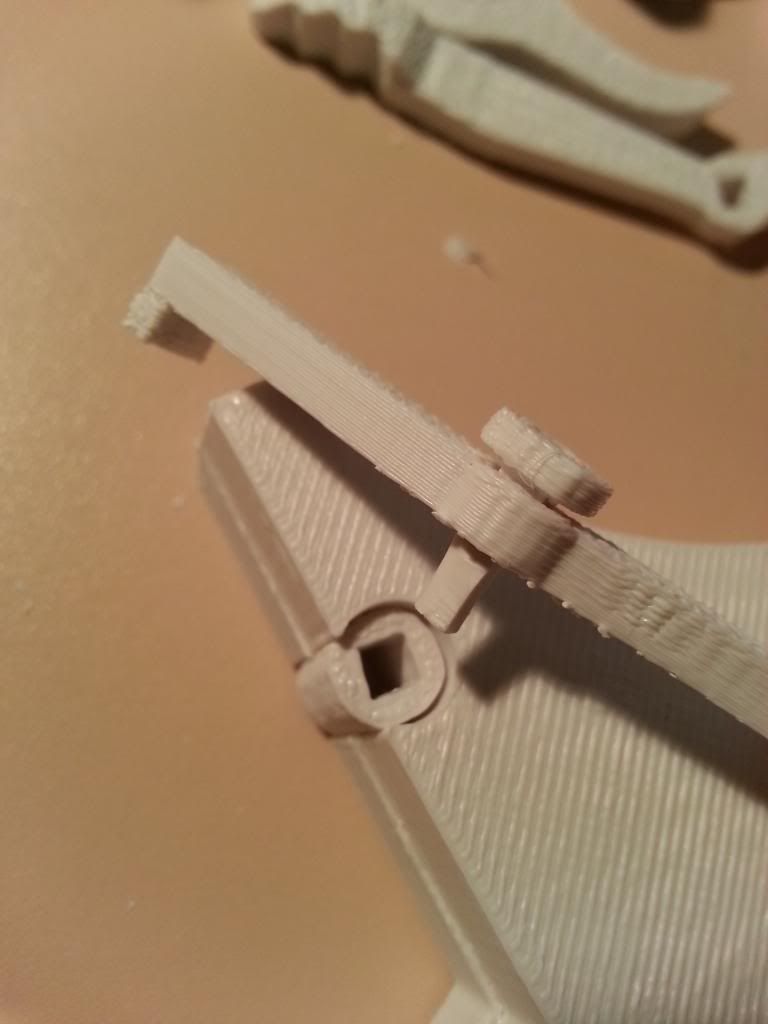
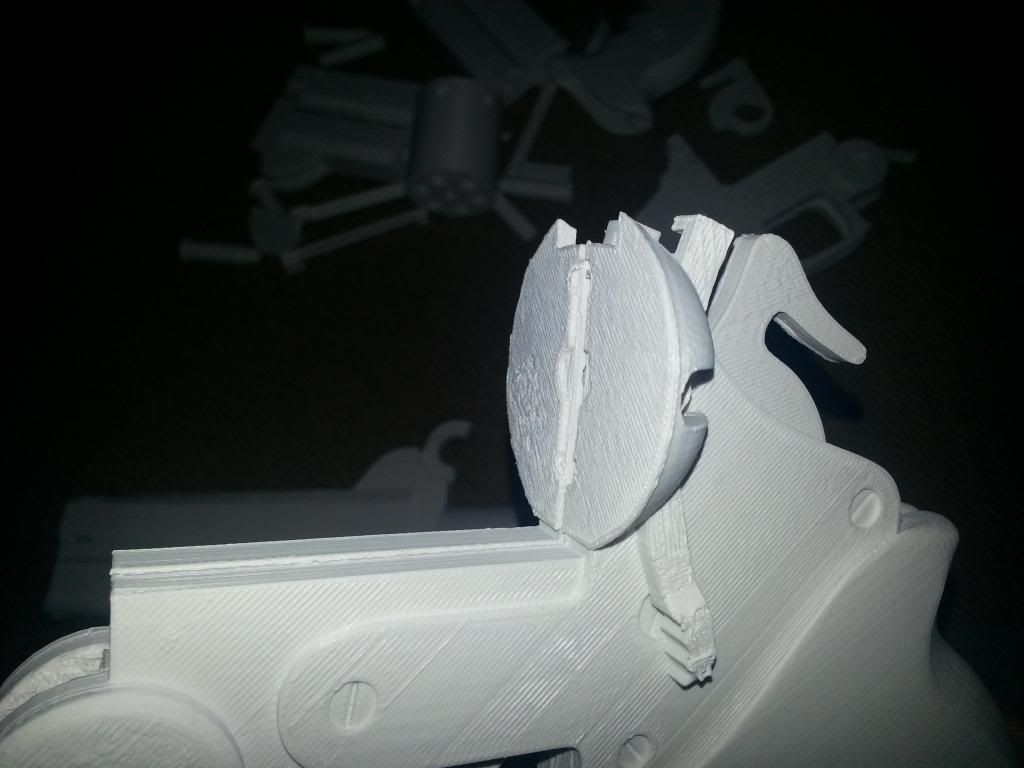
Now take the 2 cylinder backing halves and fit them around the unlocking levers and glue the hell out of them (to each other and to the back of the body), the gun should now close and the 2 unlocking levers should slide into the site rail and lock the gun from opening. Because the 2 unlocking levers are in the same keyed cylinder, both, or either one will unlock for reloading.
Hopefully that helps. Remember to sand and sand some more. Use a bit of filler putty if needed. My pieces are real rough as they're prototpes and I never have time to do any prep work anymore. Hope everyone likes their kits, let me know if you have any other questions
")


