Vacformed Warhammer 40k Space Marine Armor - NEW SUIT DONE Pics on p.17

Looks better in black:


But I need him to look more like polished steel, so I've sprayed on a chrome basecoat:


I don't like the chrome so much, but I'm counting on it to look a lot better with some more love and weathering.

Stay tuned...
 
what he say to her

- - - Updated - - -

not bad at all but have you thought about doing a mk 3 horus herasey helmet got a damn good look to it
very knightly
250px-Luna_Wolves_Mk_III.jpg
 
Stopped by to visit my friend who has the Captain Titus suit I made a while back. For the first time I actually got a few decent photos.

Here's one with me for scale (I'm 5'7" tall):


Here he is all by his lonesome:


And here's a few detail closeups that I shot with my phone:


It's been over two years since I finished this guy and he's still one of my favorites.
 
it's a beautiful build I really like how the armour is standing, very natural looks like there's someone in it! Wait was there someone in it? :)
 
Tis a thing of beauty - I'd SO love one of these Cpt Titus suits to do the UK CON Circuit... That Blue and Gold is awesome. Same colour scheme I have on the Dalek i built. I'm 6'4" and the Dalek is now a bit of a squeeze.....

refit-2.jpg
 
Hi! It's been a while this awesome thread, tho I'm wondering, is it possible to take good picture of your harness/support, if you still have them close!I'm really looking to make one for my boyfriend but I still wondering what is the best way to stack them together. I saw the clip for the shoulder/upper arm but the rest is still a mystery!Thanks a lot for this step by step, you are really inspiring! Funny too! :)
 
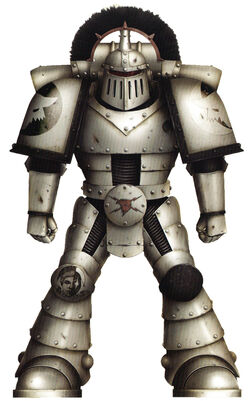
I'm sure I'll be doing more 40K stuff. In the course of this build I stumbled across this particularly tempting illustration:
SW_Wolf_Priest.jpg

But that's an idea for another year...

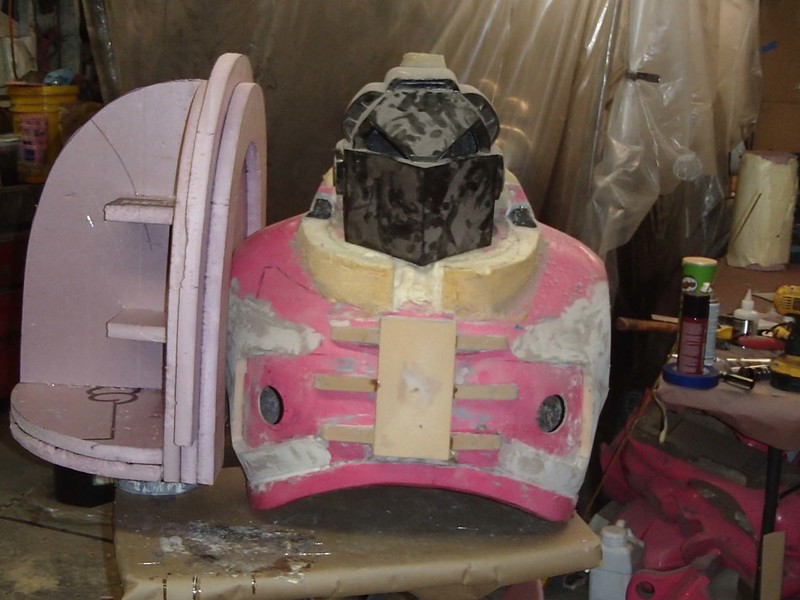
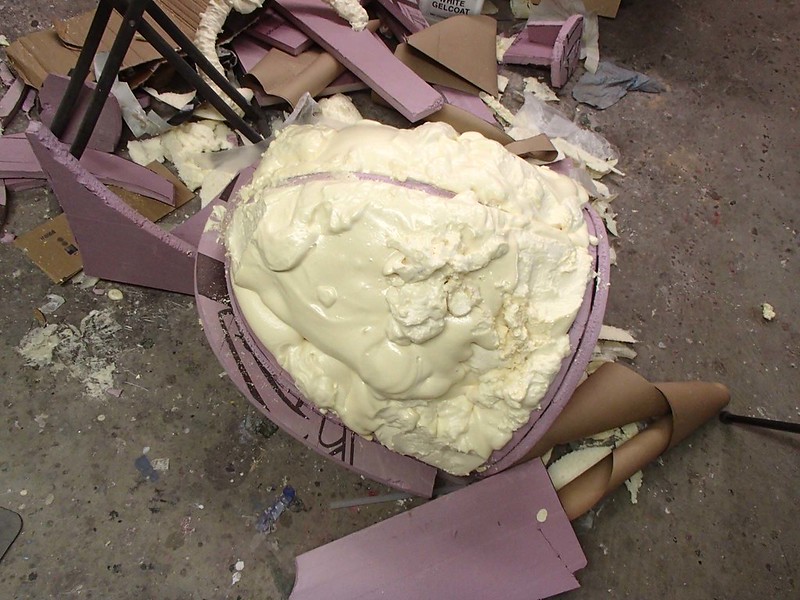
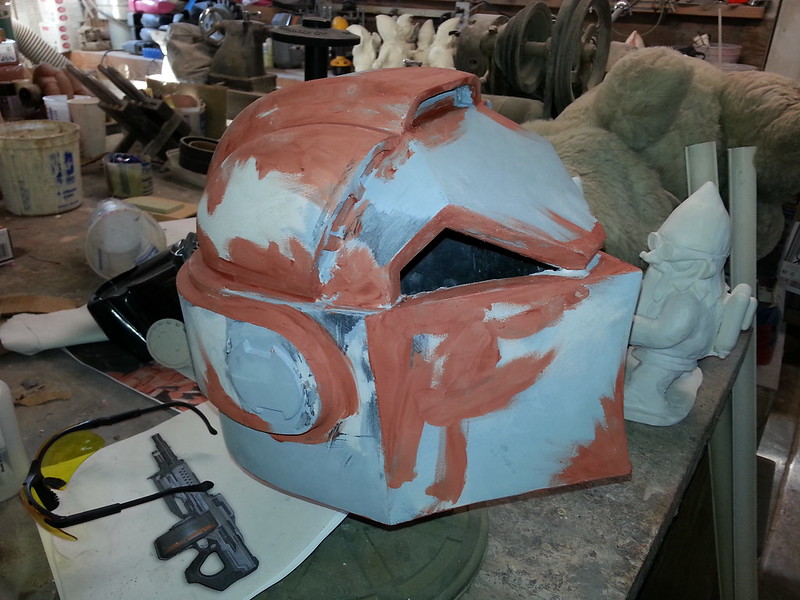
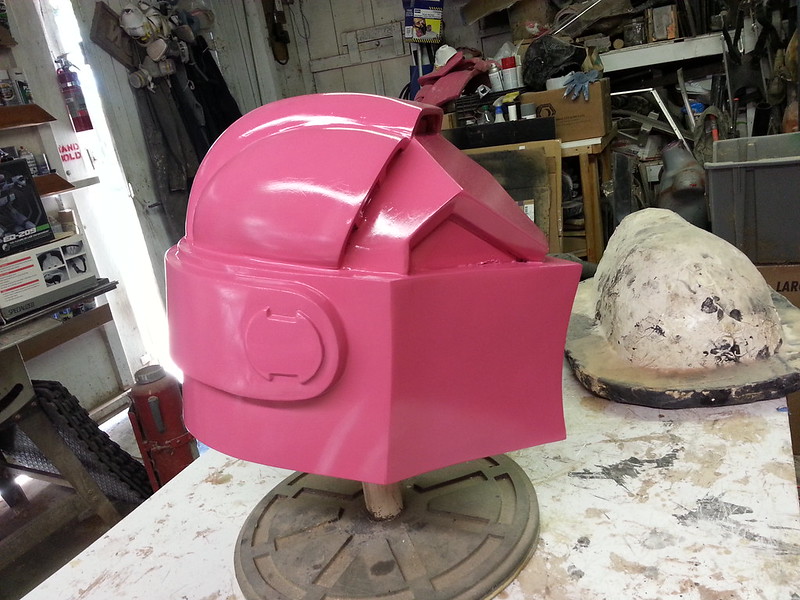
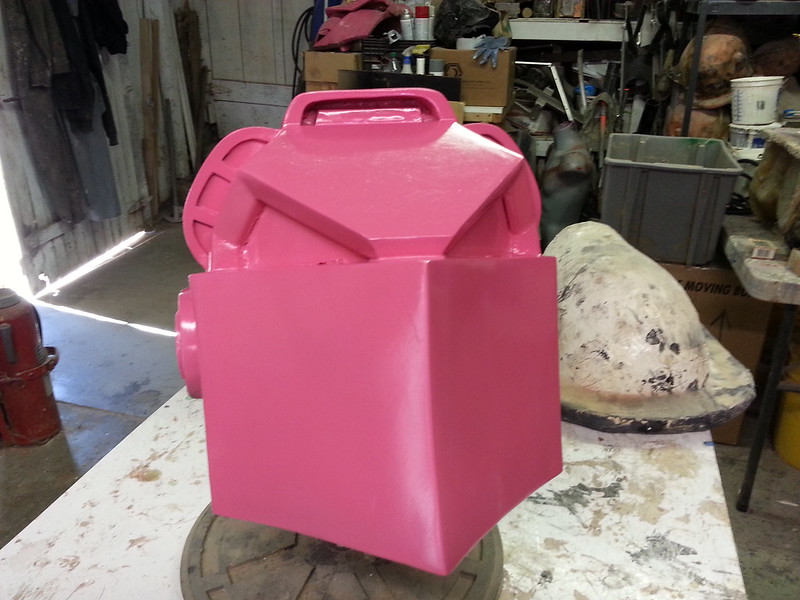
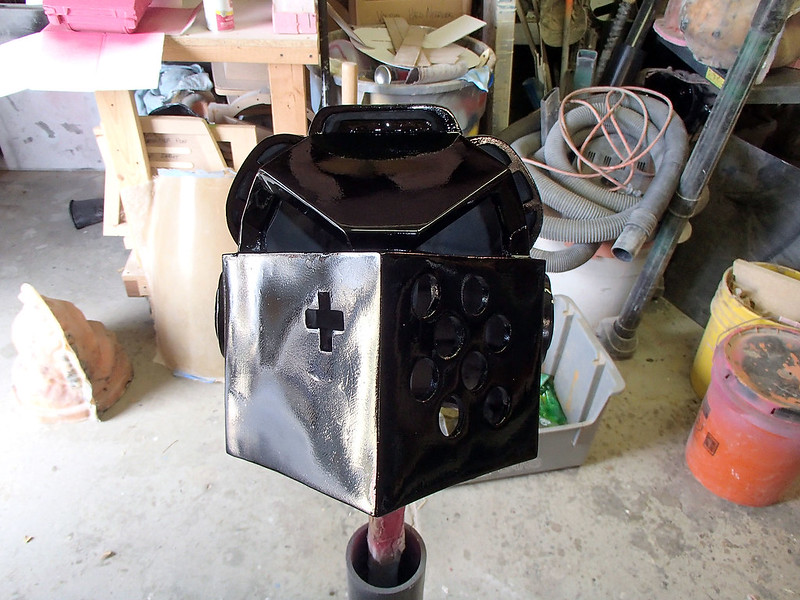
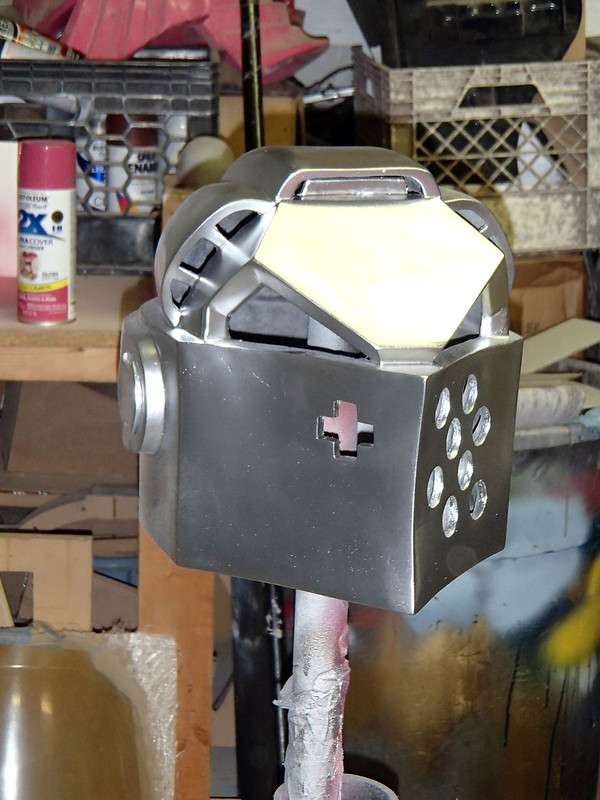
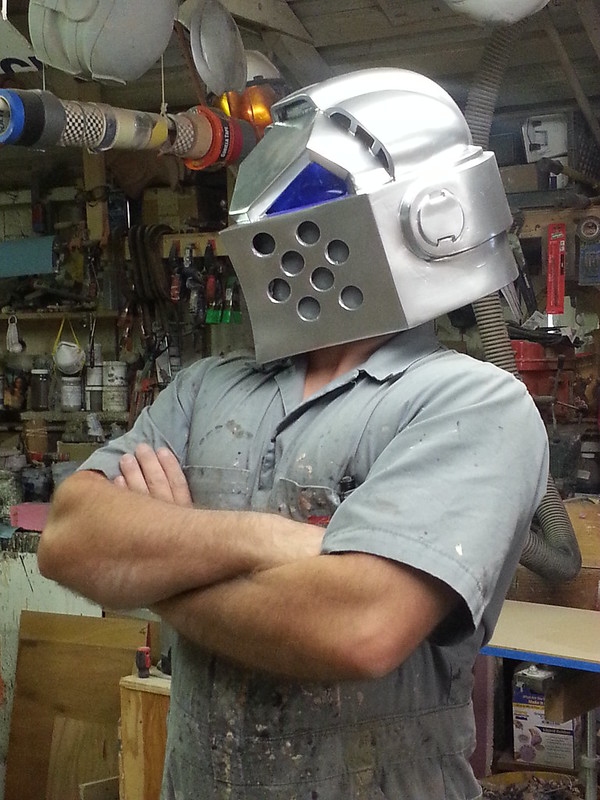
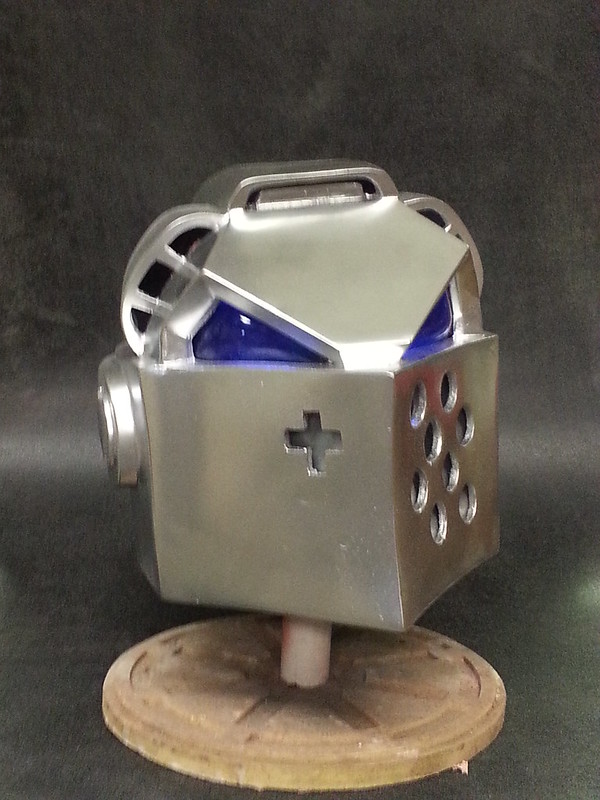
It occurred to me a while back that this is another year. I figure I don't have nearly enough projects going on all at once, so in my copious free time I've been working on the Wolf Helm of Russ. Here's a snapshot of the sculpt as it looks right now:


Once I'm satisfied with the shape of the teeth, I'll be molding this bad boy. I'll add the rivets, hoses, and grill inserts to the cast version once I have it out of the mold.

Hi! It's been a while this awesome thread, tho I'm wondering, is it possible to take good picture of your harness/support, if you still have them close!I'm really looking to make one for my boyfriend but I still wondering what is the best way to stack them together. I saw the clip for the shoulder/upper arm but the rest is still a mystery!Thanks a lot for this step by step, you are really inspiring! Funny too! :)

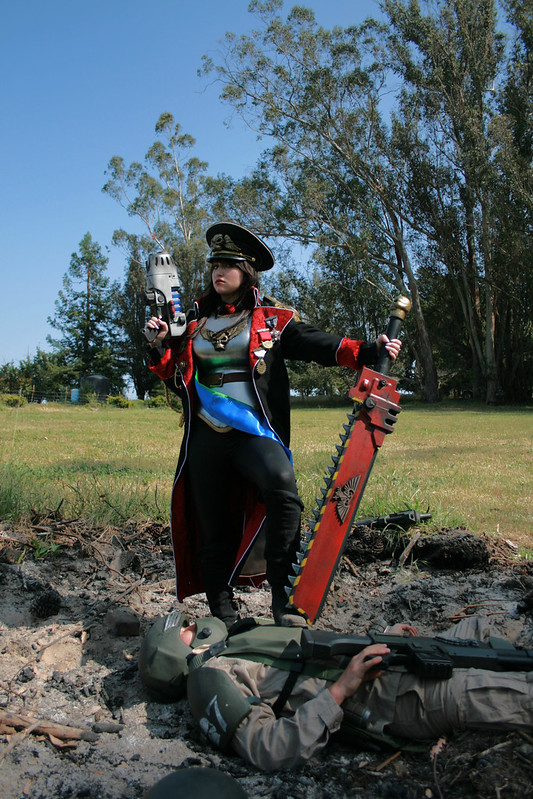
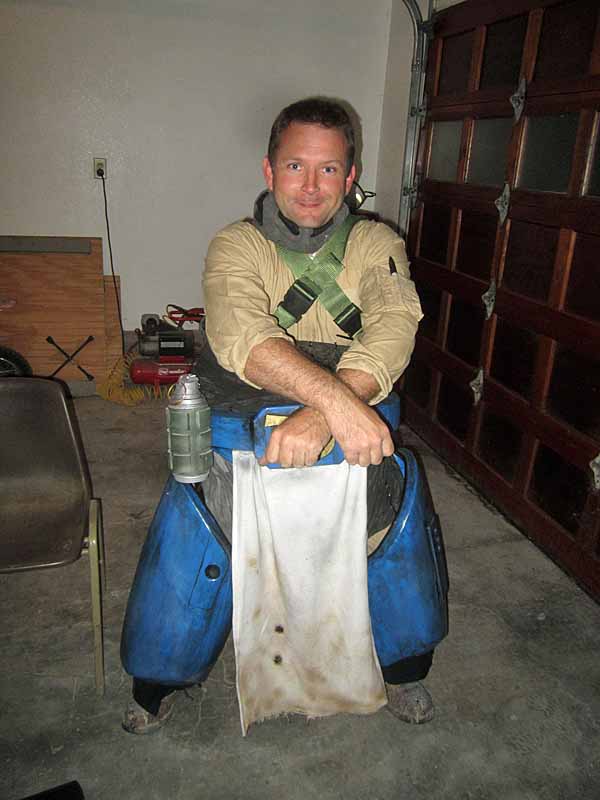
Just noticed that I never replied to this question. In short, I really don't have photos of the harness arrangement. That's mostly because there's not much to see. The thighs are suspended from the belt/daiper assembly which is permanently attached to the waist section. The waist has suspender straps to hold it up to the wearer's shoulders. Here I am wearing just those pieces without the shins, chest, or arms:


Here's another shot in one of the Dark Angels from behind:


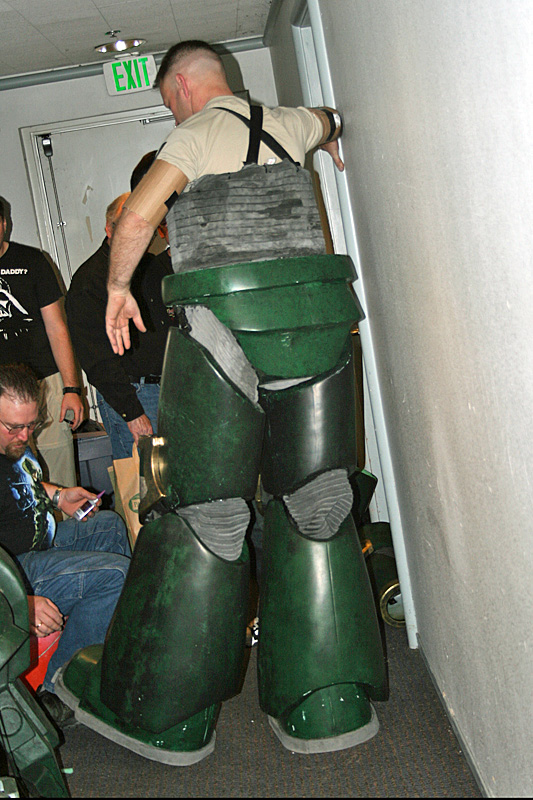
The shins ride on top of the boots, so there's no need to strap them to the wearer. The rubber parts at the knee are attached to the bottom of the thighs and keep the shin from flopping around loose.

The shoulders are attached to the chest with some bungee cords so the can move a bit, but the return to a static position when there's nothing pushing on them. The backpack is bolted directly to the back of the armor. The forearms and upper arms are both bonded to the rubber at the elbow joint, and the hands are attached to handles that are held by the wearer in the suit.

I realize it's probably way too late, but I hope this helps all the same.
 
I decided to dust off the Grey Knight project and put it back on the front burner. Here's some of the little bit of progress it saw last week:


After getting the approximate right size worked out in extruded foam sheet, I filled the whole thing with expanding foam:


After some quick shaping with a hand saw, it was just about right:


Looking at the photos, I think I made the pauldron a bit too tall. I'll be fixing that as soon as I get back into the shop. I'll also be building up the cowl around the back of the helmet a bit more.
 
I feel like the helmet itself is a bit too tall, or at least the mouth piece. I also think the top of the mouth piece should stick out further and have more of a taper inwards as it goes down. These are just nitpicks though as I think the whole thing looks pretty fantastic.
 
This thread is more than 5 years old.

Your message may be considered spam for the following reasons:

  1. This thread hasn't been active in some time. A new post in this thread might not contribute constructively to this discussion after so long.
If you wish to reply despite these issues, check the box below before replying.
Be aware that malicious compliance may result in more severe penalties.
Back
Top