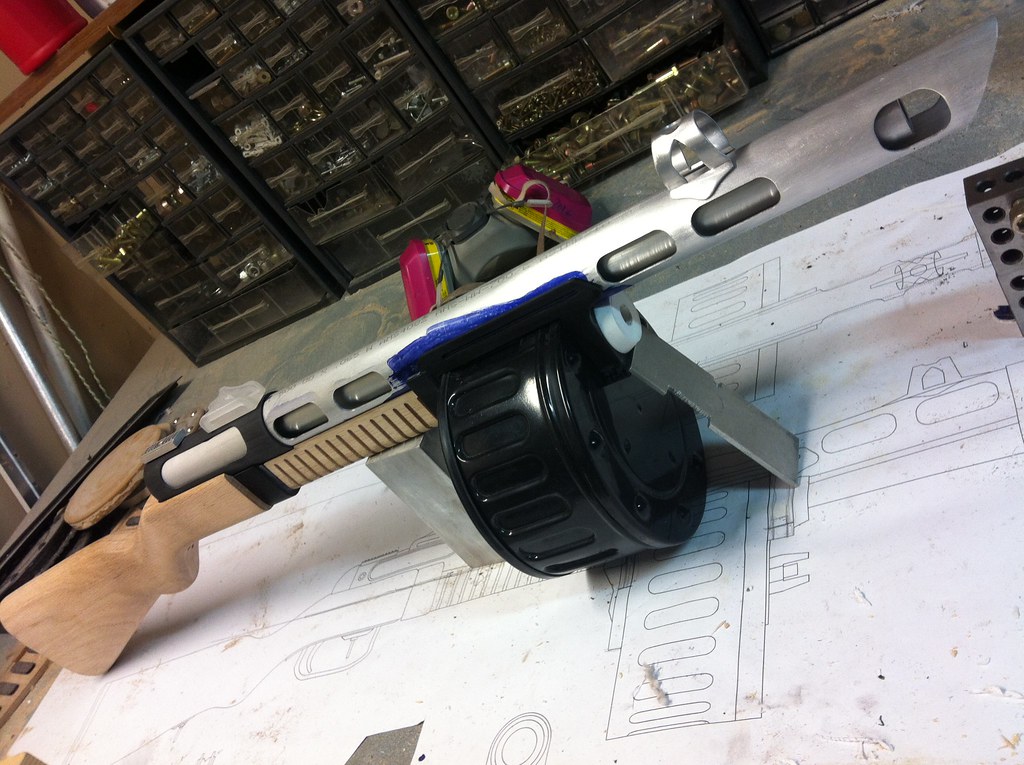
Re: Fallout 3/New Vegas "Combat Shotgun" build
Are you going to use a stock refinishing kit to stain it or mix up your own stain?
Not sure. The in game model is beat to hell and back, so it's hard to get a bead on what the original color is supposed to be. I don't do enough wood working to really be authoritative on what the best process for staining the stock would be, so I'm certainly open to suggestions.
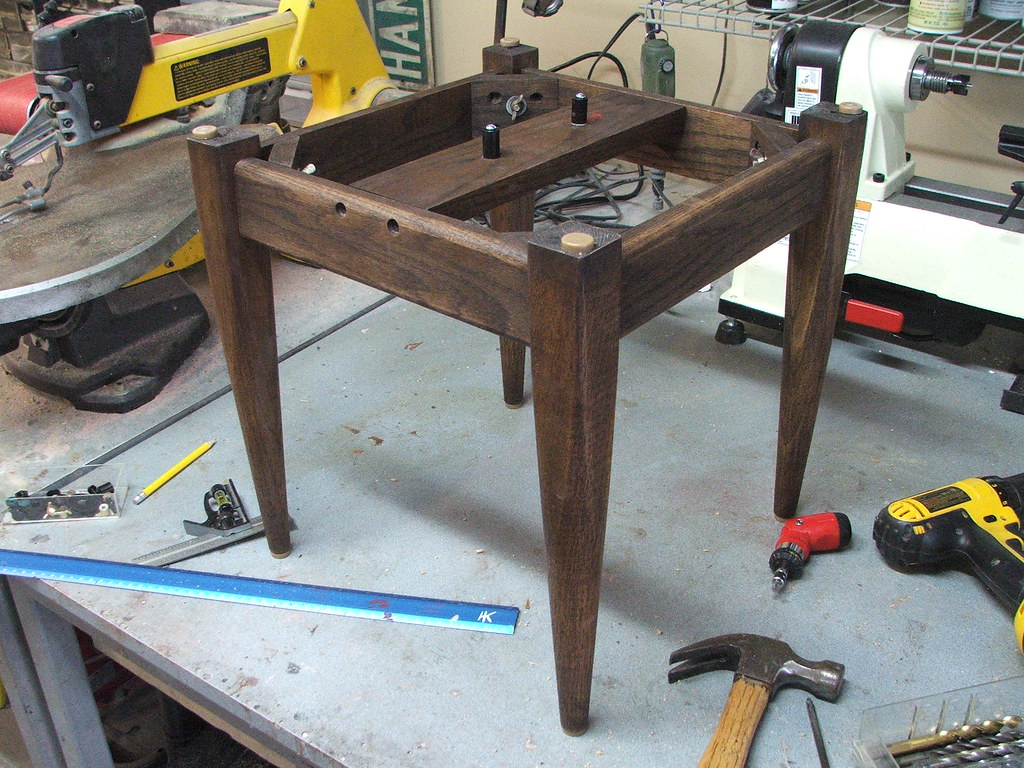
I made a coffee table out of a shield I built a few weeks ago and used some standard Home Depot wood stain on the same red oak for the legs and support braces. I liked the color, so I might go with this again.
To be fair, that was an old project built in 4 days before I really knew much about weathering. I remember after I posted the final pictures, a friend of mine actually sending me a whole box of pigments and powders in the mail with written instructions on how to use all of them. She was a fine arts painting major; a bit pushy with the advice, but it definitely helped.
Got some more work done on the shotgun over the past couple of days. Still down one finger, but it hasn't slowed work up too much.
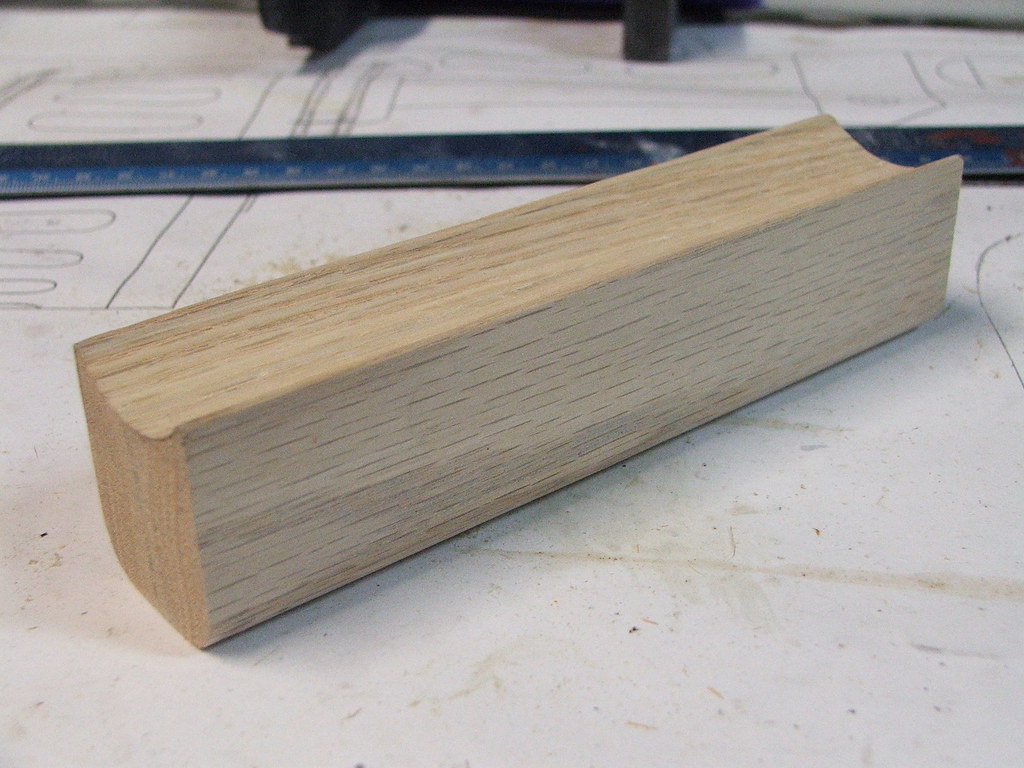
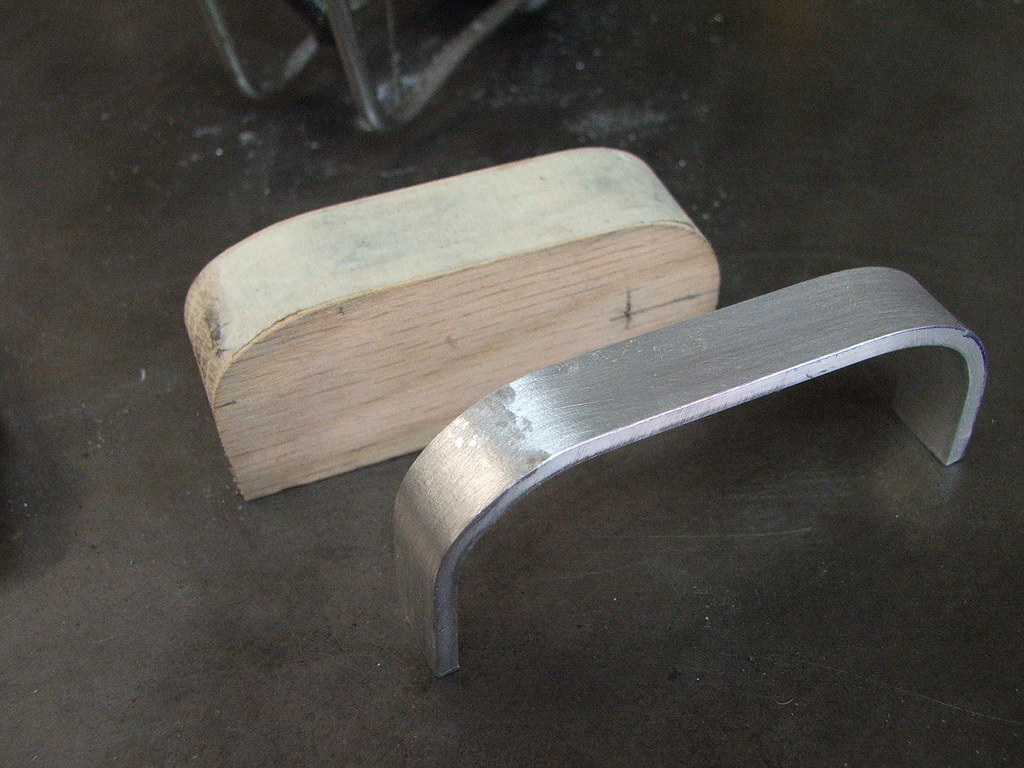
The forward grip piece. The blank was made from 2 more chunks of red oak, shaped on the router to fit the lower section of the heat shield.
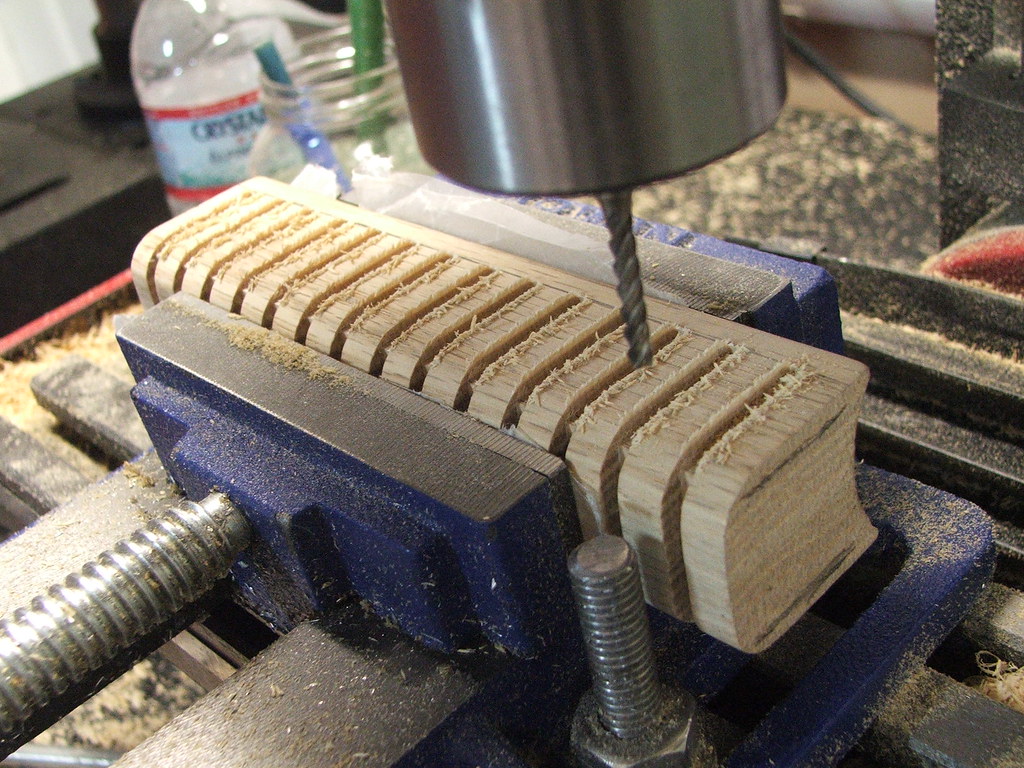
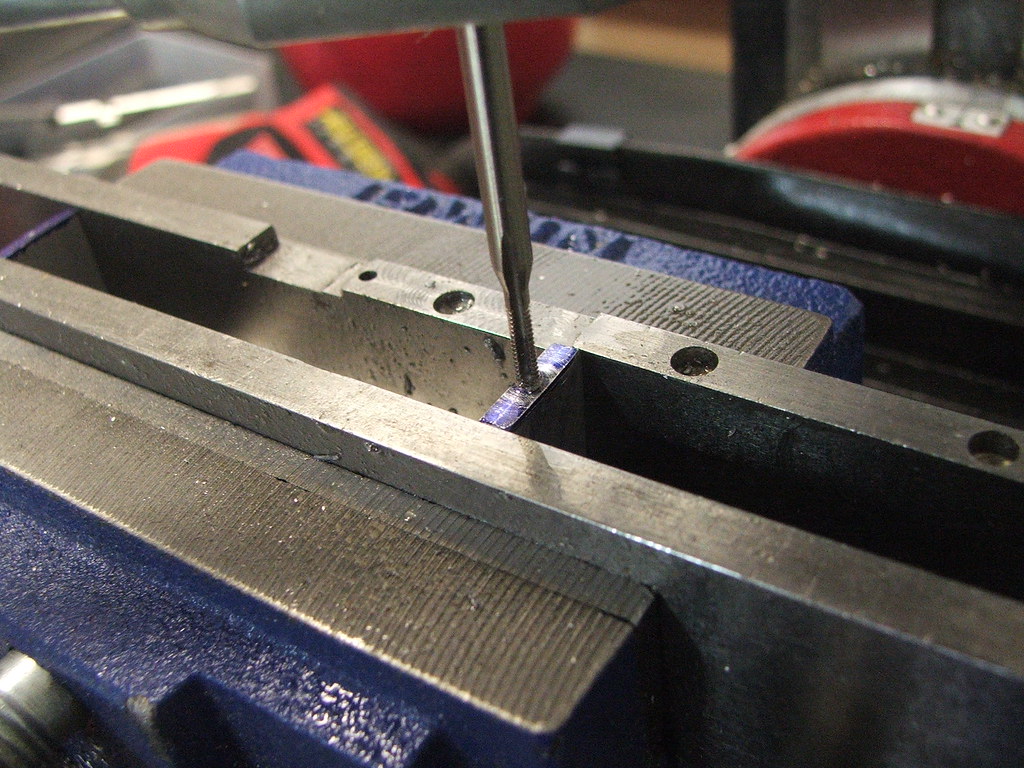
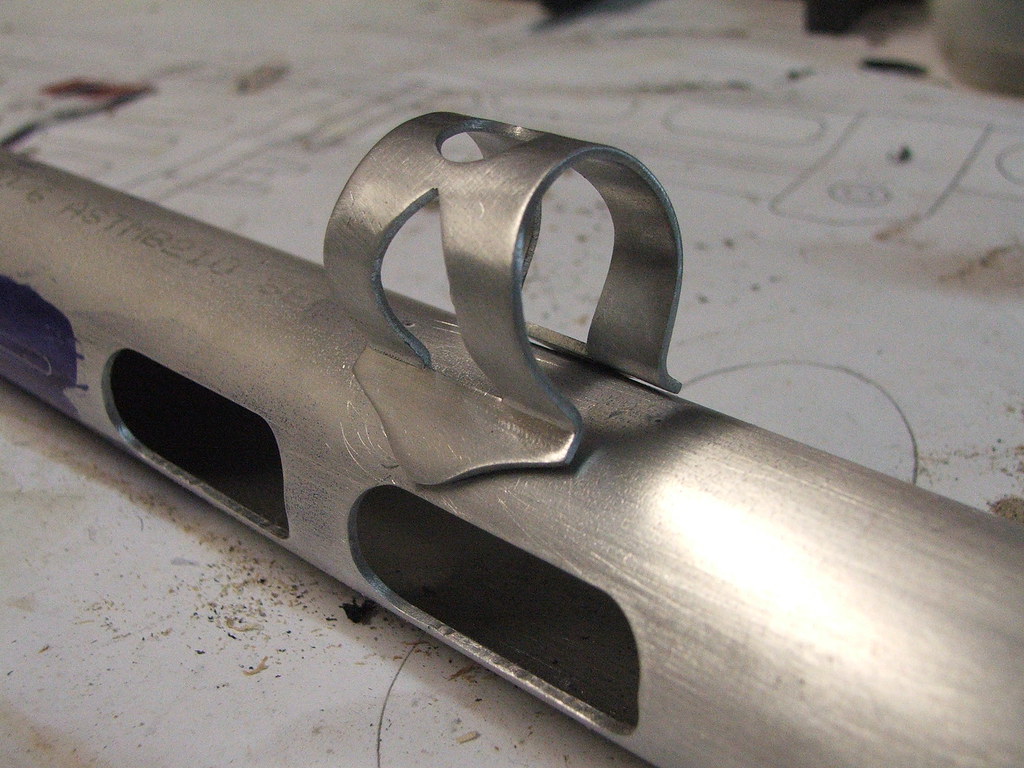
Slots cut into the grip with the mill. I know that endmill bit is a million miles long, but its the only one I had in this diameter.
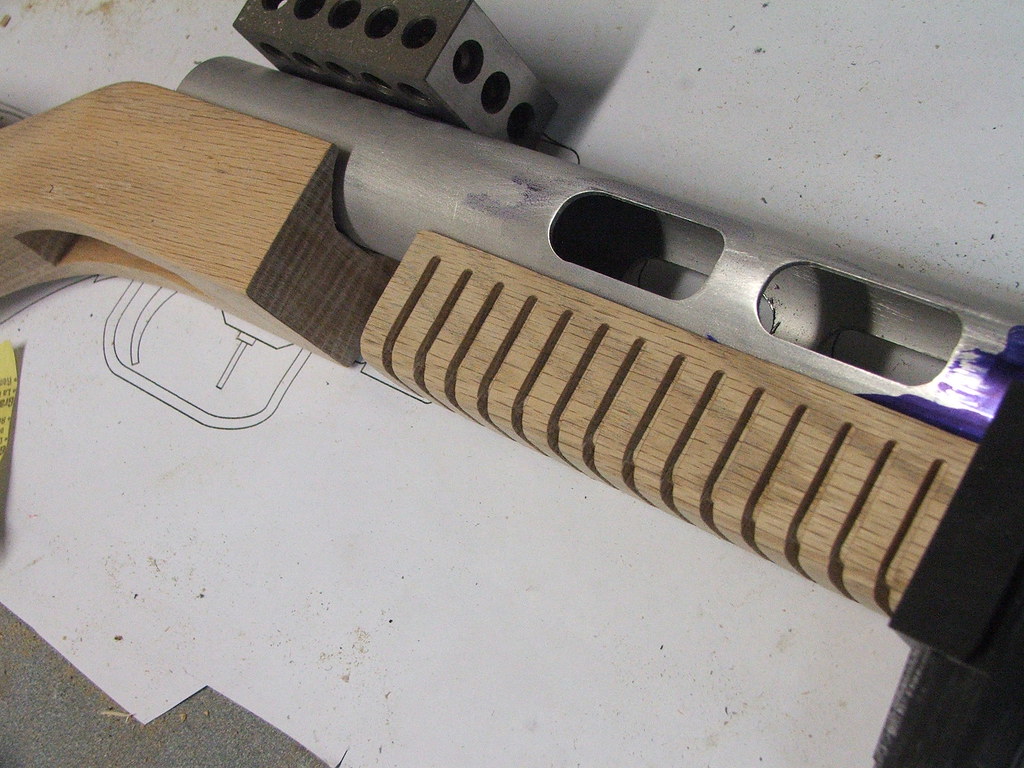
And with the burrs sanded off
Got to work on the trigger box next. This is going to look super over engineered, but this is a prop which is going to be used on a film shoot so I've decided to err on the side of robustness. I doubt this trigger mechanism will be affected by thousands of very energetic pulls. Also, it's built so it can be serviced, should anything go wrong in the future.
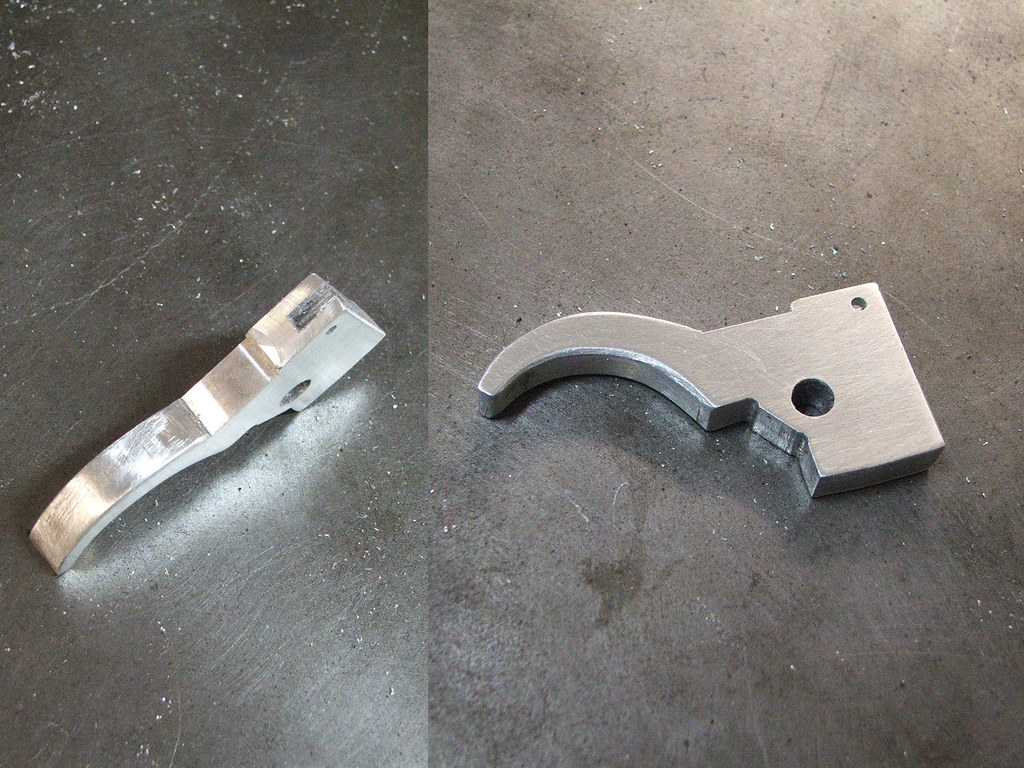
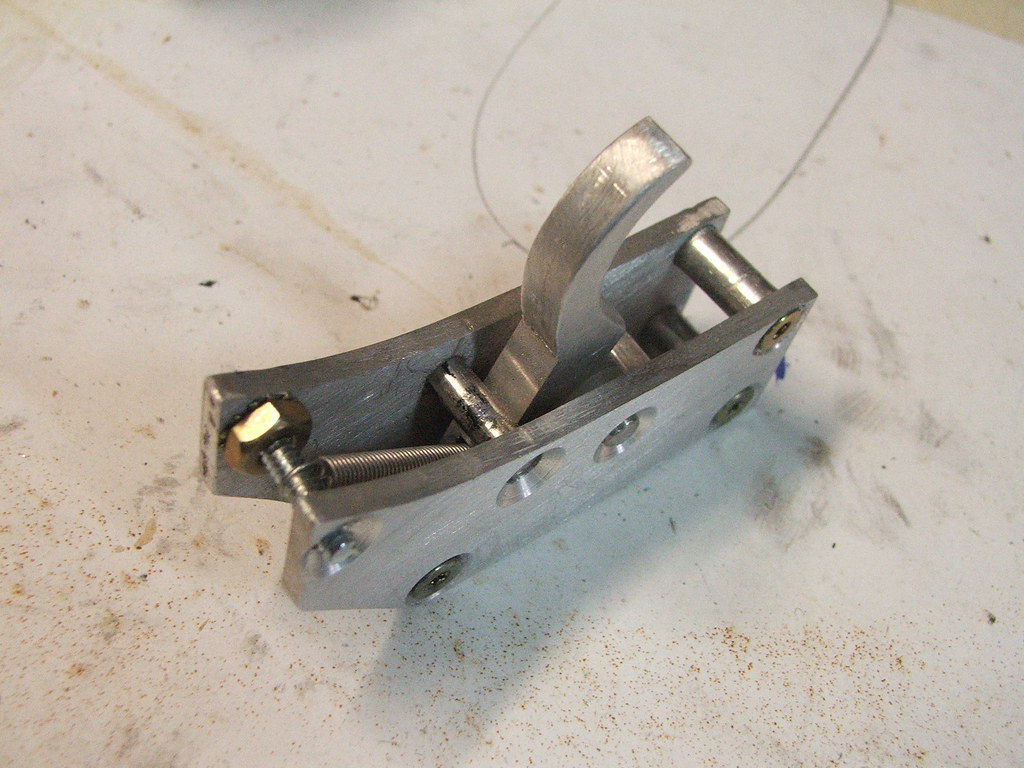
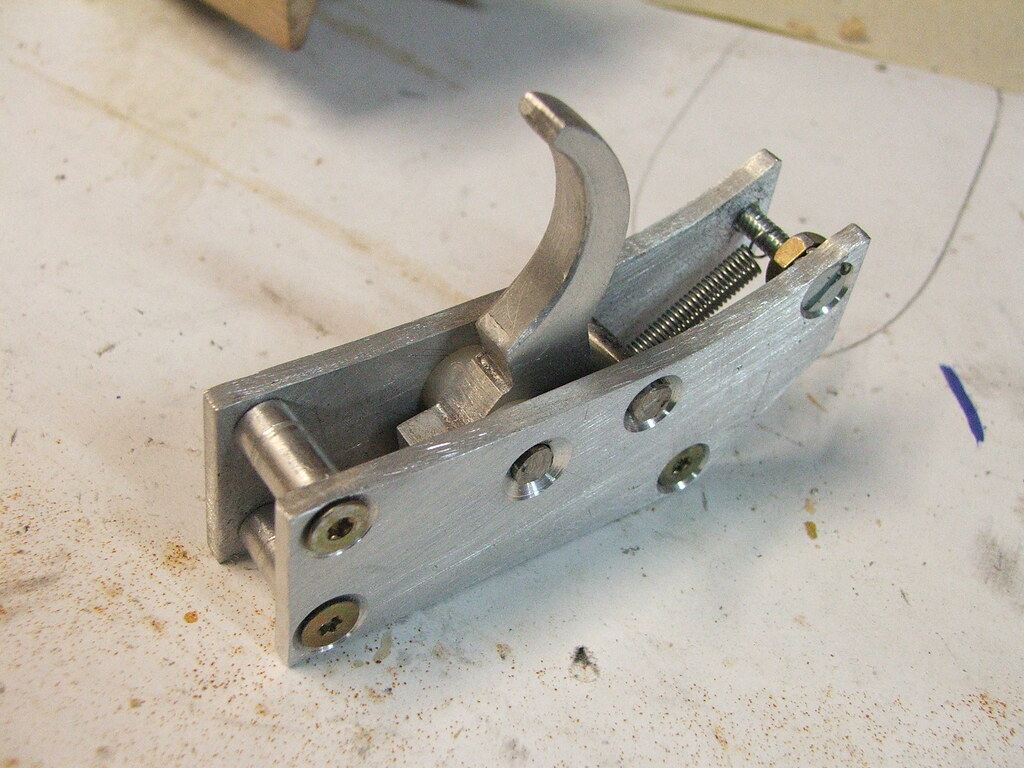
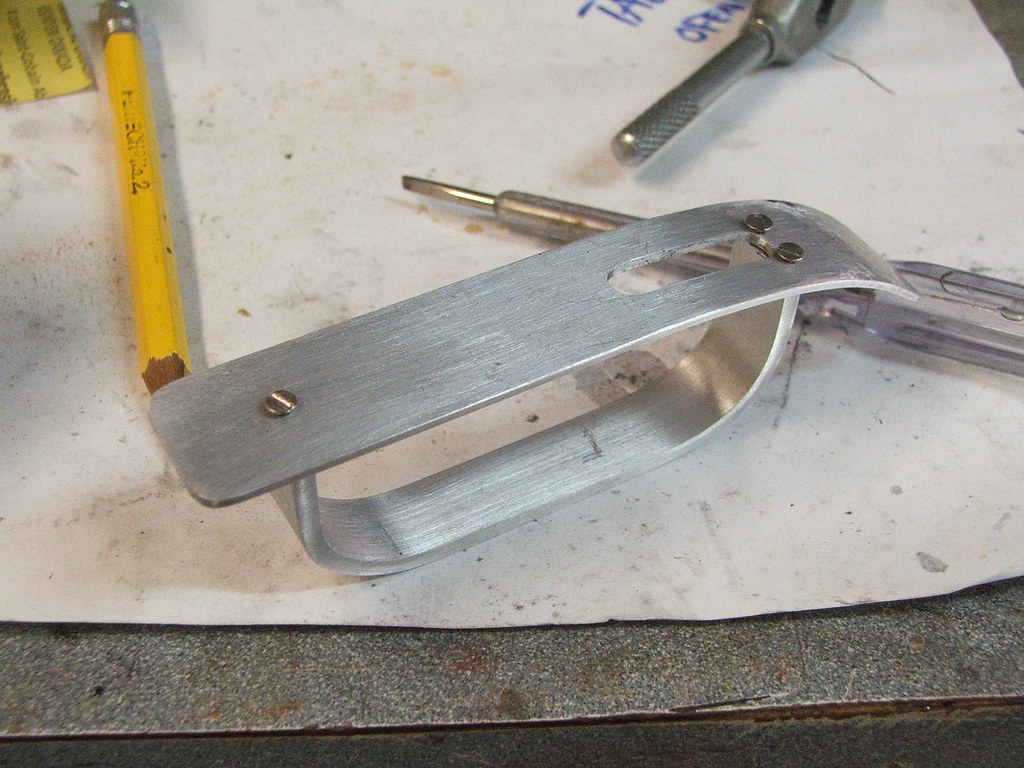
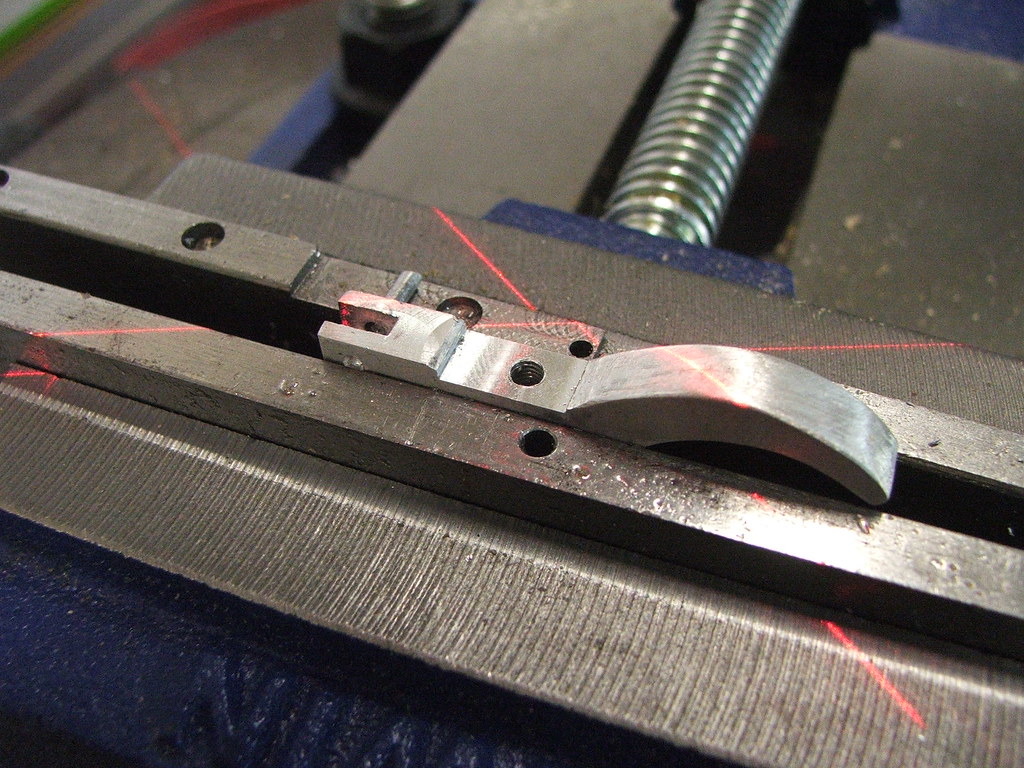
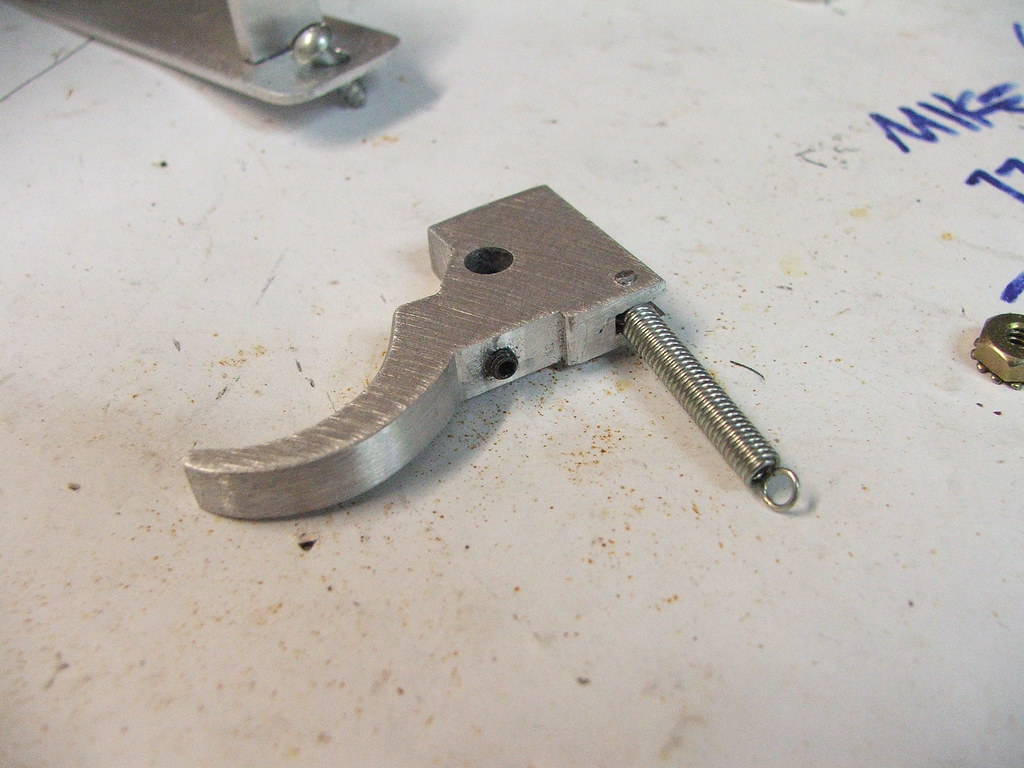
I'll skip all the pictures of patterns drawn on aluminum. Summary: there's two 1/8" aluminum plates held together by standoffs and countersunk machine screws. The trigger is cut from 1/4" stock and pivots on a stainless steel post. A second post behind it acts as both a forward and backward stop so the trigger only has a set amount of travel.
It looks a bit nasty right now, but I still need to take it apart and polish it up a bit. It was just assembled for fitment testing at this point.
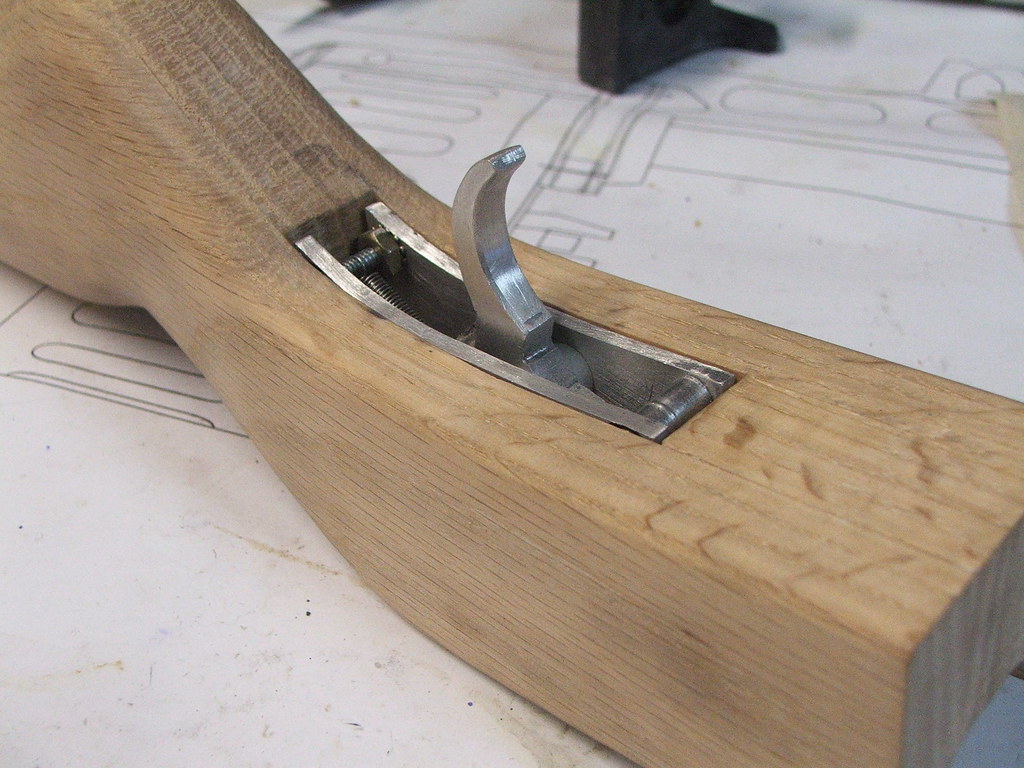
Here's the whole shebang dropped into the cavity in the stock
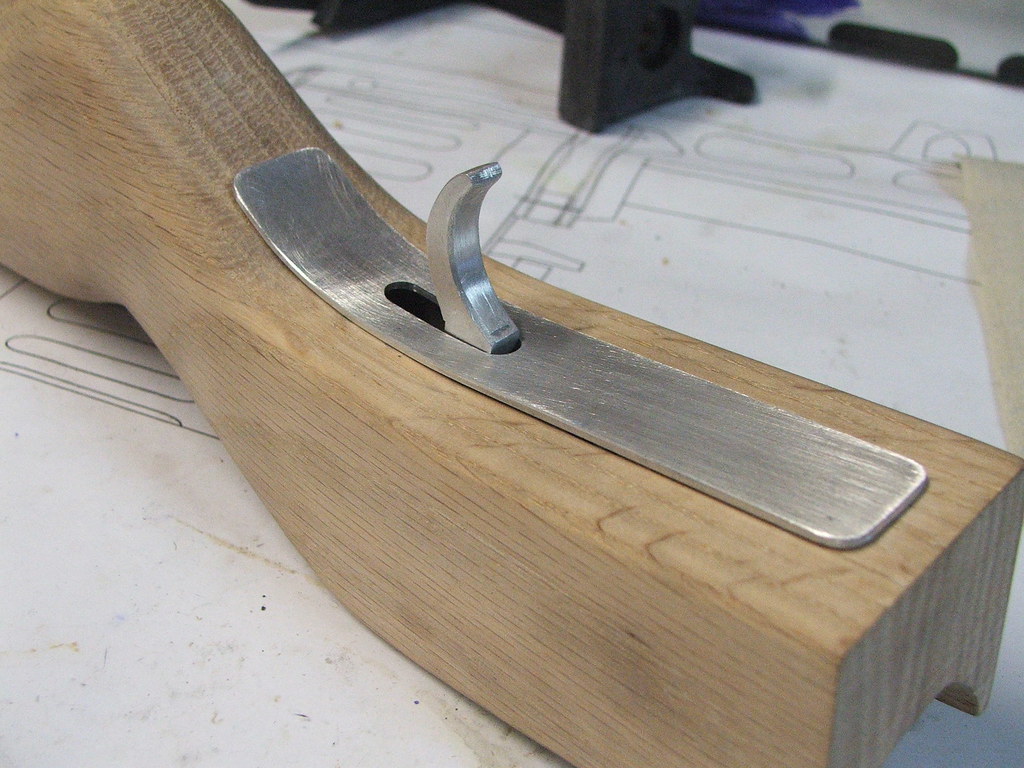
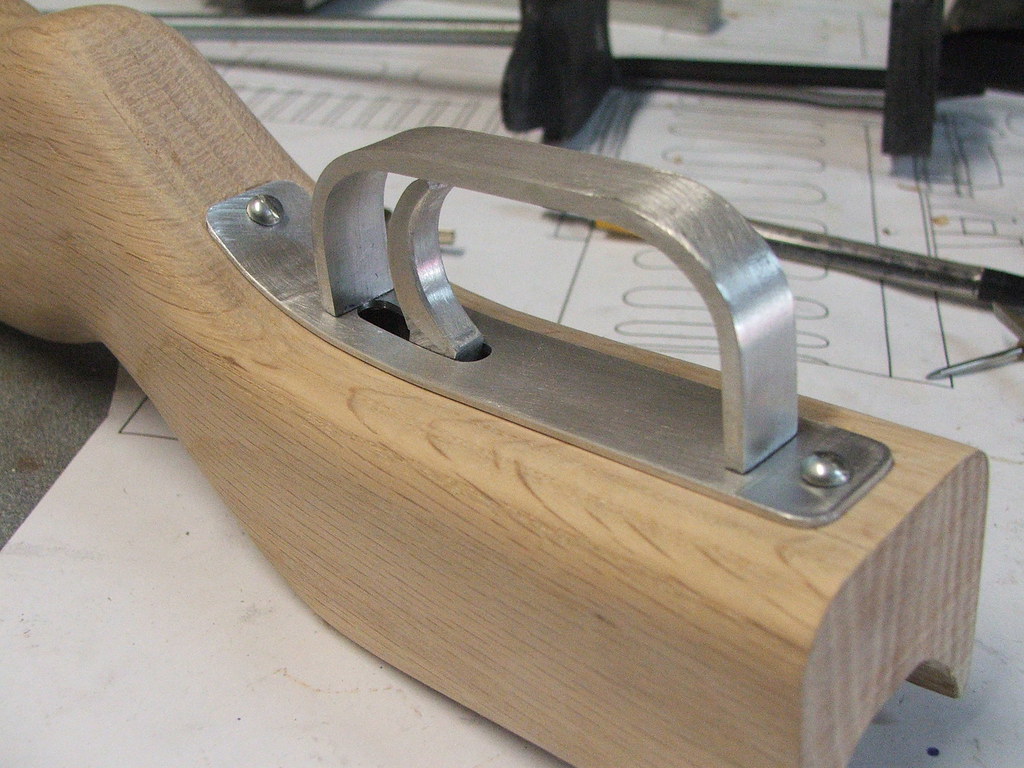
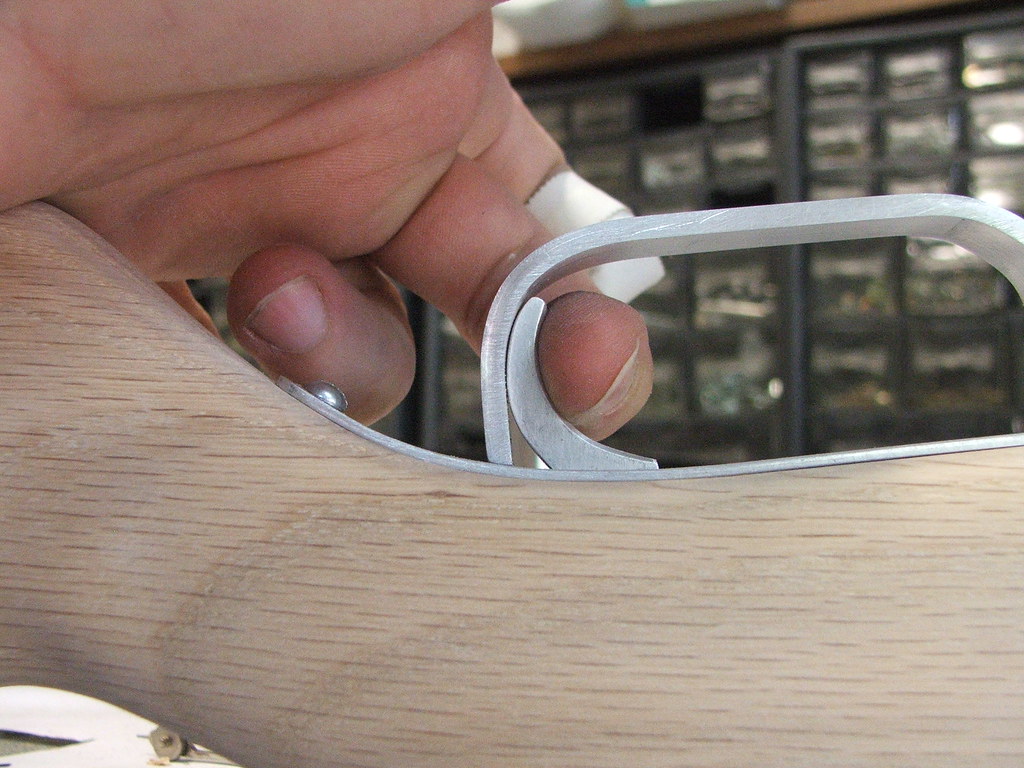
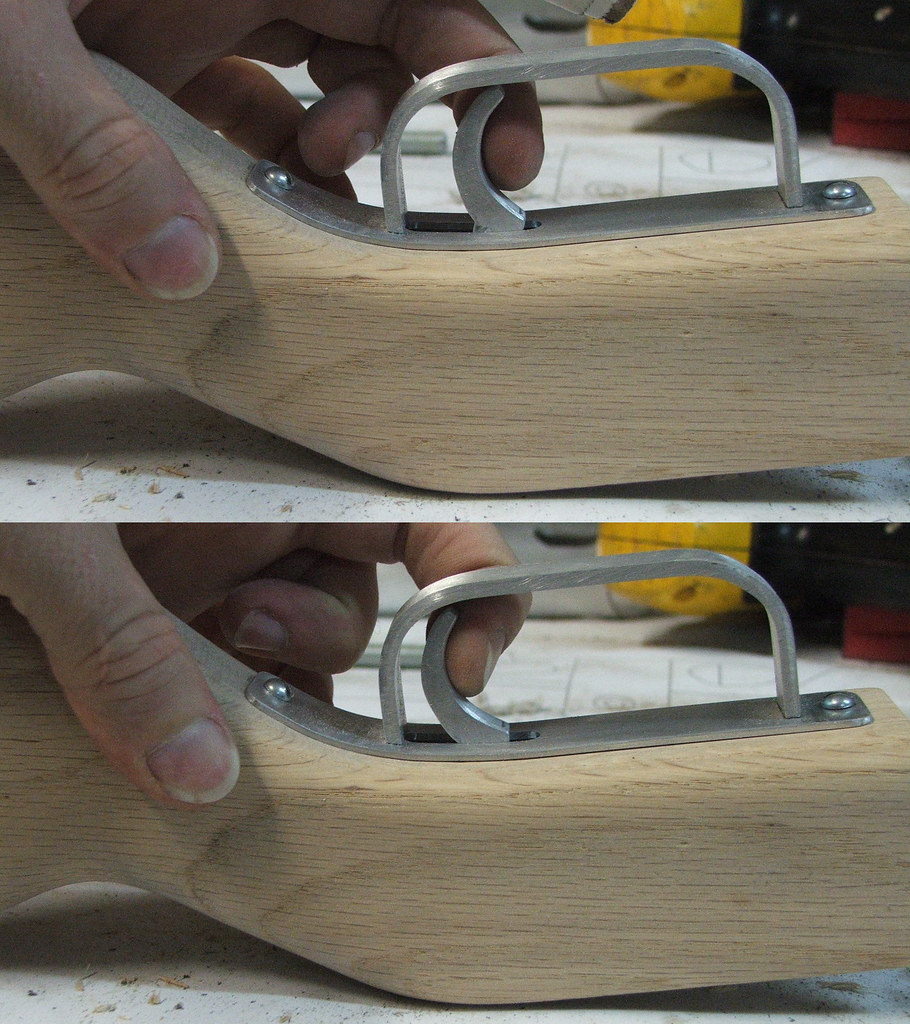
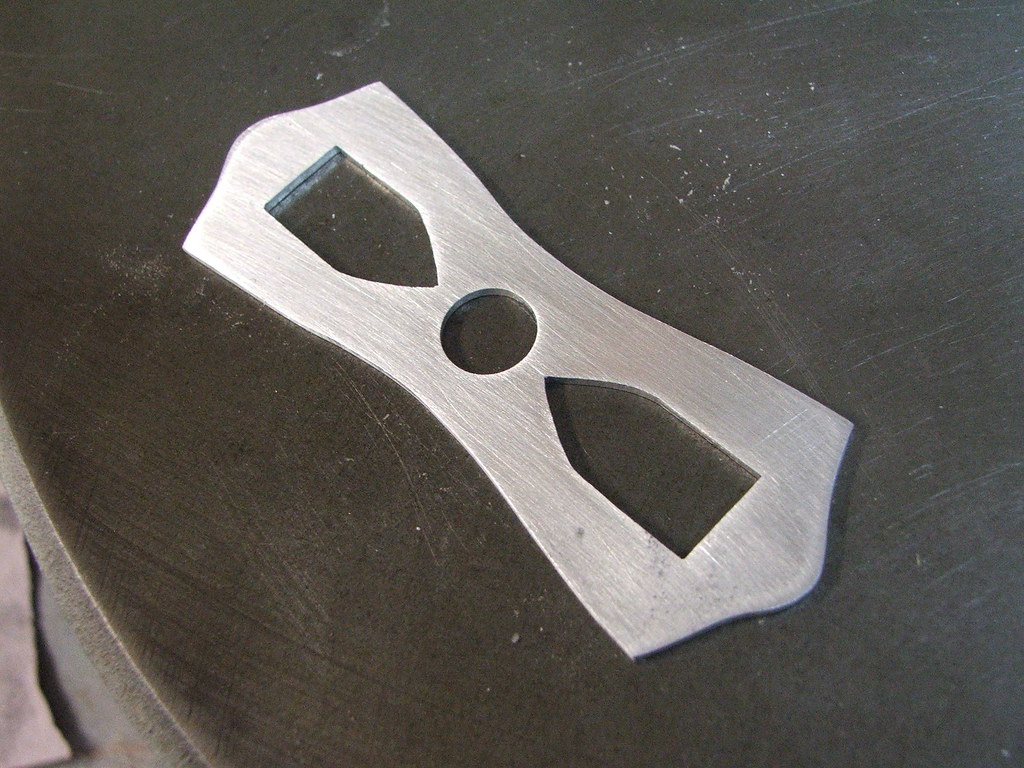
And the cover plate. Getting the curve on this right was a huge pita. A couple small screws fore and aft will tighten the gap up a bit, it's only resting on the stock in this photo.

