Fallout 3/New Vegas "Combat Shotgun" build (FINAL PIX P.4!)

Re: Fallout 3/New Vegas "Combat Shotgun" build

Tons of updates to come! I really need to sit down and make a longer post, but the shotgun is really starting to take shape.

A couple quick shots:

Rear stock and grip, all stained and buffed with paste wax. You can see the M1917 Enfield sling pivot here too. Such a cool little part.

8057953825_0f51345dcf_b.jpg


Front sight hood and sight. Milled/hammered aluminum. Hex screws are tapped into the heat shield.

8053815349_ebc4a89a53_b.jpg


More in depth post to follow soon!
 
Re: Fallout 3/New Vegas "Combat Shotgun" build

Makes me want to play with a mill real bad. Looks really fun.

Nick
 
Re: Fallout 3/New Vegas "Combat Shotgun" build

Okay! I'm getting really bad at updating threads... long post incoming!

Lots of work has been completed.

Added a couple of t-nuts to the underside of the stock. These mate up with a pair of screws which anchor the barrel heat shroud to the wood. There's also that long threaded rod which will connect everything as well. After a bunch of test fits, the feeling is quite solid.

8053822638_63eca5a51f_b.jpg


To keep the drum magazine in place, I cut out 4 holes in the bottom of the heat shield for a set of neodymium magnets. There's a steel plate on the inside that these clamp down on hard enough for me to believe they'll never leave.

8053822058_b7c96f6890_b.jpg


The magazines themselves will have a large ceramic magnet embedded on the inside to hold them to this plate.

8053820390_8294c68df0_b.jpg


Other stuff. Pulled copies of the rear stock plate and rear sights in cold cast resin.

8053816574_586c27456f_b.jpg


Added the "safe/semi/auto" switch to the trigger assembly. On a real PPSH-41, this is a slide switch. On the Combat Shotgun it looks more like a toggle, so that's what I used!

8053822398_970d721862_b.jpg


The front mount for the lower piston was made from several pieces of laminated acrylic. Probably a bit of a roundabout way to knock this piece out, but its strong and fits very snug against the heat shield. Various holes in the parts are for the forward sling swivel and piston mount.

8057955889_34e17ca299_b.jpg

8057955281_ee62678636_b.jpg


Rear endcap for the barrel being milled from a block of urethane resin. Started out by turning the dome on my lathe, then tossed it under the mill to cut out the slot on the underside where it meets the rear stock.

8057951880_84a5d653ed_b.jpg

8057952237_479fa2265f_b.jpg


here's a better shot of the Enfield rear sling swivel

8057952378_142e20174e_b.jpg


I also made a cocking lever for the side of the gun near the drum magazine. There's an aluminum dowel inside a stainless steel tube, with a spring at one end. This is fitted to the inner barrel assembly.

8062917166_79e9993c60_b.jpg

8062917360_37c33de878_b.jpg


All together! Need to work on getting the magazines assembled with their magnets and such next, then it's on to paint!

8062916437_a60c636bf8_b.jpg

8062916625_83bb568d22_b.jpg
 
Re: Fallout 3/New Vegas "Combat Shotgun" build

It's awesome how a prop that seemed un-interesting to me before becomes really interesting when I get to see the problem solving and craftsmanship you put into your builds. I love reading your build threads !
 
Re: Fallout 3/New Vegas "Combat Shotgun" build

Very nicely made. The only complaint I have is the safety. It's more of a piece of folded sheet steel to act as a slide switch. The toggle just looks a bit out of place to me.

EDIT: Oops, I didn't see the part of the post where you said that you know what it's meant to be. Sorry. The part about the toggle looking out of place still stands though.
 
Last edited:
Re: Fallout 3/New Vegas "Combat Shotgun" build

Volpin, I always learn so much from viewing your threads! Awesome work as always!
 
Re: Fallout 3/New Vegas "Combat Shotgun" build

Love, love, LOVE your builds and seeing as I especially dig your painting updates, I can't wait until your next installment.

However, I have a question for you that's (possibly?) related to this build, seeing as rust is everywhere in Fallout. On your Skyrim helmet builds, you mentioned using iron powder, purple paint, hydrogen peroxide and vinegar to add rust. I want to utilize this method for my Looper Blunderbuss build, but I have a few questions:

1. Where do you get the powder? Is it simply shavings from a piece of iron bar or do you find it at art supply stores?

2. How is it applied? Do you use the purple paint as glue and then sprinkle the iron powder on, or do you mix the iron powder with the paint and then apply the mixture with a paint brush?

3. How controllable is this effect? Does the rust only appear where you applied the powder?

Thanks in advance, Volpin! Keep up the amazing, amazing work, sir!

-Jonaas
 
Re: Fallout 3/New Vegas "Combat Shotgun" build

Great build! I clicked on this page thinking it would be a pepakura/paper project.
Keep at it!
 
Re: Fallout 3/New Vegas "Combat Shotgun" build

I kind of got carried away with this answer. Anyone who wants to read more about shotgun stuff, you can skip this reply!

1. Where do you get the powder? Is it simply shavings from a piece of iron bar or do you find it at art supply stores?

I buy mine from a place called "The Compleat Sculptor" (yes, incorrect spelling is intentional!) They sell all sorts of fillers for resins, many I'd like to give a shot one day, but so far I've only tried a handful. Here's their list of fillers, the metal I use is the "Iron Powder - grey (325 Mesh)"

2. How is it applied? Do you use the purple paint as glue and then sprinkle the iron powder on, or do you mix the iron powder with the paint and then apply the mixture with a paint brush?

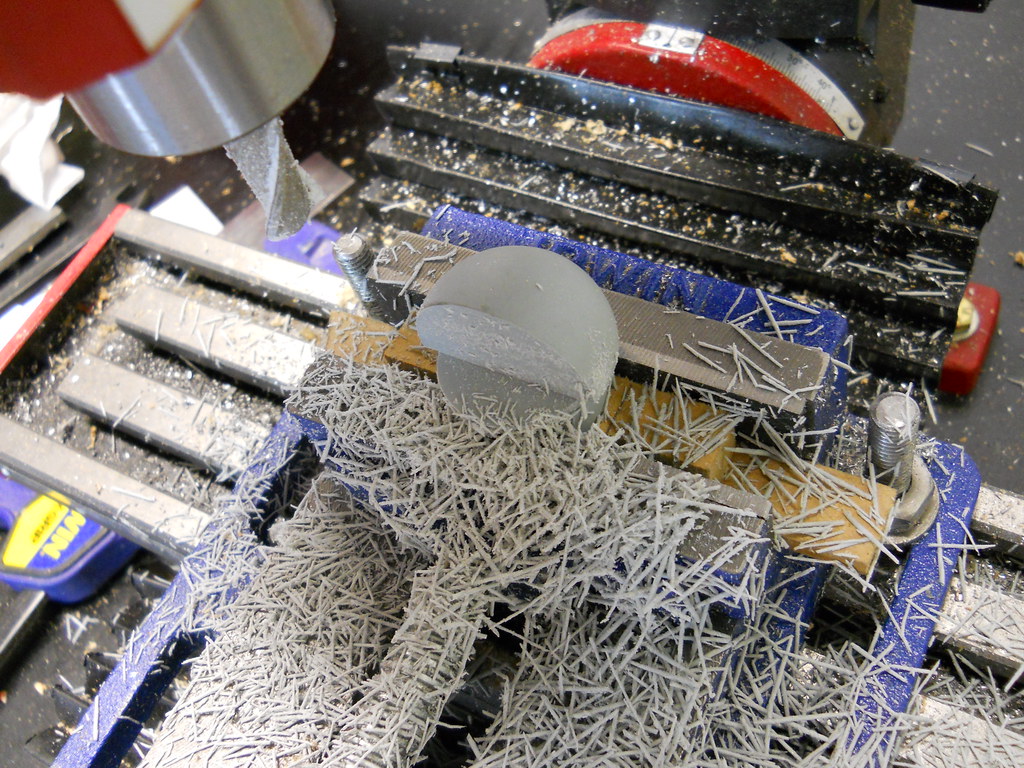
I have tried a couple different methods, but my current favorite is to take two paintbrushes, the powder, and a cup of water to apply it. First brush is wetted down, and you brush over the area on your prop you want the rust to stick to. Take the second brush and scoop a small amount of powder onto it, then tap it lightly over the wet area to apply the powder. Wherever the piece isn't damp, the powder will fall away.

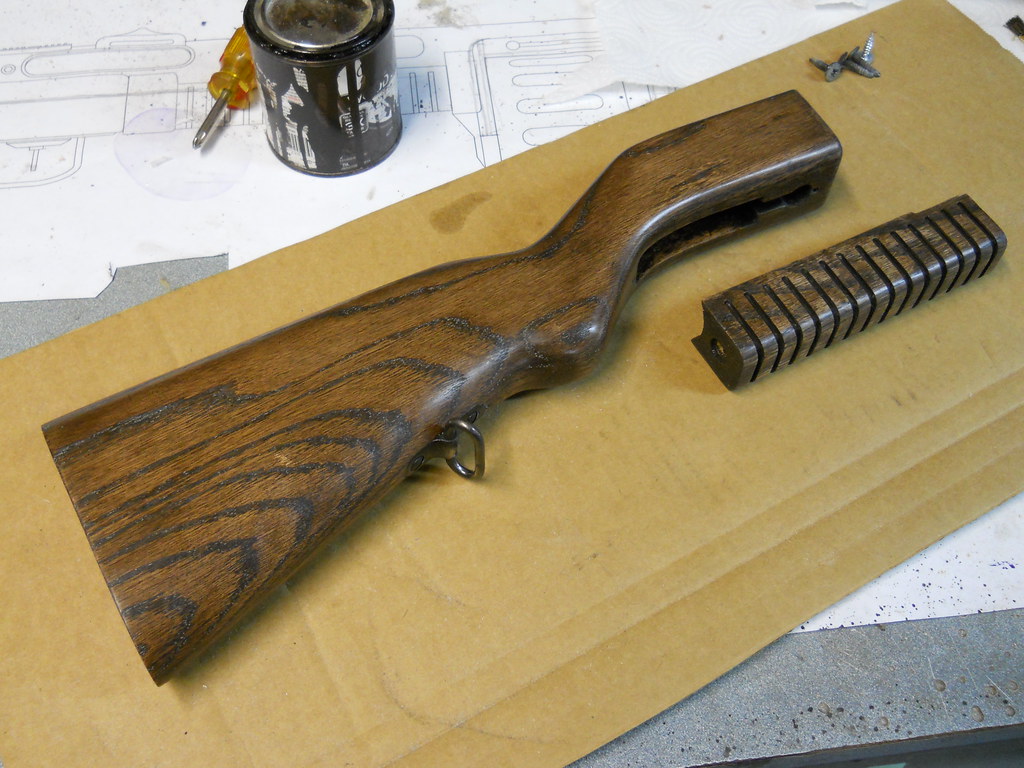
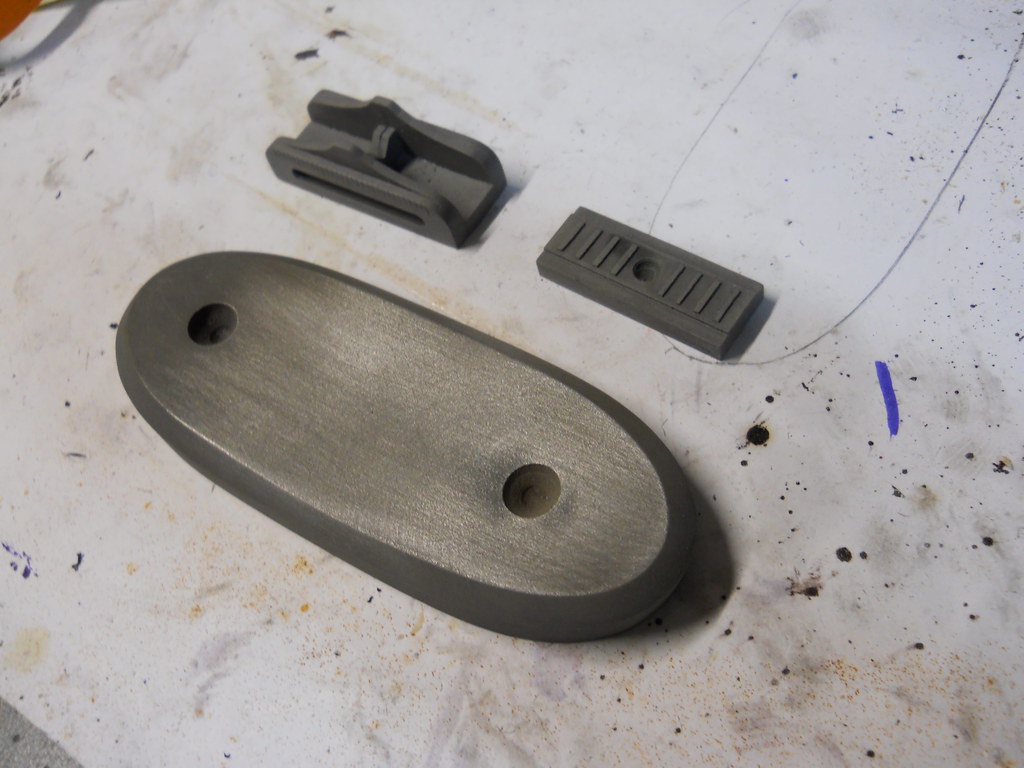
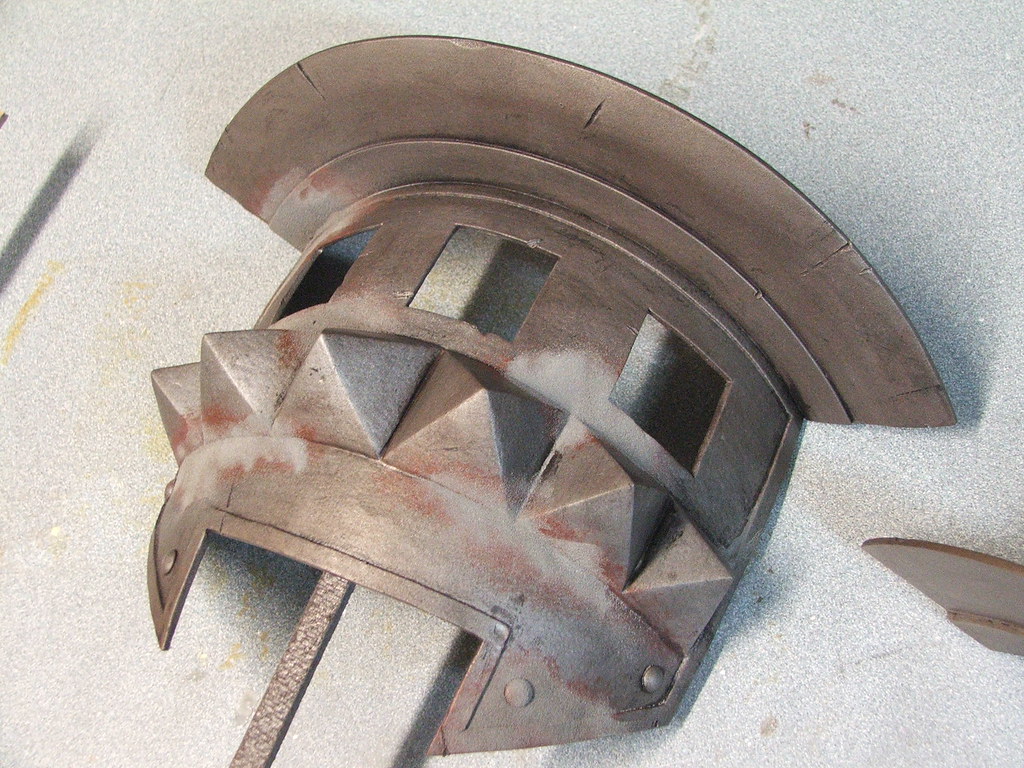
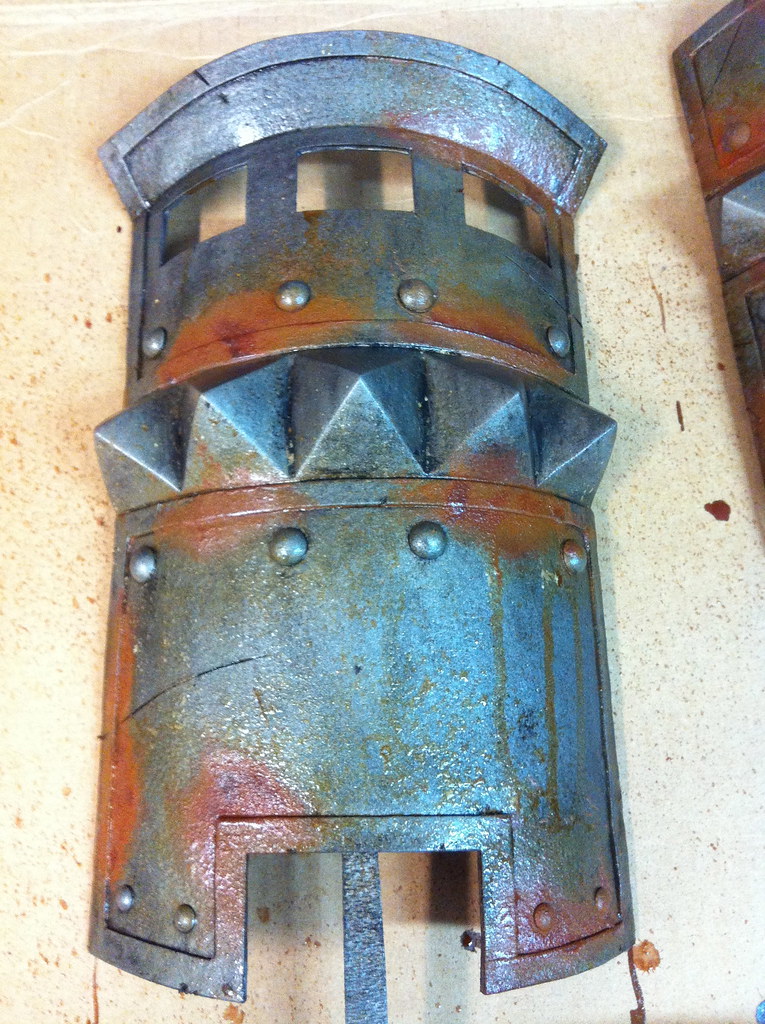
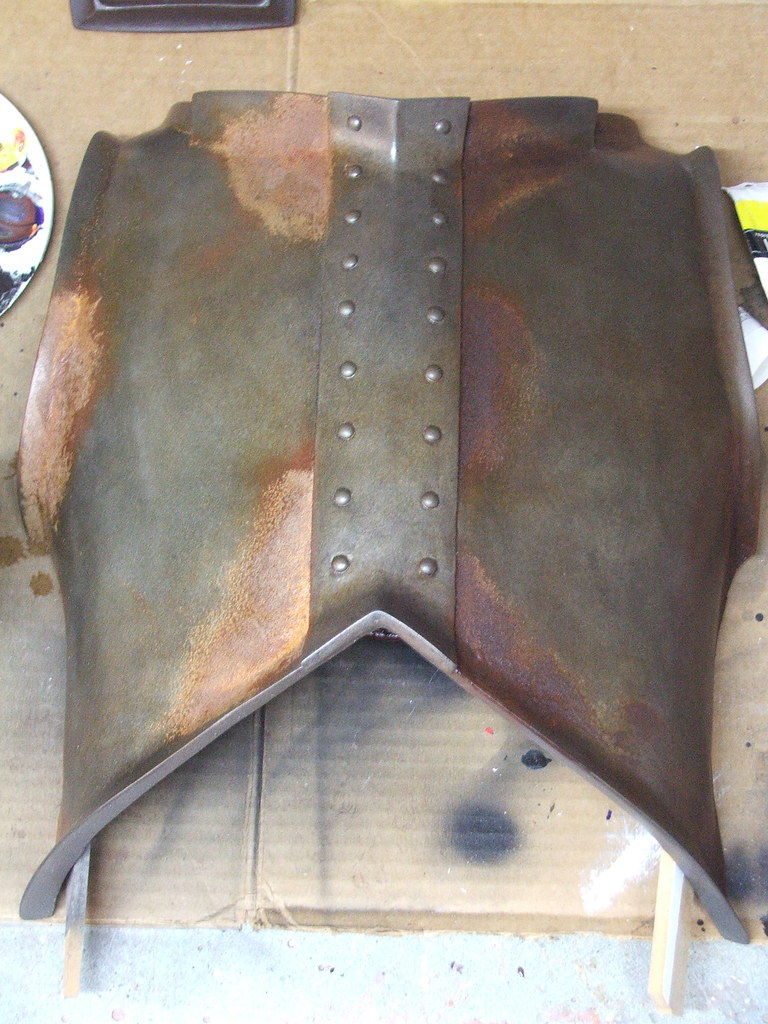
Here's a shot of a piece that's been powdered before applying the rusting agent. I also painted the parts behind the rust with a dark reddish brown, but that's a personal preference.

7823954410_20423a37bf_b.jpg


Just to give you an idea of what to expect when you're spraying, initially the rust powder will make a sort of nasty yellow foam. This can be immediate, like right before your eyes, but sometimes it can take a few minutes as well. This will fizzle down and settle into a nice rust texture pretty quickly (about an hour or so) but don't try to blast away this bubbling with your spray bottle! That's the chemical reaction taking place, and more accelerant will only remove the metal powder.

You can actually watch it take place in a few seconds in a video I shot of one of my Skyrim helmets being made: >CLICK<

3. How controllable is this effect? Does the rust only appear where you applied the powder?

It can get away from you in a hurry. My advice is to start small, you can always add more after you've finished a coat, and a little powder will go a long way. I put the peroxide, vinegar and salt into a spray bottle (ratio: 4:4:1 by volume) and mist over the areas with the powder. You have to do this carefully and make sure you get a spray bottle that doesn't jet out or you'll just blast away all the meal powder.

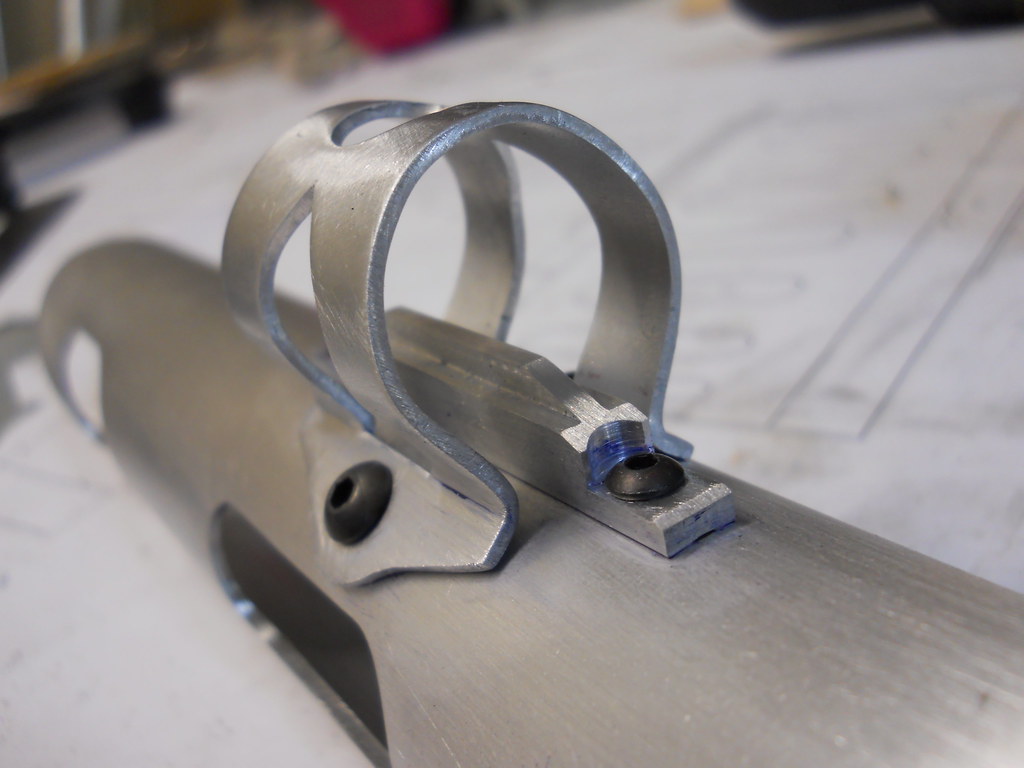
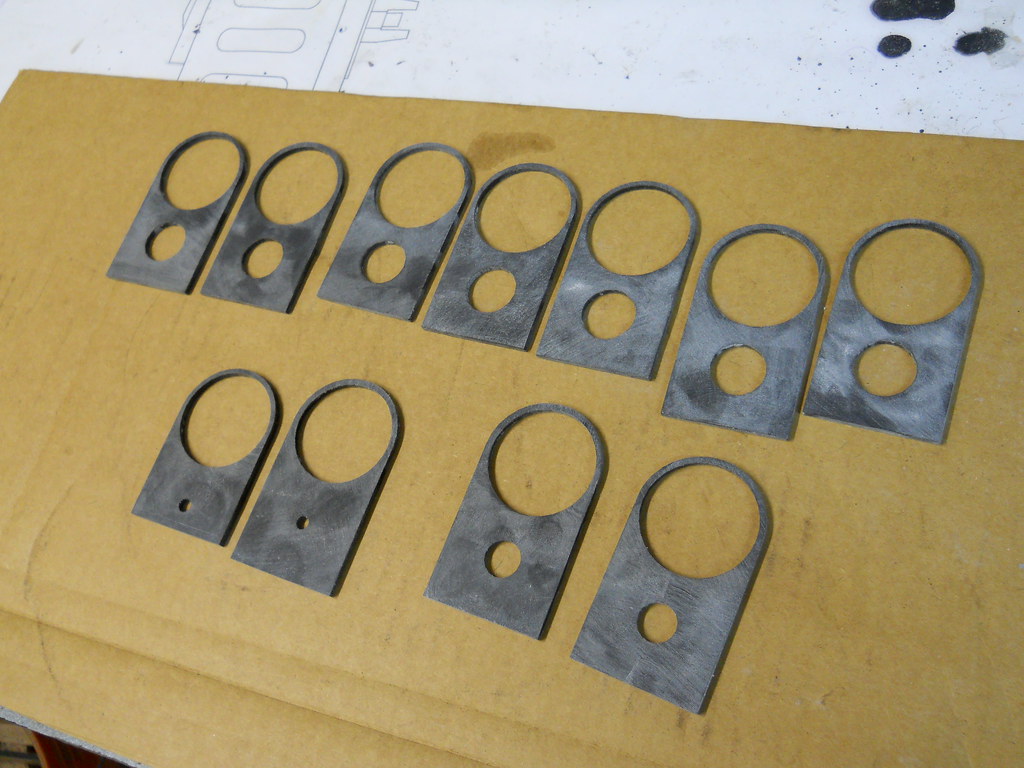
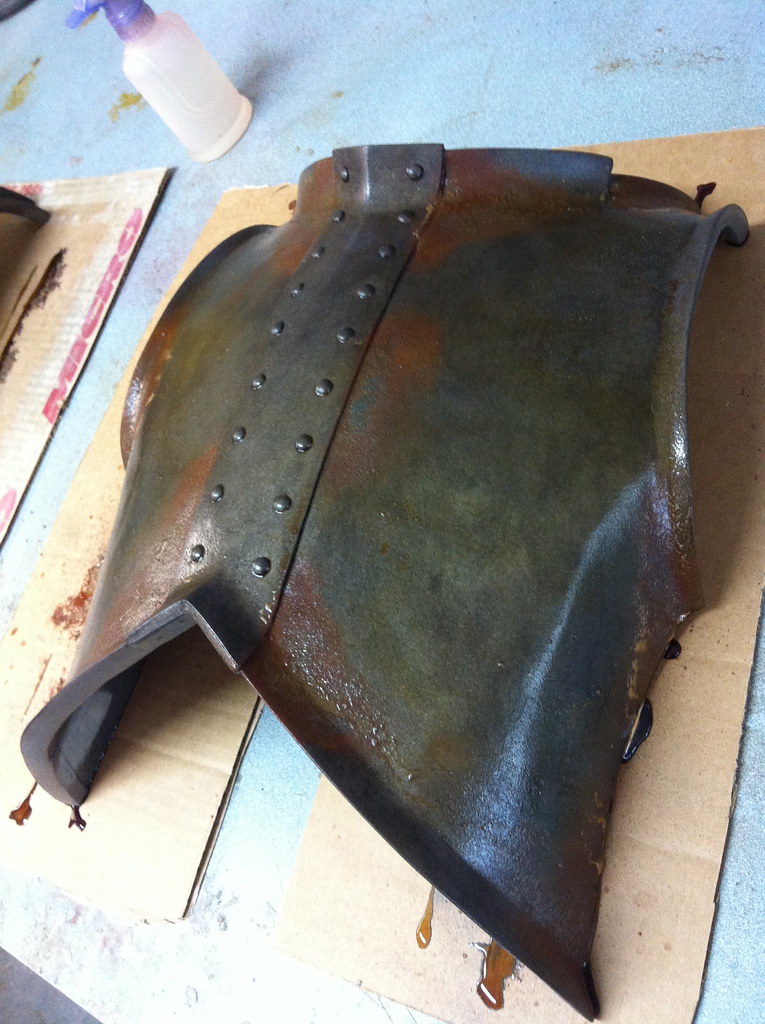
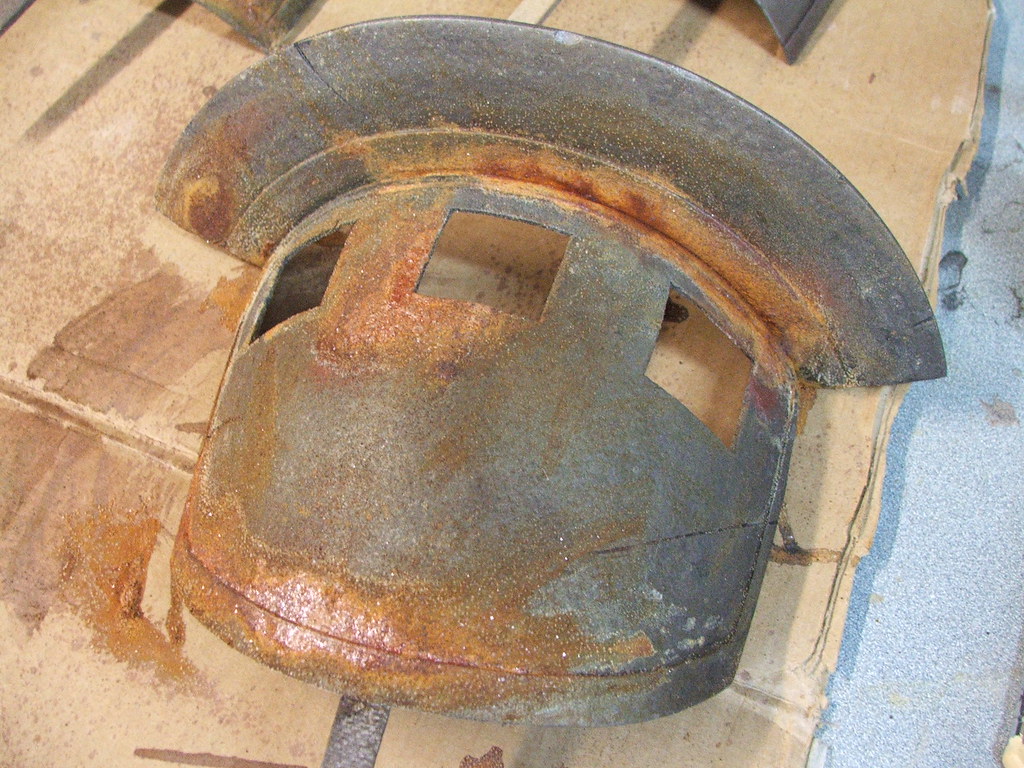
Things will look like this after spraying. You'll have some runoff which will be tinted with the color of the rust, but if that's a problem you can always buff it off with a scotchbrite pad later. Make sure to put some scrap cardboard under your parts to avoid destroying your work surface. Oh, it will also smell like hamster pee.

7823945450_b3228eb352_b.jpg

7823947706_56842b82c6_b.jpg


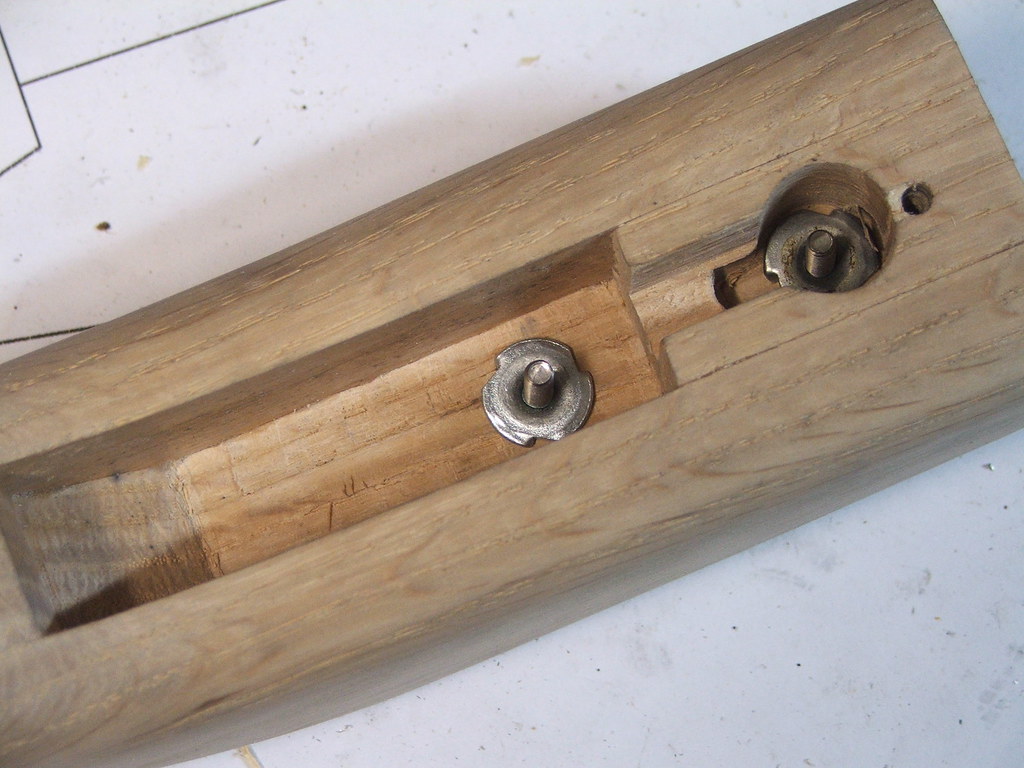
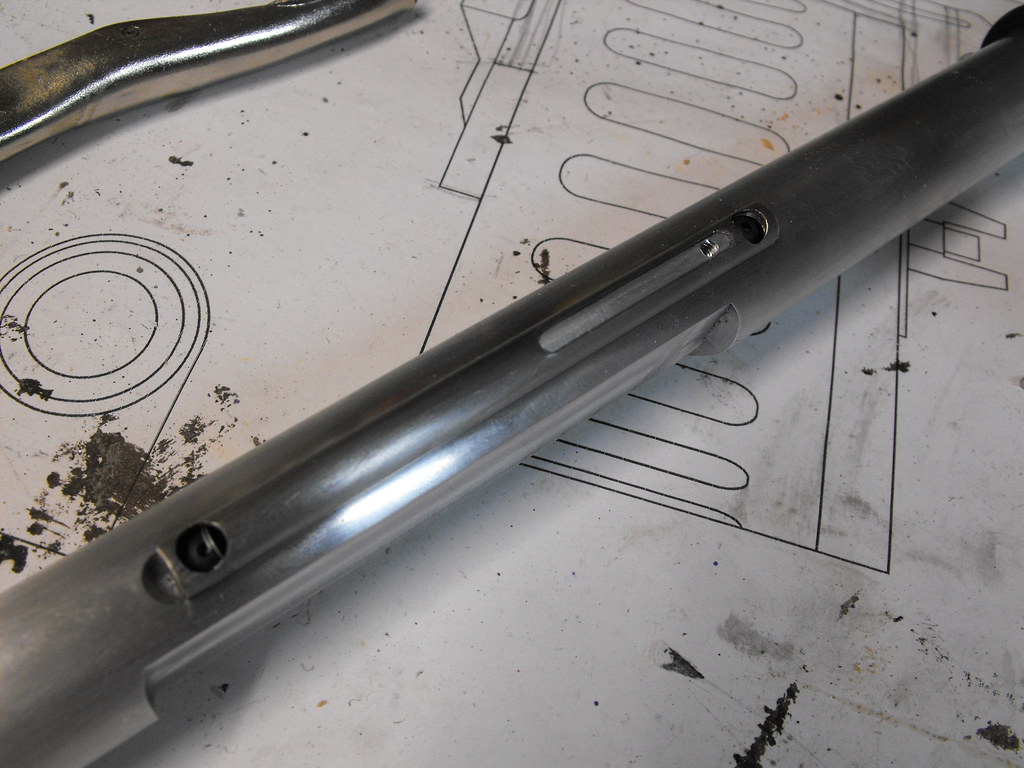
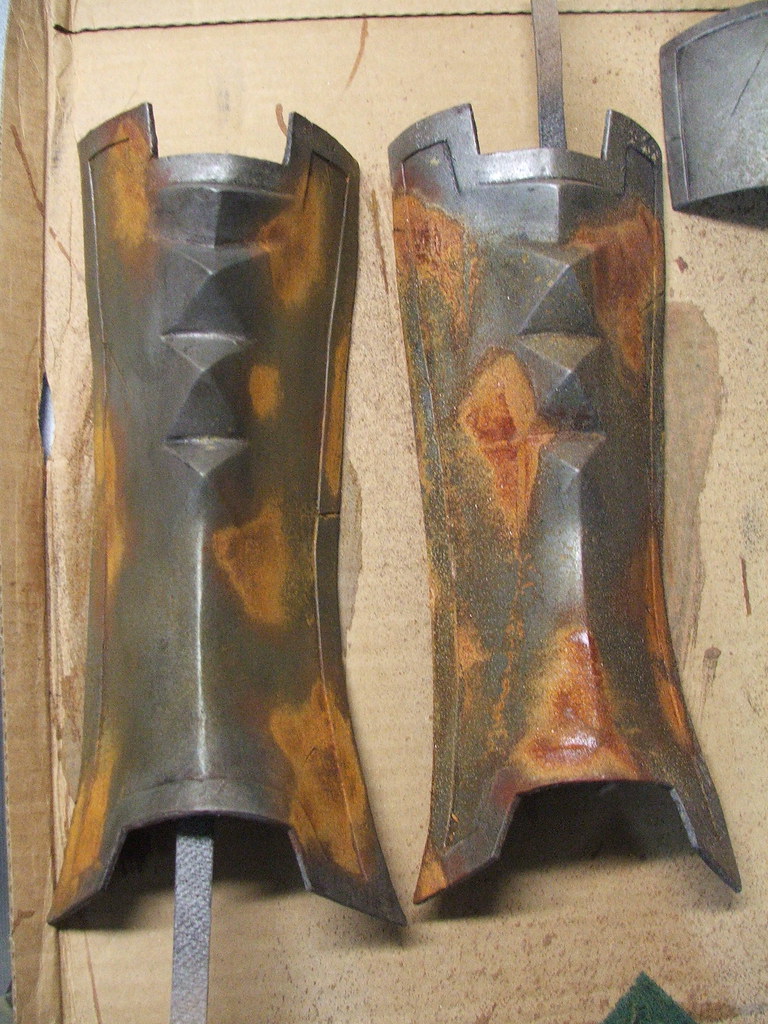
I let the rust cure for 24 hours before I do anything else to it, and initially it will look pretty grisly. Once the peroxide and vinegar are gone, a lot of salt is left behind, and it's not very pretty:

7823953626_b3af3eb0d6_b.jpg


A quick buff with a green scothbrite pad will get rid of this

7823952834_a6c9fa20ac_b.jpg


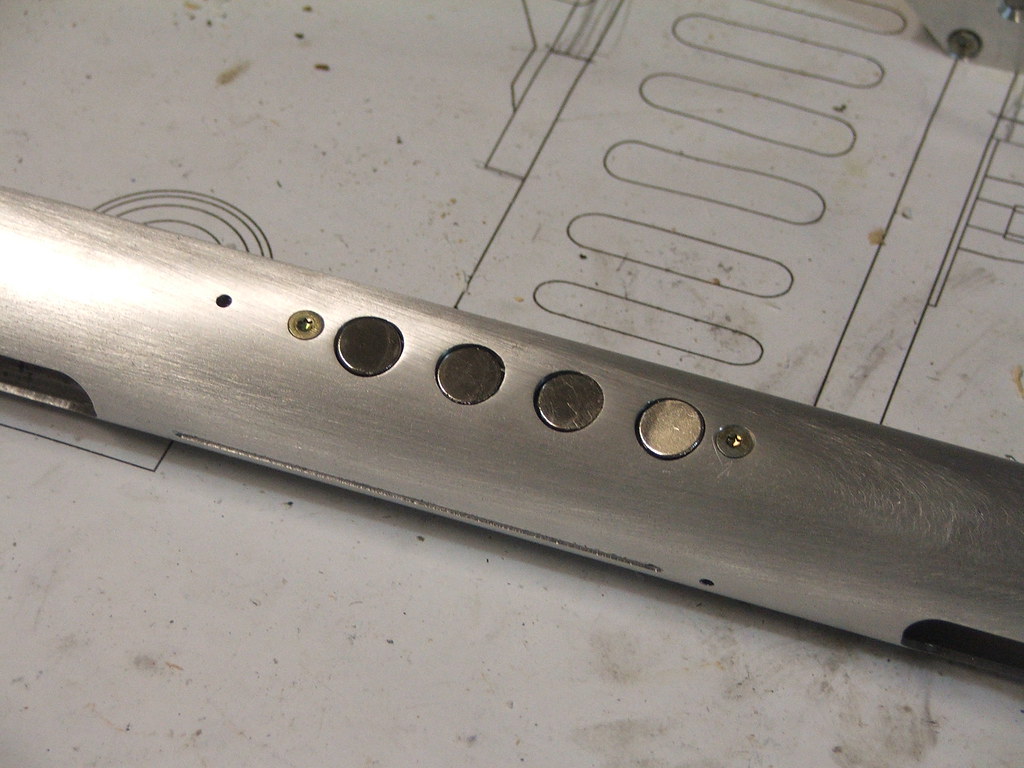
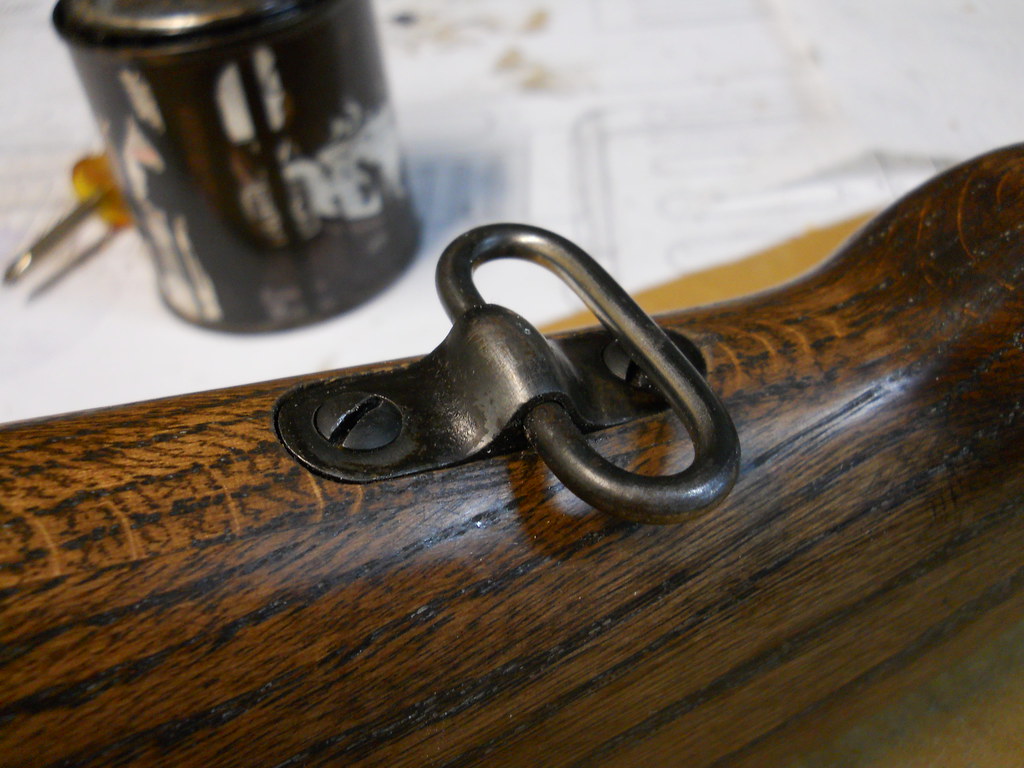
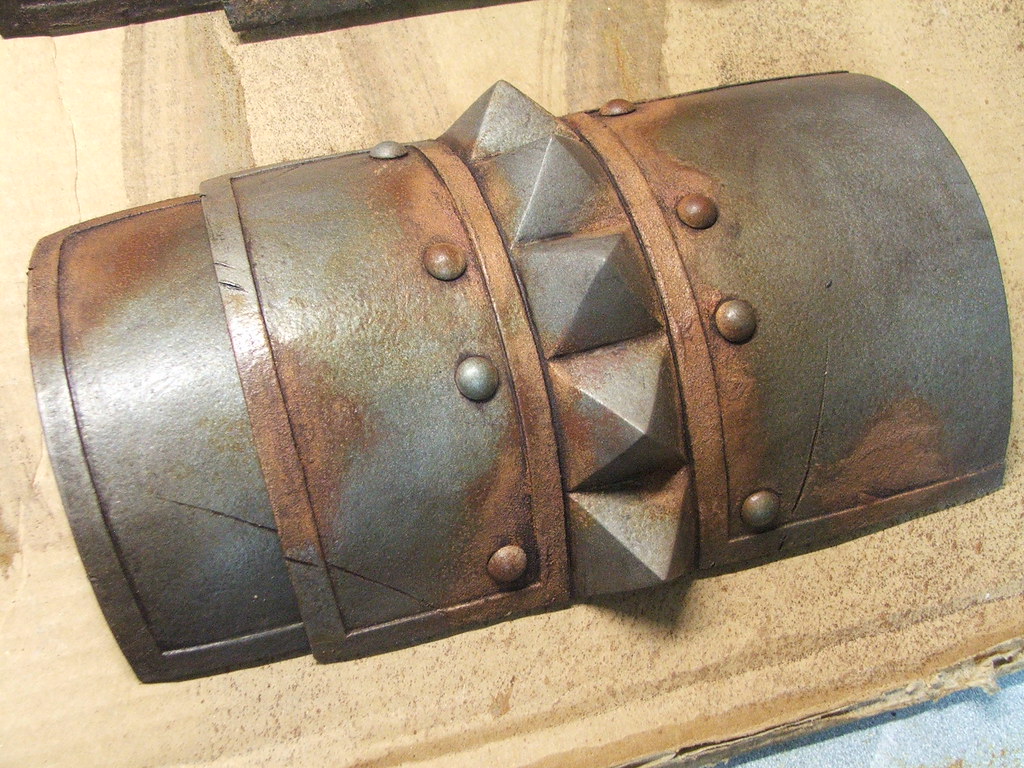
This is a shot after the scotchbrite and after a coat of satin clear as well. This will seal the rust and it will also darken the color somewhat.

7833071174_82c252475a_b.jpg


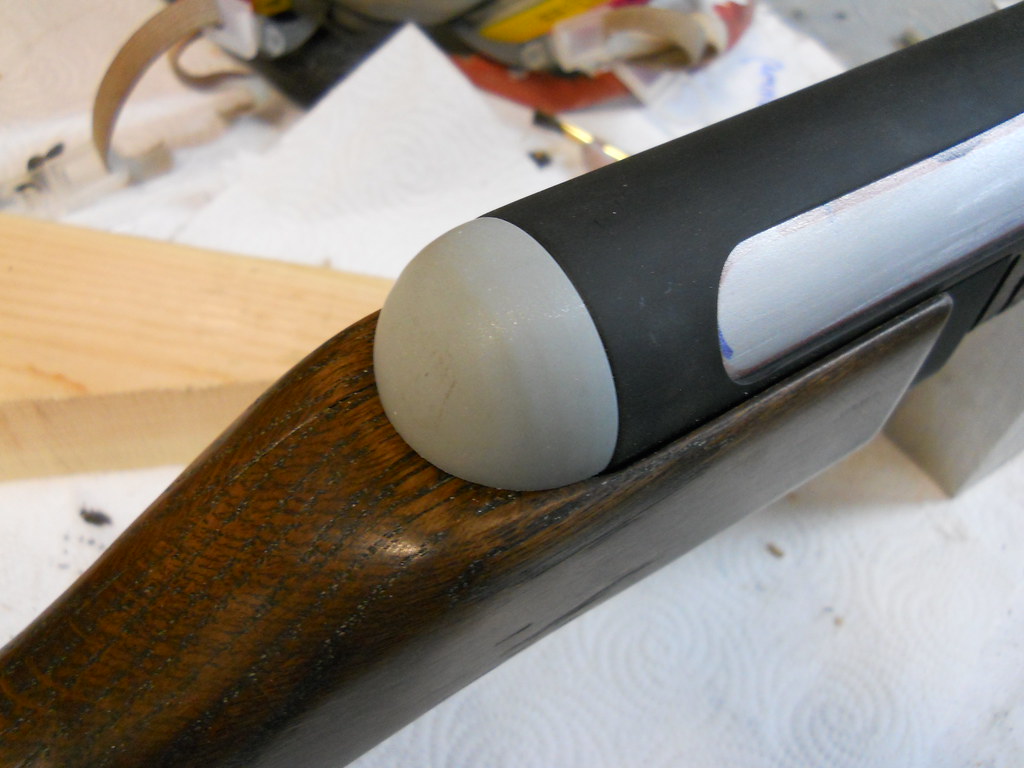
The purple paint is something I use to knock back the orange hues of the rust spots a bit and give them a bit more depth. You can see a contrast in where this has been applied (right) and left plain after clearcoat (left) in this shot. This is applied as a very damp wash using very runny paint and cleaned up with a damp paper towel. The porous surface of the rust will capture the pigment you're after on it's own.

7823952058_4b28ec1235_b.jpg


Couple more coats of clear, and you've got some nice rusty crusty!

7957470056_c5e5c1127a_b.jpg


One word of caution, I have had issues with Krylon Matte Clear Acrylic #1311 making the rust haze over with white spots. A pass of satin acrylic clear took care of this, but satin isn't always the look you're after. If you want a matte clear, you might have to look for other paints, but I haven't tried it.

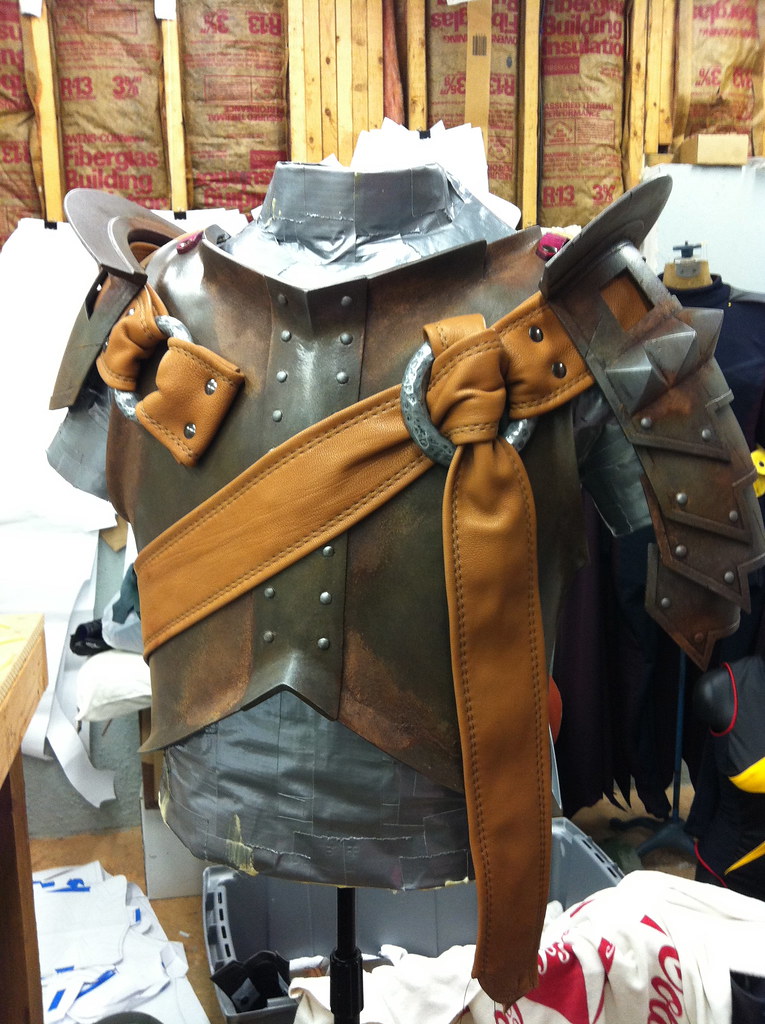
Hope this helps! Obviously not a shotgun (some Skyrim armor I made earlier this year) but same principle.
 
Last edited:
Re: Fallout 3/New Vegas "Combat Shotgun" build

Love the magnet idea on the magazine. Coming along nicely.

Expert tutorial on the rust btw!
 
Re: Fallout 3/New Vegas "Combat Shotgun" build

One word of caution, I have had issues with Krylon Matte Clear Acrylic #1311 making the rust haze over with white spots. A pass of satin acrylic clear took care of this, but satin isn't always the look you're after. If you want a matte clear, you might have to look for other paints, but I haven't tried it.

Thanks for the super informative reply, sir! I think I'm more than ready to tackle fake rust on my build. And I had the EXACT same problem with Krylon Matte Clear myself! I used to use Krylon Crystal Clear Flat instead, but it's been recalled :(

-Jonaas
 
This thread is more than 11 years old.

Your message may be considered spam for the following reasons:

  1. This thread hasn't been active in some time. A new post in this thread might not contribute constructively to this discussion after so long.
If you wish to reply despite these issues, check the box below before replying.
Be aware that malicious compliance may result in more severe penalties.
Back
Top