It just arrived! What just arrived, you ask? The kit just arrived. *THE* kit just arrived. I am stoked! And I wanted to share some photos with you to share my excitement!!
First up: the box. United States Customs really tested Rodolfo's packing skills. Two sides of the box were opened - apparently cut open by Customs and poorly taped back together. By the time they arrived on the USA East Coast at my house, the sides were literally open - held closed only by a small strand of tape. Uh oh... this might mean trouble.
Okay, inside the box are three smaller boxes. That's better, although the largest (holding the fuselage) has also been opened by our Star Wars hating friends at the Customs Office...
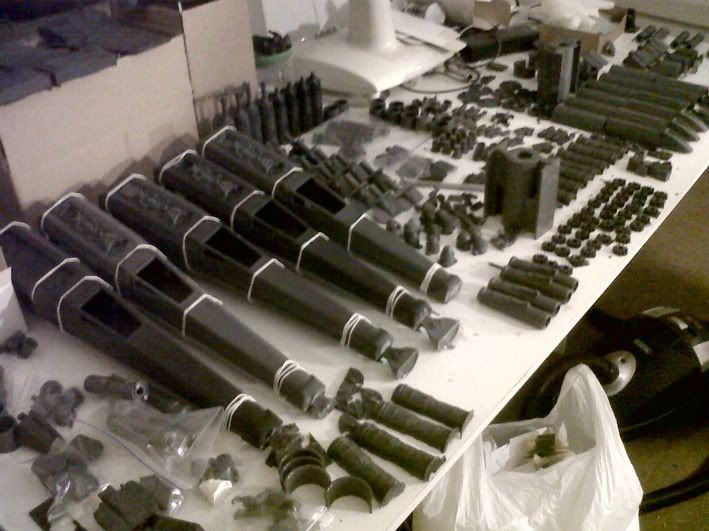
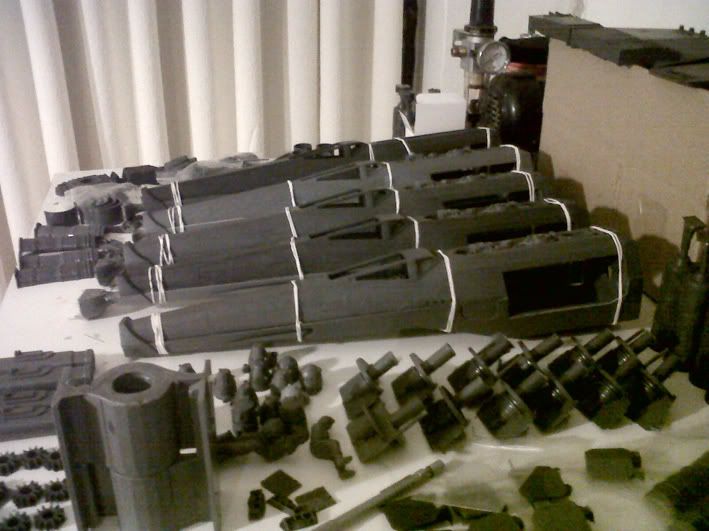
And I’ll spoil the surprise right now: Rodolfo’s packing held up to even what the US Customs folks could throw at it. Everything was intact and unbroken. This is due to Rodolfo’s TERRIFIC job carefully packing everything. Look at this box: each of those cardboard sleeves contains one of the wings. Great job, guys!!
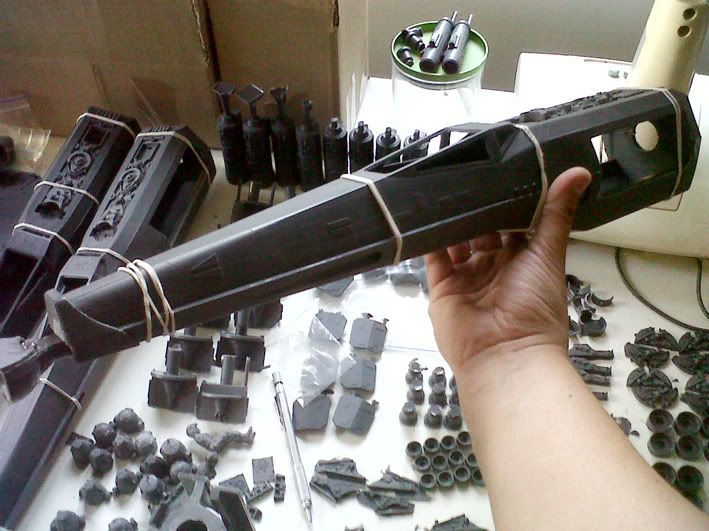
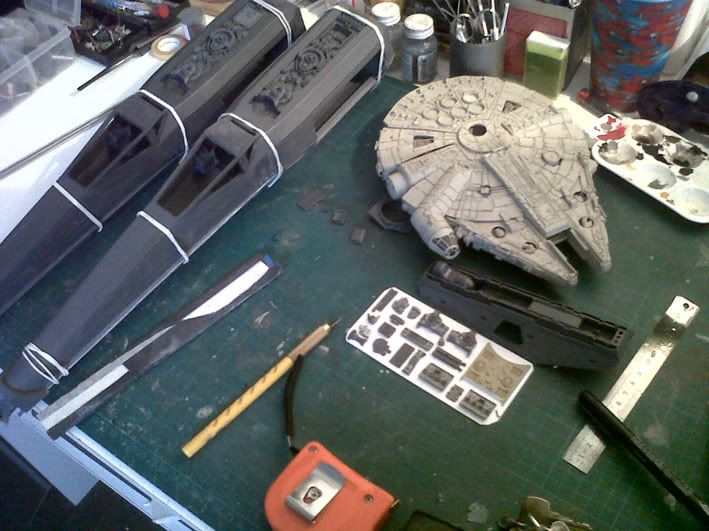
Okay, down to the important stuff now: how does the kit look? First up: the fuselage. It was bubble wrapped…
Then it had cardboard protection around the delicate windscreen supports.
Aft exterior fuselage. There is some terrific detail here. I realized later that this detail piece is removable and in this photo it’s sitting a bit too far forward, so there’s not quite enough room for the astromech droid to sit in his slot. But it’s only because the part is slid forward; the kit is not designed wrong and once you slide the part aft about 1mm into its correctly designed position, Artoo will fit fine.
Very aft end. More amazing detail. The hole is for the support rod. More on that and the armature in a minute.
There are some very thoughtful locating pins in the mid fuselage. It’ll guarantee a perfect fit. Excellent!
Note that the cockpit windscreen is integral to the fuselage. Note: there is no clear transparency included with the kit, staying true to the filming models.
Here is the interior cockpit detail aft of the pilot. This detail was actually sitting inside the packed model, so in this photo I have flipped it up from inside the top of the fuselage. Also, to the left of the photo you can see the aft, top cockpit detail. Incredible detail – and it’s a shame that you’ll be challenged to even see it once the fuselage is closed up and completed.
Here’s another shot of that aft detail once removed from the cockpit. The detail is crazy – I don’t even know how they did it!!
And here is the front end of the X-wing “office”. The photos are not doing this piece justice. It is beautiful.
And finally, the cockpit floor. Yep, you even get detail on the floor. Crazy, crazy. I’m loving it!
So how about that armature that everyone has been debating? First, here are the two parts that will fit into the aft fuselage. Very cleverly designed, these parts slide together and then will rotate to open the wings. They’re made out of something other than standard resin. I forget what Rodolfo called it, but it appears to be pretty robust stuff!
The parts fitted together in the closed position…
… and now in the open position.
Note that thing inside the end of the part running diagonal? It’s a wire molded into the part for added strength. Awesome!
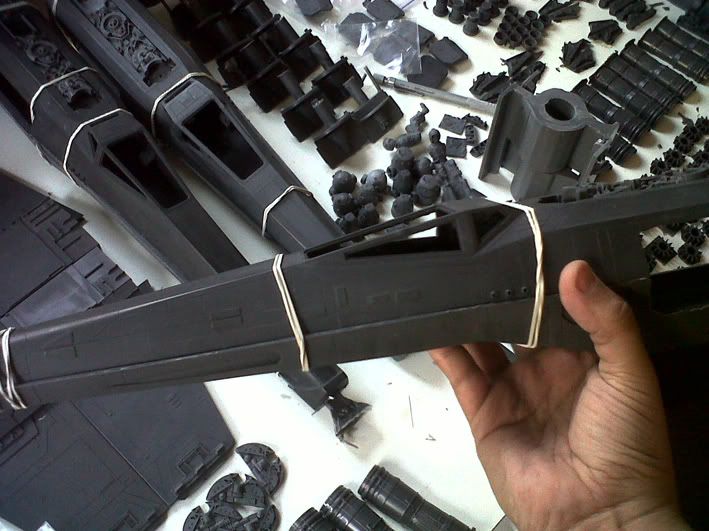
And here’s the machined metal cylinder. This is the aft end…
… and here is the hexagonal front end of the armature cylinder. Note the 1/4-20 threaded holes; four total (one out the aft end and three on the hexagonal forward part).
The part sits nicely into the bottom of the fuselage just behind the cockpit…
… and extends aft to the hole at the back end of the fuselage. I don’t confess to know exactly how this is going to all work together. Rodolfo is stilling working on the instructions, but it appears that you’ll have two pre-drilled holes in the fuselage (aft and bottom) and if you’re brave enough you can drill holes through either side of the fuselage just aft of the cockpit.
Rodolfo sent me the first 4 pages of instructions. This is just getting the wings started; there will be much more and we’ll need it. This is a very complex but highly detailed kit. This sample of the instructions indicates that they will be extremely clear, well-illustrated and invaluable to building this kit correctly.
And, in my opinion, the real masterpiece of the kit: the pilot. When I opened up the kit I noted that there was a plastic bag wrapped around his head. WTF!? What kind of creepy thing is going on here?
Then I realized why the bag was there: it’s holding the pilot’s visor in place. Amazing!
Yes, the visor is removable. And probably highly prone to get lost in the carpet. Oh boy…
Look at that detail on the lower body. Again, you’ll never see it. What a shame – he’s a nice model in and of himself. Don’t let the photos fool you: that flash on the body is very light and will be extremely easy to clean up.
Here’s the fun part: Astromech droids! First up, the R2 unit. Front…
… and back.
Next, the R5 unit. Front…
Not much detail on the back, so here’s the side…
… and the R5 top view (look at that detail!).
And finally, the R4 unit (you don’t see too many models of these guys!). The front…
…and the back. He’s very accurate from everything I can find on the internet and in my reference books.
My kit will be Red Leader, so R5 takes his place. This is exciting! I’m ready to get started.
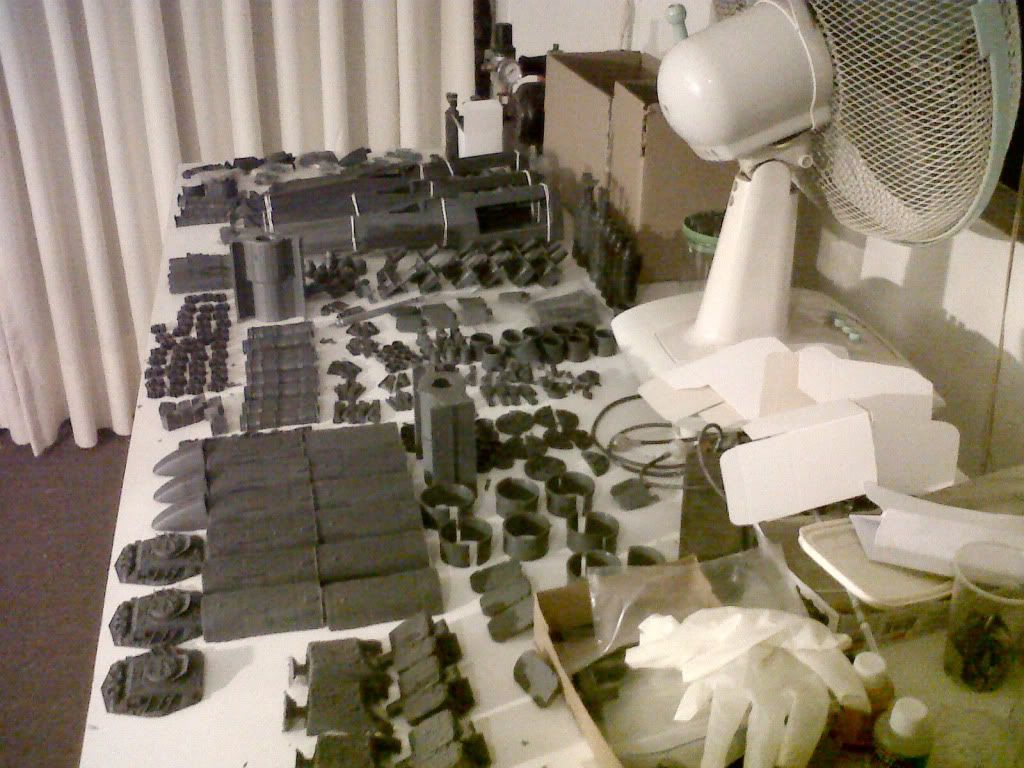
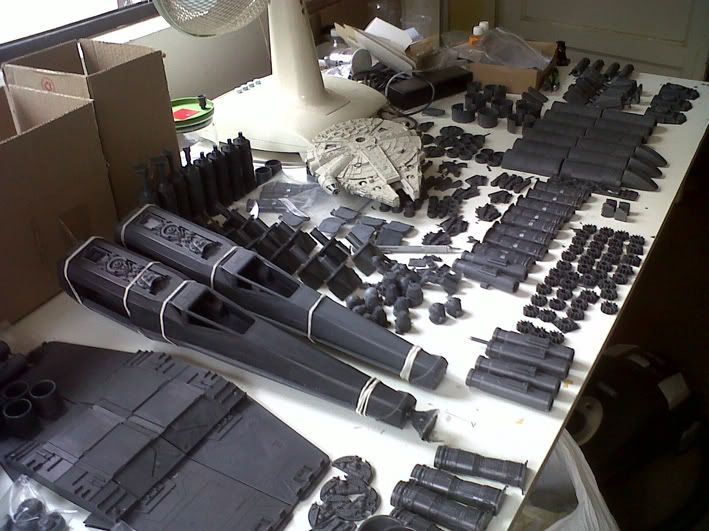
There are dozens of other small, highly detailed parts which I am not showing here. Honestly, I don’t even know what many of them are for. I’ll need instructions and a lot of photo references to figure it all out. Suffice it to say that they are all highly detailed and impeccably molded.
The price on this kit is… well, it’s not for everyone. I know that I initially wrote off ever purchasing one when I saw it. But over the next few weeks I somehow talked myself into it after researching the price of other Studio Scale kits with metal armatures and realizing that this was right in line with the prices of those previous kits. And now that I see this kit in person, I have absolutely no buyers regret. I am very pleased. Rodolfo and his partners have managed to create one of the most beautiful, well-engineered and highly detailed model kits that I have ever seen in all my years of life. I am a slow builder, so I can only hope that I have enough years of life left to see it through to completion (I’m only 40, but really – I am a slow builder!).
Nice job guys. I highly recommend this kit to everyone that can manage the price. You won't be sorry.
Great job, guys!
")
thumbsup
thumbsup
thumbsup
thumbsup